
ONSHAPE CONFIGURABLE CableCuffs™ Rev3
Obliczymy ostateczną cenę na podstawie wybranego pliku. Sprawdzisz ją i zaakceptujesz przed płatnością.
Zapisane na tym urządzeniu.
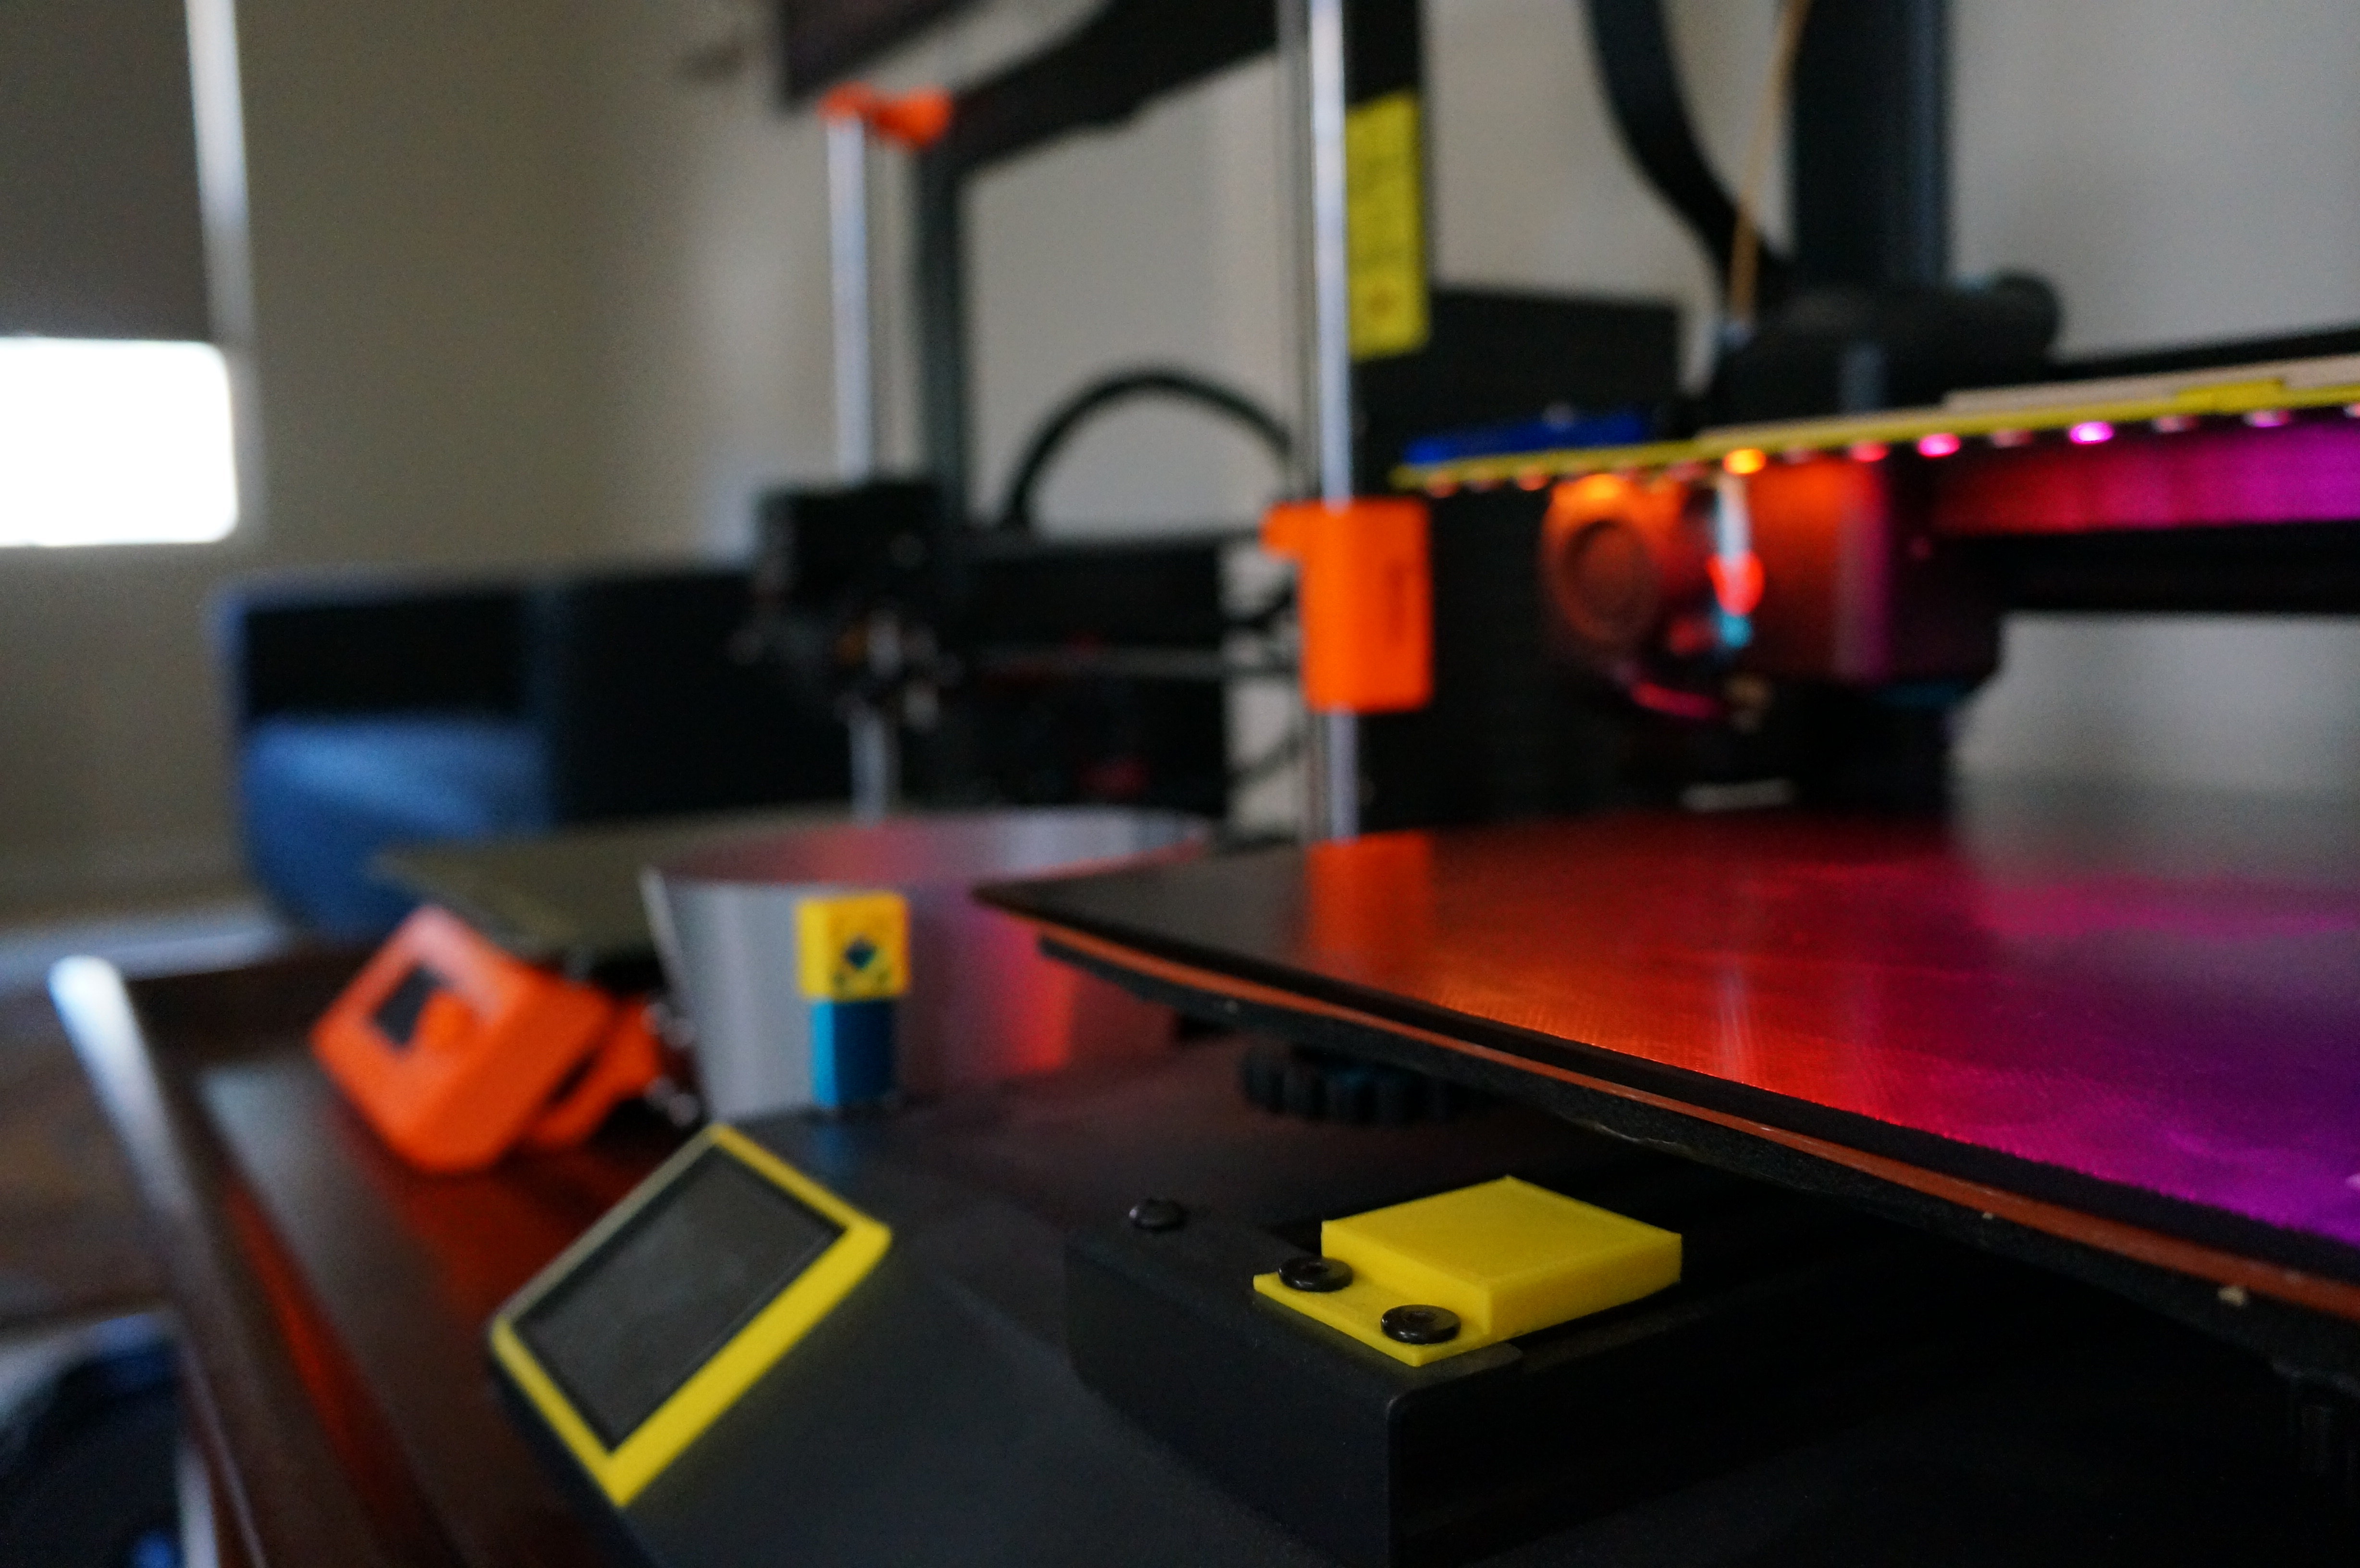
Fully configurable cable cuff ratchet mechanism with Onshape's configuration Features! ❣️onshape ❣️
- Ocena
- 0 / 5
- Polubienia
- 15
- Pobrania
- 50
- Wydruki
- 1
- Wyświetlenia
- 610
- Oceny
- 0
Aktualizacja u źródła:
Informacje o modelu
- Źródło
- Printables
- Kategoria
- Organizers
- Licencja
- Creative Commons — Public Domain
Third iteration!! Now fully configurable with Onshape's configuration features. Need a small or tiny one to fit your irregular spring / screw choices? No problem.
Items Required:
0.4" long pen spring
2 small-ish screws
Step one: Click on Onshape link
Step 1.5:

Click on configuration window “bar” in the top left and draw it down so that it's bigger
Step two: Play around with parameters window in the top left corner.
Some things may break because they depend on some other values. So be sure you change them as well: (Ex: massive ratchet except your teeth size is tiny; a gigantic screw size)
If you mess up beyond repair, just reload the page. Let me know of bugs and things that I need to fix
Description of some parameters:
- Mode - Double/Single sided
- Arm Angle - Angle to which the arm will be able to ratchet
- Screw Diameter - Put in the absolute diameter of the screw. Through holes will be automatically +1/32in and tapped holes will automatically be -1/32in
- Screw length - Use exact length of screw so that there is no protrusion
- Arm Thickness - SET TO DIAMETER OF YOUR SPRING since you need to fit the spring in between the two plates
Step three: Export

- Right click on the Main Body tab at the bottom of your screen
- Change format to STL
- Change Units from Meter to Millmeter
- Check the box “Export unique parts as individual files”
- Download and print your winnings!
Step four: Assembly

- Orient parts like shown
- Shove screw through all the plates and screw it into the Main plate (the tension of the spring should keep it in place, if not add a bit of hot glue)
- Screw on the ratchet arm


