
Sentinel 6 (ESA mission for the EU Copernicus Programme) 1:64 model
Obliczymy ostateczną cenę na podstawie wybranego pliku. Sprawdzisz ją i zaakceptujesz przed płatnością.
Zapisane na tym urządzeniu.
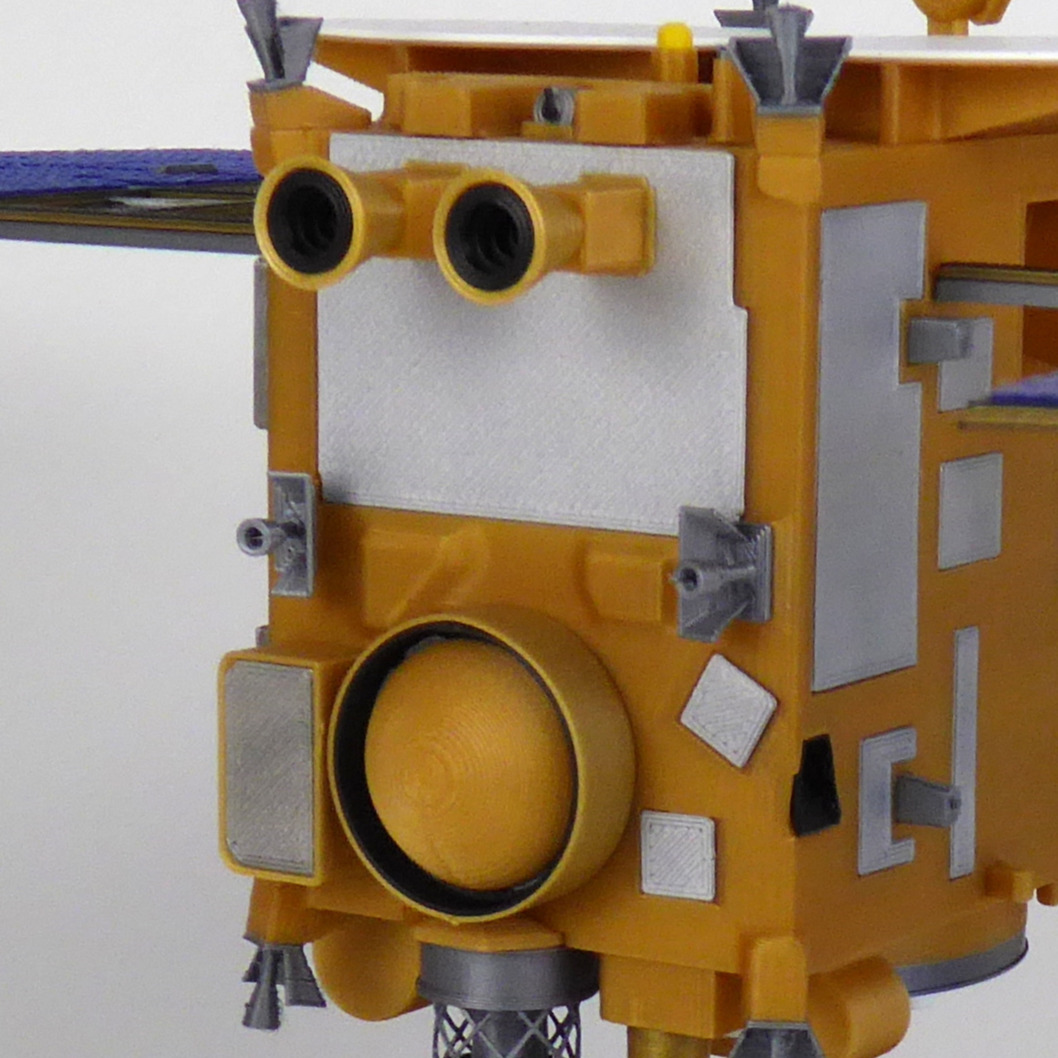
1:64 model of the Sentinel 6 spacecraft from the European Space Agency for EUMETSAT, NOAA and the Copernicus Programme.
- Ocena
- 0 / 5
- Polubienia
- 4
- Pobrania
- 17
- Wydruki
- 0
- Wyświetlenia
- 117
- Oceny
- 0
Aktualizacja u źródła:
Informacje o modelu
- Źródło
- Printables
- Kategoria
- Physics & Astronomy
- Licencja
- Creative Commons — Attribution — Share Alike
This is a much smaller version of my 1:25 scale model, meant to be suspended (makes for a nice Christmas tree ornament!).
This model is designed for multi-color printing, and you should import all the GOLD-SILVER_MainBody_*.stl files together in your slicer. The main body is only bicolor and the number of color changes is still limited so filament waste is kept under control.
Print instructions
All pieces are designed for FDM printers and around a layer height of 0.2mm and a nozzle diameter of 0.4mm.
For each part the color(s) are indicated as a prefix in the name and the number of copies as a suffix (e.g. for "BLUE-BLACK_SA_x2.stl”, 2 copies of the piece must be printed, with blue then black filament).
The main body part has some specifics to keep in mind:
- Need to import all 12 GOLD-SILVER_MainBody_*.stl files together in the slider
- Some minor support is needed for the STR on the +X face (also helps with stability of the print)
- In addition to the insert pieces, you should paint the tip of the antenna in silver in the slicer (it is at the same height on all 3 of them)
Other pieces need simple color changes which is easy by adding a filament change directly in your slicer. The height at which the color change should be applied is written as a file note, and the screenshots down below can help visualize what it should look like.
Do not hesitate to seam-paint on the pieces where they are glued to each other. The different pieces will be in their intended print orientation when you import them in your slicer, see what it looks like on the color-coherent printing plates illustrated below:


Assembly instructions
I recommend using common white glue (and patience 😉) to assemble the pieces instead of contact glue that often leaves white residues and can be messy.
The tolerances used are 0.2mm vertically and at least 0.07mm in-plane to provide a snug fit (keep that in mind if you want to re-scale the model!). If the tolerances are not accessible to your printer (or your printer is better tuned than mine 😉) you may have to use sandpaper or a hobby knife to adjust them until they fit and/or use (more) glue.
Non-printed part
To suspend the model I use 0.4mm diameter fishing line. A 0.5mm diameter drill bit will probably be necessary.