
FPV Camera for E188S Airwolf
Obliczymy ostateczną cenę na podstawie wybranego pliku. Sprawdzisz ją i zaakceptujesz przed płatnością.
Zapisane na tym urządzeniu.
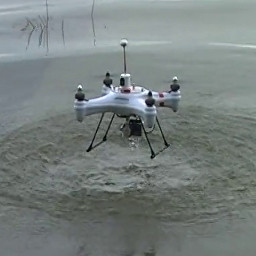
Fly your micro GPS Airwolf via FPV by a clip-on AIO camera, e.g. AkkTek BS2.
- Ocena
- 0 / 5
- Polubienia
- 4
- Pobrania
- 8
- Wydruki
- 0
- Wyświetlenia
- 388
- Oceny
- 0
Aktualizacja u źródła:
Informacje o modelu
- Źródło
- Printables
- Kategoria
- RC & Robotics
- Licencja
- Creative Commons — Attribution — Noncommercial — Share Alike
I could not resist buying this little GPS-stabilised Airwolf on a local exhibition. The Airwolf is offered with different brands, e.g. Eachine E188S, FliteZone and many others.
As I am normally flying FPV copters I wanted to add FPV capabilities to the Airwolf, too. I had a spare Akktek BS2 camera and tested on how to attach it to the Airwolf. Side mounting makes no sense as the fuselage hides too much in the view. So it had to go onto the nose.
The camera holder is designed as a clip-on part which does not require any modification of the Airwolf. The camera gets its power from the free power socket on the flight battery. You may need an extension cable which you can create by soldering two available pigtails with Molex PicoBlade 1.25mm sockets together, e.g. from eBay. Glue the two parts together in the correct angle by using CA gel.
Additional weight is less than 6 grams, no problem for the Airwolf.
I have added the FreeCad source, so you can adapt the design for other camera types.
UPDATE from 02.12.2025:
As the BS2 only supports 25mW rf power I have created a second design for using my Akktek A3 AIO camera as well.
Both cameras seen to be no longer in production, so here are the camera dimensions for reference.
BS2: 15mm width x 14mm height x 10mm depth
A3: 20mm width x 14mm height x 12mm depth