
Relatively Universal ROM Programmer Case
Obliczymy ostateczną cenę na podstawie wybranego pliku. Sprawdzisz ją i zaakceptujesz przed płatnością.
Zapisane na tym urządzeniu.
Informacje o modelu
- Źródło
- Printables
- Kategoria
- Electronics
- Licencja
- Creative Commons — Attribution — Share Alike
Relatively Universal ROM Programmer
is a open source Arduino Uno shield for programing E/PROMS. More information about it: https://github.com/AndersBNielsen/Relatively-Universal-ROM-Programmer
Boards:
This case is designed for Arduino UNO, not for 65uino with which the shield is also compatible.
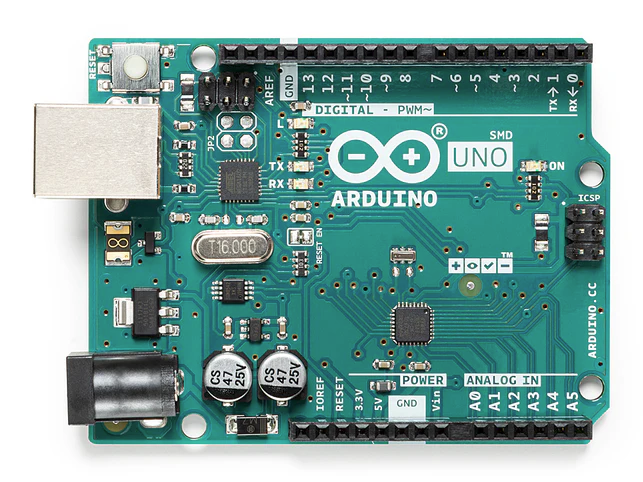
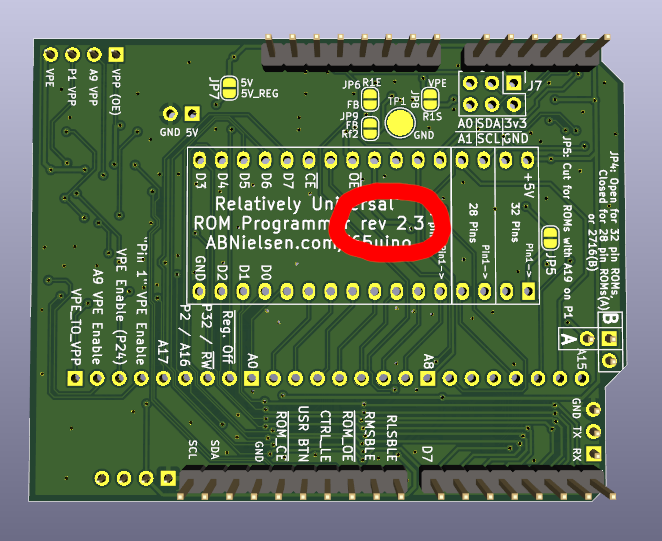
and for Relatively Universal ROM Programmer board revisions 0; 1; 2.0; 2.1; 2.2; 2.3.
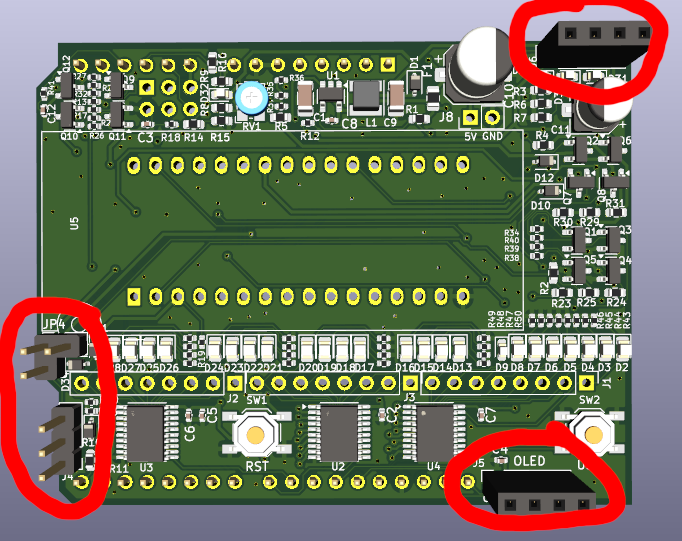
and it has mounted JP4, J4, J5, J6 as it is in the default scheme.
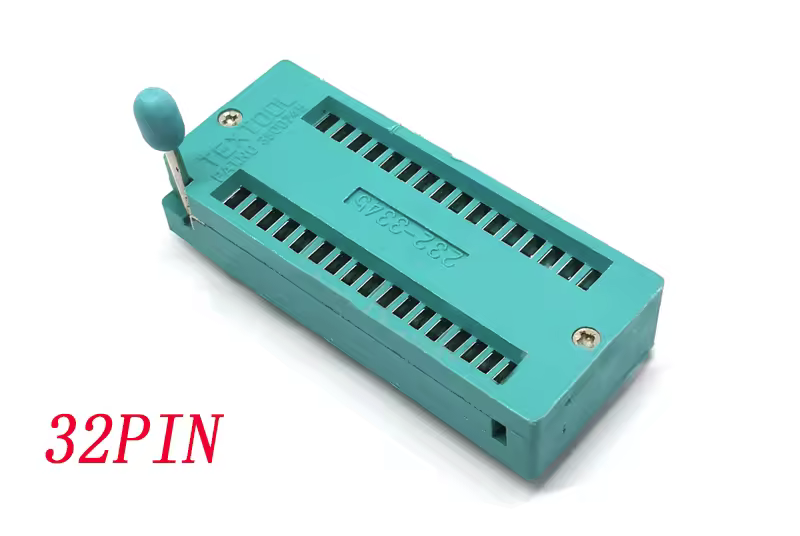
and which has 32 pin ZIF socket (I buy it here https://www.aliexpress.com/item/1005006117085994.html ). If you have a different socket mounted on board, you may need to adjust the case.
3d print:
Choose the appropriate files according to the revision of your board:
rev 0, rev 1:
RUROMP R0,R1 Case - Top V1.stl
RUROMP Case - Bottom V1.stl
Button V1.stl
rev 2.0, rev 2.1:
RUROMP R20,R21 Case - Top V1.stl
RUROMP Case - Bottom V1.stl
Button V1.stl
rev 2.2, rev 2.3:
RUROMP R22,R23 Case - Top V1.stl
RUROMP Case - Bottom V1.stl
Button V1.stl
Tested on:
PLA and PET-G material
Nozzle 0.4 mm
Layer height 0.15 mm
No support needed
Warning: The case fits tightly over the connectors and it is possible that the model will need to be slightly modified or holes drilled if the components do not fit through.
2d print:
Choose the appropriate file according to the revision of your board:
rev 0, rev 1:
RUROMP R0,R1 Label V1.svg
rev 2.0, rev 2.1:
RUROMP R20,R21 Label V1.svg
rev 2.2, rev 2.3:
RUROMP R22,R23 Label V1.svg
The label SVG file is on proper scale (73x55 mm), but each printer prints it differently sized! Try print some drafts and check if fits on case properly.
Optionally, if you have laminating machine, use it before cutting for better label durability.
Cut holes for connectors, ZIF socket and buttons. If your board don't have all the connectors, do not cut all the holes, the paper will cover them.
Other material:
4x bolt M3x6 or shorter (or screw in similar size)
Electrician insulation tape
Paper glue or superglue if you used a laminating machine
4x silicone furniture protective pads (optional). Maximally 8mm width… something think like this: https://www.aliexpress.com/item/1005005854472187.html
Assembly:
Stick the label on the top of the case and let it dry thoroughly.
Glue 4x protective pads to the bottom of the case (optional).
Use insulating tape on the USB connector to prevent short circuiting with the shield board.
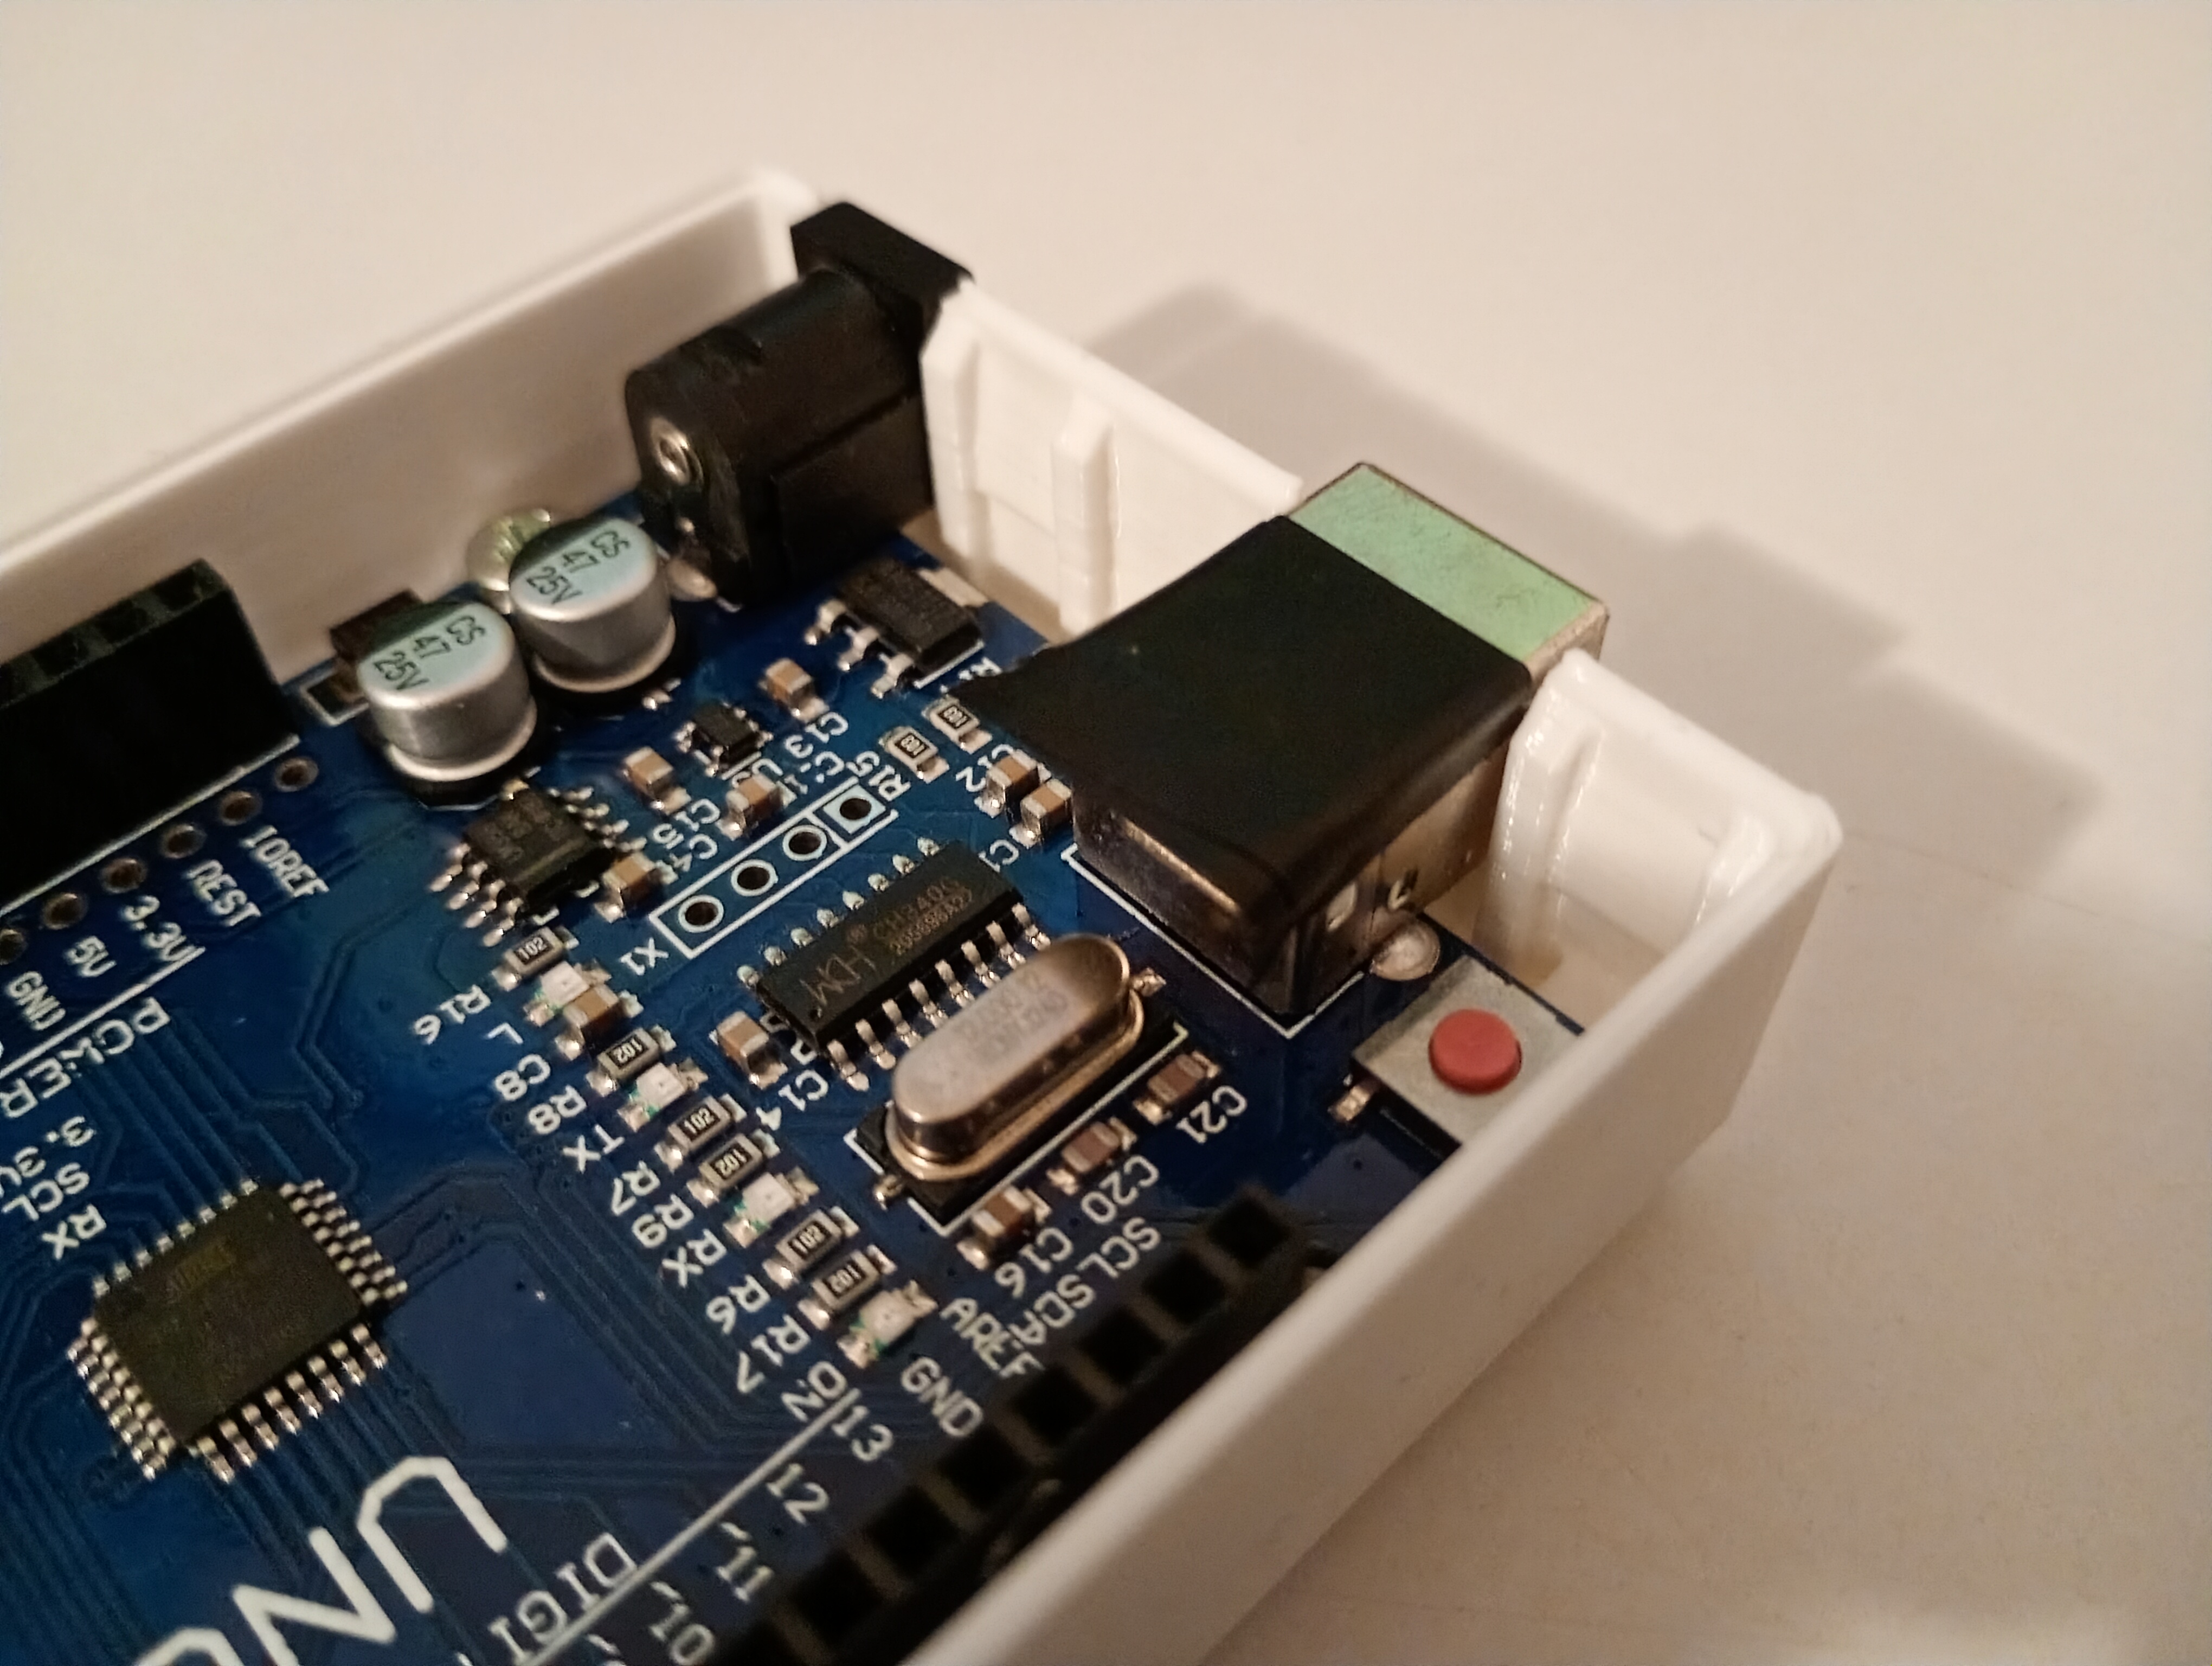
Insert the Arduino UNO into the bottom of the case and screw it in (one screw is too close to the connector, if it doesn't fit, leave it out)
Insert the Relatively Universal ROM Programmer shield
Insert both buttons into the top part of the cover
Insert the cover into the bottom part. Hold the bottom part upside down to prevent the buttons from falling out.