
Christmas cards: fully 3D-printed, fully editable
Obliczymy ostateczną cenę na podstawie wybranego pliku. Sprawdzisz ją i zaakceptujesz przed płatnością.
Zapisane na tym urządzeniu.
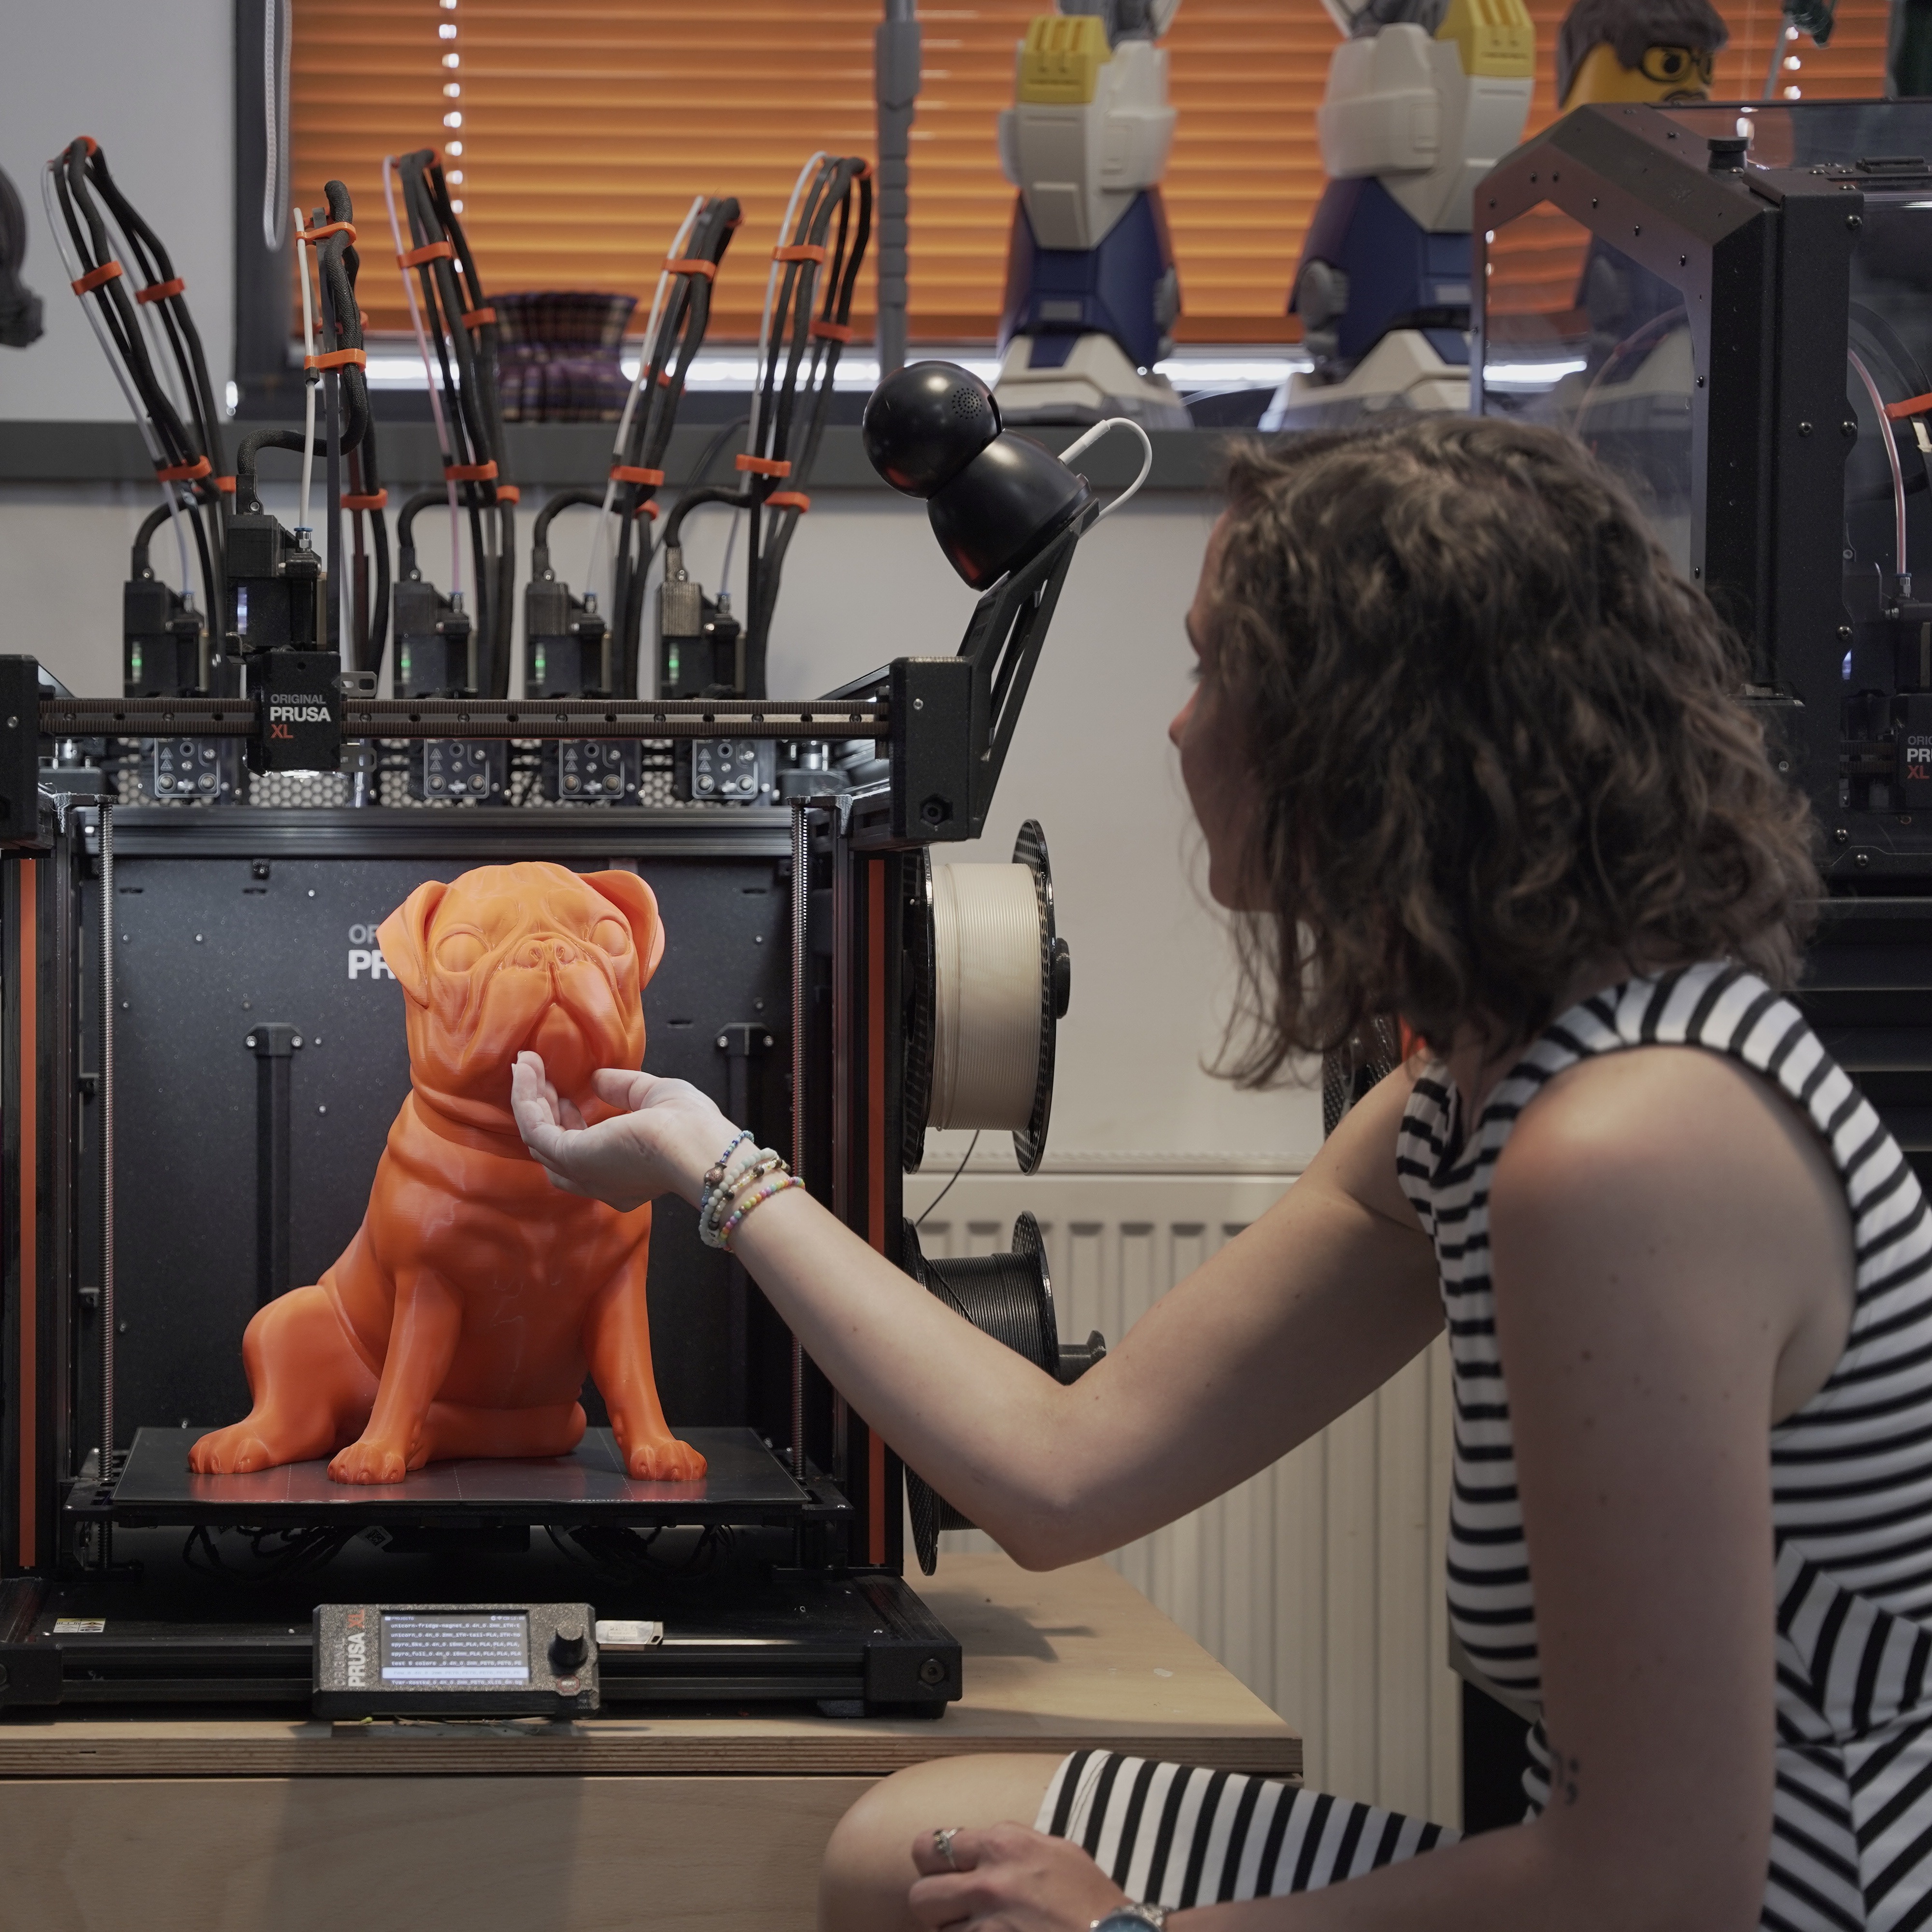
Christmas cards (postcard-type or foldable) for 3D-printed Holiday greetings. The postcards get delivered - I tested it.
- Ocena
- 4,667 / 5
- Polubienia
- 61
- Pobrania
- 434
- Wydruki
- 3
- Wyświetlenia
- 1947
- Oceny
- 3
Aktualizacja u źródła:
Informacje o modelu
- Źródło
- Printables
- Kategoria
- Other Ideas
- Licencja
- Creative Commons — Attribution
This is a Christmas variation of my Editable, fully-3D-printed postcard. I added the cards that can be folded and put in an envelope. There are a bunch of different designs, but mostly I'd like to encourage you to create your own 😉
They shipped without any issues from the Czech Republic and arrived both domestically and to the USA.
I use the MK4S because It is easily accessible for the filament change during printing. But it would work just as well on a CORE One. You could also print it on the XL printer and leave the filament change to the printer itself. If you switch to the XL, make sure not to lose any modified settings.
If you want to sign them personally or add a handwritten note, permanent markers work very well.
How does it work
The texts and pictures are easily exchangeable, it is designed to be printed in two-four colors on a single-extruder printer. The filament change will be done manually by you, the printer will prompt it.
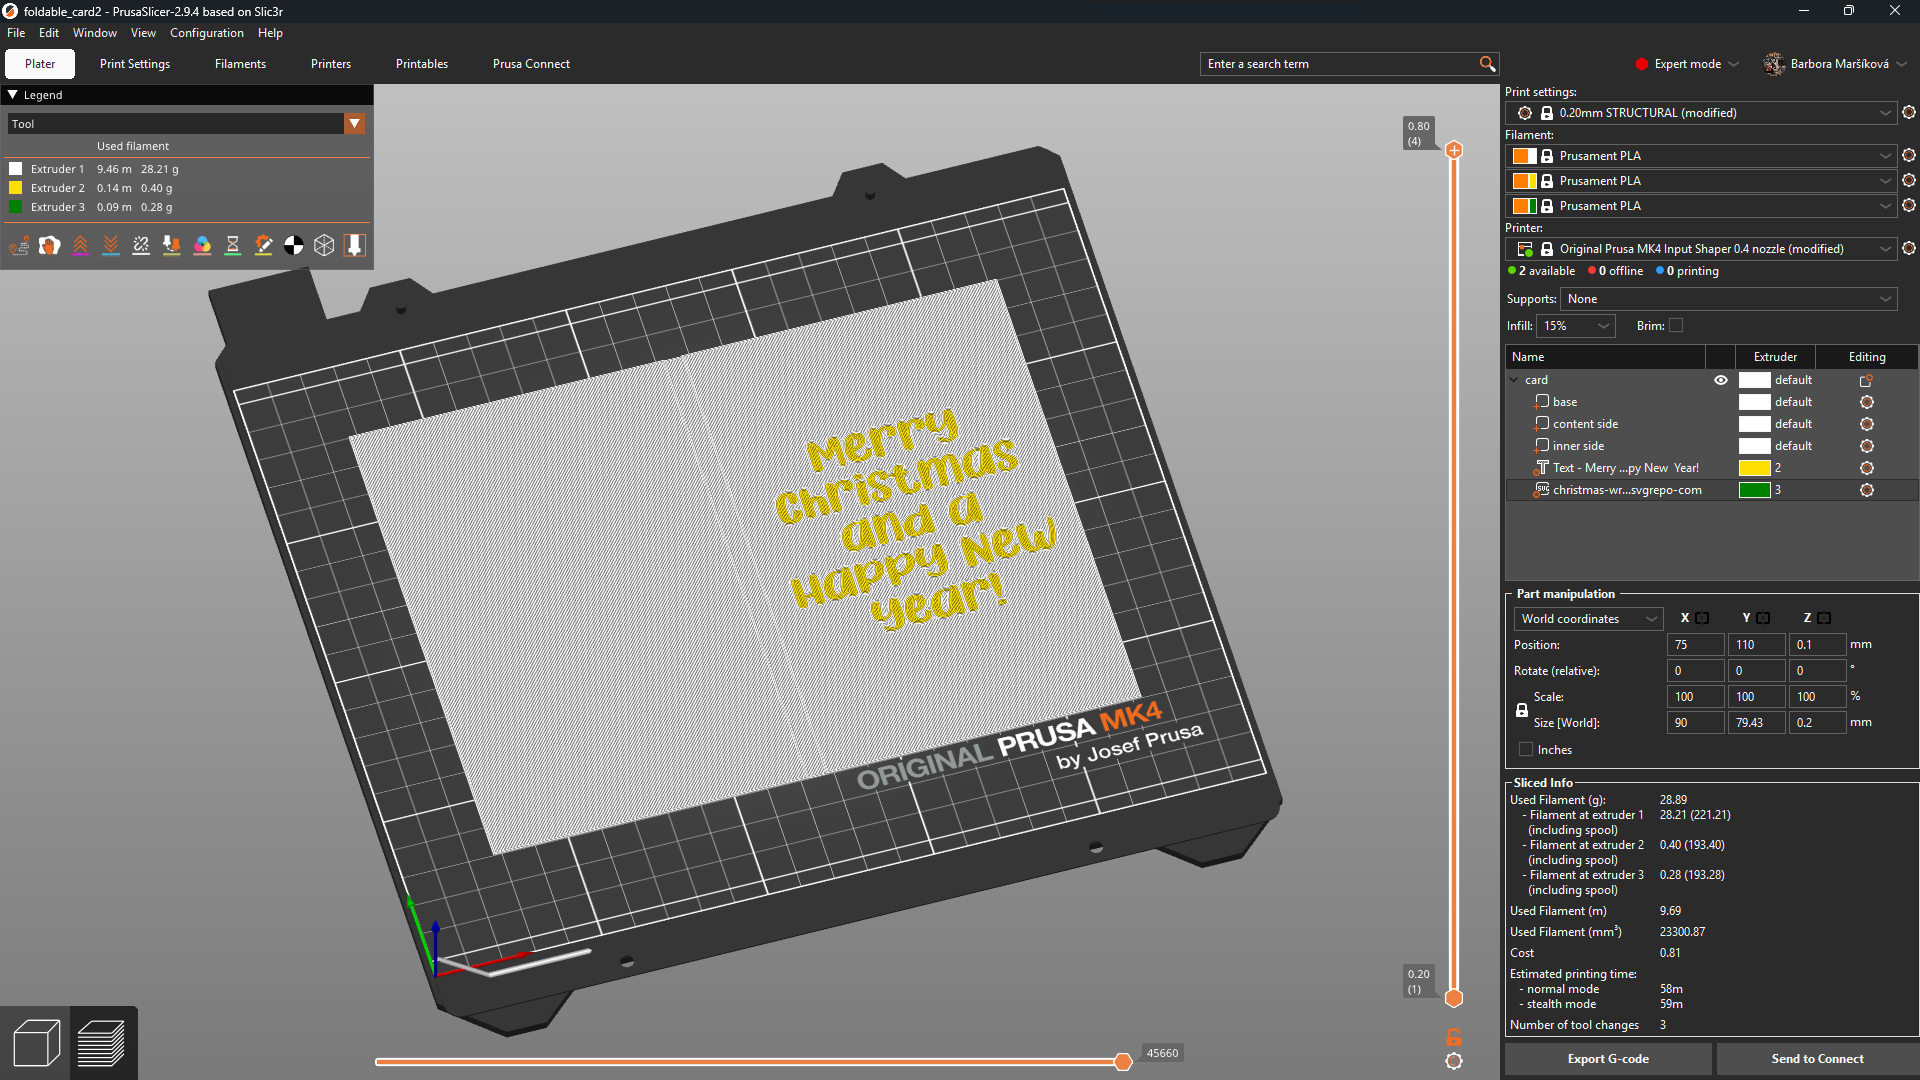
The 3mf files have all the settings, you can just open them in PrusaSlicer, change the text/picture contents, slice, and send the G-code to your printer.
In case you change the printer, or you think you might have accidentally changed the settings, here's what's necessary to make it work:
- Printers → General → Capabilities → Extruders: 3, Single Extruder Multimaterial: Yes
- Printers → Custom G-code → Tool change G-code → Type in:
{if layer_num >= 0}
M600 ;
{endif} - Print settings → Multiple Extruders → Wipe tower → Enable: NO
- Plater → Right-side menu → There will be two Filaments → Use the same material, assign different colors
Classical postcard
The files are set to having two to fours virtual extruders - meaning two to fours different colors. But in the end, it's up to you, which filament color you load into the printer. You can change the text and pictures in PrusaSlicer:
- In the object list (right menu) find the SVG modifiers
- Right click → Edit SVG → opens the SVG menu on the left side
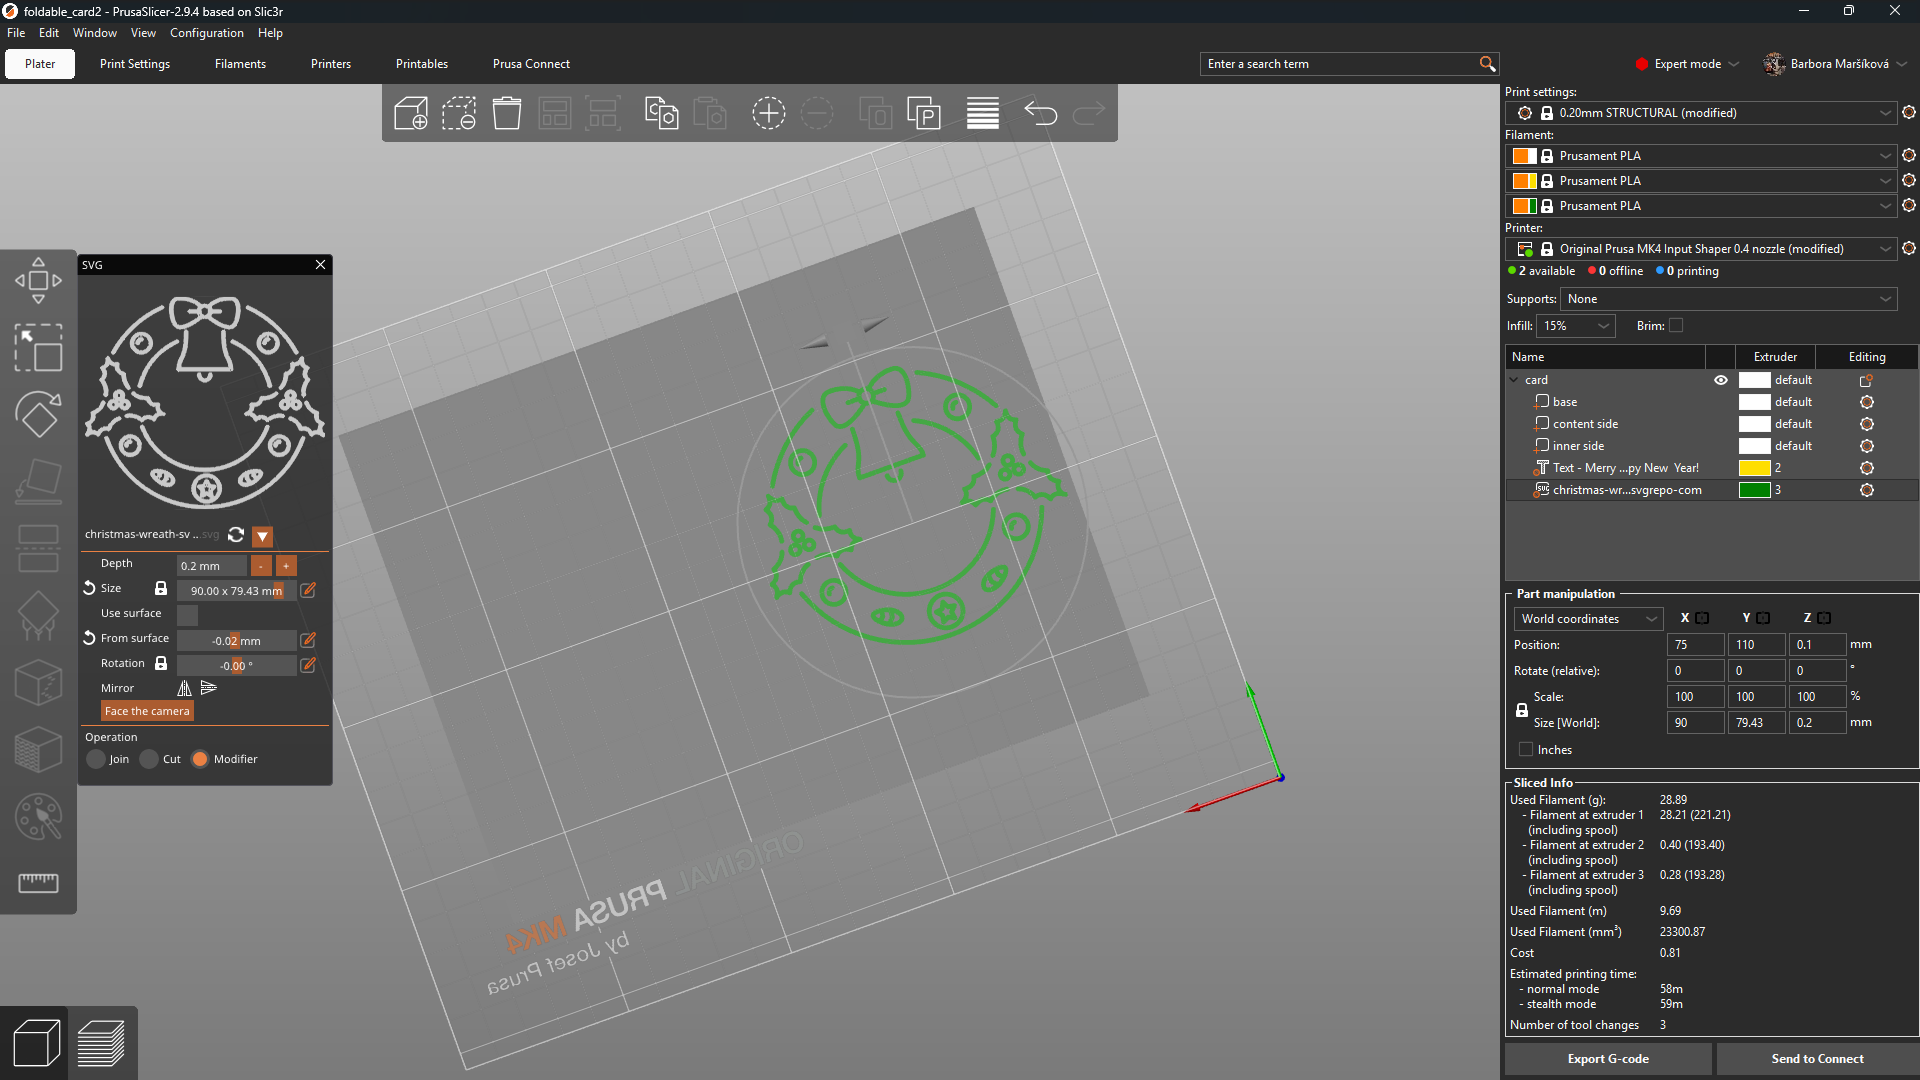
- In the SVG menu, click on the little triangle under the picture → choose Change file…
- Select an SVG from your computer. Adjust size if needed, but leave the Depth at 0.2 mm.
- In the object list (right menu) find the text modifiers
- Right click → Edit text → opens the Emboss menu on the left side
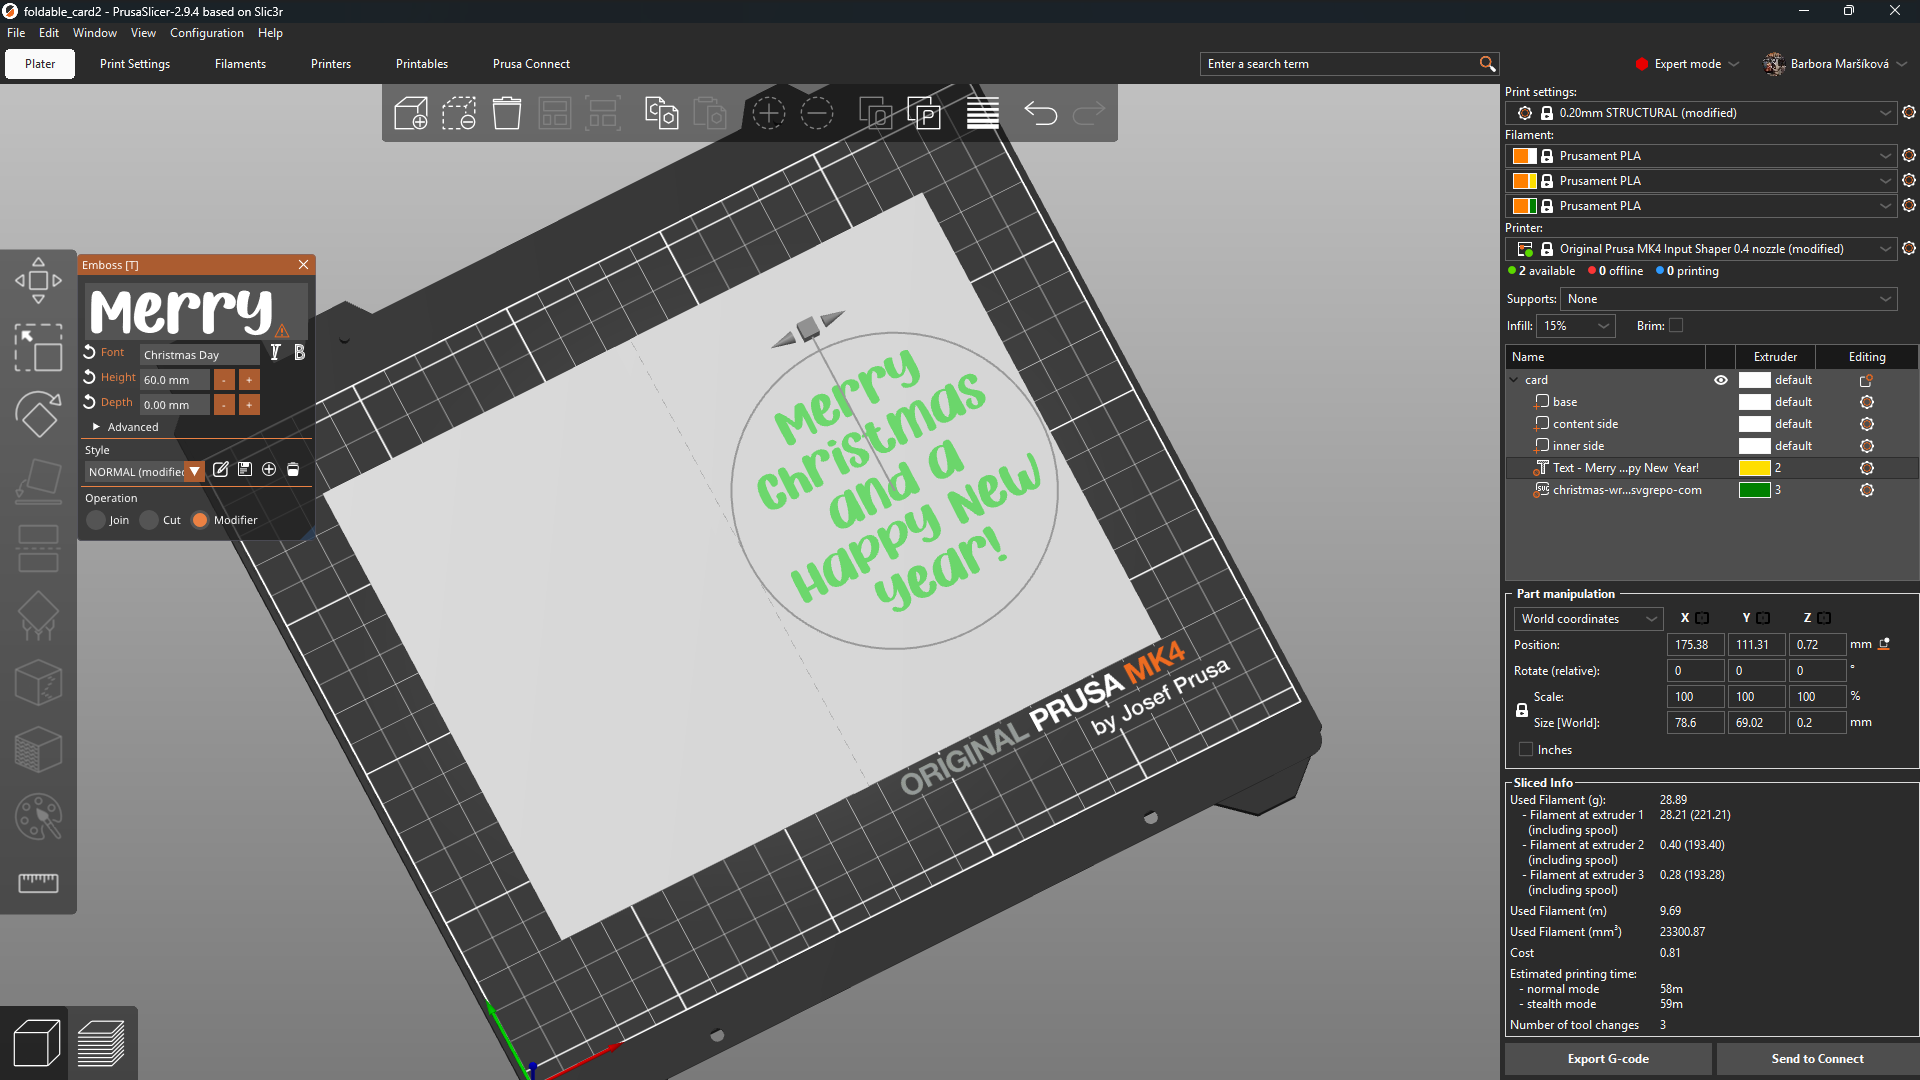
- In the Emboss menu, change the text
- Adjust the size and font if needed, but leave the Depth at 0.2 mm.
- Slice and print :)
Foldable cards
The principle is exactly the same as in the postcards files. The part where the card is folded has two print layers with perpendicular infill (this is the default setting). It can withstand being folded, put inside an envelope, sent, opened… opened a couple of times. Yes, it breaks eventually. But how many times do you read a Christmas card? The stability depends also on the filament color: White performs pretty well, the glittery filaments are much easier to break.
The joy of the people who receive such a card is rewarding ❤
Optional
The corners of such a thin plastic card can be very sharp, so I added a little gauge-like object, that I used as a negative volume to make the corners rounded. If you open it separately: no, it's not in inches, it's just tiny (2.01×2.01×2.01 mm).
Resources
- For the SVG icons: SVG repo. Choose monocolor icons, because PrusaSlicer only distinguishes the outline.
- For fonts: dafont. There are even some fonts that have really nice pictures instead of normal alphabet. That's where the candle or bear family on my postcards come from.
- For creating lithophanes: 3DP rocks. The pictures I used (the car with the tree and the bauble) are from pexels.
- Detailed instructions on how to create such cards: my articles on 3D-printed postcard, part I and part II.