
Hella M60 LED Spacers and Wiring
Obliczymy ostateczną cenę na podstawie wybranego pliku. Sprawdzisz ją i zaakceptujesz przed płatnością.
Zapisane na tym urządzeniu.
Informacje o modelu
- Źródło
- Printables
- Kategoria
- Automotive
- Licencja
- Creative Commons — Attribution — Noncommercial — Share Alike
These spacers for adjusting the angle of the beam are part of:
Questions? You can post them on reddit or advrider.com
If you want, you can buy me a coffee.
Spacers
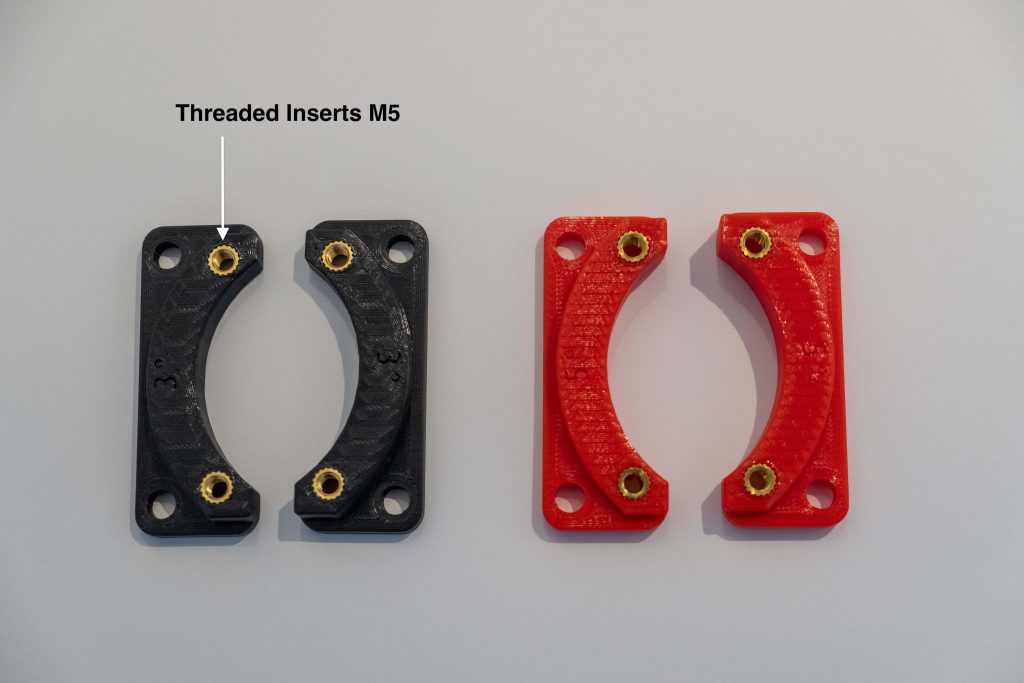
The spacers make it possible to adjust the beam of the headlight. There are 6 spacers, ranging from 0° up to 5°. The spacers are reversible, this allows for an adjustment from -5° to +5°. The low and high beam can be adjusted separately.
I adjusted the lights by putting the bike in front of a white wall at 10 meters distance. Drew a horizontal line on the wall at a height of 10% less than the height of the low beam light. Then changed the spacers until the beam got below the horizontal line. Did the same for the high beam.
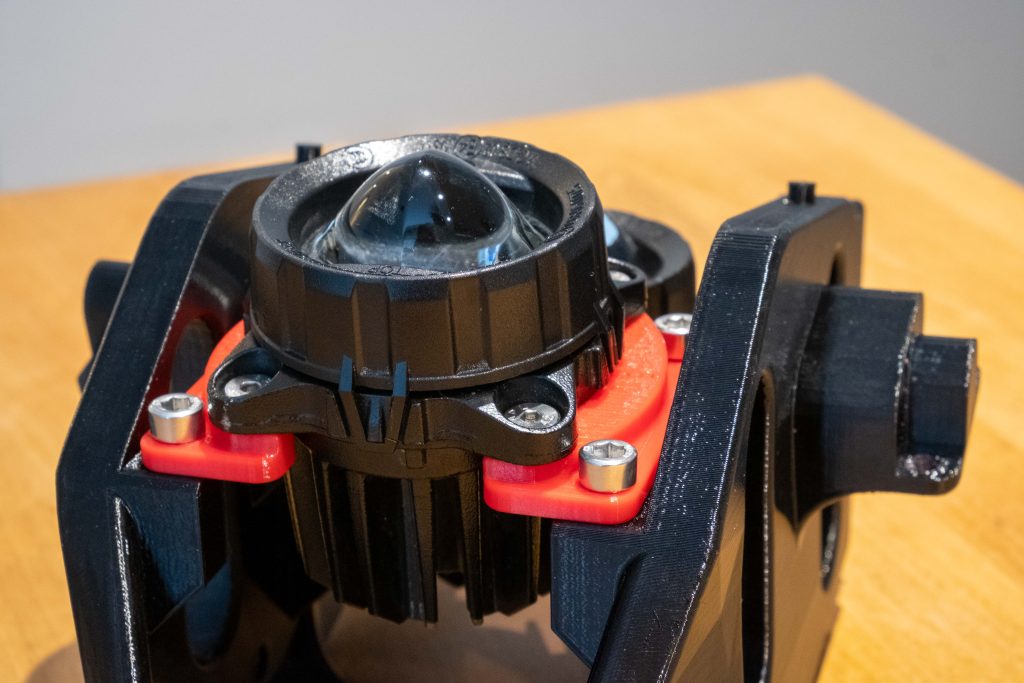
How much angle you need depends probably the most on how much sag you have at the rear of the bike.
Previously I stated that the actual rake of my bike was between 23-24°. This is not correct. Wrong rear sag of the bike and a slight slope in the garage made me conclude this.
The rake is closer to 26-27 when sitting on the bike.
Because of this, I need a spacer of +5° for the low beam (+6 would be better). This is the limit of what fits in the headlight. I created a new version of the Base Frame which tilts the entire unit up 5°. (CRF300L – HeadLite – Base Frame Ver 1.1.stl)
With this Ver 1.1 frame, I now need a +1° spacer for the low beam and 0° spacer for the high beam.
I leave the Base Frame Ver 1.0 available for those with lots of sag at the rear.
I am no expert about adjusting lights, please google it or visit your dealer if you want to adjust it properly.
Also keep in mind, the Hella lights are certified and street legal but this does not mean that this headlight will pass inspection. Do not throw away your original headlight.
Wiring Diagram
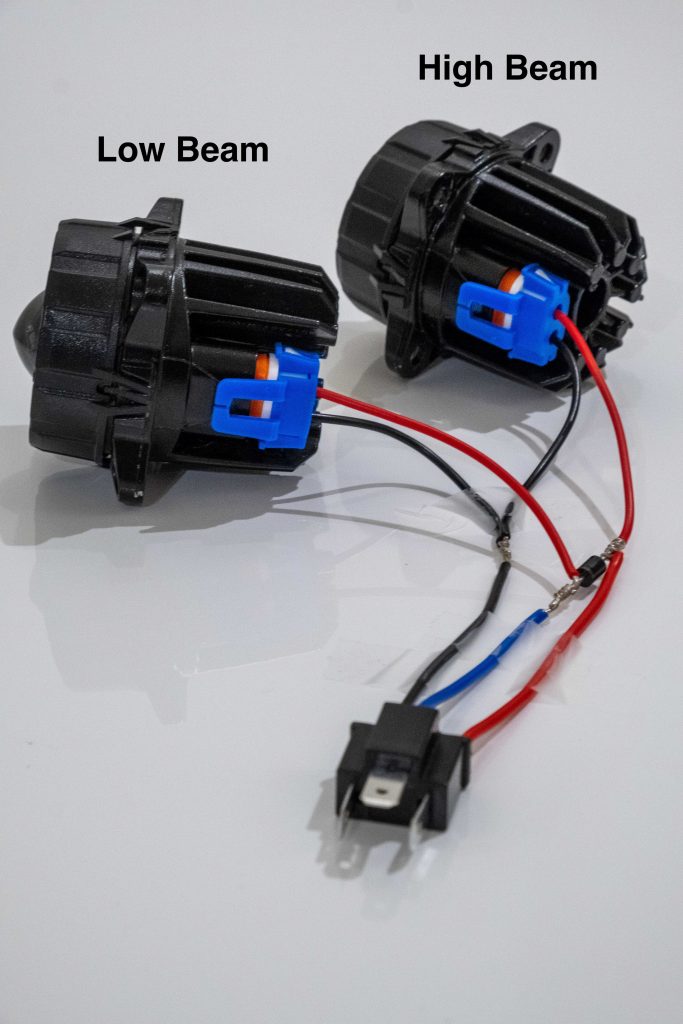
For the wiring harnas, you need 2 connectors HB3 Female for the Hella M60 lights and 1 connector H1 male which connects to the bike.
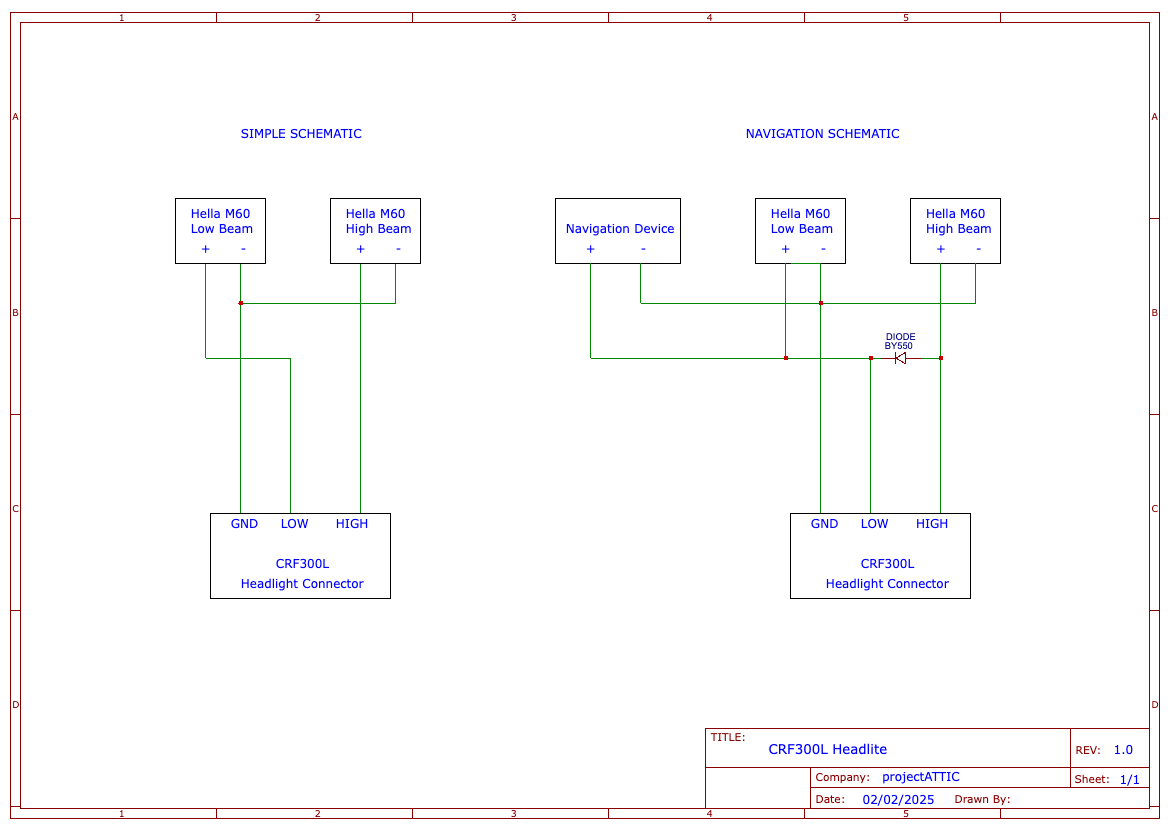
The diode BY550 is optional but has 2 benefits. First it will keep the low beam on when switching to high beam and second, it wil make it possible to connect a GPS or phone to it. Without the diode your GPS or phone will switch off when you switch to high beam. The diode is a 5A version. Since the Hella M60 only uses 16W, the current drawn is about 1,3A. This leaves some spare amps for a phone charger.
Very important, when buying these connectors, do NOT trust the color of the wires. Look at the diagram below and only use the placement of the wires.
Make sure all wires are properly isolated with tape or heat shrink tubing.
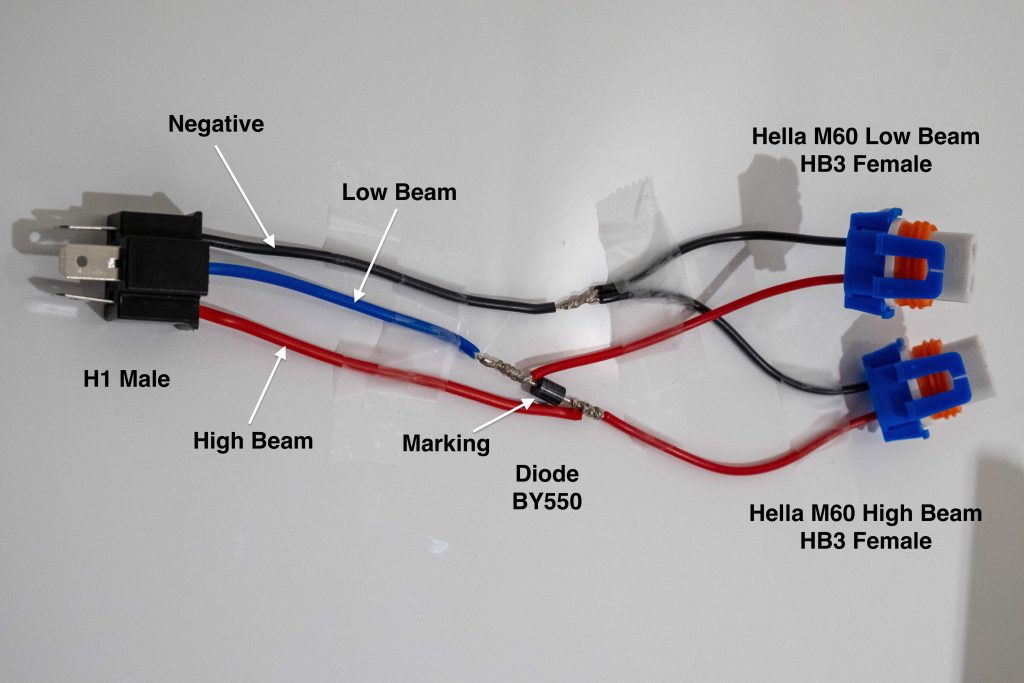
Hella M60 Connections:
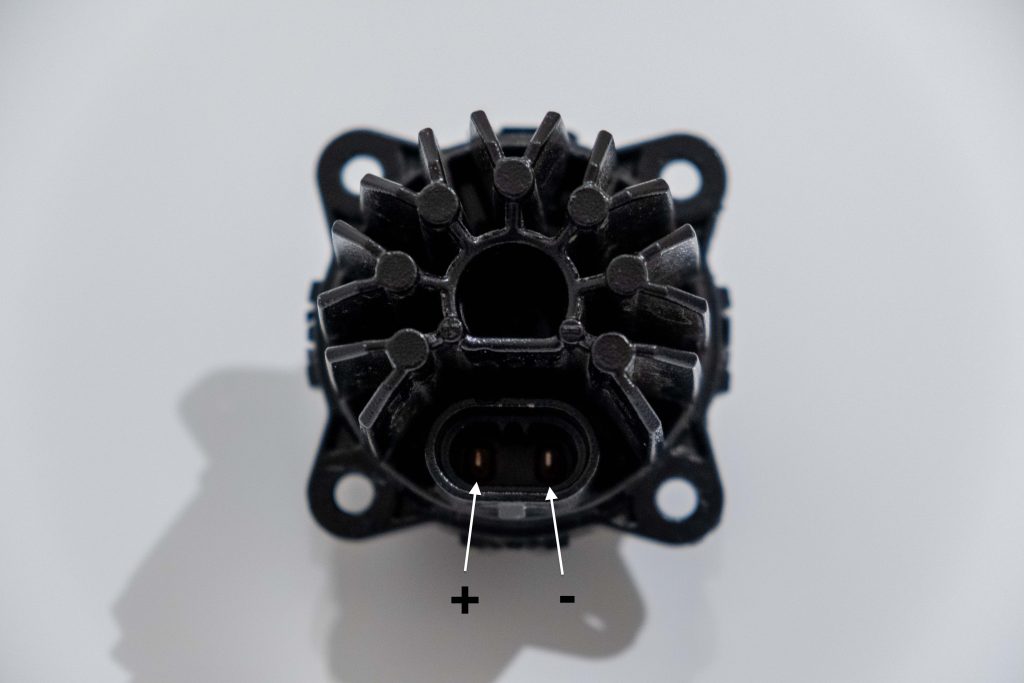
Parts required
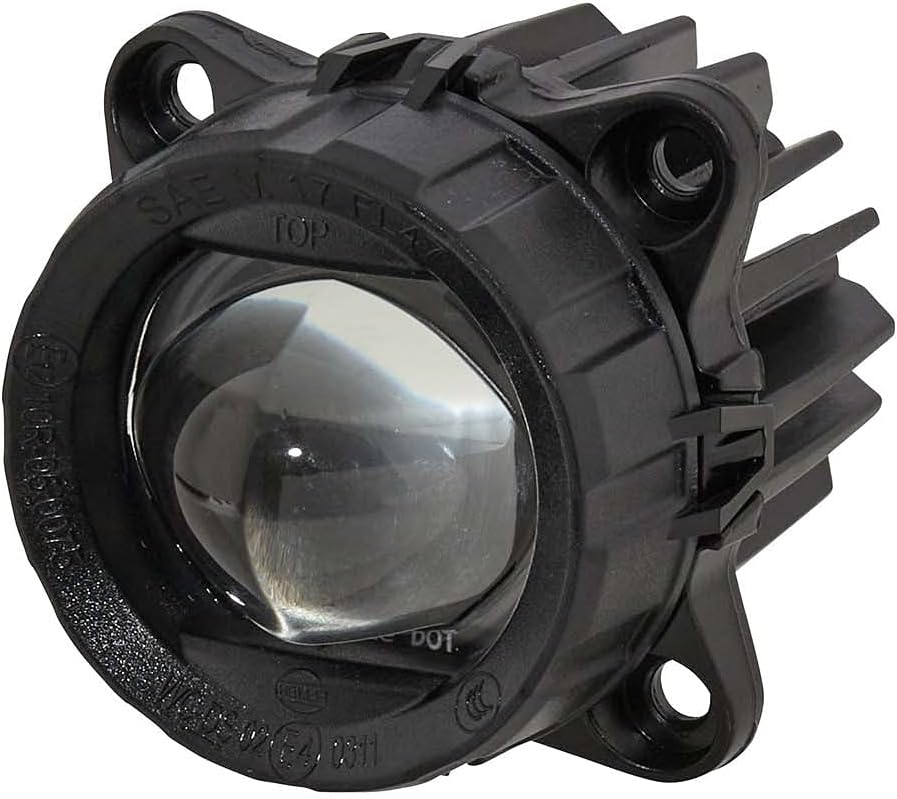 | 1 x Hella low beam Module 60 LED |
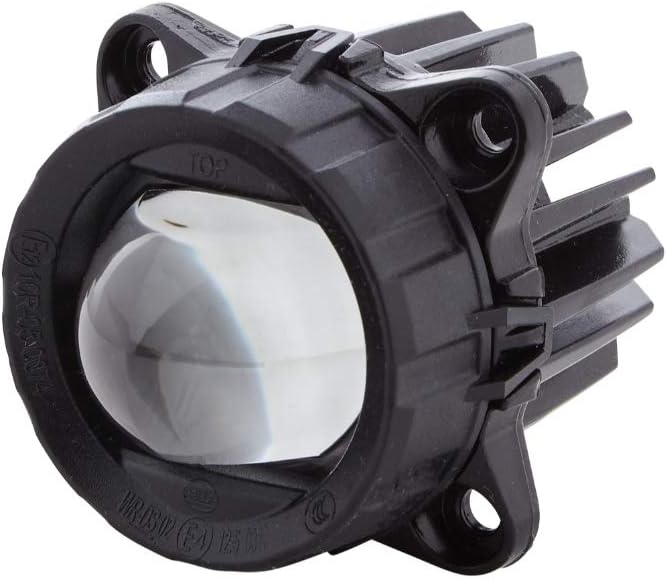 | 1 x Hella high beam Module 60 LED |
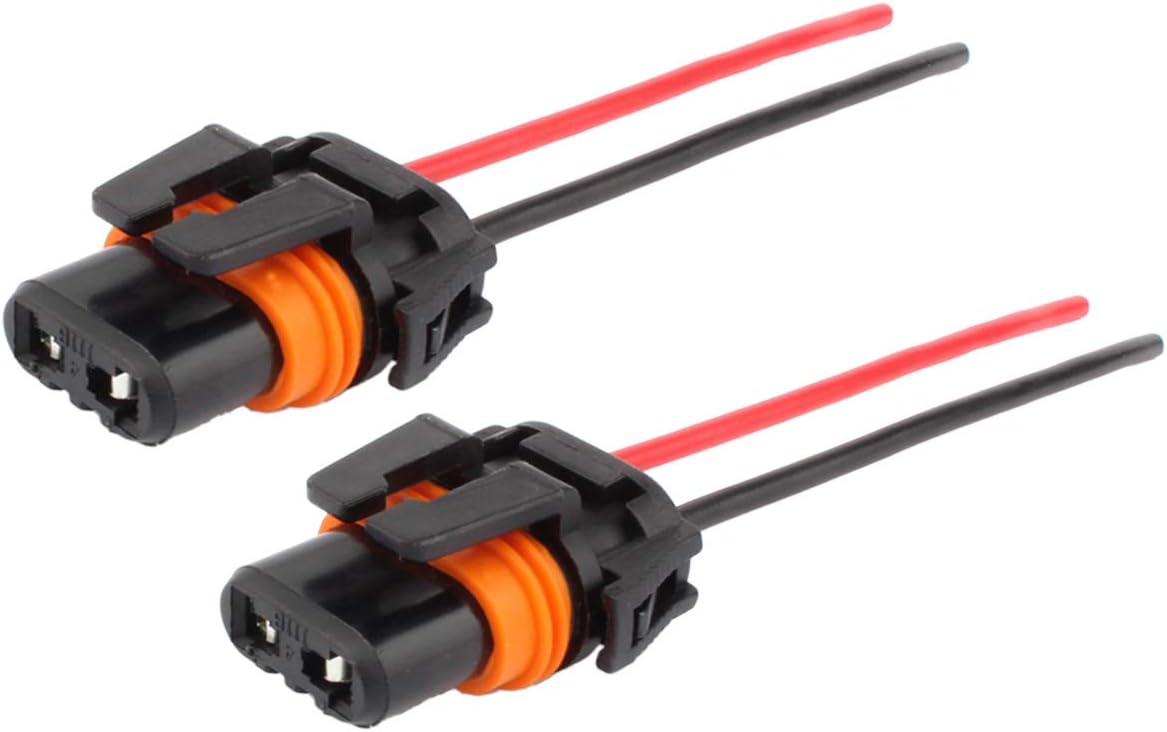 | 2 x HB3 Female Connector |
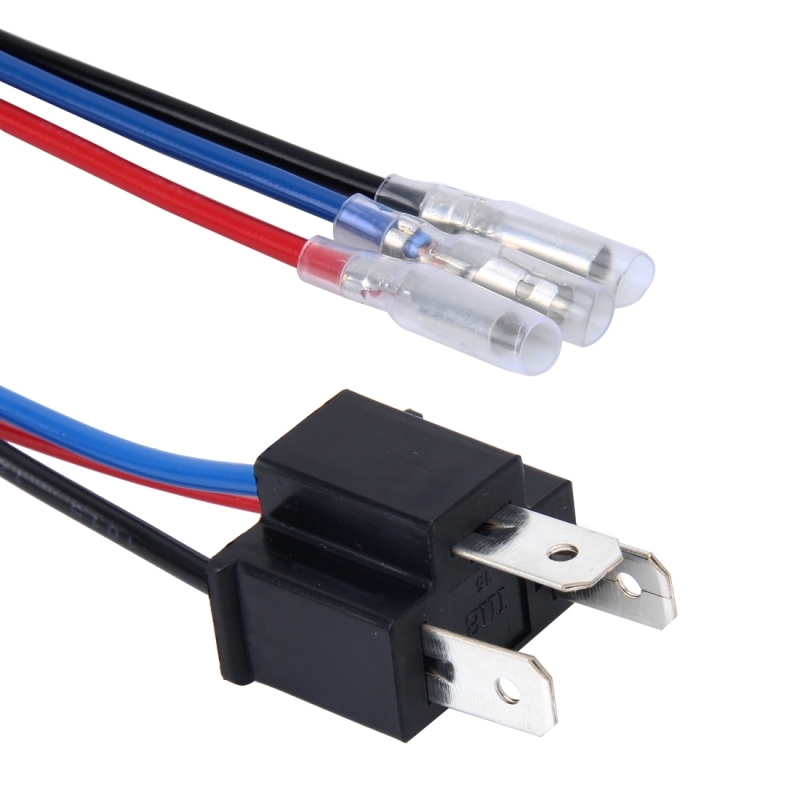 | 1 x H4 Male Connector |
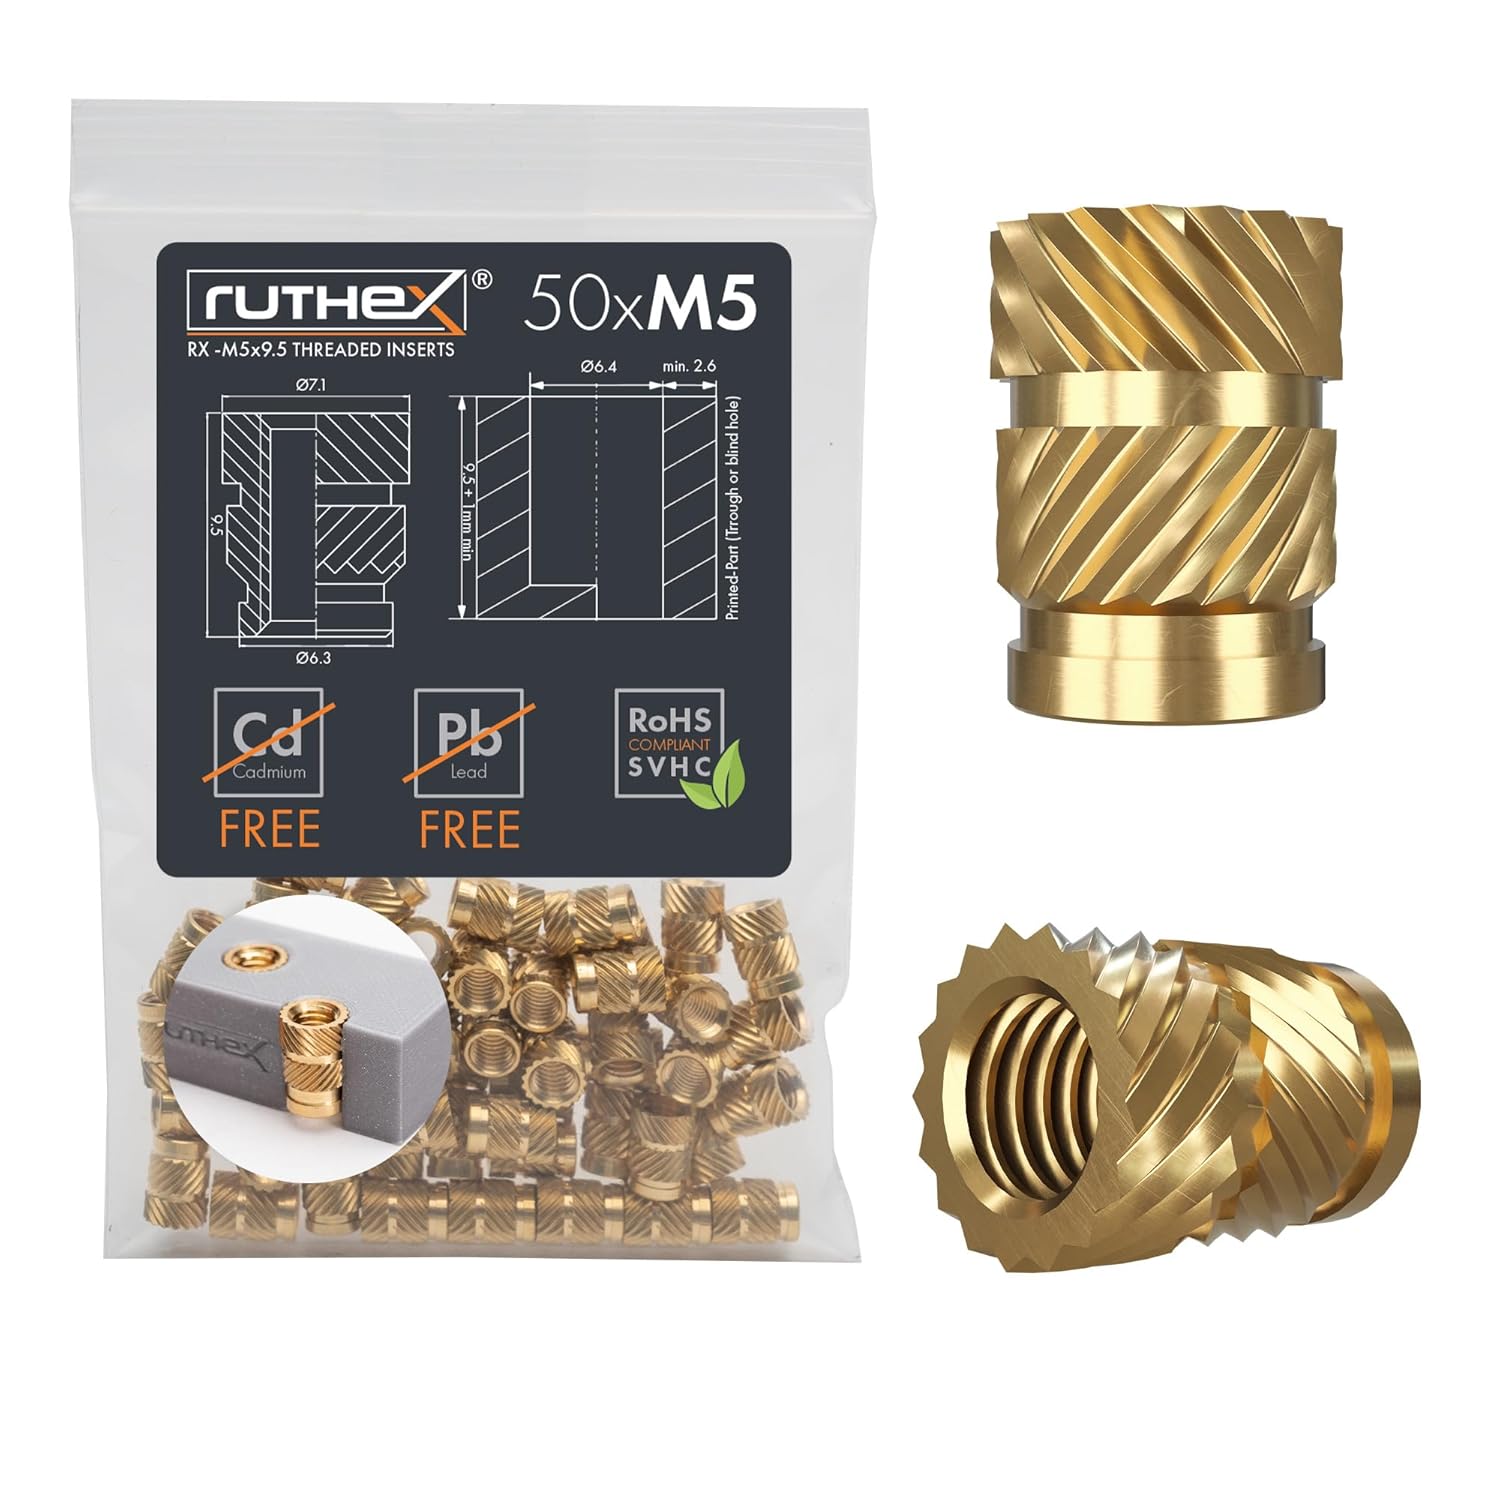 | Threaded Inserts M5 |
Diode BY550-100 | https://eu.mouser.com/ProductDetail/Diotec-Semiconductor/BY550-1000?qs=OlC7AqGiEDm6cG0y58PcNQ%3D%3D |