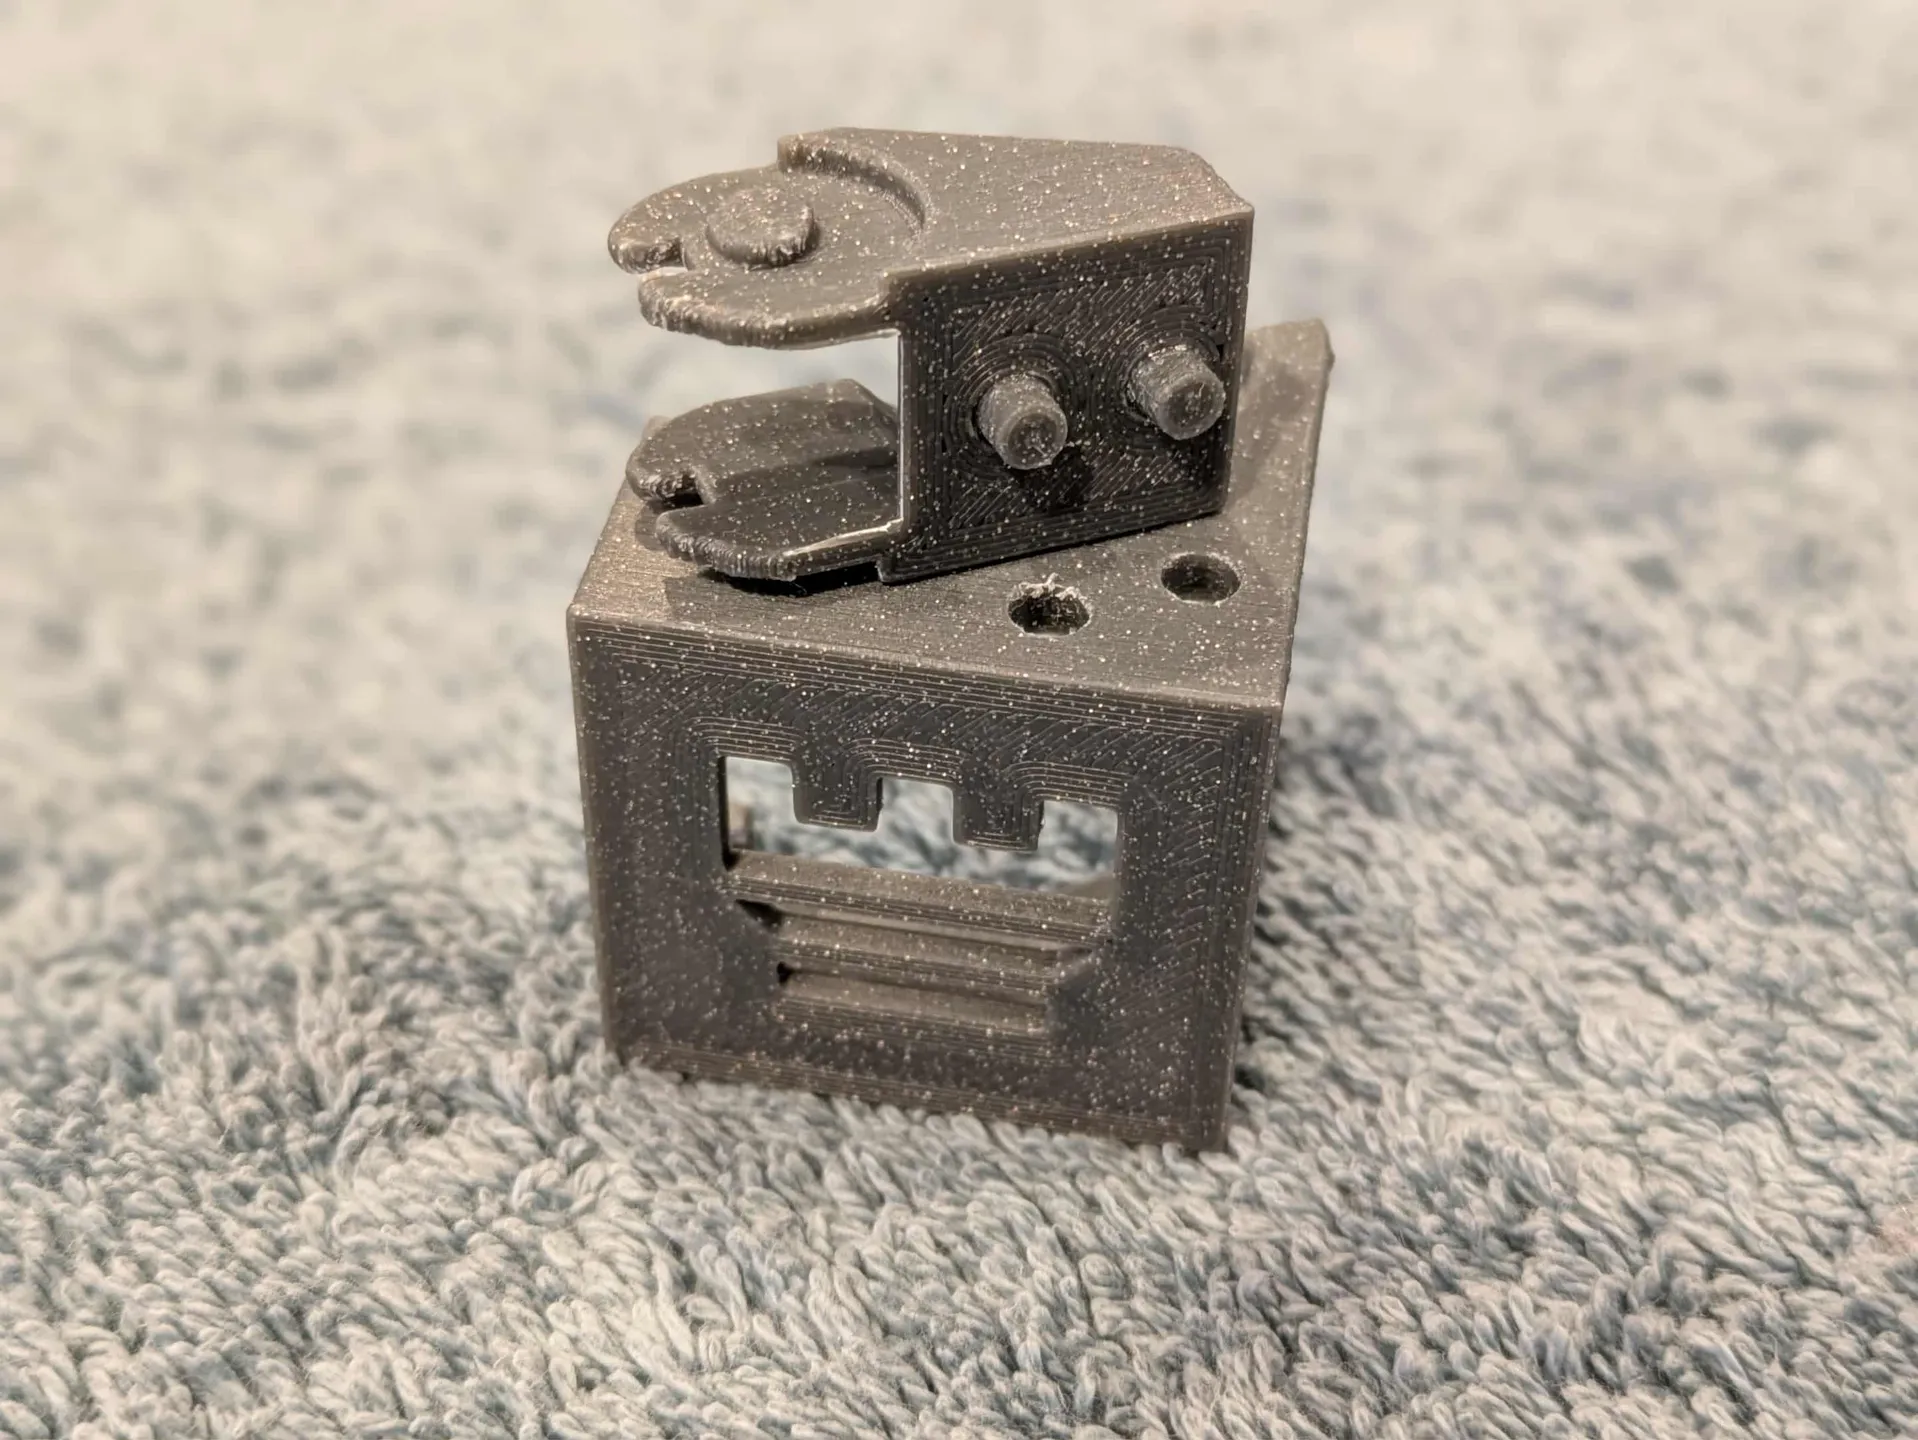
Rook Mk2 2020 Bed Cable Chain Mount
Obliczymy ostateczną cenę na podstawie wybranego pliku. Sprawdzisz ją i zaakceptujesz przed płatnością.
Zapisane na tym urządzeniu.

A bed clip for the Rook Mk2 2020 and drill guide to fit a cable chain
- Ocena
- 0 / 5
- Polubienia
- 8
- Pobrania
- 17
- Wydruki
- 0
- Wyświetlenia
- 192
- Oceny
- 0
Aktualizacja u źródła:
Informacje o modelu
- Źródło
- Printables
- Kategoria
- Other Printer Parts & Upgrades
- Licencja
- Creative Commons — Attribution
Attribution & Background
Full credit to lolthekidison for the original design concept for a cable chain top and bottom mount for the Rook Mk1 (heated bed).
This model adapts that idea for the Rook 2020 Mk2 with a heated bed, with changes to the mounting method. I’m not sure any of the original model remains in my re-design, but I wanted to acknowledge where the design idea came from.
Design Notes
The top mount has been redesigned to hook over the Rook 2020 Mk2 bed frame.
There is no separate bottom mount in this version; I used the stock cable chain fixed end attached directly to the bed.
I considered combining the top bed mount and cable chain end into a single printed part, but that would have significantly increased print complexity. Using a small amount of superglue keeps the parts simple and easy to print.
For a left-side mount, simply mirror both the top mount and the drill guide in your slicer before printing.
Onshape file is avaliable here
Tools and Hardware
Tools
Drill
4.2mm or 4.5mm drill bit (I used 4.5mm as I had one)
6mm drill bit
Optional 9mm if your using a cable braided sleeve
Hardware
2 x 5mm wide/diameter heat inserts (M3's recommended, M4's work).
2 x 5-8mm M3s or M4's to suit inserts used.
Super Glue
Optional 10mm Braided Sleeve (I used this one)
Printed Parts
The cable chain is the longest print, the top mount, drill guide and little glue studs are fairly quick.
1 x Bed Top Mount (3 options, If your bed height is accurate, the 25.1 mm version should fit, mine was not.)
25.1mm vertical clearance version (100 micron)
25.2mm vertical clearance version (200 micron)
25.3mm vertical clearance version (300 micron)
1 x Drill Guide
2 x Push/Glue studs for Top Mount (approximatly 2.9mm)
1 x Cable Chain (I used this one)
1x Fixed end 2 holes (a)
1x Fixed end 2 holes (b)
Chain links (I used the 55 degree angled ones)
15 links was enough for 250mm tall Rook 2020 Mk2
Estimate 12-13 links for 200mm tall Rook 2020 Mk2 (Stock Height)
Assembly Steps
Superglue the two printed studs into Cable Chain Fixed End (a). (picy)
Superglue that assembly into the Top Bed Mount. (picy)
Clip the Top Bed Mount to the right side of the bed once the super glue is dry.
Use a T-nut to position the Drill Guide on the upright (the T-nut is only for alignment)(picy).
Move the bed fully upward for clearance, hold the guide in place (a small spring clamp helps), and drill the three holes.
Remove the drill guide.
Optional If using a braided sleeve, drill through the 6 mm hole with a 9 mm bit (from underneath).
Clean up the 6/9mm hole edges to avoid damaging wires over time.
Install the 5 mm heat inserts into the 4.2–4.5 mm holes (the floor is thin, so take care) (picy)
Screw Cable Chain Fixed End (b) to the floor using the appropriate screws. (picy)
Assemble the cable chain and feed the wires (or sleeved wires) through before final attachment.
Clip the cable chain to the top bed mount.
Feed the wires through the 6/9mm lower hole and attach the chain at the bottom.
Terminate/Re-Terminate your wires underneath to your control board.