
Robust Replacement Latch for Daiso A4 Attache Case (Update)
Obliczymy ostateczną cenę na podstawie wybranego pliku. Sprawdzisz ją i zaakceptujesz przed płatnością.
Zapisane na tym urządzeniu.
Informacje o modelu
- Źródło
- Printables
- Kategoria
- Organizers
- Licencja
- Creative Commons — Attribution — Share Alike
Description
This is a reinforced replacement part for the flap-style locks on the "A4 Attache Case" sold at Japanese 100-yen shops like Daiso. (Support-free model)
The original design has two main issues that this model solves:
Fragility: The original hinge points are weak and prone to snapping or detaching from the case.
Interference: The original hinge often hits the case opening, making it difficult to close the lid smoothly.
This replacement ensures a much more robust and frustrating-free experience.
UPDATE
Update 1: > Right after uploading, I found a way to make it even better.
The new design prevents the latch from getting stuck when closing the lid. I've optimized the shape so the lid automatically deflects the latch into the correct position upon contact. Please use the "_Update1" files for the best experience.
Please download the latest version (_Update1) for the best results.
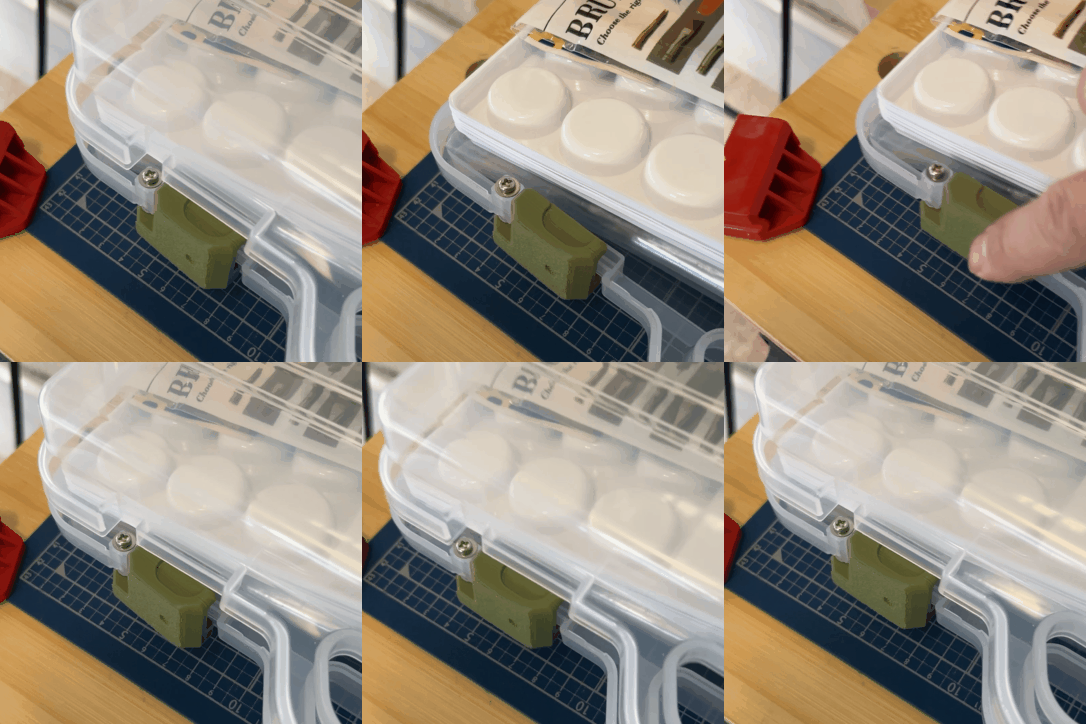
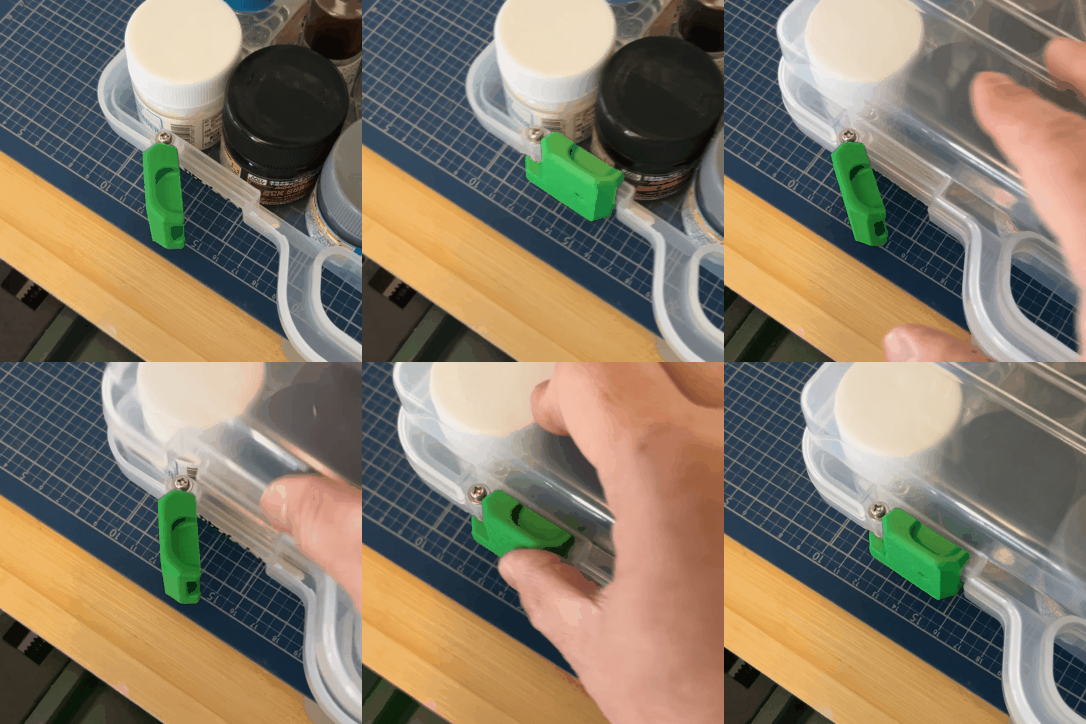
Green one is a new version (automatically deflects the latch)
Required Hardware
To assemble this, you will need:
2 x M3 x 25mm bolts
4 x M3 washers
Assembly Instructions
Remove the original latch: Carefully detach the original plastic latch from the attache case.
Drill through the holes: Use a 3mm drill bit to drill through the existing hinge holes on the case body to allow the M3 bolts to pass through.
Install the new latch: Mount the 3D-printed replacement latch using the M3 bolts.
Tip: Using washers on both sides will make the assembly much more stable.
Fine-tuning: Adjust the tightness of the M3 bolts to find your preferred balance of tension for opening and closing the latch.
Print Settings
These are the settings I used for a successful and functional print:
Material: PLA or PETG (Recommended for durability)
Nozzle: 0.4 mm
Layer Height: 0.2 mm
Wall Count: 3 (Perimeters)
Infill: 15%
Supports: None (Support-free)