
Core One tension pulley for M3x5.7 heat insert and force aligned print orientation
Obliczymy ostateczną cenę na podstawie wybranego pliku. Sprawdzisz ją i zaakceptujesz przed płatnością.
Zapisane na tym urządzeniu.
A remix of the original Core One E2 v7 tension pulley modified fort an M3x5.7 heat insert and better print orientation.
- Ocena
- 5 / 5
- Polubienia
- 6
- Pobrania
- 32
- Wydruki
- 3
- Wyświetlenia
- 175
- Oceny
- 3
Aktualizacja u źródła:
Informacje o modelu
- Źródło
- Printables
- Kategoria
- Prusa Parts & Upgrades
- Licencja
- Open Community License v1
What is this
I have used Chris_Hills modified tension pulley for months now, there is nothing wrong with them but spotted a tiny potential for improvement. With a few small changes it could print better in another print orientation that aligns the print perimeter with the pull forces between the pulley and the heat insert. When Prusa released the Core One assembly files this mod became too tempting. This is essentially a remake of Chris idea but from the Prusa model files that realigns the print direction. Unfortunately Printables do not allow me to link both the core one assembly and Chris model as origins due to licensing issues.
What changed
The modifications are summarised below:

The heat insert seat is prepared for a CNC Kitchen M3x5.7 heat insert, others may work but are not tested.
The part is intended to be printed turned over approximately 135 degrees, this is the main contribution of this remix.
The M3 tension screw hole is adjusted for the new print orientation
The pulley screw hole is adjusted for the new print orientation
The edge of the pulley is adjusted to avoid overhang in the new print orientation.
Print instructions
First and most important this part is redesigned to print turned over about 135degrees as shown below
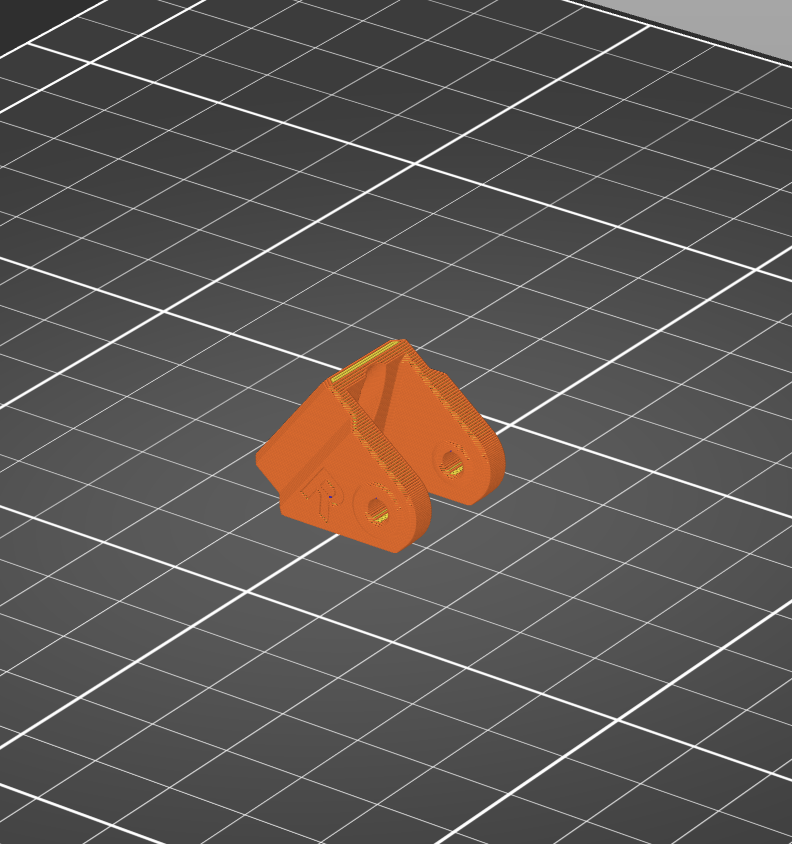
I have printed this in Prusa PC-CF Blend. For printer settings I use:
0.4mm hardened nozzle, I use Obxidian standard flow nozzle
0.20mm structural profile
I bump perimeters to 6, this eliminates space for infill in critical areas and aligns print direction.
Infill, less important but I use gyroid 40%
I set the extrusion multiplier to 1.0
No supports needed
Heat insert details
The heat insert seating is designed for a CNC Kitchen M3.x5.7 heat insert, others may work but I have not tried any others. The heat insert is inserted from the back, there is a 2mm bottom edge, the heat insert should not go all the way through. Pictures below show a correctly inserted heat insert, note that you cannot see the full insert from the front (top), only the threads.

For comparison, the far right heat insert in the picture below is pushed to far through the 2mm edge at the bottom. The two on the left are correct. The part on the right may still hold but this is not tested. Push the heat insert in slow and pause to check how far you have left.

Final words
Is this modification necessary and do you need it? I have not broken any of Chris modified pulleys, nor do I think I will, if you already use them they are likely functionally equivalent. If you ever do tear a pulley apart this variant may be something to try that has a slight edge in strength from the aligned print perimeters.