The Orange Cans
Obliczymy ostateczną cenę na podstawie wybranego pliku. Sprawdzisz ją i zaakceptujesz przed płatnością.
Zapisane na tym urządzeniu.
Informacje o modelu
- Źródło
- Printables
- Kategoria
- Audio
- Licencja
- Creative Commons — Attribution
To my ears, this sounds the same as the Valve Index Drivers. They sound pretty dang good and work on desktops, laptops, smartphones, the SteamDeck, and Android handhelds.
Bill of Materials:
x2 Tectonic TEBM35C10-4 BMR 2" Full Range Speaker 4 Ohm: https://www.parts-express.com/Tectonic-TEBM35C10-4-BMR-2-Full-Range-Speaker-4-Ohm-297-216?quantity=
x1 MMI Modular USB DAC (female): https://mmimodular.myshopify.com/products/usb-dac
16x M3 heatset inserts
6x M3x6 bolts
4x M3x4 bolts
2x M4x16 bolts
2x M4 hex nuts
1x M2 hex nut
1x M2x5 bolt
3x 3.5mm Male Plug TRRS 4 Pole 3 foot open end cables
1x 3.5mm female Plug TRRS 4 Pole open end cable
1x Type C Male USB to Type C (or Type A) Male USB cable
2x ~100mm sized ear cushions
The MMI Modular USB DAC is required in order to produce the Valve Index sound profile. I created the printable housing for convenience and protection.
Majority parts are printed in PETG, or Nylon can alternatively be used. DAC housing can be any rigid non-conductive filament like PETG or PLA. Head strap can optionally be TPU. These are just my recommendations, feel free to experiment. ABS/ASA might be OK for most parts. Recommend PETG or Nylon only for the Headset_Adjustment part. Recommend printing one of Cans_Driver_Enclosure_Swivel parts a different color to identify left vs right. I use PETG for the Headstrap myself, it's surprisingly comfortable.
Bend the bolt holes to fit over the heatset inserts on the Headband_Headstrap_Adjustment. You can move the part up and down to adjust for comfort, it is a compliant mechanism.
Insert The M4 hex nut under the top of the Swivel part, and bolt it from through the Headband part.
Recommend starting with Headband_Large for fitment and if it doesn't fit right try others.
Route the 3.5mm female Plug through the DAC container and solder wires to the MMI Modular USB DAC (female). Insert the DAC into the housing and mount using the M2 bolt and hex nut.
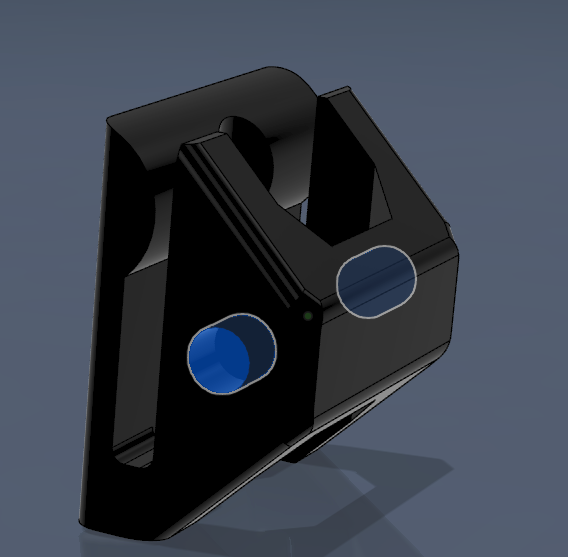
Route the open end of one 3.5mm Male Plug through the bottom hole of a Driver_Enclosure, install one TEBM35C10-4 BMR, solder/connect ONE Live and ONE ground to the driver, make sure the wires have some stress relief before using super glue on the outside of the bottom hole to permanently affix the cable. Cut off plug end of cable to prep for slicing. Do the same on the other Driver_Enclosure, but use the other wires that you didn't choose for the first Enclosure.
Splice the two cables into the last 3.5mm Male Plug open end. Use electric tape or heatshrink to protect the splice.
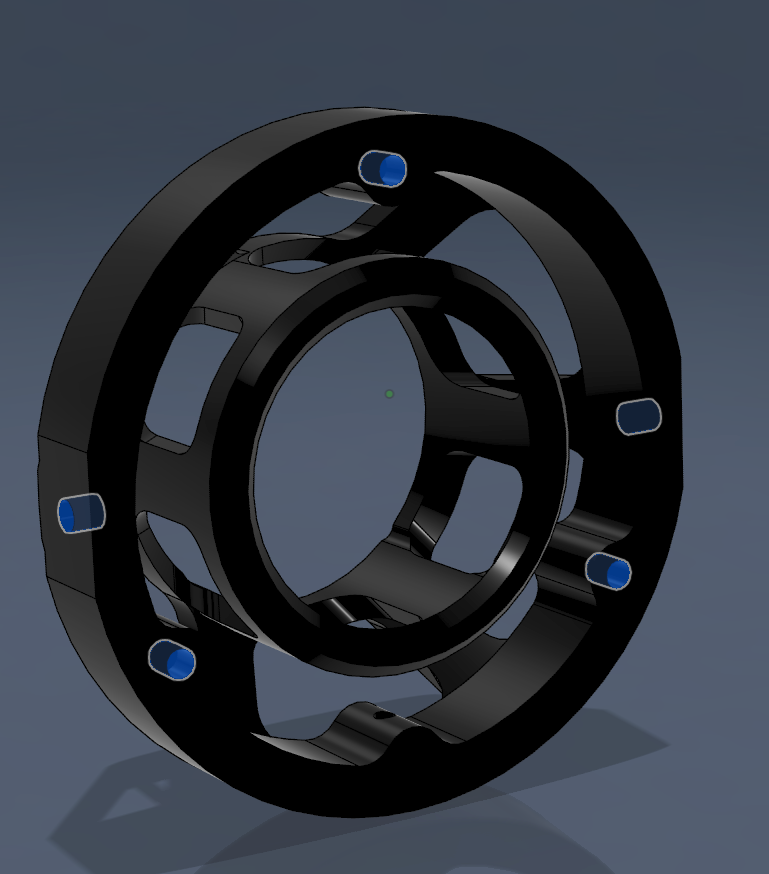
Puncture through or drill out the marked holes in the The Orange Cans_Cushion_Mount part.
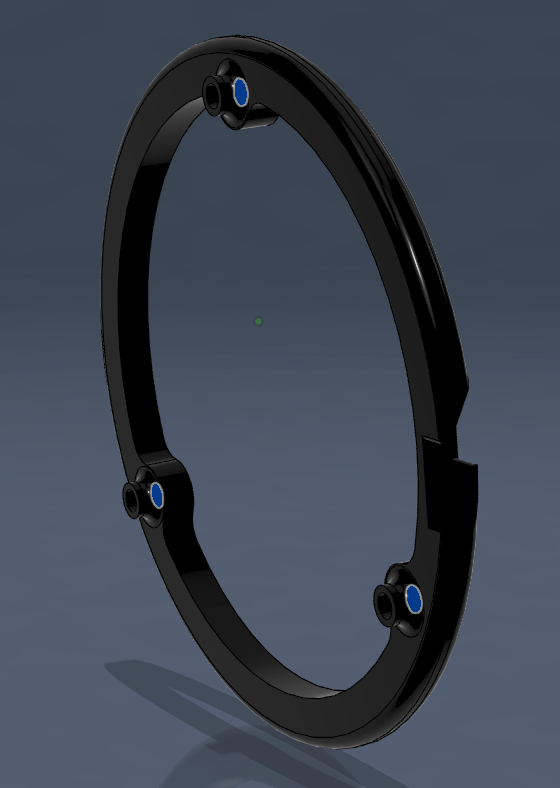
For the rest, use M3 heatset inserts