
Vision Pro Battery Case/Belt
Obliczymy ostateczną cenę na podstawie wybranego pliku. Sprawdzisz ją i zaakceptujesz przed płatnością.
Zapisane na tym urządzeniu.
Informacje o modelu
- Źródło
- Printables
- Kategoria
- Portable Devices
- Licencja
- Creative Commons — Attribution — Noncommercial — Share Alike
I built this thing so i can use my Vision Pro without the need for pockets. It can be worn like a chest-strap or pretty much anywhere on your waist. I'm using 2.5mm diameter elastic cord to keep the two case-halves together and 30mm wide elastic band as a belt.
The buckle's also kinda nice as it snaps together magnetically and you can push the buckle together to bring the halves apart again.
I printed the shell and buckle in marble grey Prusament PLA and used two of the triglides below in orange Prusament PETG (use the Tri-Glide r2 30mm threaded version) for adjustment. (default 0.2mm speed profile on my mk4s). I printed the bumper in ColorFabb VarioShore using a profile with a lower temp and adjusted extrusion multiplier to make it a less squishy than the default profile.
Hardware needed
elastic band, 30mm wide (mine was made by Prym)
elastic cord, 2.5mm diameter (mine was made by Prym)
m2x6 socket head screws (i used torx)
30x10x1mm neodynium magnets 6x
keep in mind the polarity
id recommend alternating polarities for each side because otherwise, they really like to pop out of the print i.e. +,-,+ on one side and -,+,- on the other
The ones i ordered have sticky tape on alternating sides which was a bit confusing at first
(glue)
Tools needed
Hot glue gun
something to push the cord into the hot glue
something to cut the cord to length
Assembly (probably far too detailed)
remove the brims/supports
i used a thin blade to remove the suppors/clean up the slots the band will be threaded through
screw the top/bottom shell parts together (be careful not to over-tighten)
glue in the first end of the cord
insert it from the bottom hole
i glued it in by putting a bit of hot glue into the three deeper cavities, pressing the chord into the hot glue using the back of some tweezers, squeezing more hot glue into the pocket the cord's in, flattening it out using the back of the tweezers and carefully cutting off the hotglue thats poking out of the pocket
YMMV, thats just how I did it
assemble everything (no glue yet)
thread the chord through the hole on the left shell, hook it into the hook thingy of the right shell, thread it through the other hole of the left shell
I just cut off the cord right over the hole in the right shell to introduce a some tension when the chords glued into the shell
remove the battery and bumper
(keep in mind the cord needs to remain threaded through the holes)
glue down the other end of the cord
same procedure as for the first one
check that the cord isnt twisted too much
(shouldn't cause issues but it wont look as nice)
Please please please please please please make sure the cord's securely in place so your battery won't fall out
(superglue the bumper into the shell)
I havent tried that yet, my bumpers just press-fit and a bit loose but superglue should work here
Maybe dont apply glue all the way to the edges of the shells as the bumper deforms a bit as you remove the battery
thread the band through both halves of the shell
thread both ends through the triglides, then through the bottom of the buckle and back through the triglide
adjust the length of the belt
finally, wrap the remaining band over the triglide, thread it through the top of the buckle and through the bottom of the triglide again
(mirror for the other side
(not sure if this is necessary but this things too expensive to not make sure everythings secure)
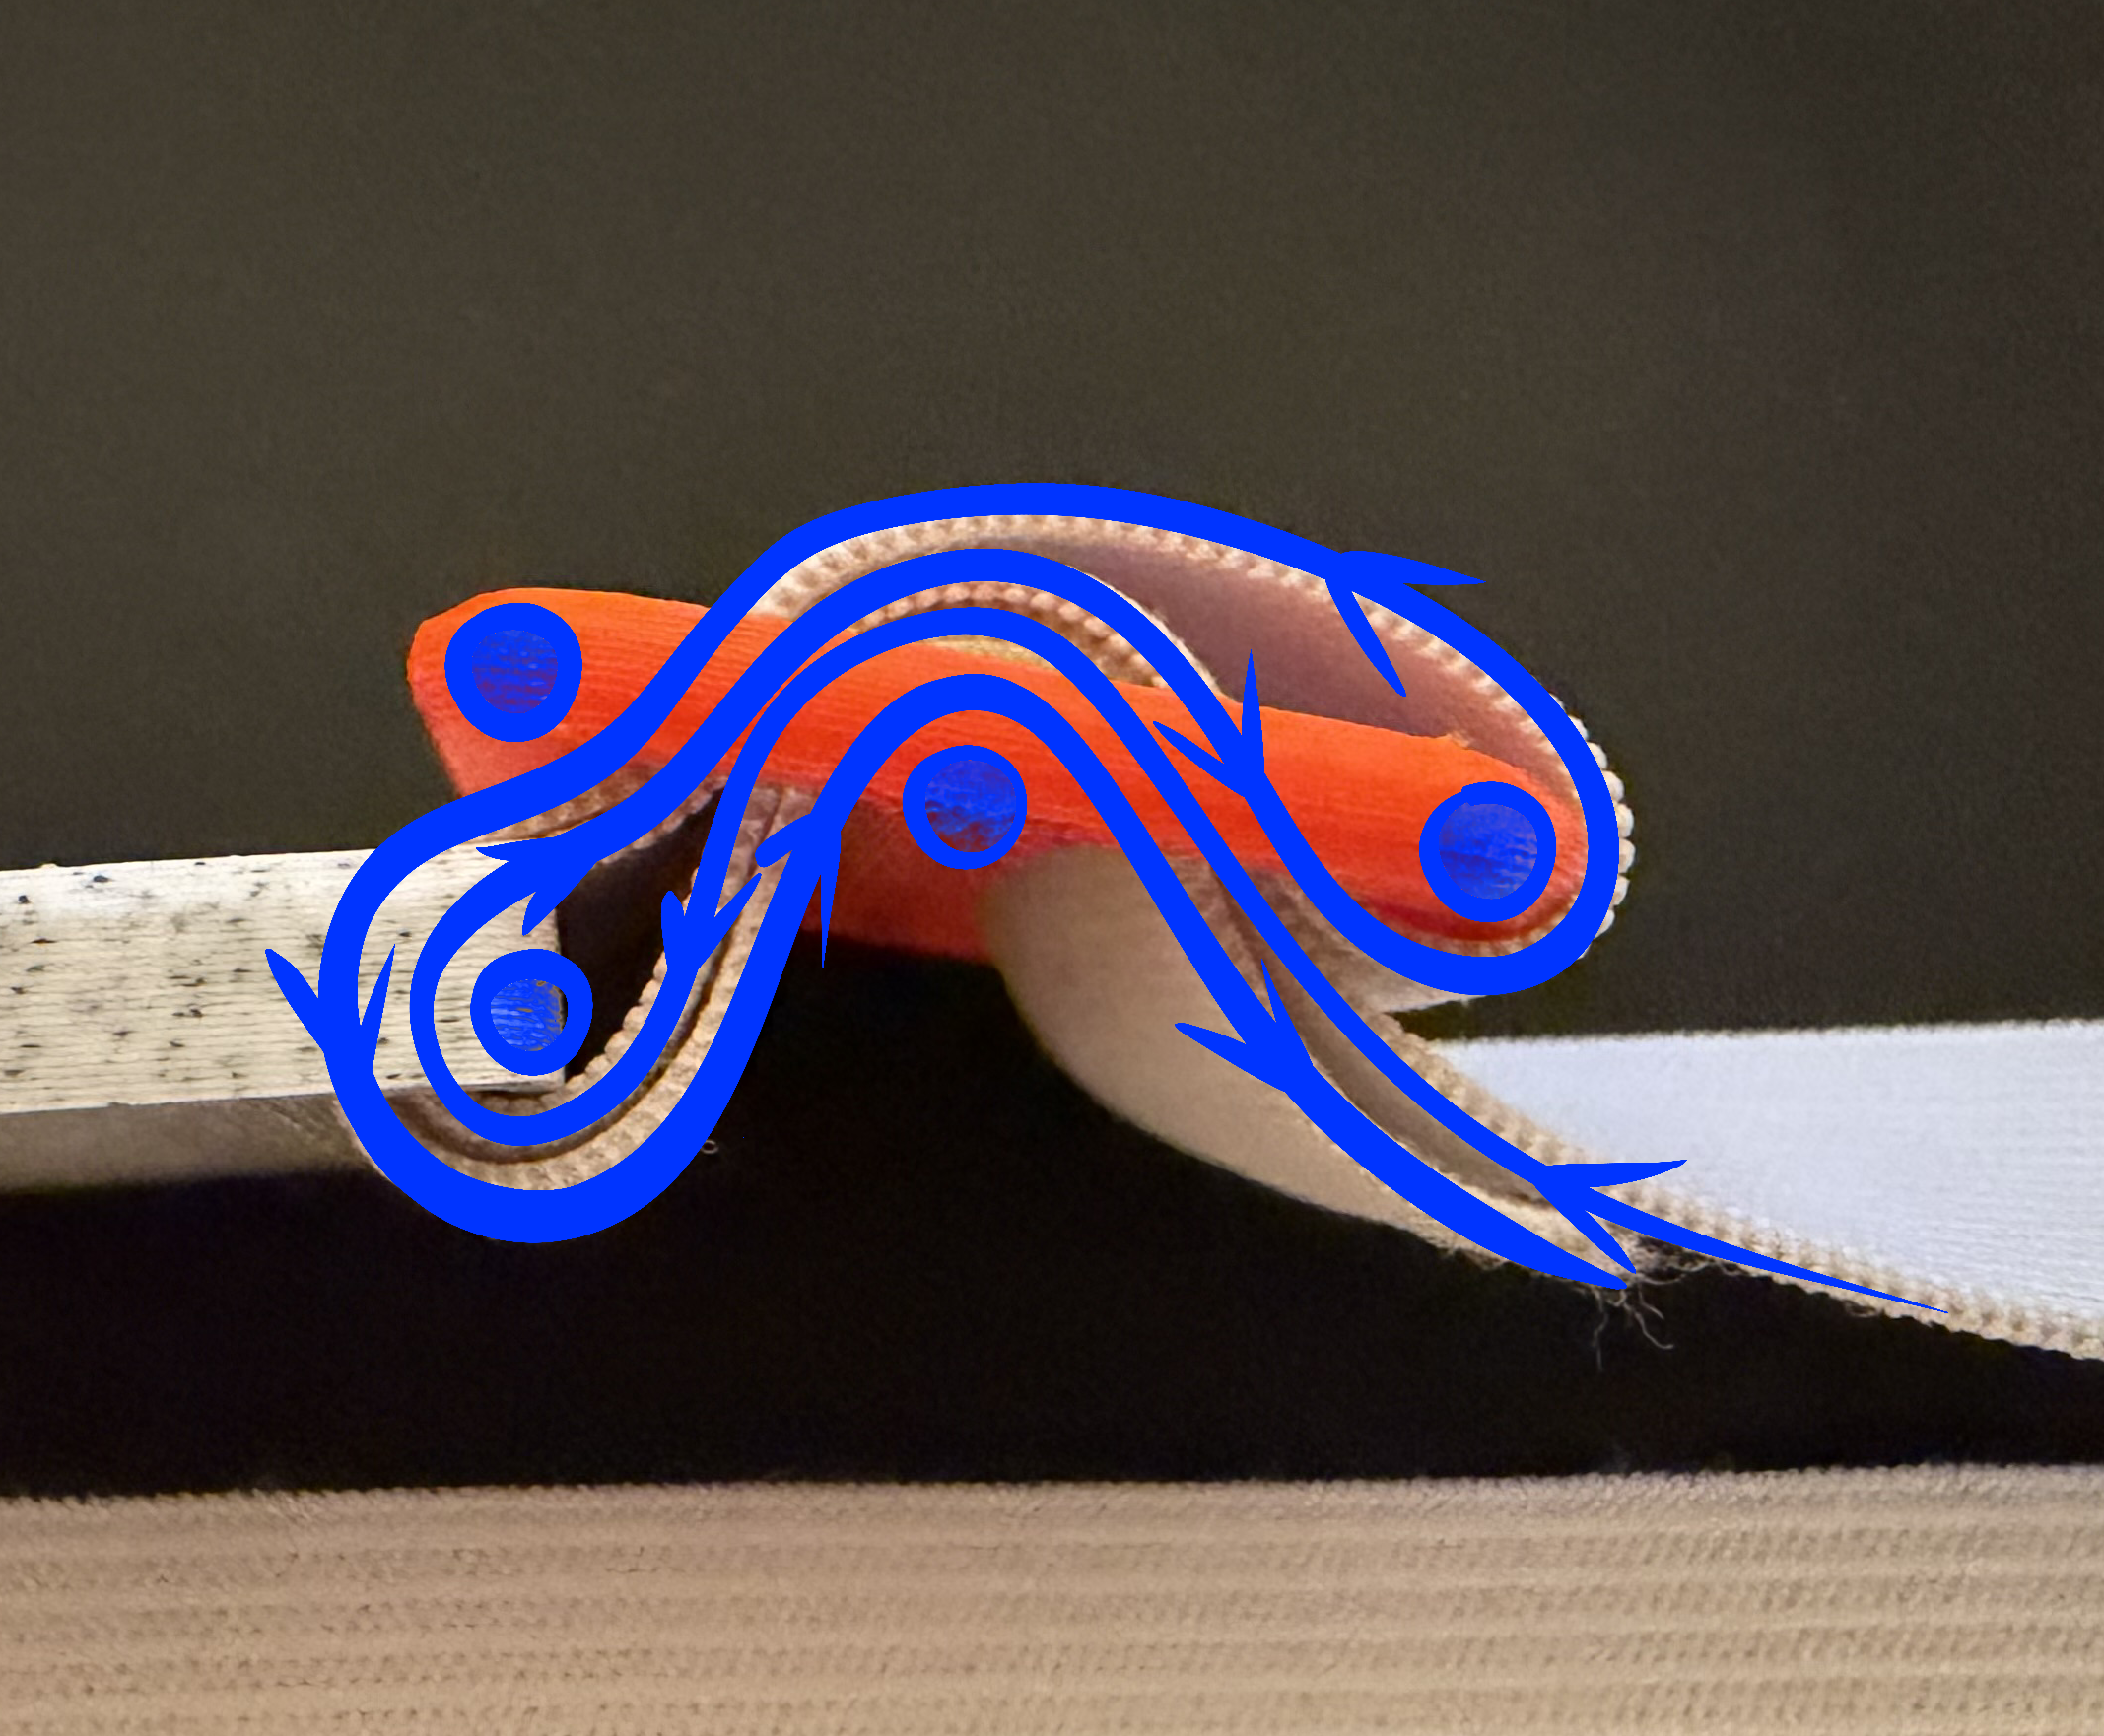
There are still a few bugs here (the halves of the shell aren't aligned very well, i added some features to make them snap together but it seems i need more) and the design of the buckle can also probably still be improved since currently theres a possibility of it snapping together without being fully aligned so feel free to comment if you'd like to see that :))