
Cat Hammock
Obliczymy ostateczną cenę na podstawie wybranego pliku. Sprawdzisz ją i zaakceptujesz przed płatnością.
Zapisane na tym urządzeniu.
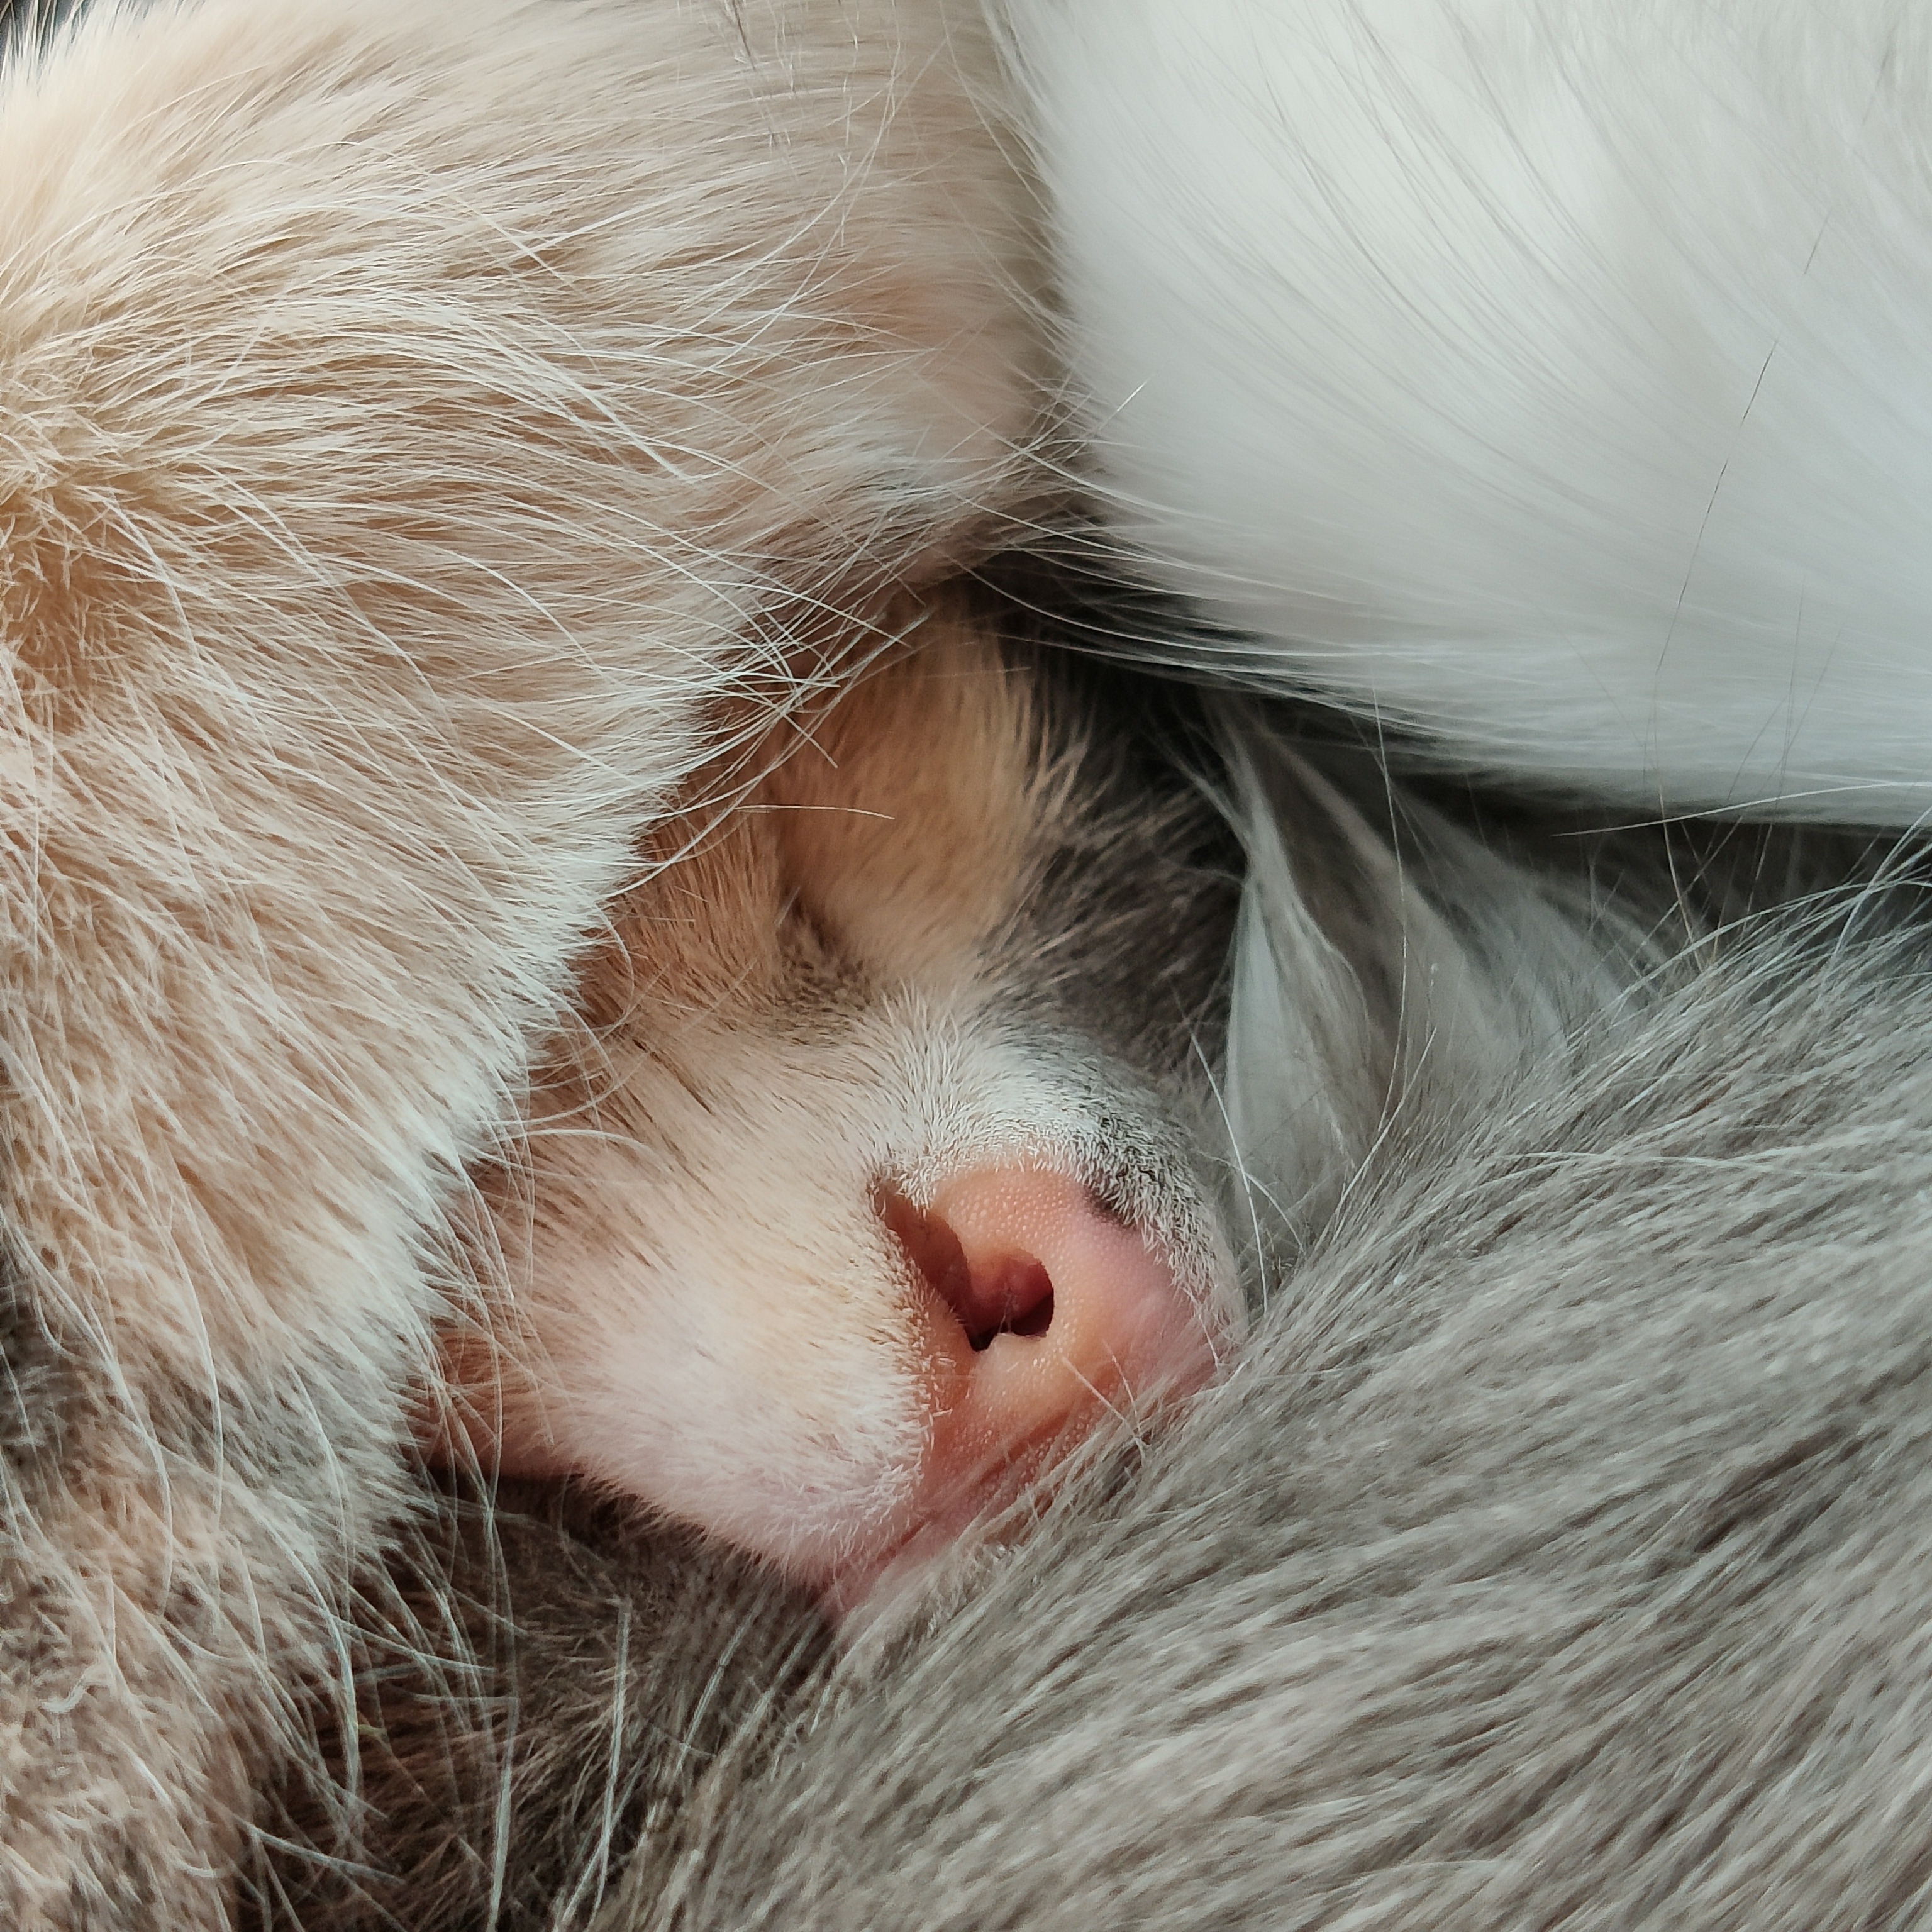
This model was created for personal use on a 3D printer with a 180x180 mm build plate.
- Ocena
- 0 / 5
- Polubienia
- 3
- Pobrania
- 7
- Wydruki
- 0
- Wyświetlenia
- 83
- Oceny
- 0
Aktualizacja u źródła:
Informacje o modelu
- Źródło
- Printables
- Kategoria
- Pets
- Licencja
- Creative Commons — Attribution
Cat Hammock (Experimental Model)
https://www.youtube.com/watch?v=lUy5j1BN_0UOfficial statement: "It seems to be working, even the cat hasn't broken it... yet"
We present to you a model that was born in a home laboratory under the strict guidance of a furry destructive engineer. This hammock was created for personal use on a 180×180 mm plate printer. And yes, the prototype really stands up to the cat (even if she believes that her main mission in life is to break everything).
Why is this an "experimental" model?
Because she works, but with character. Some details may require a light dance with a tambourine, but we believe in you. You can use a ready-made 3MF file profile (prepared in Bambu Studio) and it will work with the right fabric.
The main bonus:
You don't need to be able to sew or be friends with a sewing machine. Just take a thick, NON-stretchy fabric (jeans, tarpaulin, old denim items that are a pity to throw away) and trim it in place. All. No patterns or sewing.
Field test results:
Hammock spent several months in a high—risk area, under the supervision of a cat who tried very hard to arrange a crash test for him. Spoiler alert: The hammock survived. The only drawback is that sometimes the fabric has to be adjusted.
IT IS IMPORTANT TO READ IT BEFORE PRINTING (otherwise don't say later that we didn't warn you):
Experimental design sounds proud, but it means "you may need a file and a cup of coffee." Some details will probably need to be customized.
Fabric fastening is a separate quest. Carefully examine the mechanism in the model. Perhaps the size of the removable coils will have to be adjusted to the thickness and audacity of your fabric.
Test the little things first. Print out the individual mounting elements first. Check the strength, compatibility, and how they survive the cat's attempts to cause an earthquake.
Share your modifications and success stories! If your cat ends up sleeping in a hammock instead of trying to burn it with a laser gaze, we want to see it. The model is just a starting point for those who like to improve. And then — your creativity, backed up by patience and a beloved pet.
Print, test, laugh at failures and be proud of your victories. And remember: if the cat couldn't destroy it, you did everything right.
The package includes two files:
FreeCAD Document (.FCStd)
It contains a conceptual model and the basic geometry of the structure. The file is intended to familiarize with the general idea of fastening and can be used as a basis for further modification and refinement.
3MF file (prepared in Bambu Studio)
It contains a customized print profile and the final version of the geometry. Necessary changes have been made in this file and elements missing from the original FreeCAD document have been added.
Recommendation for printing settings:
When using a printer with a working area of more than 180×180 mm (recommended size is from 300×300 mm), the rollers should be printed as a single part without dividing into component parts. This increases mechanical strength and simplifies assembly.
The method of attaching the fabric that I used.
Fabric Tension Assembly Instructions
1. Preparing the Primary Winding.
Wrap the fabric around the small shaft, distributing the fabric evenly across the surface. Ensure the winding is tight and straight.
2. Installing the Large Shaft.
Insert the resulting winding into the large shaft. Align the protruding fabric with the slot in the shaft. Ensure the fabric does not shift and remains aligned with the slot.
3. Installing the Main Frame.
Place the assembled unit (large shaft with winding) into the main frame. Again, ensure the protruding fabric is aligned with the slot in the housing. Gently adjust the fabric if necessary.
4. Adjusting the Tension.
Rotate the large shaft in the desired direction.
Simultaneously, pull out any excess fabric to achieve uniform tension.
Check the tension: the fabric should be taut, without any creases or sagging.
Repeat the procedure on the opposite side of the knot to ensure symmetrical tension.
Important notes:
Perform all steps carefully, avoiding sudden movements to avoid damaging the fabric.
At each step, ensure the fabric is aligned with the slits—this is critical for the knot to function properly.
When adjusting the tension, ensure the tension is even on both sides.
