
Minimal Modular Couch Armrest Table
Obliczymy ostateczną cenę na podstawie wybranego pliku. Sprawdzisz ją i zaakceptujesz przed płatnością.
Zapisane na tym urządzeniu.
Informacje o modelu
- Źródło
- Printables
- Kategoria
- Living Room
- Licencja
- Creative Commons — Attribution — Noncommercial
I wanted an armrest table that was slim, foldable, and easy to adapt without relying on visible hinges or multimaterial printing. The result is a simple modular design that uses octagonal TPU connectors to create living hinges while keeping the final look clean and minimal.
Materials
Base filament in 2 colors, used for the main parts and visual contrast.
TPU 95, used for the flexible hinge connectors.
PU glue, used to bond the side plates to the TPU inserts.
PEI sheet or another adhesion aid, recommended for reliable first-layer adhesion.
Files
The STEP file includes the full design and the available variations. The printable parts are arranged so you can choose a platter width and add side plates to match the distance between the seat and the armrest.
Sizing
Measure the width of your armrest first, then choose the closest platter that is slightly smaller than that width. The available platter widths are 110 mm, 160 mm, and 210 mm, and each platter is 240 mm long.
Next, measure the distance between the seat and the armrest to decide how many side plates you need. The bottom plate is 30 mm, the mid plates are 25 mm, and each plate includes 1 mm of clearance.
Printing
Print one platter and two side plates first, then use Split to Objects in PrusaSlicer if you want to add or remove side plates. Print the octagonal TPU connectors separately; I used six, but four can be enough if you want to save TPU.
If bed adhesion is weak, slow the first layers of the platter and side plates to 50%. This helped on my machine and may be useful if you are printing the parts in a similar way.
Assembly
Place the platter face down so the octagonal inserts are visible. Insert the TPU connectors from the center outward, and use gentle pressure if the corners resist.
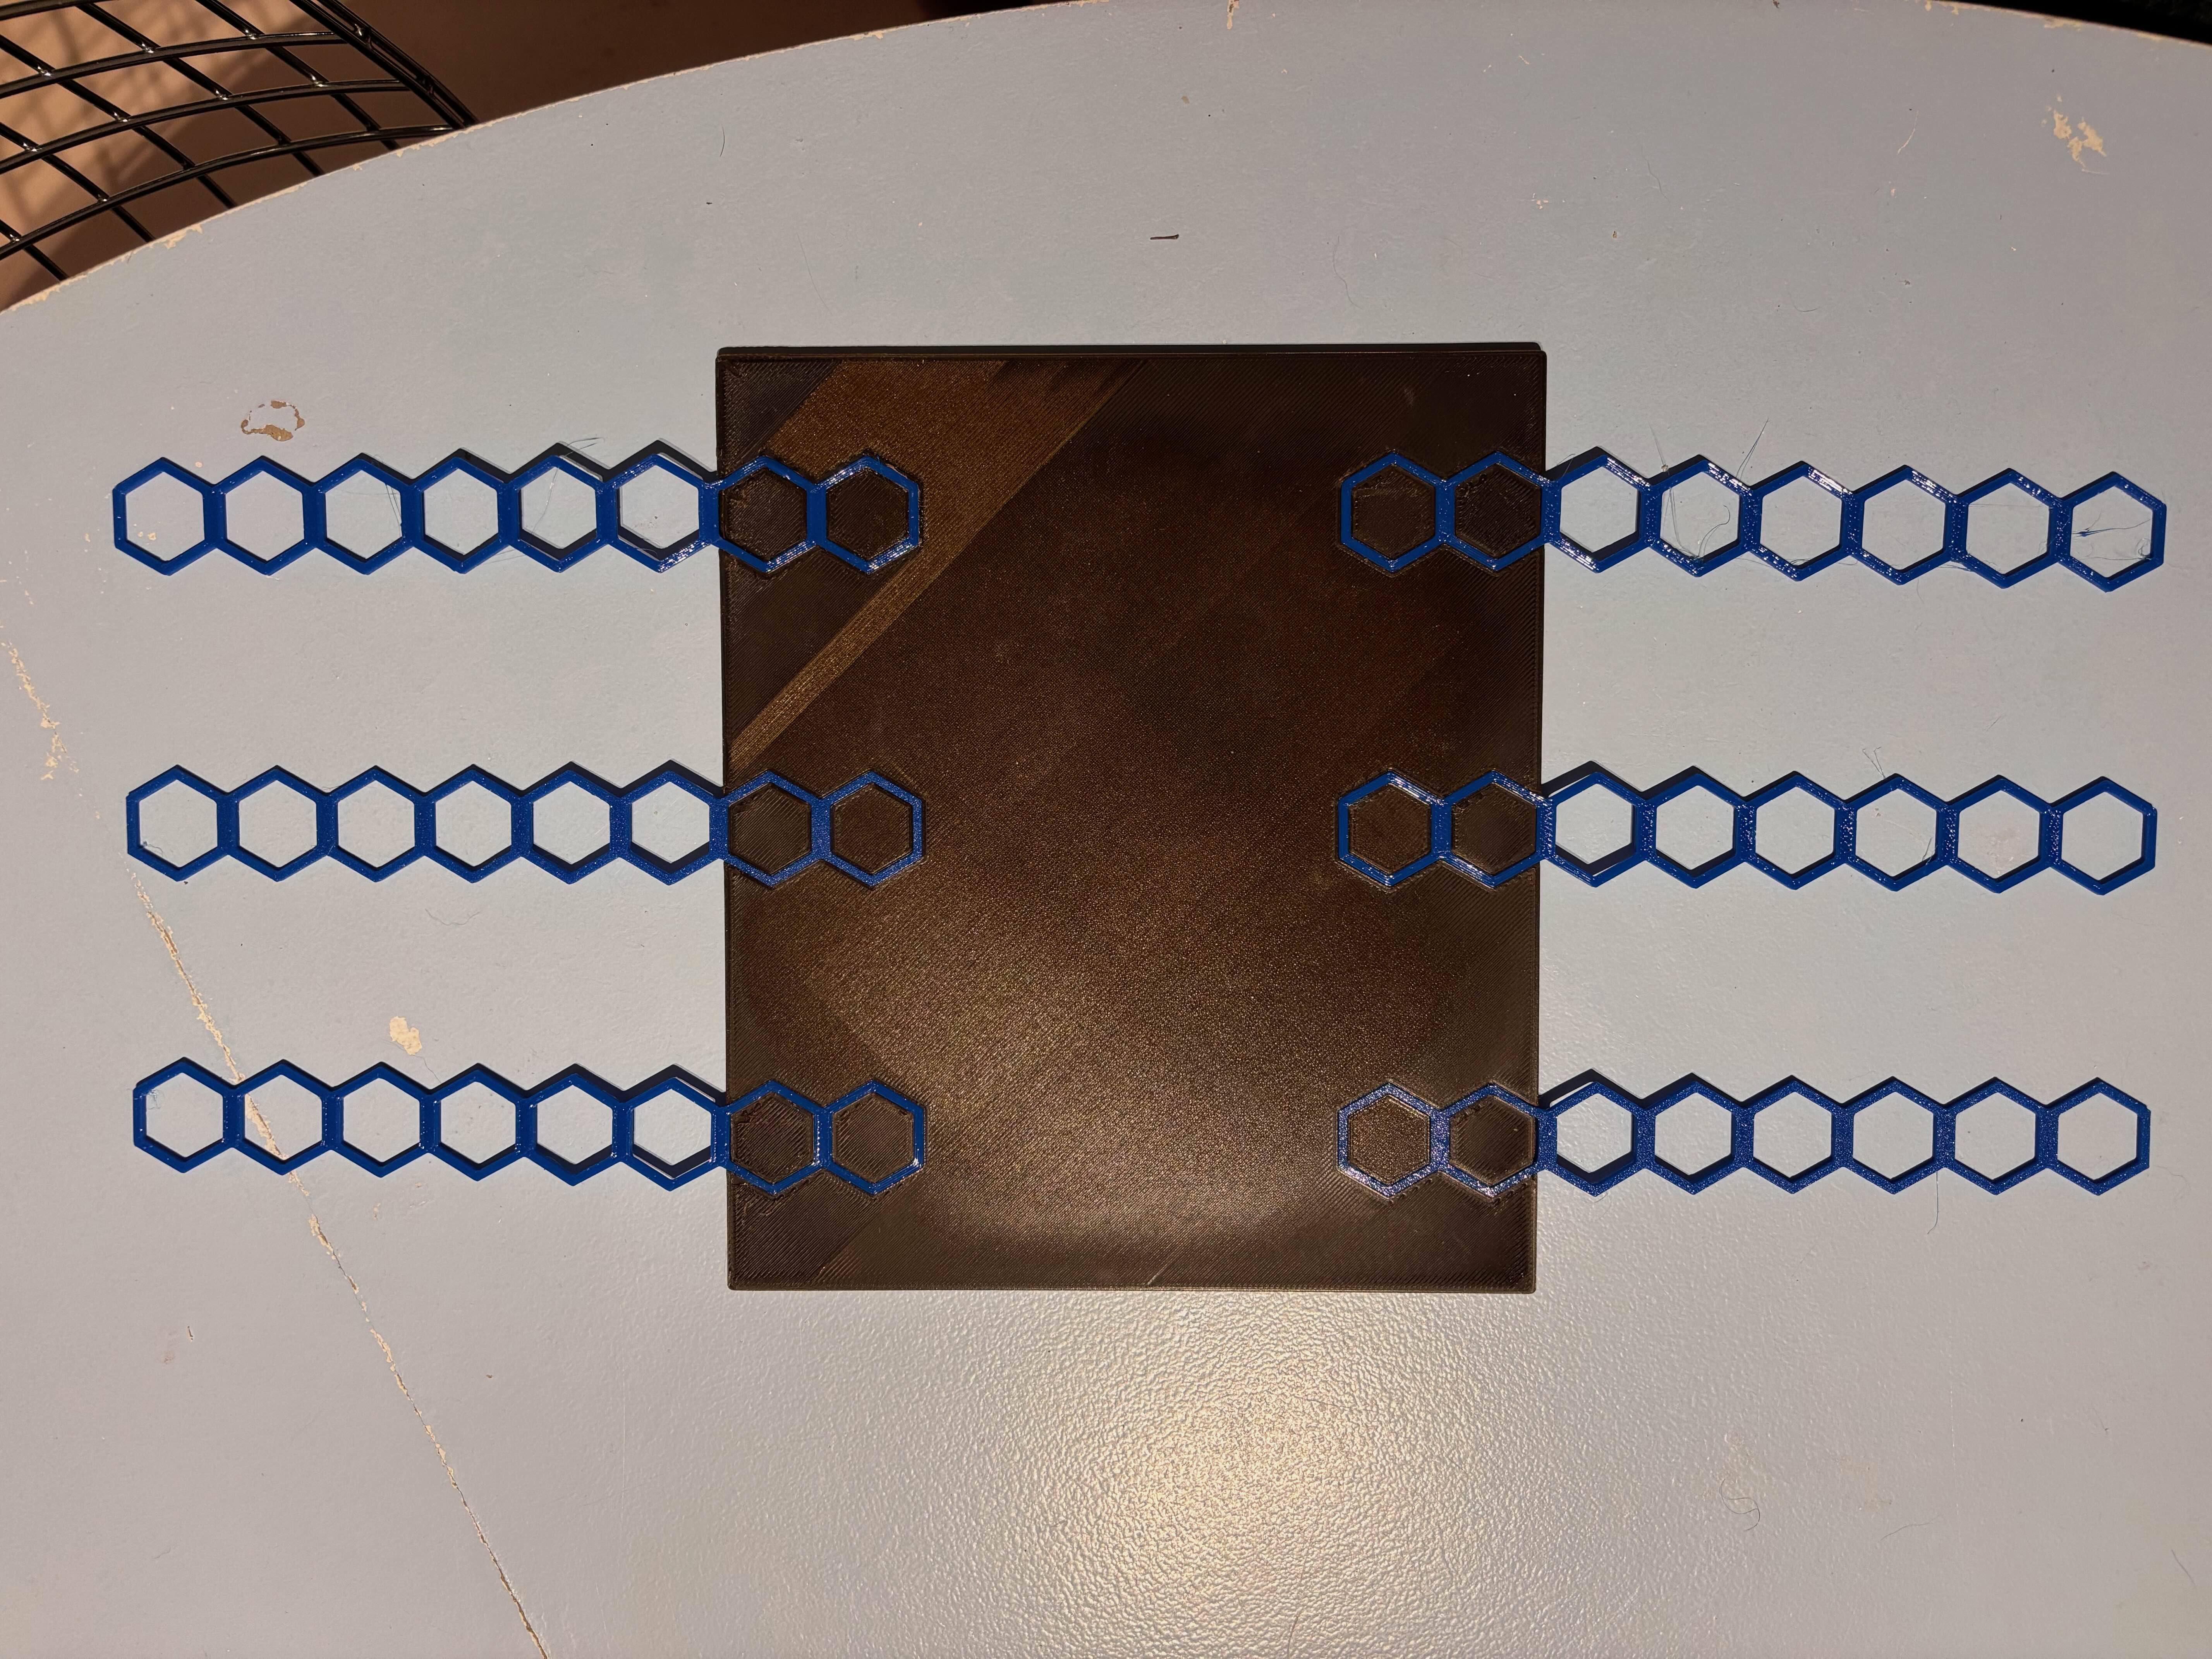
Do not pull on the TPU connectors, as stretching them makes insertion more difficult. Once all connectors are in the platter, flip it over and attach the side plates with the broader side facing down.
Apply PU glue to the TPU contact area, press the side into place, and repeat for each side. If your platter and side plates use different heights, assemble with the side face up so the top surfaces stay aligned.
Notes
This model was made with a minimalist look in mind, so I kept the design simple and left the surface clean. I also included the STEP file so others can remix the design with inserts, remote holders, or other accessories.