
Flexible stick hyperboloid
Obliczymy ostateczną cenę na podstawie wybranego pliku. Sprawdzisz ją i zaakceptujesz przed płatnością.
Zapisane na tym urządzeniu.
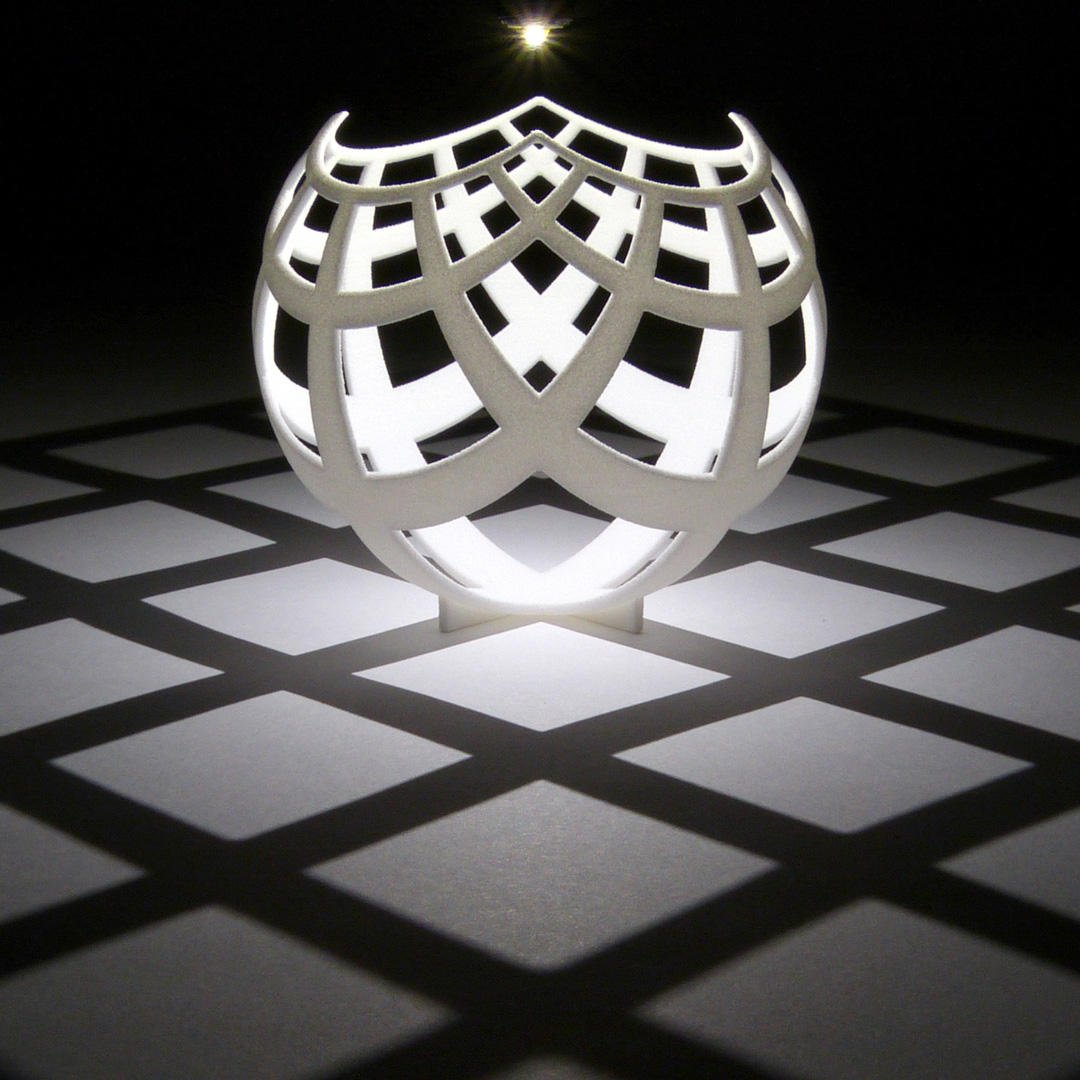
A hyperboloid of one sheet made with metal rods and 3D printed parts, designed to move as freely as possible.
- Ocena
- 0 / 5
- Polubienia
- 13
- Pobrania
- 21
- Wydruki
- 0
- Wyświetlenia
- 216
- Oceny
- 0
Aktualizacja u źródła:
Informacje o modelu
- Źródło
- Printables
- Kategoria
- Math
- Licencja
- Creative Commons — Attribution — Noncommercial — Share Alike
The hyperboloid of one sheet is a surface that often shows up in multivariable calculus classes and in the shape of cooling towers of nuclear reactors. Perhaps surprisingly, there are two families of straight lines in the hyperboloid. More surprisingly, if you take some number of sticks in each of the two families and join them at the points where they cross, then the whole structure flexes. This flexibility is the topic of the following video:
Stick models of hyperboloids are often made out of wooden skewers joined together with rubber bands. Classical models from the 1890's were made out of metal wires, connected with hinged joints. Both of these kinds of models suffer from the problem that the sticks have to bend a bit. One direction of sticks is on the "inside", and the other direction of sticks is on the "outside". With actually straight sticks, these inner and outer sticks are on two different hyperboloids, that diverge as you go away from the "equator" of the model. So in reality, the sticks have to flex as the hyperboloid changes shape.
This model has one direction of lines made with straight sticks while the other direction is represented by many 3D printed parts that are bolted together allowing rotation between parts. This makes the model closer to the mathematical ideal, so it ends up moving more freely than the previous designs.
To make this model you will need the following parts:
9 metal rods, 1/8 inch diameter, 12 inches long (or 3.2mm diameter, a bit over 30cm long). I used aluminium rods, but any other stiff material will work.
9 3D printed copies of the "hyperboloid_tubes" file (whichever of the 1/8 inch or 3.2mm variant you need to fit your sticks).
9 3D printed copies of the "hyperboloid_connectors" file.
18 3D printed copies of the "hyperboloid_stick_end_cap" file.
45 M3 bolts, 10mm long.
45 M3 lock nuts.
54 3D printed copies of the "hyperboloid_rod_holder" file.
54 3D printed copies of the "hyperboloid_axle_half" file.
54 M2 bolts, 3mm long.
54 M2 nuts.
To assemble, the first thing to do is to use the M2 nuts and bolts to attach the "hyperboloid_rod_holder"s to the "hyperboloid_connectors" using the "hyperboloid_axle_half"s. The rod holders should be able to turn freely on the connectors. It might be a good idea to use threadlocker to prevent these nuts from coming loose from their bolts. It's also a good idea to have the nut on the side with the rod holder and the bolt on the outside, so that you can tighten the bolt without the rod getting in the way.
Next, use the M3 lock nuts and bolts to attach the connectors to each other as in the following picture:

There is a subtlety here: The nuts and bolts are in cyan here. The nut sticks out further on one side of a connection than the head of the bolt does on the other side. The connector part has a small bump below the hole where the bolt head goes. The nut goes on the side without a bump. (This choice allows the mechanism to collapse slightly further down before the parts crash into each other.)
Next, thread the metal rods through the "hyperboloid_rod_holder" parts, alternating with "hyperboloid_tubes" parts. There are three lengths of tubes: the order of tube lengths along each metal rod is long-medium-short-medium-long. The first few rods can be put through the chains of connectors more-or-less flat on the table. The last rod must be threaded through with the structure rolled up into the hyperboloid shape.
Finally, put the "hyperboloid_stick_end_cap" parts over each end of each metal rod. These are to cover up any sharp ends of the metal rods.