
Softbox for macro work
Obliczymy ostateczną cenę na podstawie wybranego pliku. Sprawdzisz ją i zaakceptujesz przed płatnością.
Zapisane na tym urządzeniu.
A small softbox to fit directly on flash for more even lighting in macro work
- Ocena
- 0 / 5
- Polubienia
- 1
- Pobrania
- 0
- Wydruki
- 0
- Wyświetlenia
- 35
- Oceny
- 0
Aktualizacja u źródła:
Informacje o modelu
- Źródło
- Printables
- Kategoria
- Photo & Video
- Licencja
- Creative Commons — Attribution — Noncommercial — Share Alike
Wanting more even light with softer shadows for macro/micro work, this has been modified for years to get to this version. Right now, it only fits onto a Canon 300EZ flash/strobe unit because I haven't found a way to make it adjustable for other models - I use the 300EZ because it's small and light but still produces enough power for close work.
With the flash on an adjustable arm, the light can be directed in countless ways for your subjects, and produces a low-contrast, softer light to more evenly illuminate the subject with enough shadows to show shaping, but without harsh highlights and deep shadows. It also has the option to lift the diffuser itself (held by magnets) to use direct flash as needed without removing the entire softbox. This version has a TPU Gasket within the tunnel that fits over the flash head, allowing it to 'press' onto the head, though a anchor strap of hook-and-loop tape onto the flash is recommended.
The Face/diffuser panel is printed as well, and can be done in white or clear PLA or PETG - white, single-layer is recommended for best light transmission and softer shadows, though clear permits extra light at the expense of deeper shadows.
While the tolerances should be decent enough to allow the pins to be simply pressed in, gluing is recommended, especially if you flip the softbox up and down frequently. Put a small bead of glue inside the hinge holes of the Tunnel, making sure none is on the outside surface.
The Tunnel, Ring, and Top can all be done with a 0.6 nozzle and 0.3 layer height to require less printing time, but the Faces/diffusers should be 0.4 nozzle and 0.2 layer height - they're measured to work at those settings. Your Z-offset needs to be well-adjusted for the Face.
The interior surfaces of the Tunnel, Ring, and Top need to be covered in aluminum foil for optimal light dispersion. Top and Face/diffuser are glued on - contact cement (rubber cement, E6000) is highly recommended, especially since the thin face/diffuser is easily damaged and you will likely reprint this, perhaps many times. Sliding a razor blade or utility knife into the gap and following the glue seam is easy enough. You can glue the TPU Gasket into place within the Tunnel, but I've found it unnecessary.
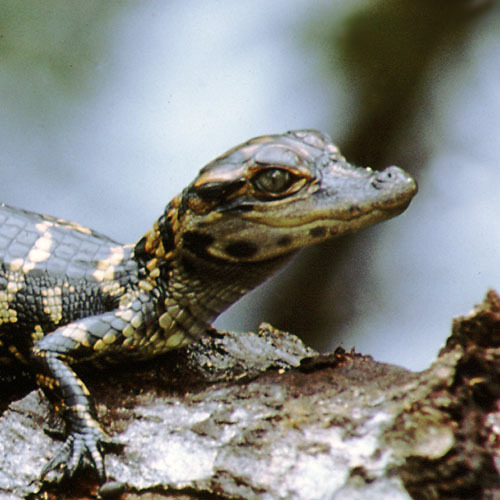
At the power output of the Canon 300EZ flash, I've been using 1/200 second shutter speed, ISO 250, and an aperture typically ranging from f11 to f22, depending on distance to subject. The insect and frog images were taken with this design, and the crystal ball was purposefully under-exposed to show evenness of lighting from the white Face/diffuser. Because the Face is round, the reflections from shiny subjects aren't distracting and look more natural. However, the 'hot spot" of the lighting isn't directly perpendicular to the face, but forward of it a little because of how the flash reflects from the top; so, aim slightly closer than the subject (and experiment.)
The version pictured is experimental, testing out latches and most especially, a way to shine a focusing light directly through the softbox, thus the hole in the top and the slight differences at the edges of the ring and tunnel. You can ignore these, since the uploaded version was designed from these experiments, but the focusing light hasn't been perfected yet.
Materials:
PLA or PETG works fine, tolerances aren't very tight for anything, save the Z-offset for the face. Supports are necessary for the Ring and Tunnel. The Gasket (within the Tunnel) needs to be done in TPU.
(8) 6x2mm neodymium magnets hold the ring in place, either down or up. Glue these in place, taking care to enure the poles match appropriately. Ignore the dimples on the sides of the Ring base - these were from a previous attempt at a latch, and weren't worth editing out.
A short stretch (40mm +/-) of hook-and-loop, Velcro tape is recommended, the loop (softer) onto the flash head, the hook onto the softbox.