
Experimental Protogen Head
Obliczymy ostateczną cenę na podstawie wybranego pliku. Sprawdzisz ją i zaakceptujesz przed płatnością.
Zapisane na tym urządzeniu.
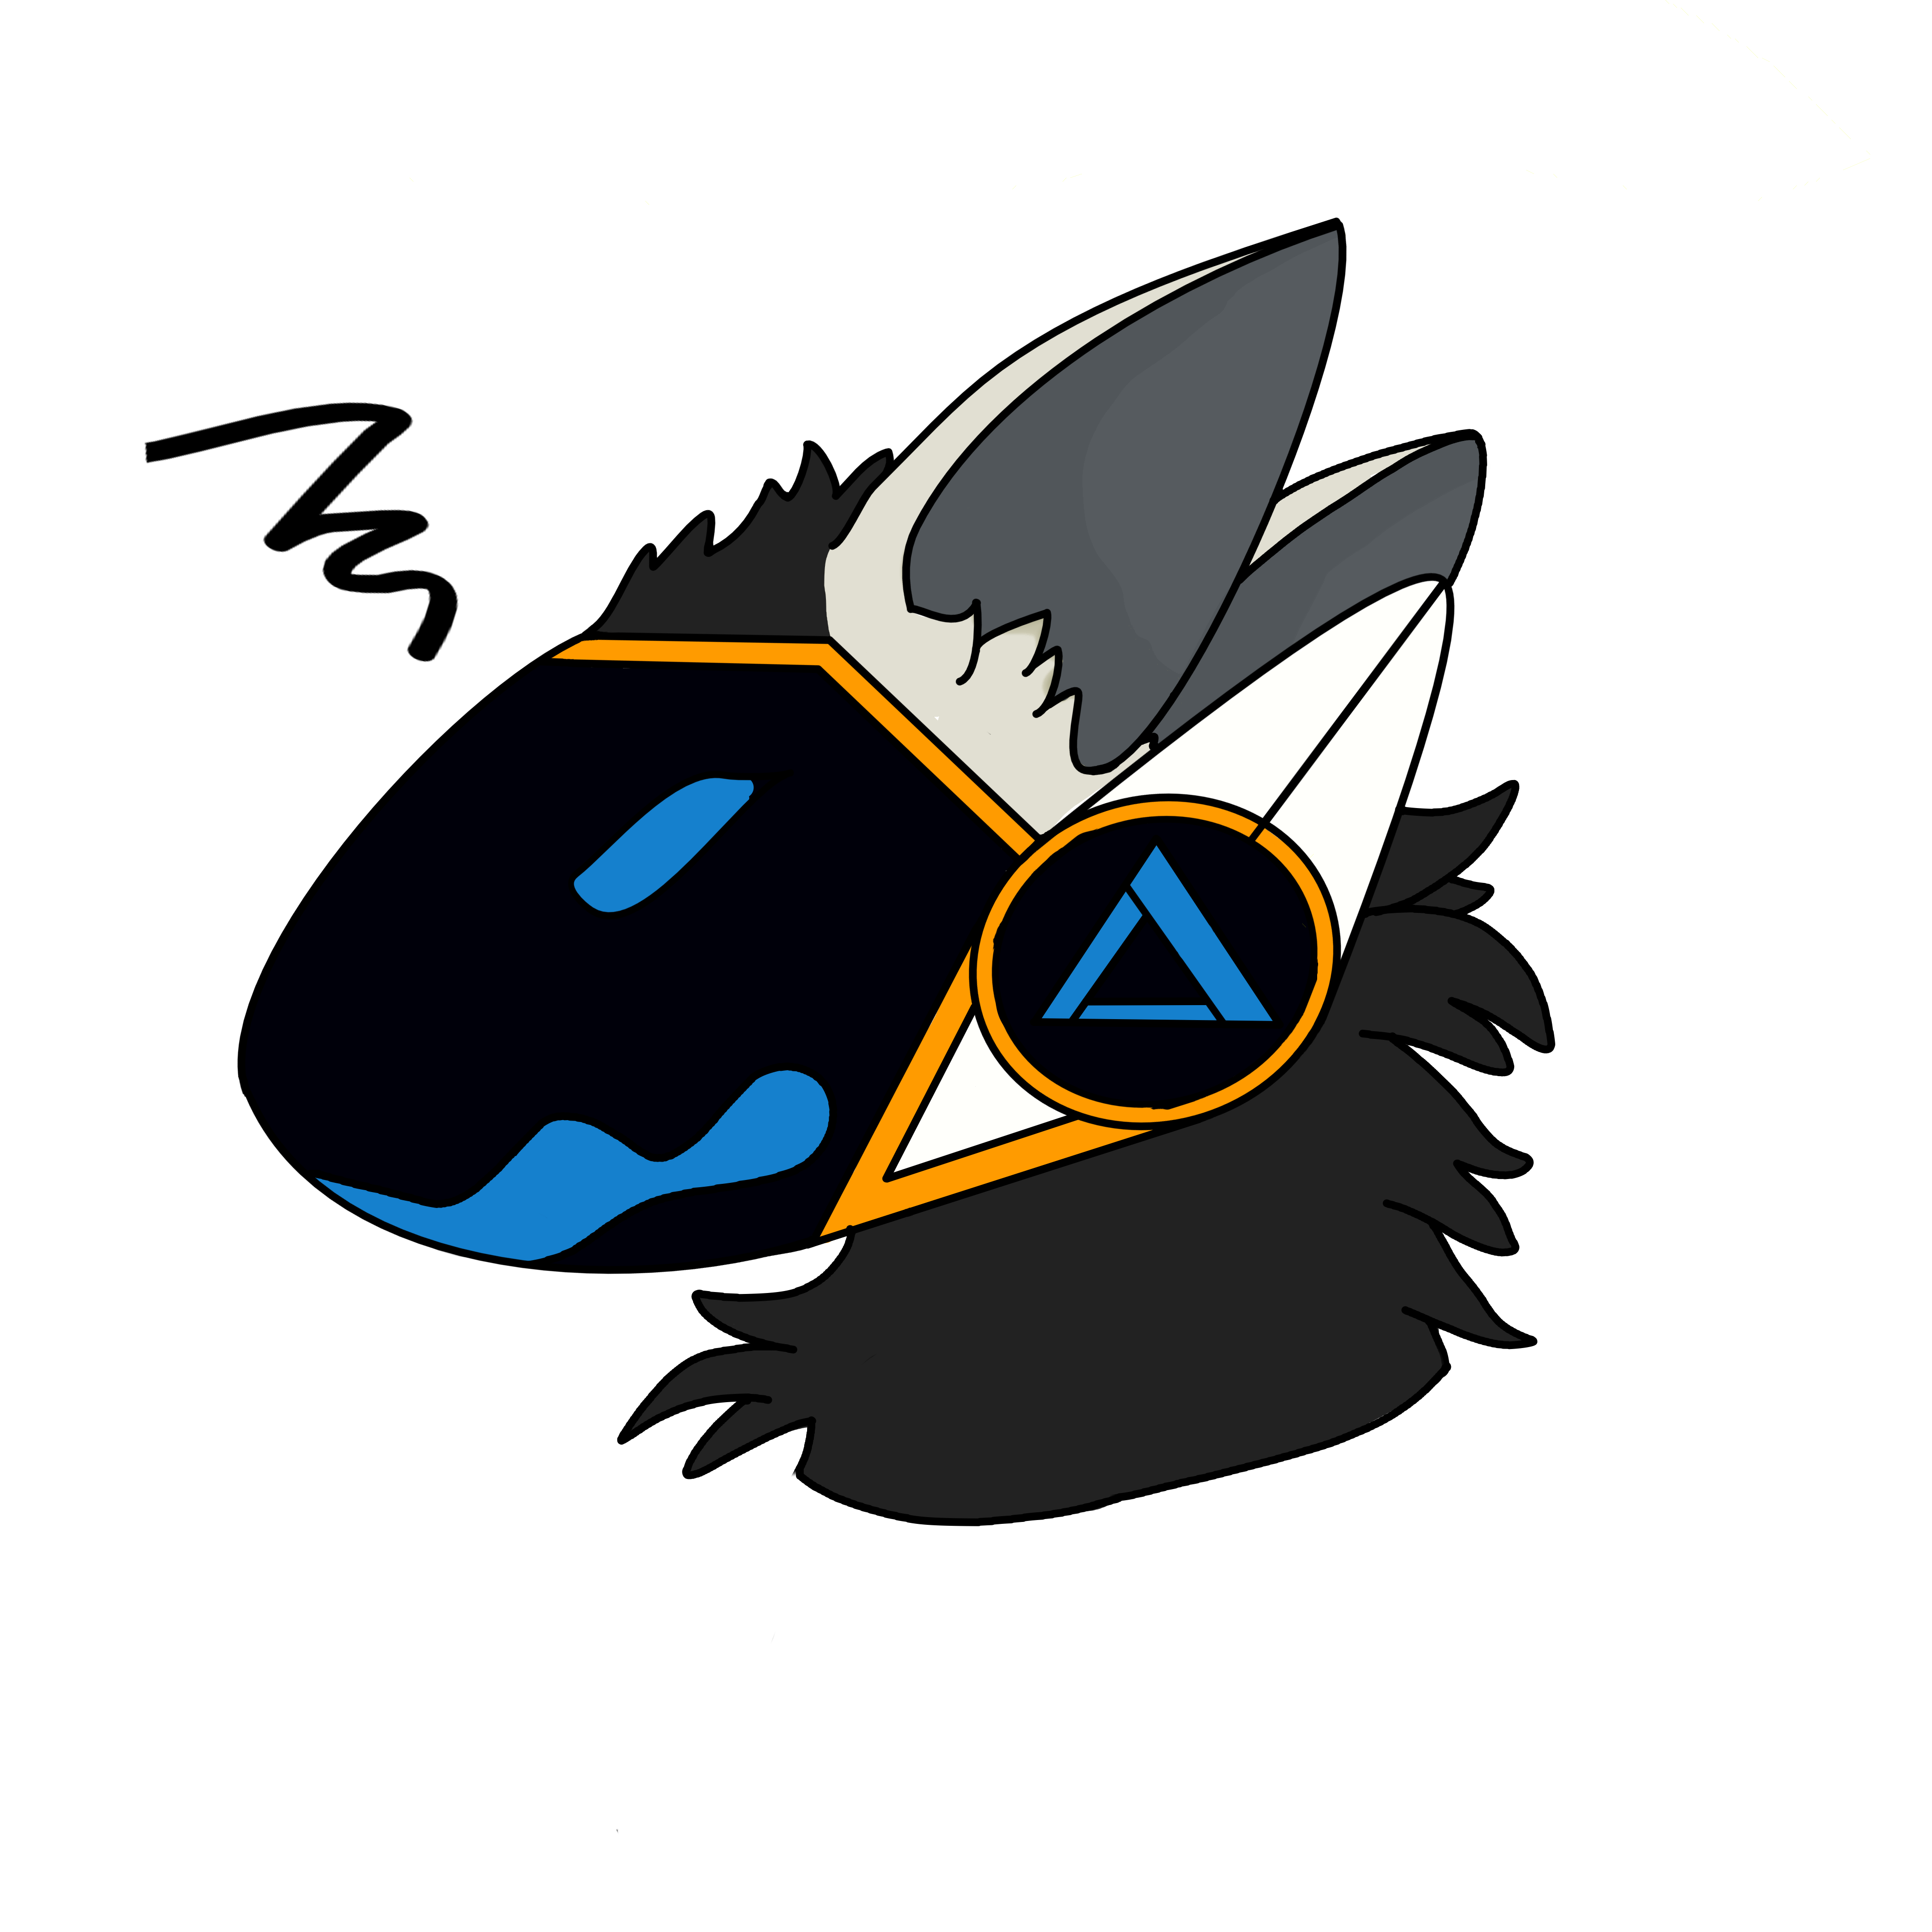
A unique approach to a protogen head that has both benefits and trade-offs, but is overall good.
- Ocena
- 0 / 5
- Polubienia
- 4
- Pobrania
- 6
- Wydruki
- 0
- Wyświetlenia
- 141
- Oceny
- 0
Aktualizacja u źródła:
Informacje o modelu
- Źródło
- Printables
- Kategoria
- Masks
- Licencja
- Creative Commons — Attribution
For many years, I have been slowly working on this protogen head, and it's finally good enough that I'm willing to publish the files. That being said, it's a little on the rougher side, which I hope can be corrected by either people remixing it or by you guys providing me with feedback on what you've struggled with.
Overall, this started as a high school project that I have now semi-finished in college, so forgive me if it's a bit rough, as I honestly need to probably remake it from scratch.
Currently, I have decided to post this model because I'm working on the code, but I'm horrible at coding, and I know that other people already have open-source projects for it or LED kits.
Leds
You are kind of on your own when it comes to the electronics, but there are three ways to add LEDs
8x8 marixes.

Use the support as a guide to solder and solder them into place. To put it into place, take off the front LEDs. I have code in the code file, but it's not the best. There are holes in the bezel to put heated inserts use them, and they should line up well and provide a strong fit.
P3 192*96mm matrix

I would use ProtoTracer from coela can’t https://coelacant.com/protogens/
I do want to make something for P3 LEDs someday, but we will see if I actually do it. It is glued on to another part, which sucks, but otherwise it would take up to much space.
Shenzhen led factory P2 soft led module 240x120mm 120x60 hub15 16pin
Good luck.
Check LEDs are a 16 and an 8-pixel ring combination. I do have a light diffuser print, but I honestly recommend finding a nice white sheet of paper and putting it behind your tinted plastic or symbol plate. They are designed to be sandwiched, and the side plates allow you to change up your look.
Please note that the back of the helmet may need to be cut to make it easier for your head to enter. Also, this was made to fit my head, and I haven't bothered to make it much bigger. For this reason, I recommend you print out the parts first to check if it will fit on your head. Because of this, I recommend that you use the back-cut version of the back helmet. Additionally, the upper part of the bezel may need to be trimmed to allow the visor to fit properly.
The way the visor currently sits on it sucks; the bezel uses 3mm magnets to keep it in place, but they have to be very strong magnets, and in the future I will be updating this by adding larger magnets! Anyways, I would recommend following this tutorial to tint it https://www.youtube.com/watch?v=85fsPNuRwDM

Be careful when cutting your visor, as there is not much room for error. Before fully trimming it, I would do a rough trim that leaves plenty of material, then check whether it fits on the buck. If it is rising off of the buck, I recommend leaving it pressed or taped down to the buck and warming it in the sun on a hot summer day. It's dumb, but it really does work and is probably less risky than a heat gun due to the evenness of the heat.
The ears are made to use this servo motor, but I don't recommend it, as they can fall off easily if they are not glued on. But they also pop on easily as well, and it honestly is not a bad solution for transport.
Anyways, I will probably update this text later; I just figured that it's better to ramble a bit now so that I can at least get it out. Ultimately, if I just let it sit on my hard drive, there's a risk of me losing it while at the same time people can be enjoying it, so in the spirit of less and let's paint TV, why not release now.
Care and maintenance.
To wash your head, remove the back of the helmet from the front bezel. Use of a green machine is recommended if you use servos in the ears, but as long as you do not submerge the motors (or include them at all), you can clean it like a normal fursuit head. After a big outing where you sweat and breathe a lot, or before your first major outing, please use scuba goggles anti-fogging spray to prevent fogging.
Thank you for looking at my project... This document may sound very negative, but this is the result, and I think it's worth it.