
Arduino UNO Q SBC Controller Bundle
Obliczymy ostateczną cenę na podstawie wybranego pliku. Sprawdzisz ją i zaakceptujesz przed płatnością.
Zapisane na tym urządzeniu.

The case for Arduino UNO Q SBC Control bundle. The ultimate way to control your Arduino Computer!
- Ocena
- 0 / 5
- Polubienia
- 2
- Pobrania
- 3
- Wydruki
- 0
- Wyświetlenia
- 75
- Oceny
- 0
Aktualizacja u źródła:
Informacje o modelu
- Źródło
- Printables
- Kategoria
- Computers
- Licencja
- Creative Commons — Attribution — Noncommercial — Share Alike
Ever wanted to control your Arduino® UNO Q board while it is in Single board computer mode with a compact controller? Now you can ditch the bulk! The Arduino UNO Q SBC Controller Bundle allows you to connect Modulino nodes to the UNO Q, configure them easily in a web UI and control your UNO Q without any hassle!
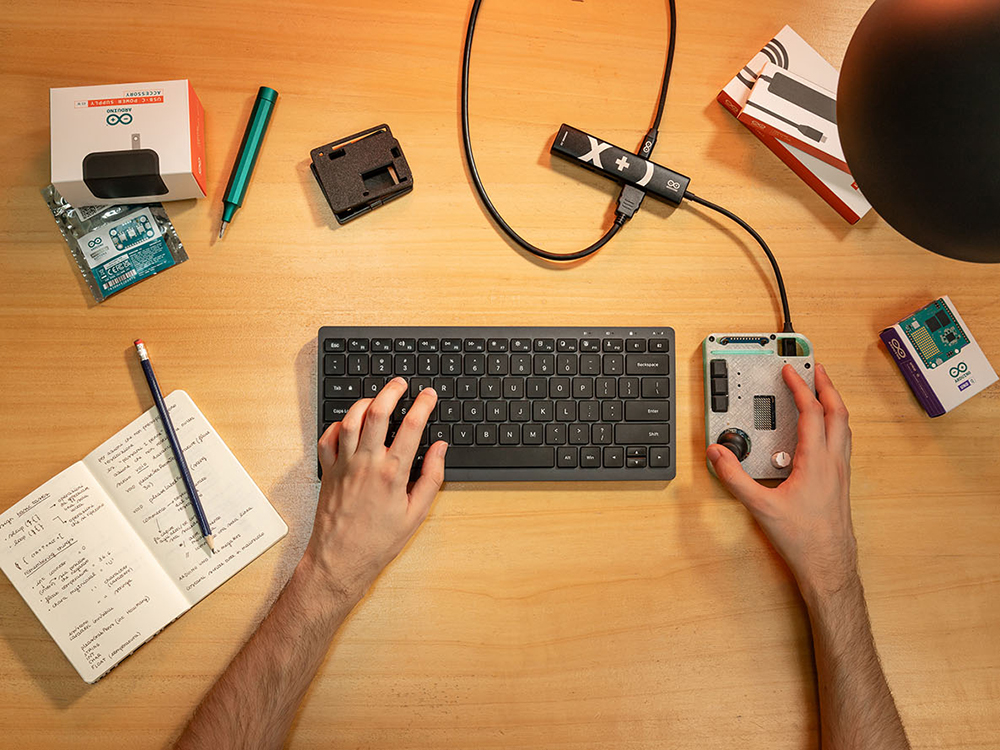
You can buy your own bundle in the official Arduino store! All instructions, code and more are available on Arduino ProjectHub!
Here you can 3D print the case of the bundle, feel free to modify the files, change the modulinos and extend the original case to be able to do even more!
Required materials
Hardware

1x Arduino Uno Q
1x Arduino Modulino Knob
1x Arduino Modulino Joystick
1x Arduino Modulino Pixels
1x Arduino Modulino Buttons
4x 5 cm QWIIC cables (there is one included with each Modulino)
2x M3x4 flathead screws
12x M3x5 flathead screws
2x M3x8 flathead screws
Tools and materials
Philips Screwdriver
FDM 3D printer (printbed size 110x110x20 mm minimum)
3D printing filament
Small pliers (optional)
Printing Guidelines
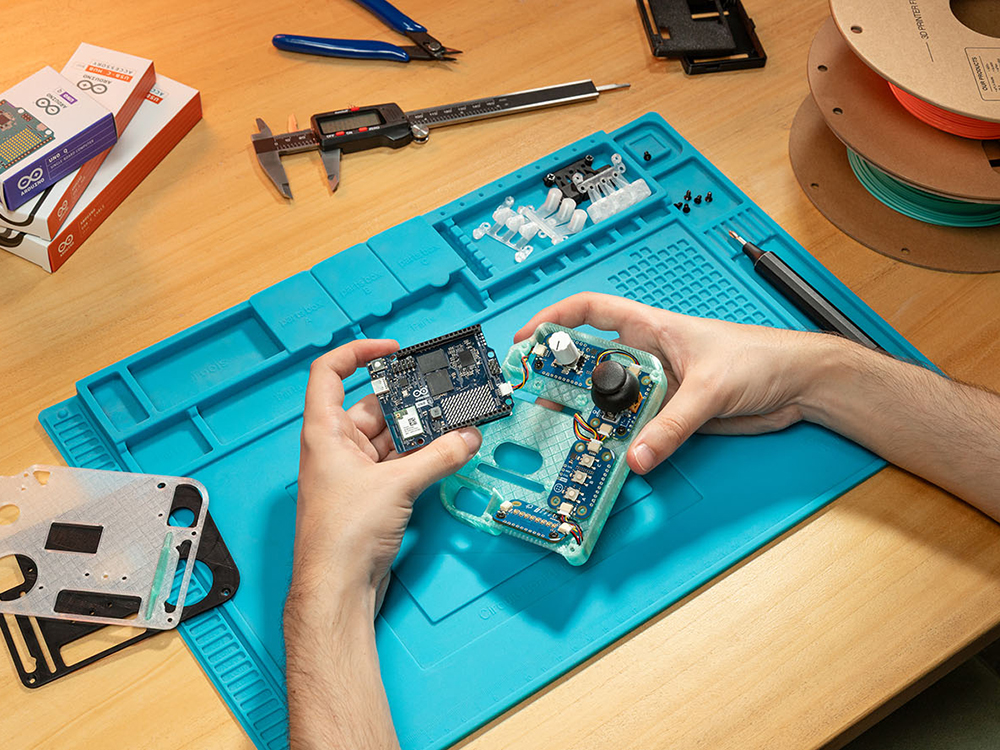
The kit consists of 4 parts:
Cover
Base
LED diffuser
Button pad

The .3mf print file is based on Prusa Slicer, and has been tested with 0.2 mm print layer in PLA. If you use another slicer, you may need to set supports and parameters again.
Assembly Steps
Connect the UNO Q and the Modulinos with the Qwiic cables, following this order: UNO Q -> Knob -> Pixels -> Buttons -> Joystick.
Fix the UNO Q to the Base with two M3x5 flathead screws.

Fix the Modulino Knob next to the UNO Q with two more M3x5 flathead screws.
Place the Modulino Pixels below the UNO Q and align the LED diffuser on top of it. Fix them with two M3x5 flathead screws. Be careful not to force the screws as the LED diffuser may be damaged and the bottom of the screw holes is thin.

Bend the spacers of the Button Pad alongalkong their weak lines.

Place the modulino Buttons in the lower left corner, with the LEDs towards the UNO Q.

Lay the bent ButtonPad on top of it and fix them with two M3x8 flathead screws to the Base.

Place the Modulino Joystick in the lower right corner, and fix it with two M3x5 flathead screws. Be careful: the screw hole overlapping the Modulino Pixels cannot be used!

Put the Cover on top and fix it with 5x M3x5 screws.

Have fun!