
DIY wheels for Playtive electric trains
Obliczymy ostateczną cenę na podstawie wybranego pliku. Sprawdzisz ją i zaakceptujesz przed płatnością.
Zapisane na tym urządzeniu.

3D-printed rim and mold for new rubber wheels to fix Playtive electric trains (brio-compatible).
- Ocena
- 0 / 5
- Polubienia
- 15
- Pobrania
- 66
- Wydruki
- 0
- Wyświetlenia
- 916
- Oceny
- 0
Aktualizacja u źródła:
Informacje o modelu
- Źródło
- Printables
- Kategoria
- Other Toys & Games
- Licencja
- Creative Commons — Attribution — Share Alike
After some abuse, the rubber wheels of my son's playtive train gave up and I started to look into how to repair them. Replacement parts are hard to come buy, so I decided to go full DIY. A few failed attempts later, I came up with this mold that allows to add a silicone rubber tread (provides a decent grip on the wooden tracks) to a 3D-printed plastic rim (for stability).
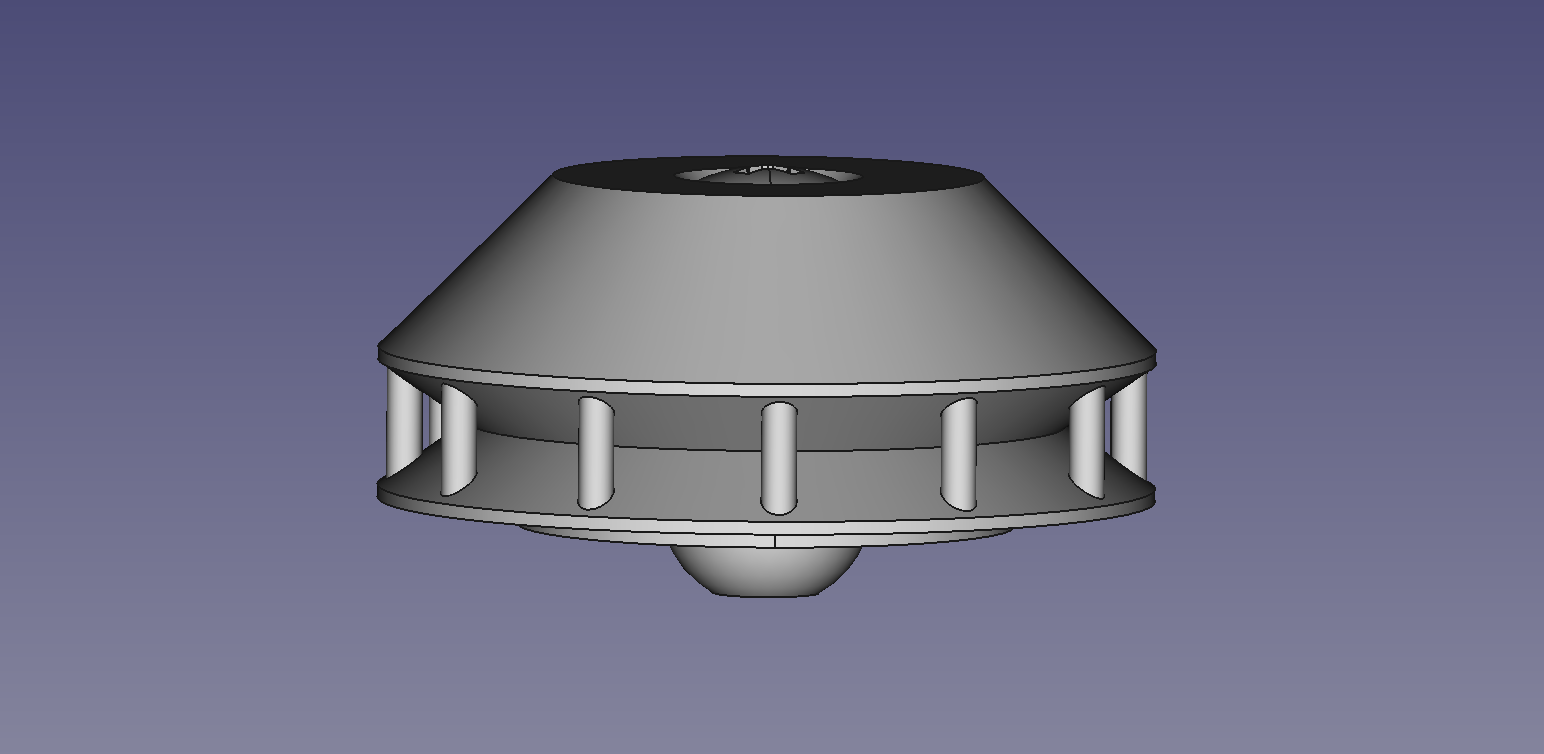
The rim features spokes that help the silicone rubber to flow around and form a mechanically sound bond. Printing with a 0.4mm nozzle is possible, while a 0.25mm nozzle is recommended.
Printed parts:
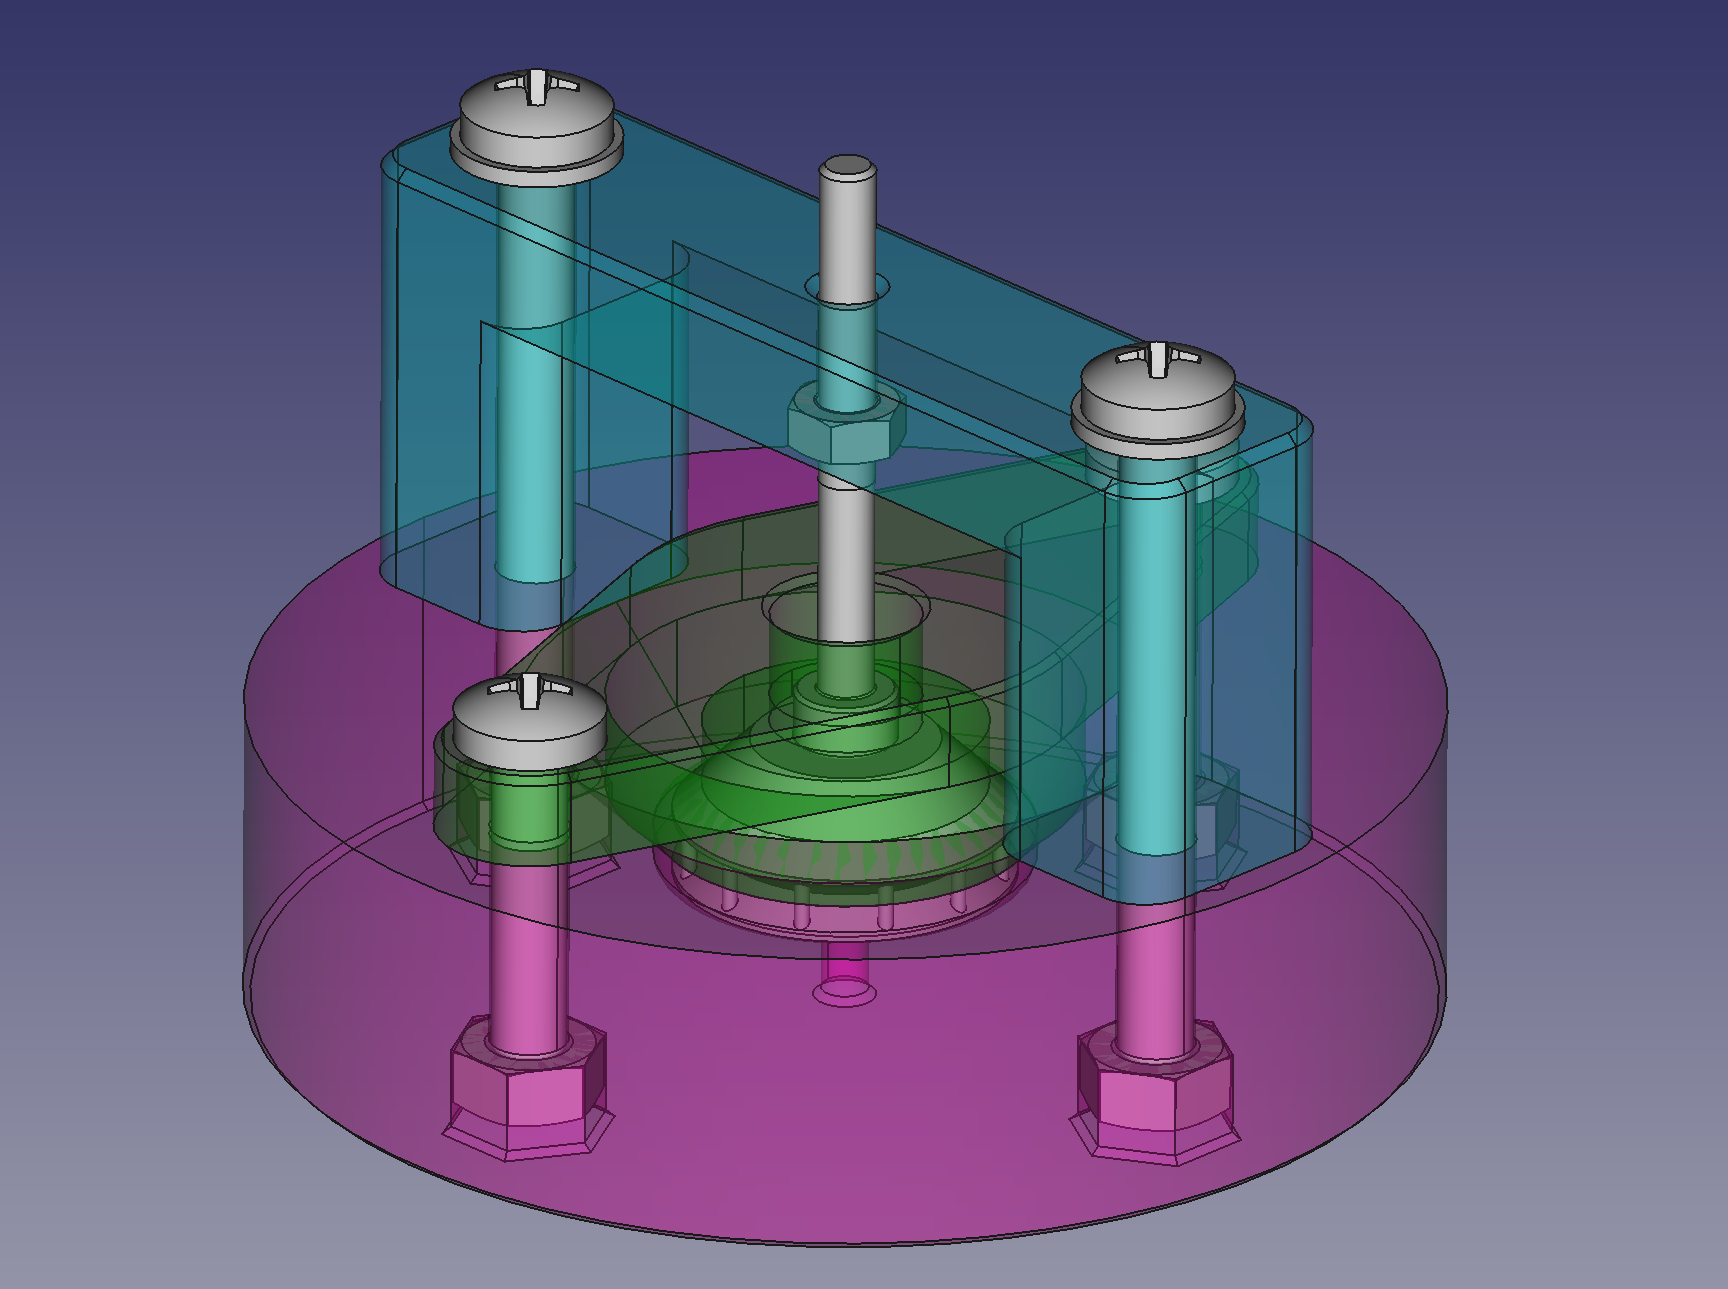
Playtive-Antriebsrad-Felge.3mf: Rim (4x), best printed with 0.25 nozzle and 0.1mm layer heightPlaytive-Antriebsrad-Aufnahme.3mf: Main mold body (magenta)Playtive-Antriebsrad-Fixierbalken.3mf: Cross-beam (cyan)Playtive-Antriebsrad-Stempel.3mf: Seal (green)Playtive-Antriebsrad-Zentrierstück.3mf: Center guide (grey)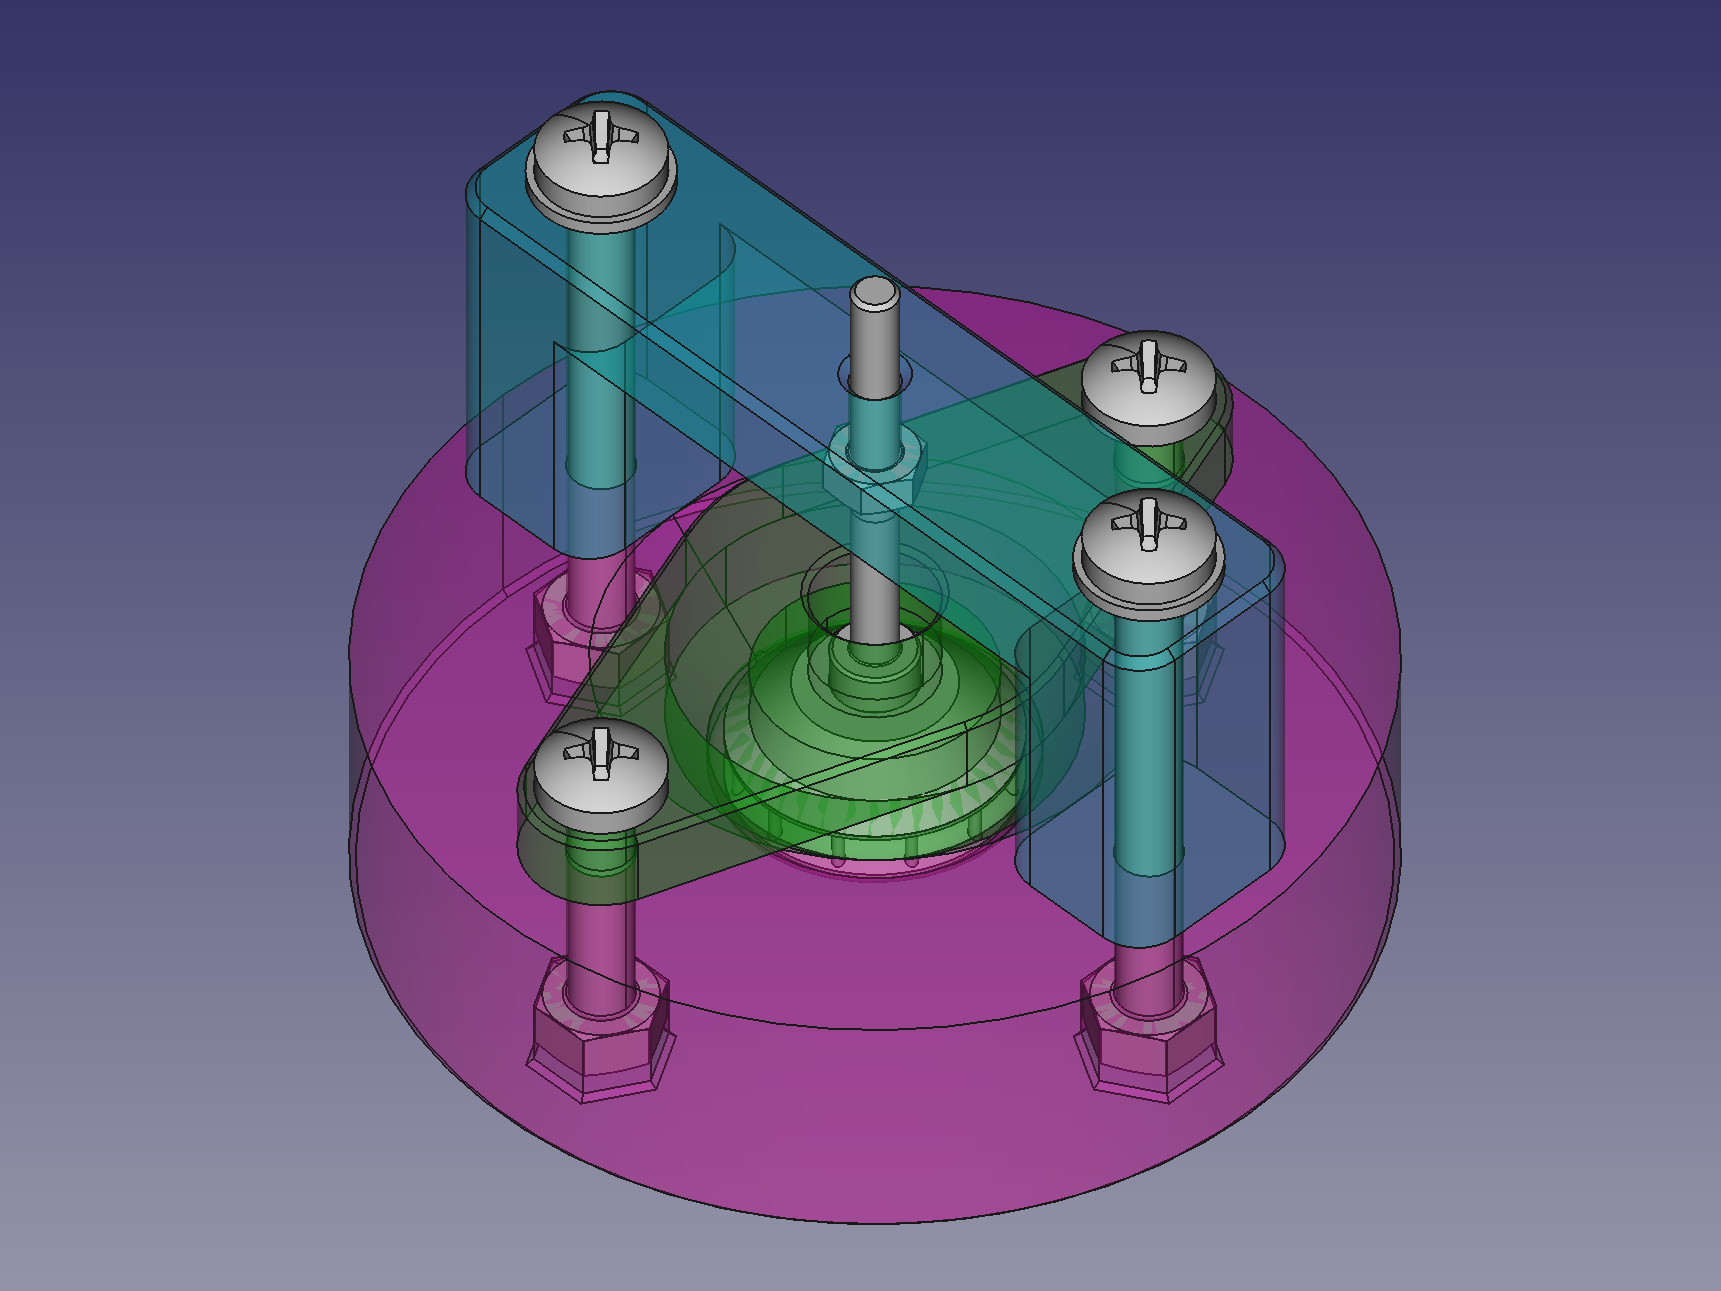
For the mold, the parts need to be printed in the provided orientation without support and assembled with some additional hardware:
- 1x M2x8 screw (e.g. ISO 7047)
- 2x M3x30 hexagon socket head cap screw (e.g. ISO4762)
- 2x M3 washer
- 2x M3 nut
- 2x M4x40 screw (e.g. ISO7045)
- 2x M4x20 screw (e.g. ISO7045)
- 2x M4 washer
- 4x M4 nut
- short rubber band
Operating Procedure:
- Remove the sacrificial layers in the hex sockets of the main mold body and install the four M4 nuts.
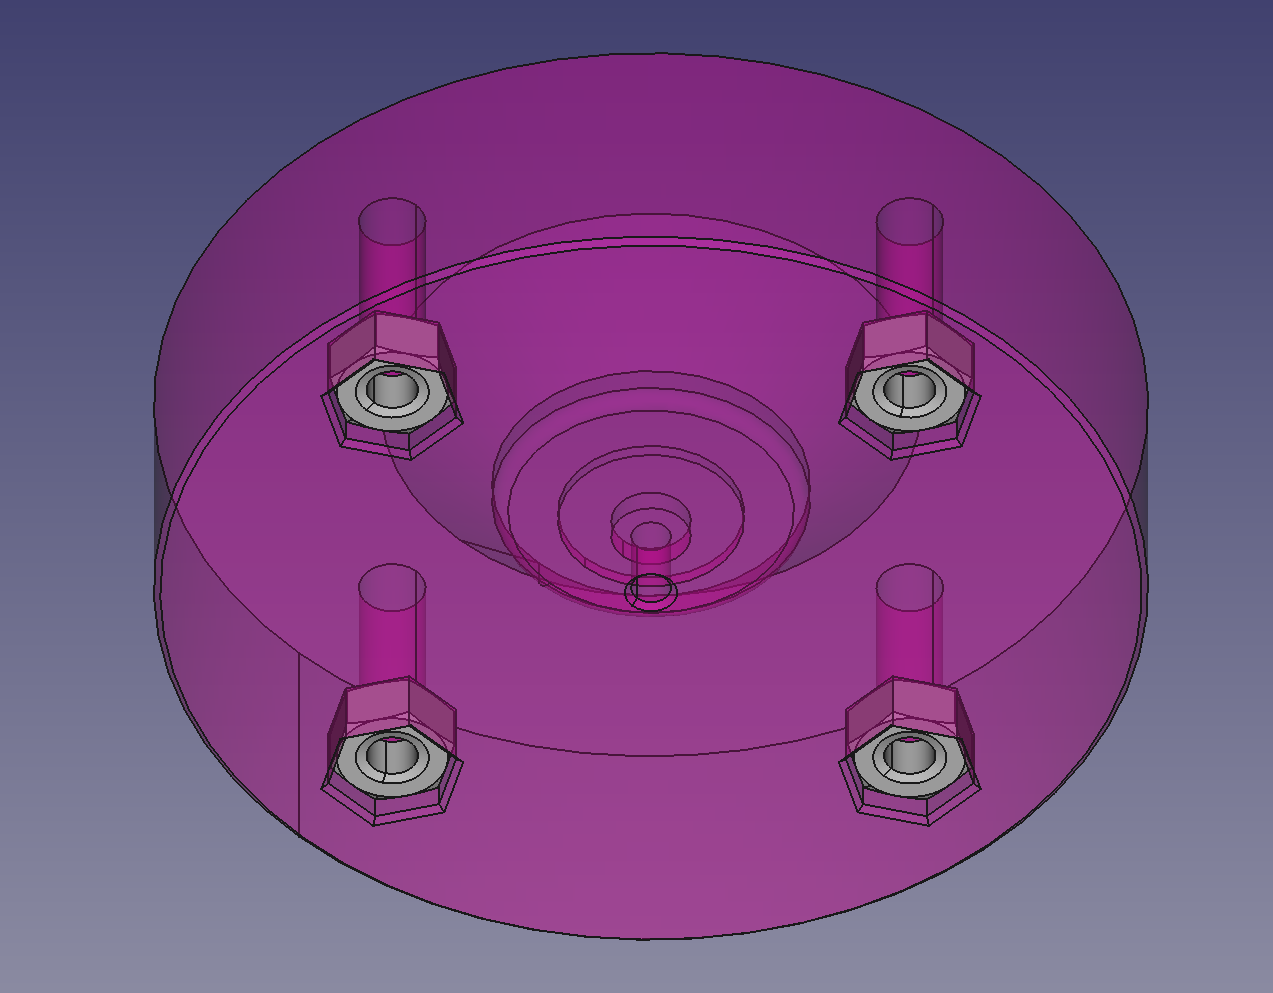
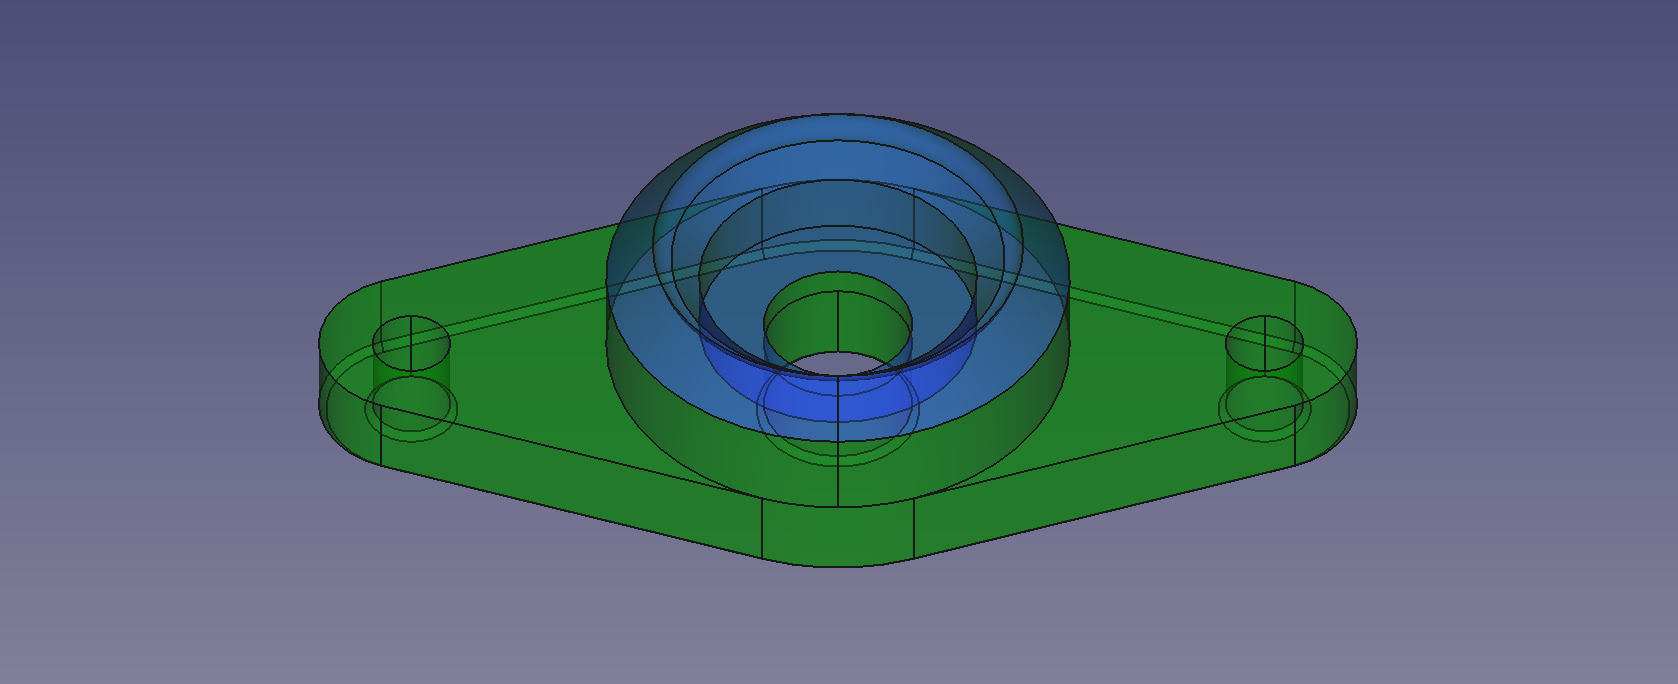
- Treat the contact areas of the main mold body and the seal with a releasing agent (e.g. Teflon® spray or wax).

- Screw the center guide to the rim with the M2x8 screw. This is best done by first screwing the M2x8 bolt into the center guide firmly and then screw the rim on. The two flat surfaces should be pressed together with minimum to no gap.
- Lower the rim with center guide into the main mold body. Make sure it fits snugly into the recession.
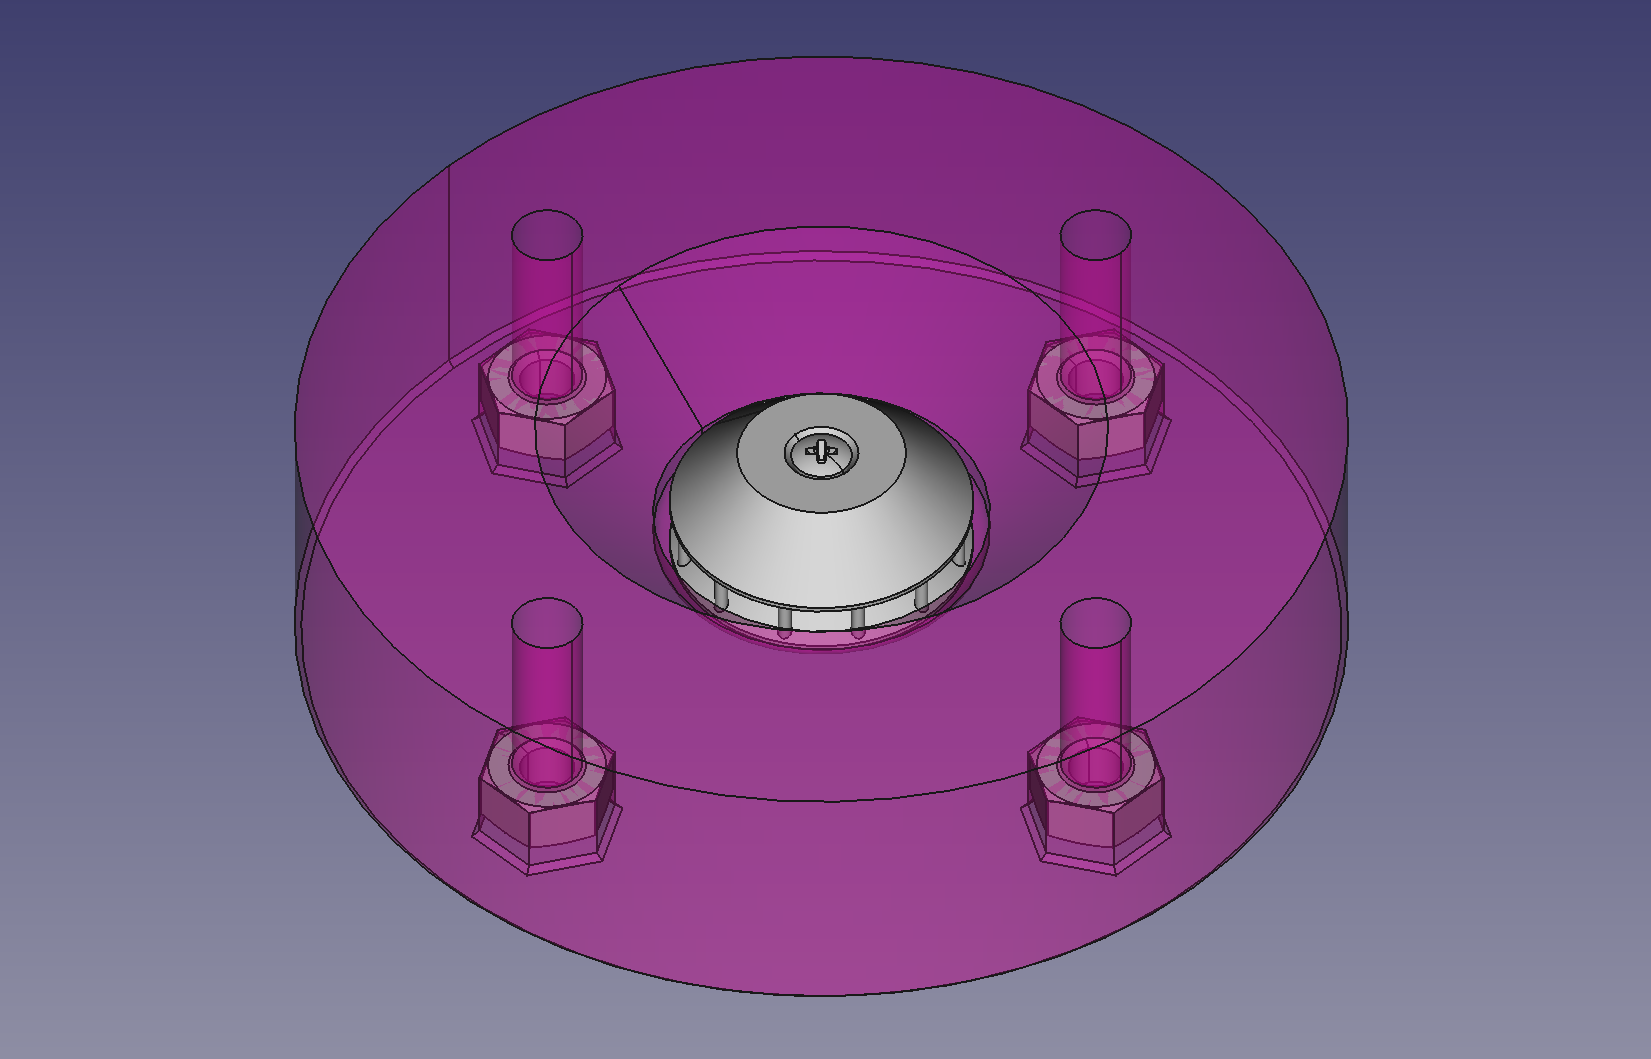
- Loosely place the seal over the center guide, do not yet fix it to the main mold body.
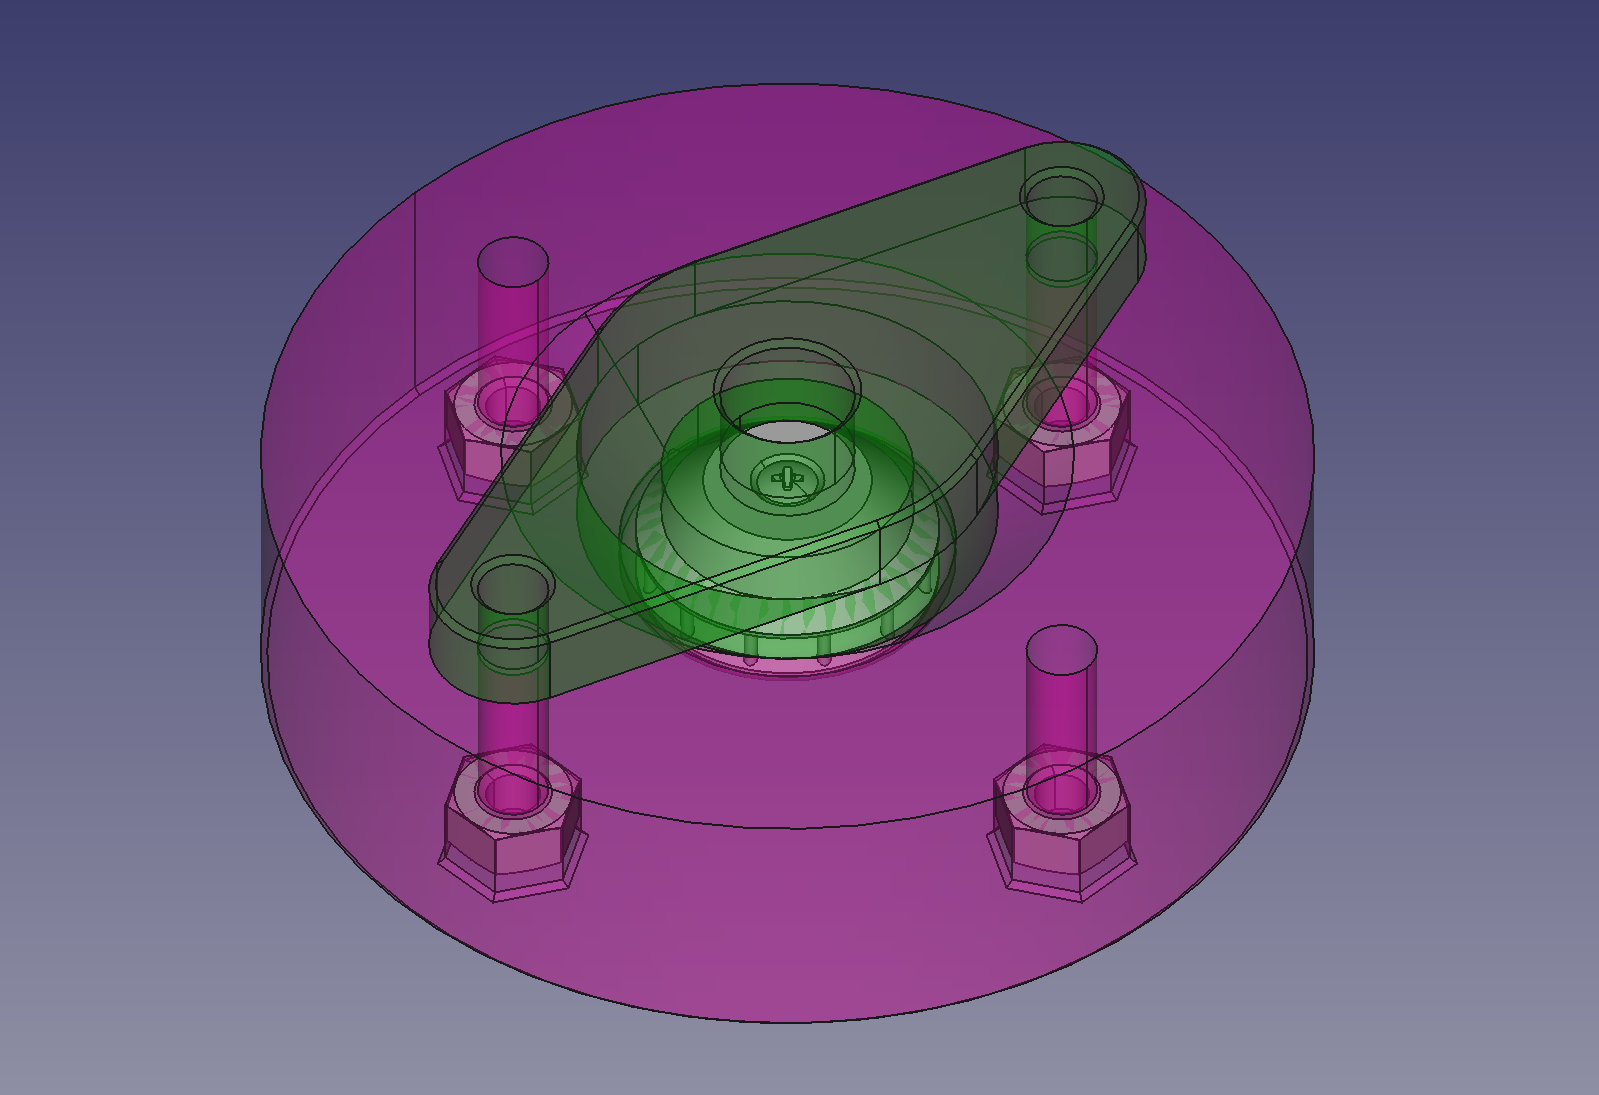
- Screw the M3 nut onto the M3x30 bolt and insert the bolt into the cross-beam center bore. Screw on the second nut slightly just so that the bolt can not fall out.
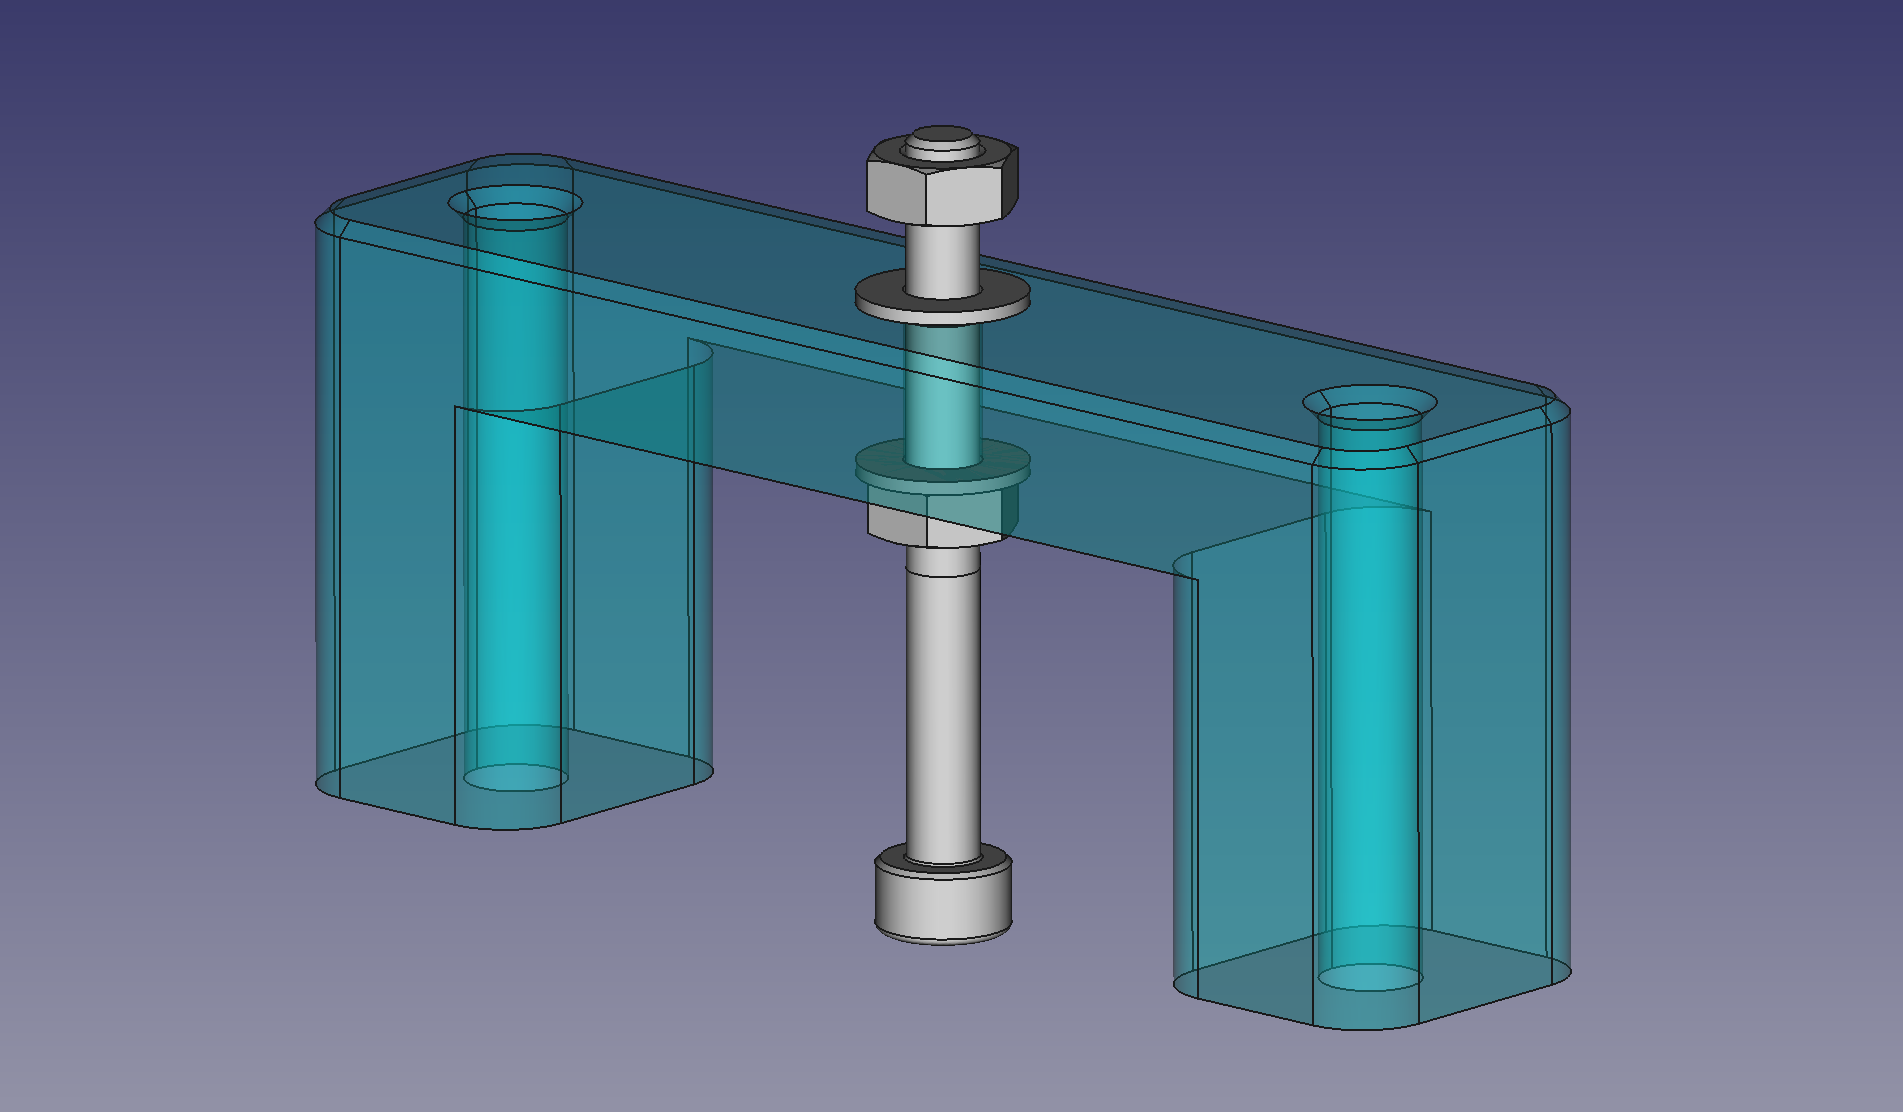
- Mount the cross-beam to the main mold body and fix it with the two M4x40 screws and washers. The position of the M3x30 bolt needs to be adjusted so that it will press down on the M2x8 screw and hold the center guide/rim assembly firmly in place and against the main mold body contact surface. In this position, secure the M3x30 bolt with the two M3 nuts.


- Temporarily remove the cross-beam to arrange the seal over the M3x30 bolt. Then reinstall the cross-beam; the seal can move freely up and down the M3x30 bolt but is still loose. Use the rubber band to fix it in place near the cross-beam top so that is does not obstruct access to the rim.
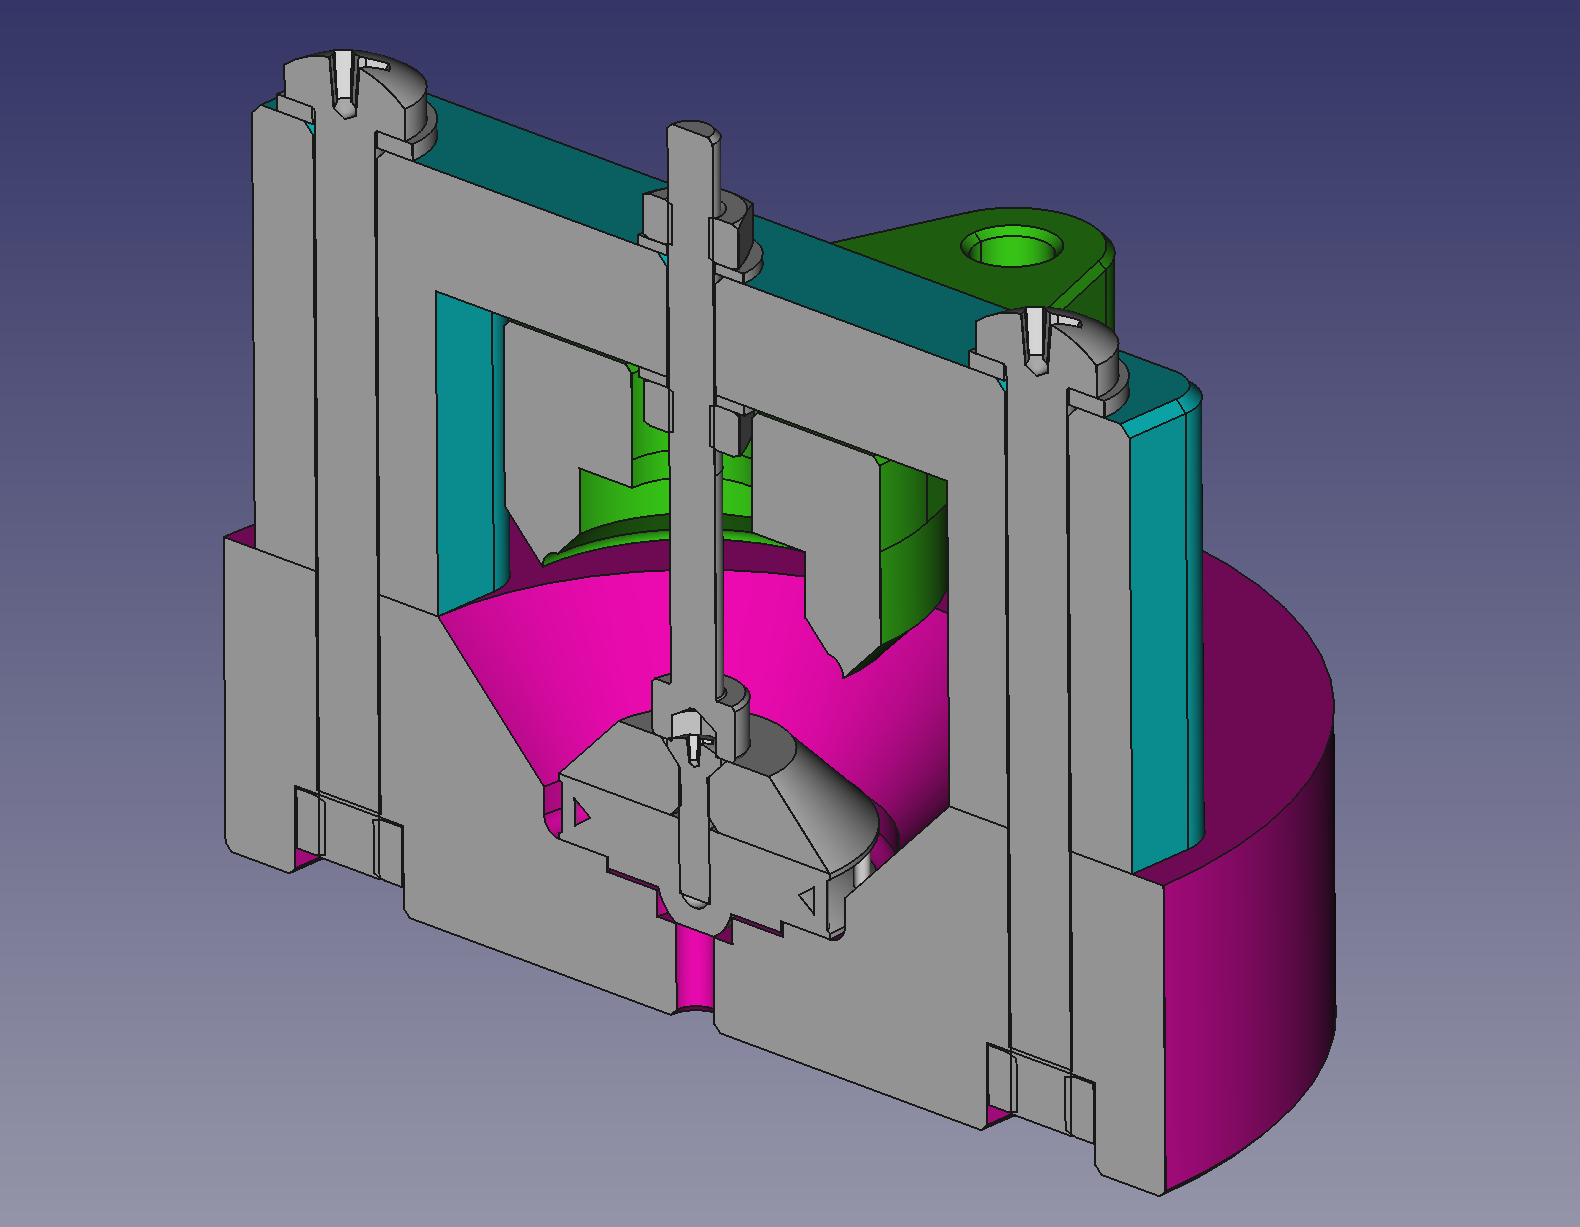
- Now prepare a few grams of silicone rubber in the color of your choice. Prepare enough for just one wheel, allowing for a little excess. Depending on cure time, you're now on the clock.
- Pour the silicone rubber into the gap between rim and mold so that it flows around the rim without leaving any cavities. If possible, expose the silicone rubber to vacuum before and/or after the pouring to remove any remaining air bubbles.
- Remove the rubber band from the seal and place the seal down onto the center guide. Screw it tightly in place with the M4x20 bolts. Any excess silicone rubber will now be pushed out between the seal and the main mold body.

- Let the silicone rubber cure according to the manufacturer's instructions, and then some.
- Once the silicone rubber is completely cured, remove the cross-beam, then the seal to gain access to the wheel. Remove the center guide and any excess silicone rubber.
- Repeat.
Any feedback (including makes and remixes) is highly appreciated!