
Notaus Velleman K8800
Obliczymy ostateczną cenę na podstawie wybranego pliku. Sprawdzisz ją i zaakceptujesz przed płatnością.
Zapisane na tym urządzeniu.
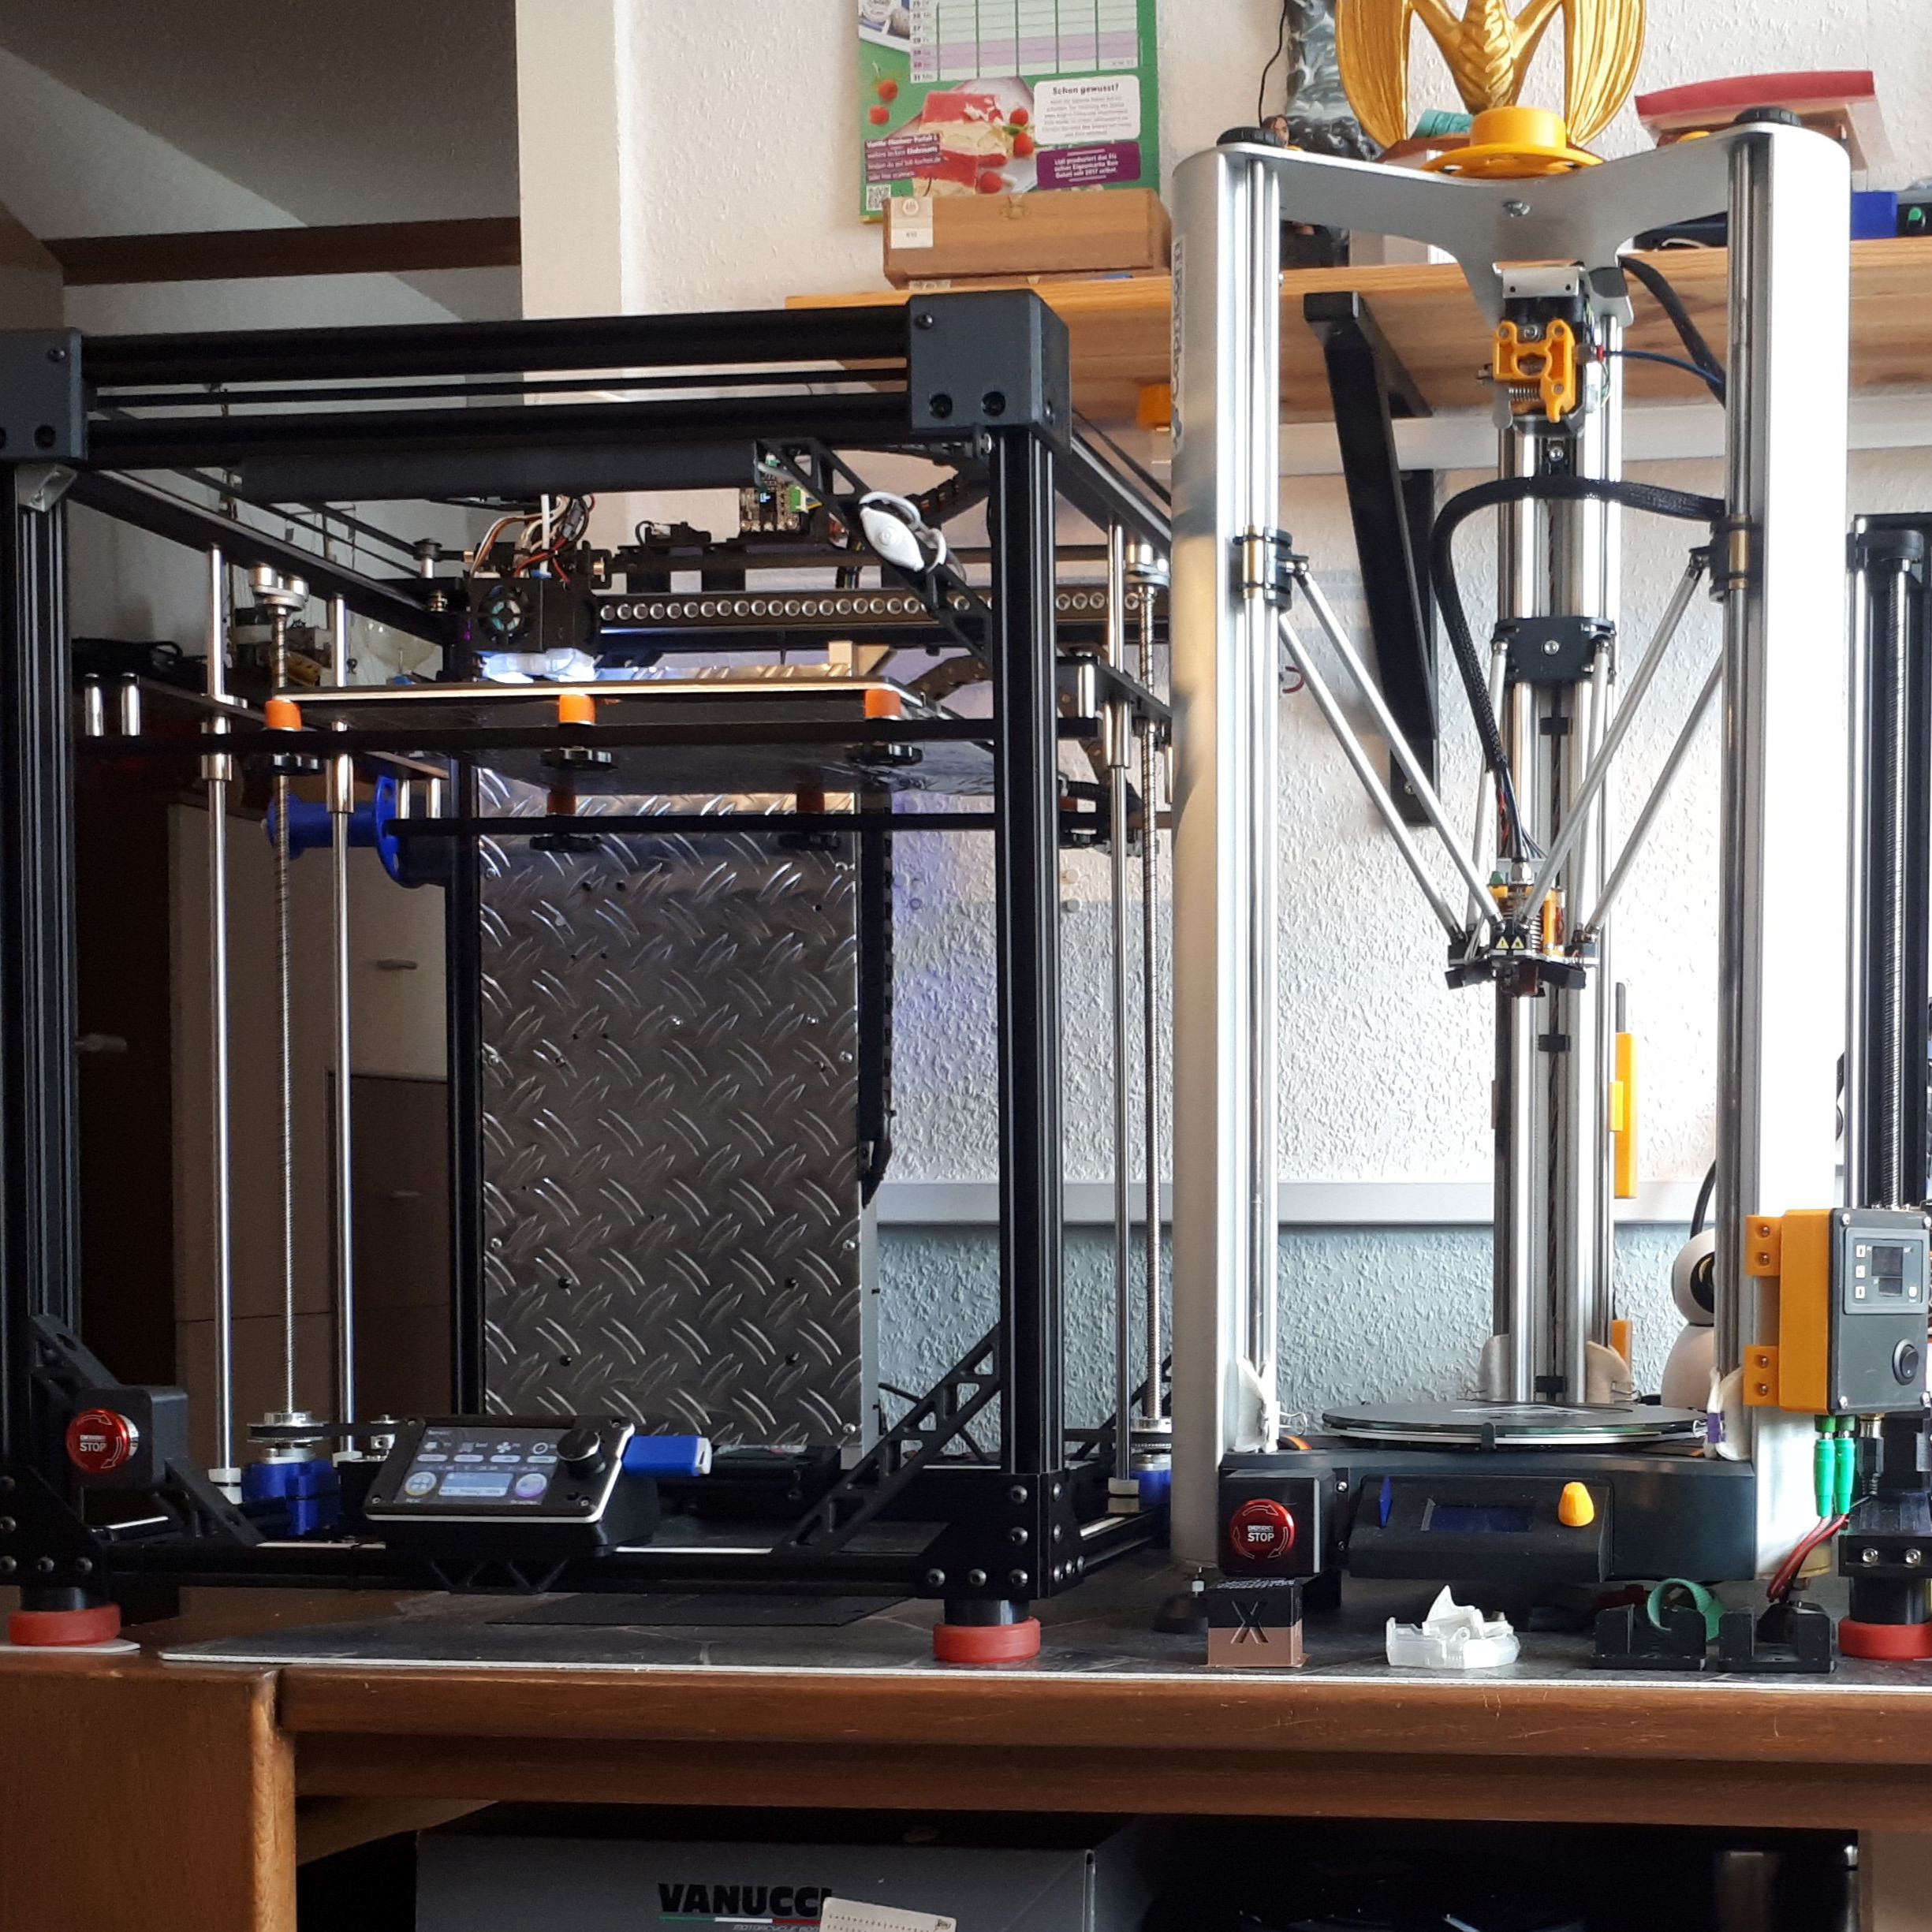
Notaus für den Velleman K8800. Der Schalter erzeugt einen Reset in der Steuerung. Der originale Reset Knopf ist im…
- Ocena
- 0 / 5
- Polubienia
- 0
- Pobrania
- 9
- Wydruki
- 0
- Wyświetlenia
- 210
- Oceny
- 0
Aktualizacja u źródła:
Informacje o modelu
- Źródło
- Printables
- Kategoria
- Other Printer Parts & Upgrades
- Licencja
- Creative Commons — Attribution
Notaus für den Velleman K8800.
Der Schalter erzeugt einen Reset in der Steuerung.
Der originale Reset Knopf ist im Betrieb nicht zu erreichen, der Netzschalter auf der Rückseite ist ebenso ungünstig gelegen.
Wer den K8800 hat, weiß das der Drucker im allgemeinen sehr zuverlässig ist.
Allerdings kann es beim leveln sporadisch zu Störungen kommen und
der Kopf hackt dann über das Bett.
Meistens liegt die Glasplatte nicht sauber auf den Piezosensoren auf.
Damit man hier schnell reagieren kann, habe ich den Reset nun nach vorn verlegt.
Der Notaus ist 22mm im Gewinde, der Anschluss ergibt sich aus den Bildern.
Warnung, hier muss gelötet werden, dabei kann man als Grobmotoriker schon mal die
ganze Platine zerstören, auch durch elektrische Aufladung !
Wer also sicher gehen will, sollte hier einen Fachmann mit dem Löten beauftragen!
Ich übernehme keinerlei Verantwortung für Folgeschäden !!!!!
--------------------------------------------------------------------------------------------------------------
Emergency stop for the Velleman K8800.
The switch generates a reset in the controller.
The original reset button cannot be reached during operation, and the power switch on the back is also unfavorably located.
Anyone who has the K8800 knows that the printer is generally very reliable.
However, there can be sporadic disturbances when leveling and
the head then chops across the bed.
In most cases, the glass plate does not lie properly on the piezo sensors.
So that you can react quickly here, I have now moved the reset to the front.
The emergency stop is 22mm in the thread, the connection is shown in the pictures.
Warning, you have to solder here, but as a gross motorist you can do the
Destroy the entire circuit board, also due to electrical charging!
So if you want to be on the safe side, you should hire a specialist to do the soldering!
I assume no responsibility for consequential damage !!!!!
Category: 3D Printer Parts