
Spitfire Radiators for 3dLabPrint Mk XVI 973mm
Obliczymy ostateczną cenę na podstawie wybranego pliku. Sprawdzisz ją i zaakceptujesz przed płatnością.
Zapisane na tym urządzeniu.
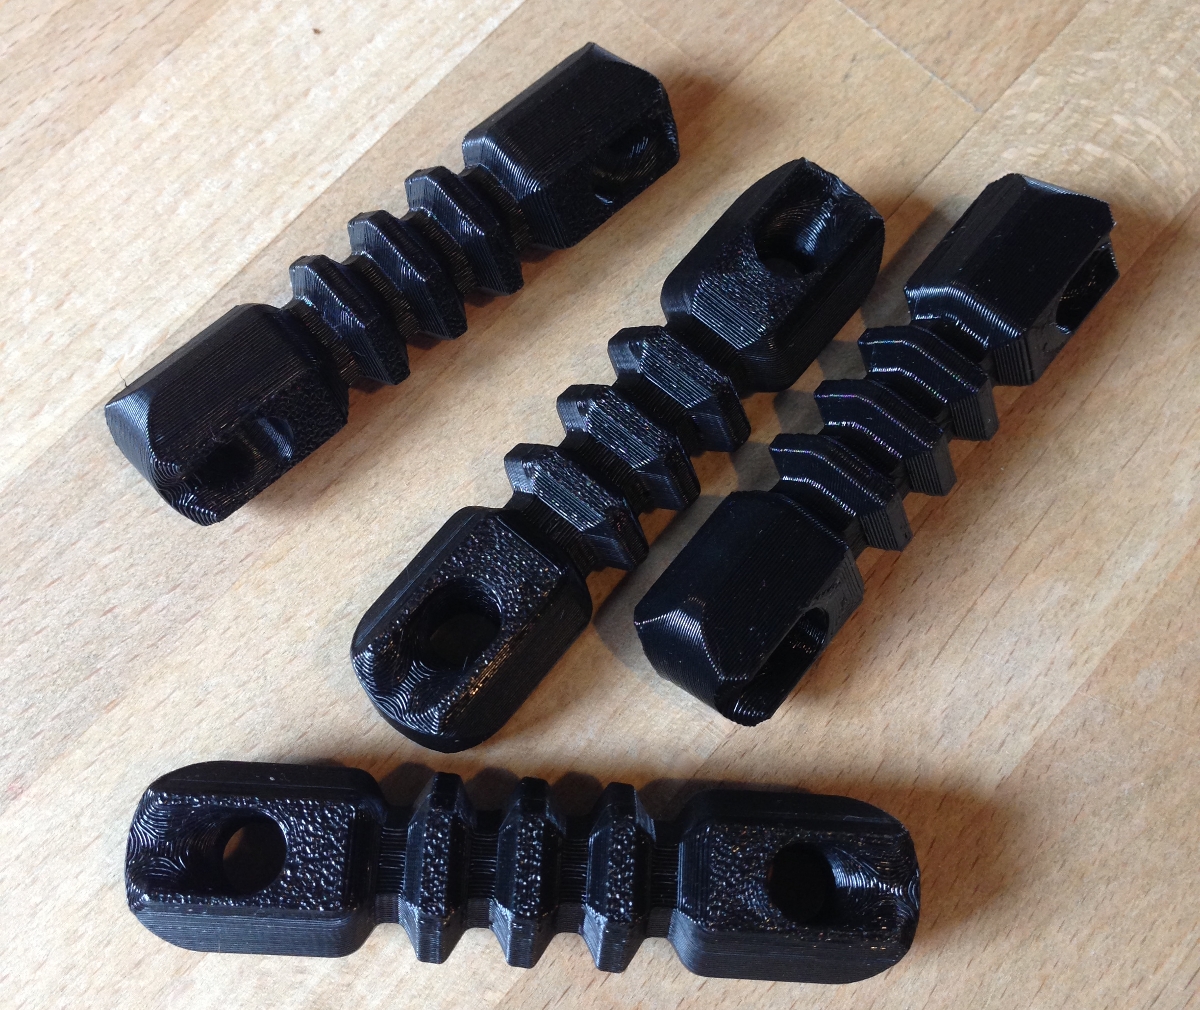
Used the Radiator STL from "RC Spitfire Accessories" unchanged..'remixing' done in the slic3r.
- Ocena
- 0 / 5
- Polubienia
- 11
- Pobrania
- 93
- Wydruki
- 0
- Wyświetlenia
- 1489
- Oceny
- 0
Aktualizacja u źródła:
Informacje o modelu
- Źródło
- Printables
- Kategoria
- RC & Robotics
- Licencja
- Creative Commons — Public Domain
Used the Radiator STL from "RC Spitfire Accessories" unchanged..'remixing' done in the slic3r.
Loaded the radiator in to Prusa's Slic3r PE twice.
Scaled each one to 216%
Clicked 'Arrange'
Selected one and rotated it 180° so were facing each other.
Selected one and clicked Object > Mirror > Along Y Axis.
Printed up great in 1h55min using 7.85g of filament. Each radiator is essentially a 2 shell, no fill, piece. See below for suggested placement.
Included the i3 Mk3 .gcode file which successfully printed for me.
Print instructions
Category: R/C Vehicles Print Settings
Printer Brand: Prusa
Printer: i3 MK3
Resolution: .2
Infill: 20% (doesn't matter)
Filament: Prusament PLA Silver
Notes:
Print Settings: Select profile "0.20mm Fast MK3". Under Skirt and brim, set Brim width to 3mm.
Filament Settings: Select profile "Prusament PLA" (or select appropraite for your brand if different).
Printer Settings: Select profile "Original Prusa i3 MK3"
Post-Printing
See image for location details on underside of wing. The radiators sit ouside the width of the fuselage, and the rear of the radiators is just forward of the flaps on the real plane. My locations approximate this. Note the different heights of the radiator sidewalls. The taller side goes to the ouside. The included image shows suggested guidelines for locating the radiators. (These lines in the image are approximated. See description below for making the lines on your plane.) I used the 'built in' structural marks as aids. Locations are mirrored, side to side.
First line was from the rear tip of the rear mark on the fuselage section behind the wing, where it meets the edge (marked with arrow). This lines up with the mark curving in to the wing, the inside of the CG dash (marked with arrow), and the outside of the fuselage forward of the wing, and is parallel to the centerline of the plane. Moving the radiator around with the rear inside corner on this line, I found the forward outside corner intersected with/met another sweeping structural line in the wing (marked with arrow). This placed the rear corner approx. 31mm forward of the trailing edge of the wing. Easy to replicate and locate and square the opening to the front (perpendicular to the centerline of the fuselage).
You might choose to locate slightly wider, or further back, or both, but this worked for me!