
Micromelon Digger Attachment
Obliczymy ostateczną cenę na podstawie wybranego pliku. Sprawdzisz ją i zaakceptujesz przed płatnością.
Zapisane na tym urządzeniu.
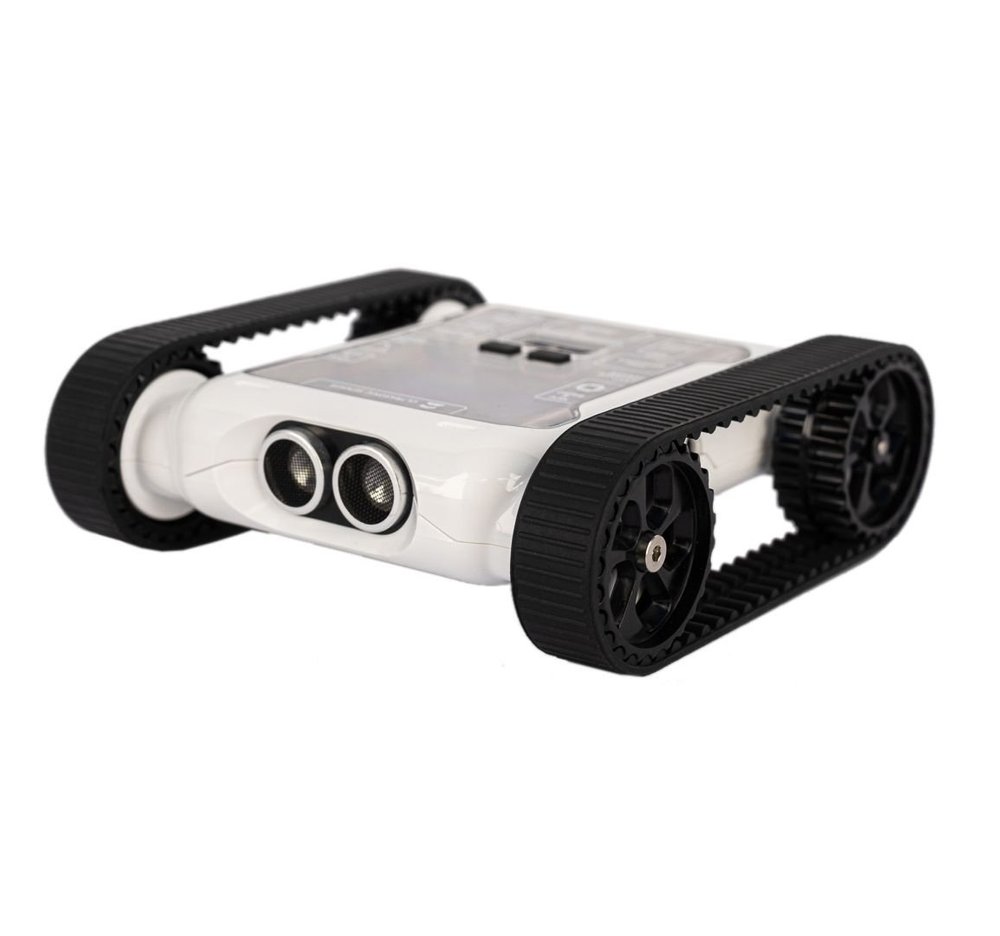
Complete more advanced challenges with the Micromelon Digger attachment. Powered by 2 small 9g servos connected to the…
- Ocena
- 0 / 5
- Polubienia
- 5
- Pobrania
- 114
- Wydruki
- 0
- Wyświetlenia
- 550
- Oceny
- 0
Aktualizacja u źródła:
Informacje o modelu
- Źródło
- Printables
- Kategoria
- RC & Robotics
- Licencja
- Creative Commons — Attribution — Noncommercial
Complete more advanced challenges with the Micromelon Digger attachment. Powered by 2 small 9g servos connected to the Rover's servo connectors.
You will need
1x Micromelon Rover
2x 9g metal or plastic gear servo motors (with included screws)
2x M3x12mm screws
2x M3 Nuts
2x M2x5mm screws
Assembly
You will need to cut the servo boss (plastic part) to fit the cutouts in the left arm. Use a pair of side cutters to do this.
Insert the 2x M3 Nuts into the hex sections on the inside of each motor cavity, then
insert both motors into their holders, feeding the cable through the rectangular hole at the back of each.
Screw the right arm on first using the 2x M3 screws. Then use the M2 screws to screw through the left arm, through the servo boss and into the servo motor.
Connect the motors to the rover using the Servo connectors on the back. Pay attention to the orientation of the connector.
To get started using the motors in the Code Editor check out the blog post on servo motors at https://micromelon.com.au/resources/
Category: Robotics