
Sidewinder X2 Dual Fan Duct
Obliczymy ostateczną cenę na podstawie wybranego pliku. Sprawdzisz ją i zaakceptujesz przed płatnością.
Zapisane na tym urządzeniu.

Custom designed to support 2x 50mm 5015 blower fans.
- Ocena
- 4,4 / 5
- Polubienia
- 58
- Pobrania
- 407
- Wydruki
- 7
- Wyświetlenia
- 4495
- Oceny
- 5
Aktualizacja u źródła:
Informacje o modelu
- Źródło
- Printables
- Kategoria
- Other Printer Parts & Upgrades
- Licencja
- Creative Commons — Attribution — Noncommercial — Share Alike
***Update 8 Oct 2022
Another revision of the geometry and the wall thickness of the duct. I had some vibration that was happening under full fan power. I've changed the density of the connection points to the main plate as well as adding some supporting material. This allowed me to eliminate the need for the two caps. It now only requires a single cap. This cap should be printed with the following settings (I printed this on an Ender 3):
Quality: 0.04mm
Walls: 5
Print Speed 50mm/s
***Update 30 Sep 2022
I revised the geometry of the ducts for a smoother flow and along with that created small caps for the access holes used to secure the fan to the print head. This may not be what others need so both models will be available for those who prefer the original.
***Update 11 Sep 2022
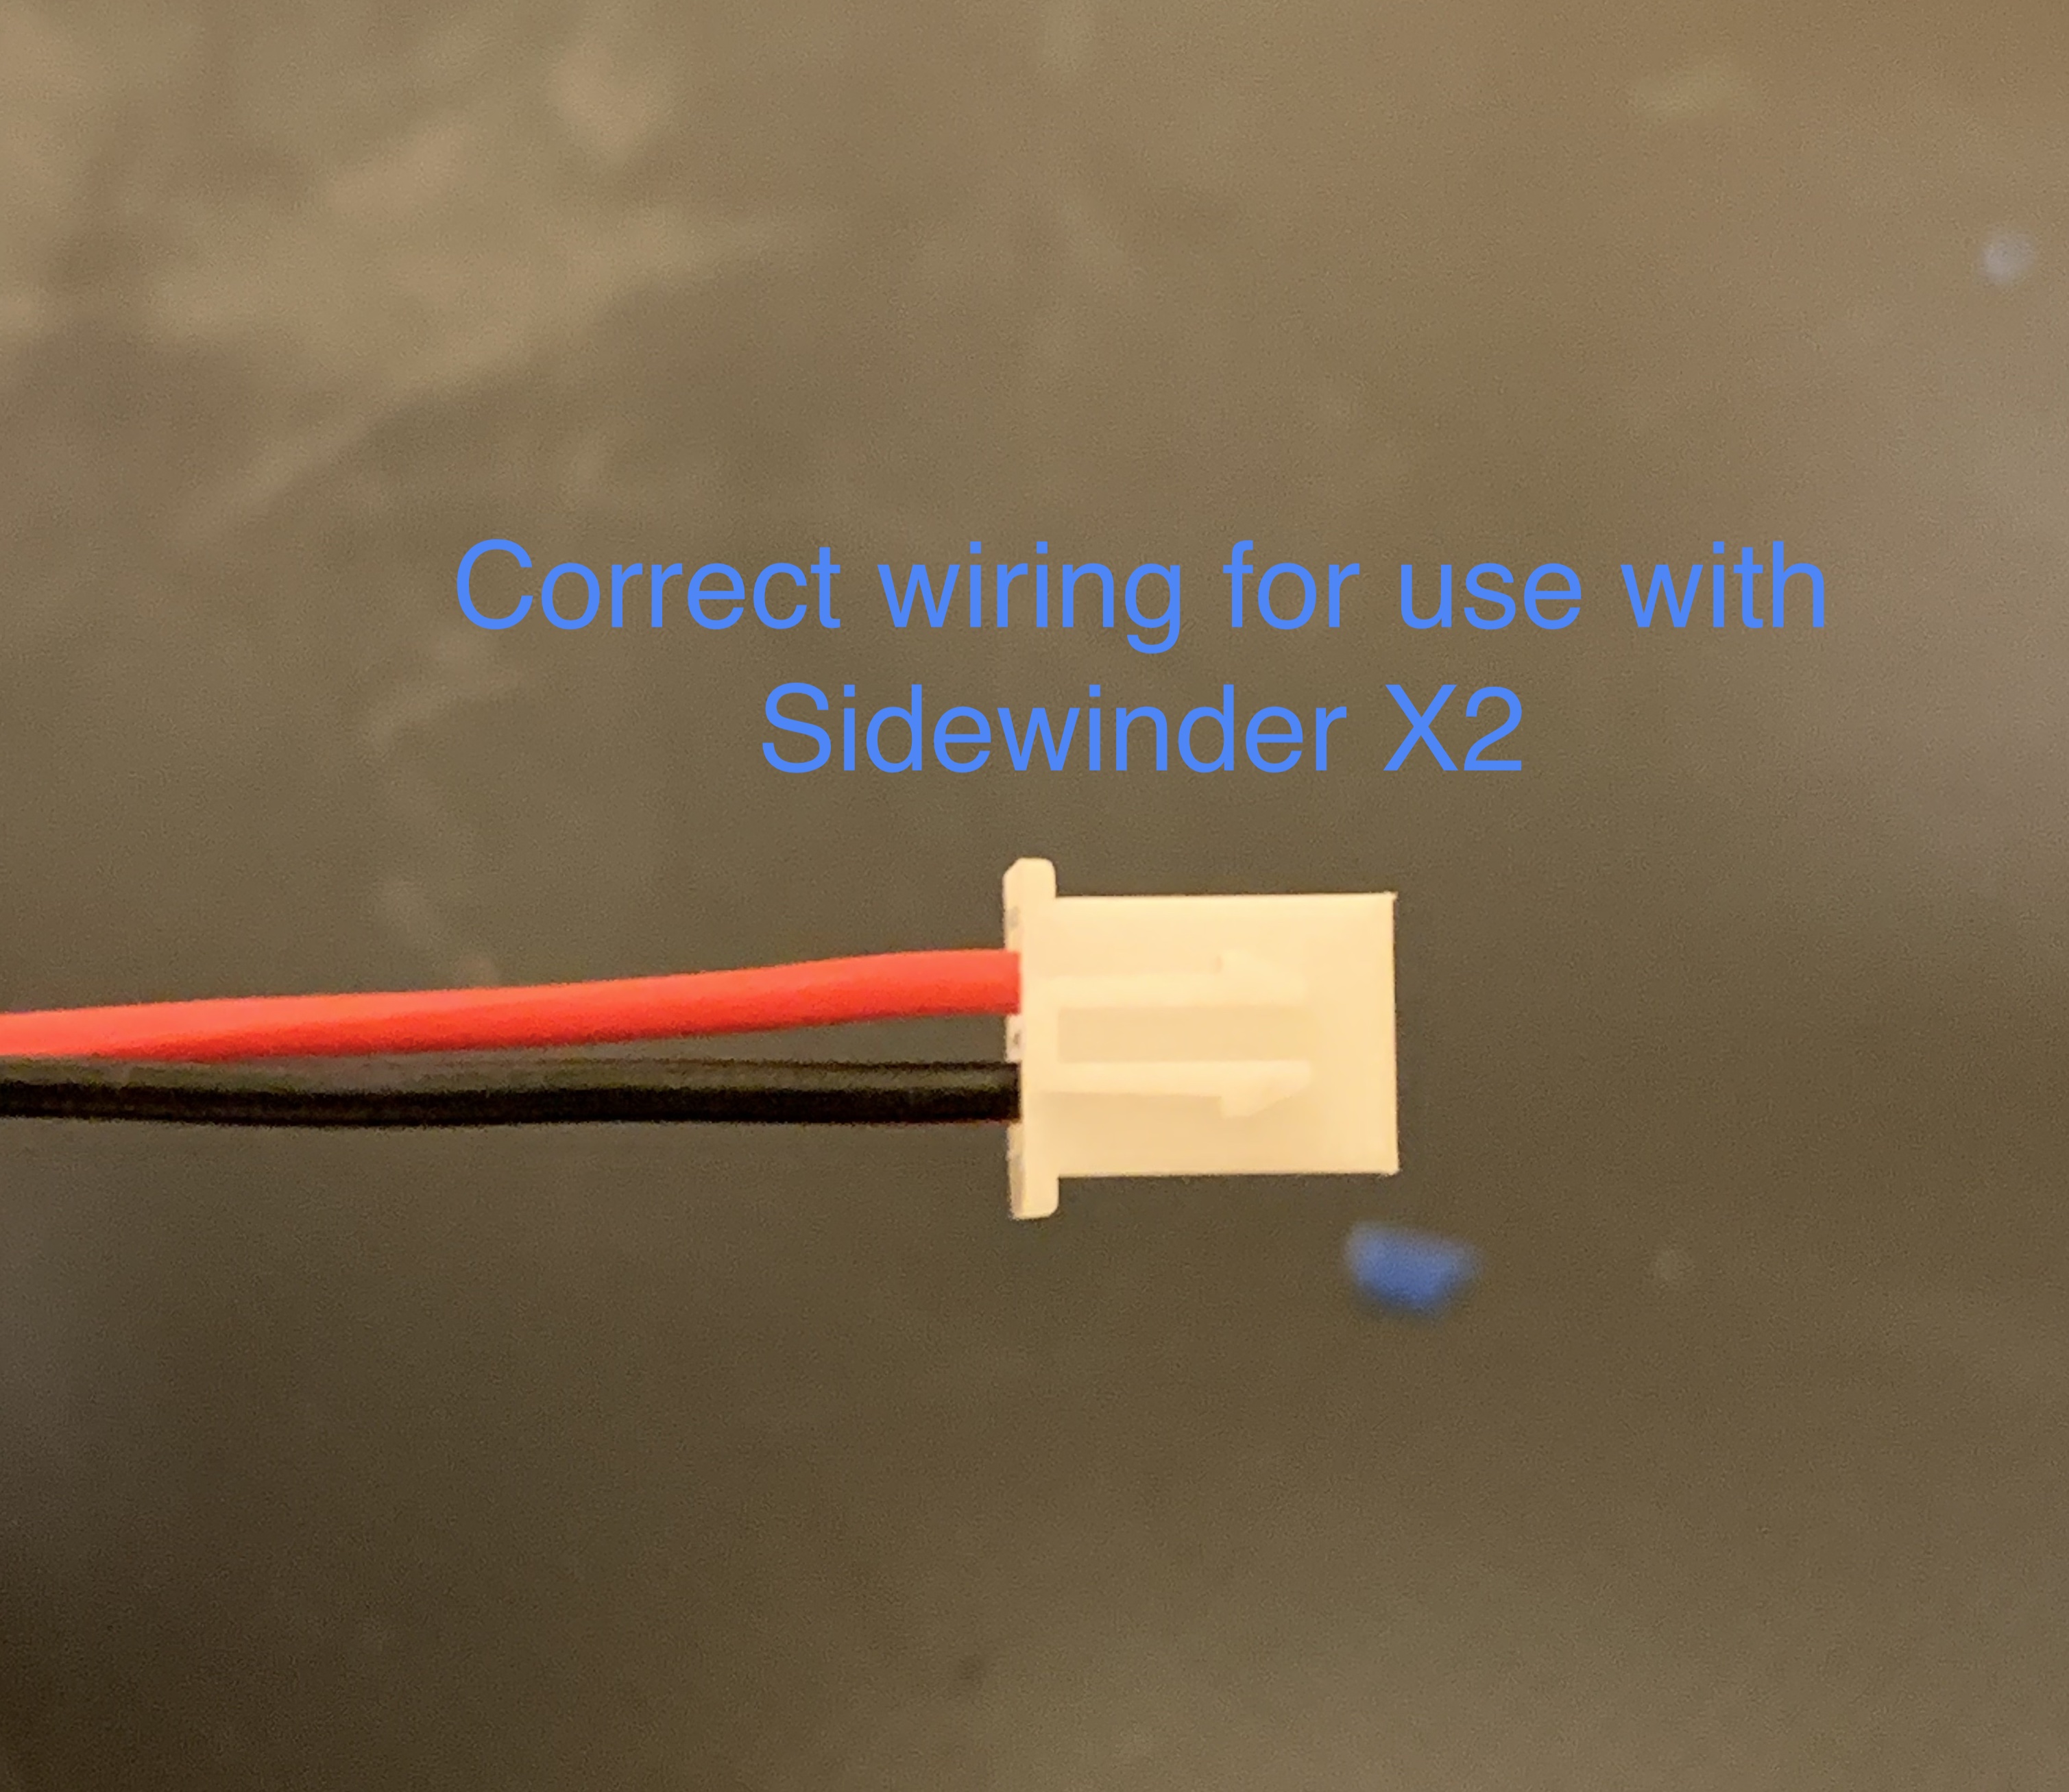
*** I have not mentioned this prior to these two X2 fan mods about the wiring differences I found. Using the fans that are linked in each of these articles, you will not be able to get the fan to work. I'm not sure if this is a standardization issue in pin orientation or something that is common. You will have to swap the power and ground pins inside the fan connector in order to get it power up. I did this without thought to those who might follow this guide explicitly. Yes, I'm inconsiderate and all about the big money I'm making on these projects. I'll put being a better human on my to-do list, but it's at the bottom so don't hold your breath.
Stock Wiring

Sidewinder X2 Wiring
Artillery Sidewinder X2 Dual Part Cooling Fan
The X2 is a great printer with a few exceptions. One of the most notable issues I experienced was the lack of decent overhangs. After multiple iterations, tests, and some proven results, this is my solution. It supports two 5015 blower fans that can be spliced together and connected to the printhead PCB exactly as a stock fan. These can be purchased from Amazon for pretty cheap and once printed, installation takes about 10 minutes.
Before you complain about the model heed the following:
1. Yes, it's louder than stock. Sorry, not sorry. It works 10x better and I can consistently get 80º overhangs to look identical to a 10º one.
2. The holes in the right-hand fan duct…yes I know, weird, but that’s what your friends say about you and you don't hear us complain about it!
- This was done so all you have to do to remove the assembly is to loosen two bolts. This also keeps the fans looking symmetric and eliminates the need for a canted fan design.
- The inner hole in the duct is nearly flush with the surface if you use the suggested bolt to secure it to the print head. I'm not a fan flow Jedi but I know this ducting works better than the stock part cooling solution. I'm sure if it was flow tested I'd be labeled a “flow heretic” but I think I'll sleep well at night knowing this.
To fill the outside hole, I've done one of two things:
- Hot glue: Use a removable backing material and fill the 1.5mm deep hole with a spot of hot glue. Once dry just remove the backing and the glue looks perfectly at home with the inside surface smooth. This is easily removed with a pair of wire cutters (those sent with the Ender series printers) or a similarly sharp object. The pictures you see are a hybrid of some hot glue and an appropriately sized cap I printed. The fit isn’t to my normal standards, so I haven’t published it yet. It’s a work in progress and I hope it will be included in a later update.
- Blue Tack: You know, that stuff you use to put up all your unicorn paintings and your life size poster of David Hasselhoff on your bedroom wall? It's pliable, doesn't go anywhere, and can be removed painlessly.
3. The fans sit snugly in the mounts (based on the accuracy of your printer) and should have minimal movement once inserted. I dabbed one small amount of hot glue on each side of the fan/duct contact points to ensure it wouldn't have a case of the Red Bulls and take flight. After multiple prints I've yet to see it attached to the ceiling or attempting escape out my front door.
4. Much to your surprise I'm sure, I'm not a school taught 3D model maker dude. This is a hobby that I spend both too much time and too much money on. My product isn't perfect but it works and it cost you nothing! My real job takes about 90% of my time and 100% of my soul so you guys get the remainder, sorry. If there is enough interest I will attempt other designs for this printer that can help the community.
5. I will continue to update this model as needed. This is the first time I've released a design to the public. My future plans are to get rich by releasing more designs, free of charge. I'm certain I'll be the next Elon Musk, only less obnoxious, and significantly less wealthy. The next release will be a single fan with dual ducts to help reduce noise. This will take some time but it is something I will work on and release as soon as I can.
6. Here are the parts I got from Amazon. The links may expire with time but the important part is the size and design of the fan. Make sure you get the 24V version or you're going to let the magic smoke out in a matter of seconds.
Fans: https://a.co/d/7E1LBpB
3D Printer 24 Volt Fans Blower Turbine Turbo Dual Ball Bearing, Brushless Cooling 50mmx15mm 2PIN (Pack of 4Pcs)

Blue Tack: https://a.co/d/cQocgK3
 https://a.co/d/gr4eW8U
M3x10mm Socket Head – Should only need 2 of these and the link provided is an example of the type of bolt I used.

Description automatically generated">
7. Print Setup:
- Printed on an Ender 3 Pro (I know….shame…shame…shame….shame…GOT reference)
- Use tree supports (touching build plate - if you don't you'll be removing it from the ducts)
- 50% infill
- Wall line count: 5 (higher wall count is stronger than more infill)
- PLA at 205º
- Bed temp of 67º (glass bed with no adhesion aids)
- 50mm/s
- 20mm/s initial layer
- .12mm layer height (prints fine at .2 as well and takes just over 7 hours)
- Sliced with Cura (yeah I'm a sinner posting Cura sliced stuff on a Prusa website)
Hope this helps someone out there. It seems there is little in the way of a fan base for these printers which is a shame. Build quality and price point for the options you get are first class. For those who have this printer I'd also recommend adding the Z axis stabilizers as well. It helps remove Z banding on tall prints. If there are requests or if there anyone out there that has a question, post up your comments and I'll get to them as soon as I can.