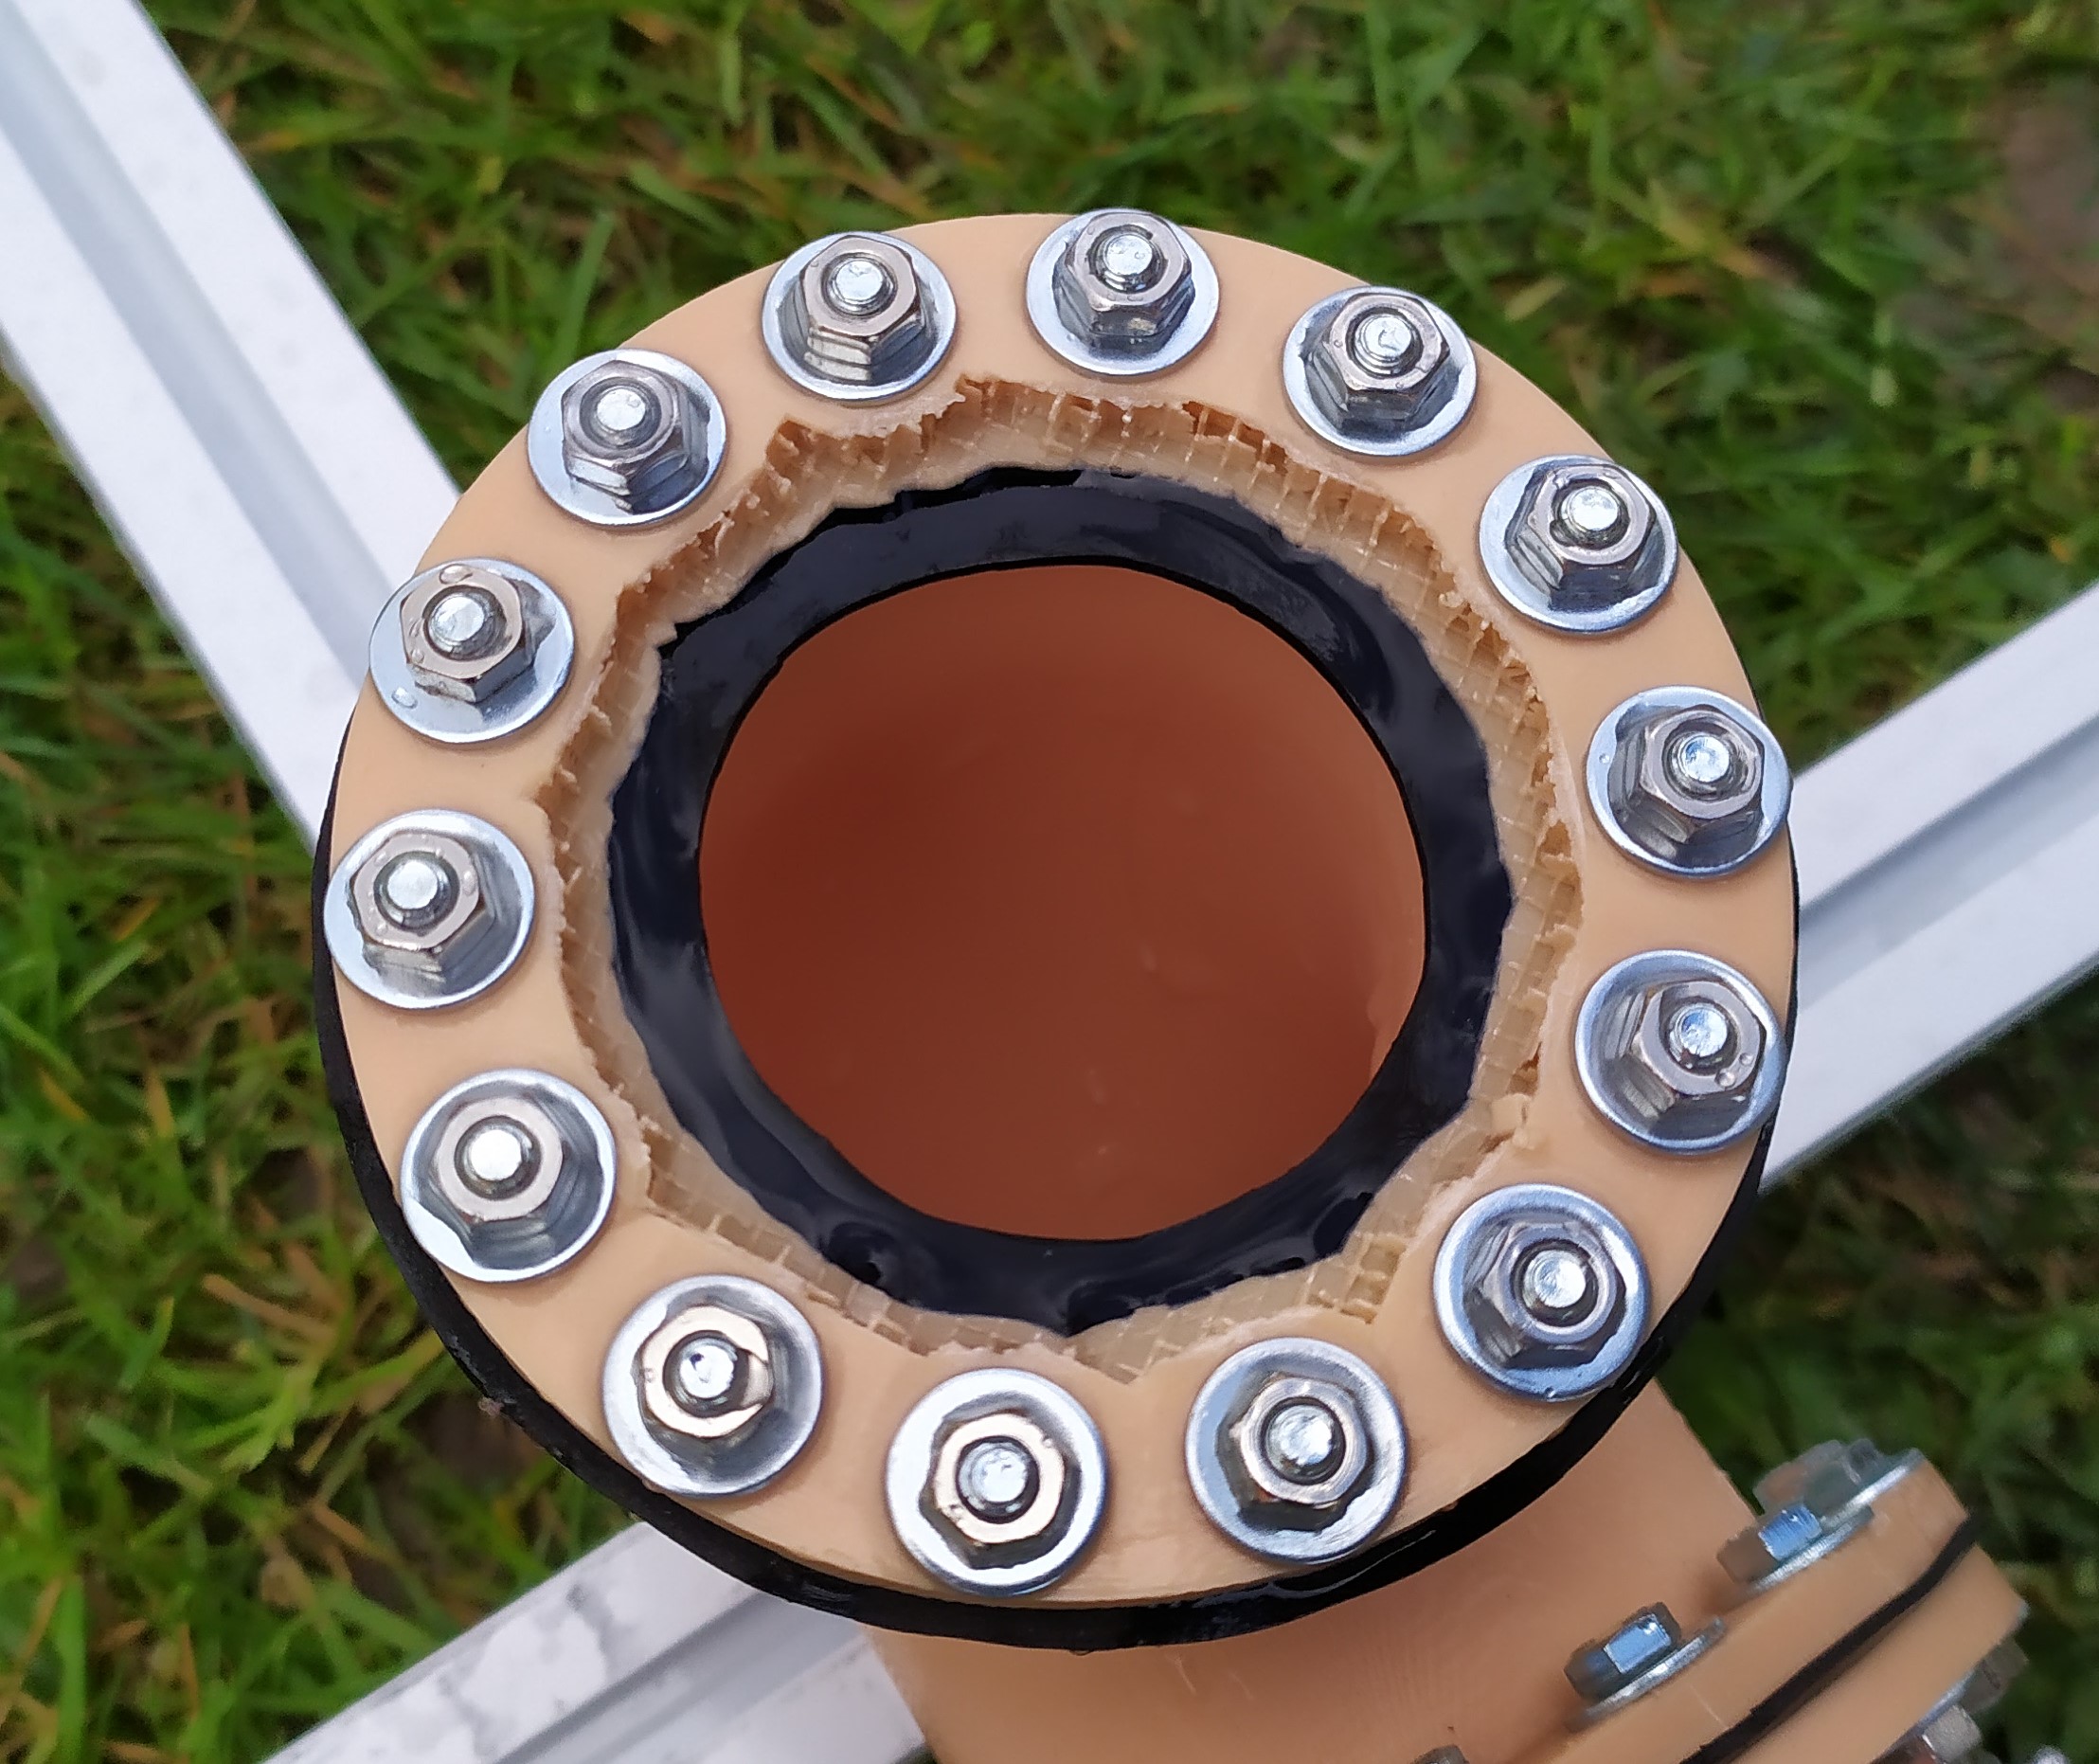
big water cannon
Obliczymy ostateczną cenę na podstawie wybranego pliku. Sprawdzisz ją i zaakceptujesz przed płatnością.
Zapisane na tym urządzeniu.

A water cannon designed for C couplings, a standart coupling for firefighters in germany.
- Ocena
- 5 / 5
- Polubienia
- 66
- Pobrania
- 226
- Wydruki
- 1
- Wyświetlenia
- 3908
- Oceny
- 1
Aktualizacja u źródła:
Informacje o modelu
- Źródło
- Printables
- Kategoria
- Mechanical Parts
- Licencja
- Creative Commons — Attribution — Share Alike
The step files of the water cannon are uploaded for better understanding of the model.
BOM:
98x M4x16 screw (14 less if the pipe_barometer is not used)
98x M4 cap nut (14 less if the pipe_barometer is not used)
196x M4 washer (28 less if the pipe_barometer is not used)
2x C-coupling 2" IG (or other 2" coupling)
4x O-Ring 48 x 3.5
2x M3 locknut
2x M3x10 screw
68x 6 mm stainless steel balls
1 mm rubber mat (for cutting seals)
some lubricant, i used vaseline
total partcount: 496
Weight of the printed parts:
joint: 163 g (2x)
start_pipe: 230 g
center_pipe: 440 g
end_pipe: 420 g
pipe_barometer: 102 g (not necessary)
total weight: around 1600 g of filament
Print settings (I used):
Material: PLA
Layerheight: 0.1
Perimeters: 100 (very important at higher pressures. You can see the results below if it is printed with normal walls and low infill after pressure tests)
Toplayers: 50
Bottomlayers: 50
Seam position: random
Infill: 100% (but no infill is used, due to the high number of perimeters)
Print time: too much (a few days)
Assebly instructon joint

- Take joint_upper and place joint_lower_turn around it.
- Fill the 34 6 mm stainless steel balls into the gap between those two parts
- Screw joint_upper_turn onto joint_upper
- Install the two joint_rotation_protection in the designated holes
- Put the two O-rings on the joint_lower
- Lubricate the sealing surface between the O-rings and joint_upper
- Put the M3 locknut into joint_lower
- Stick joint_lower into joint_upper
- Screw joint_lower_turn onto joint_lower
- secure joint_lower_turn with the M3x10 screw
Things i have learned from my second water cannon design
I testet this design, filled up with water with a bicycle pump at around 12 bar.
I was not able to print a pipe in two halfs. I tried multiple glues and even copperpins molten in the material with a soldering iron. It was never fully water tight at pressure. The big advantage would have been a saving in support material and it resultet in a by far better surface quality. Here some pictures from my attempts.
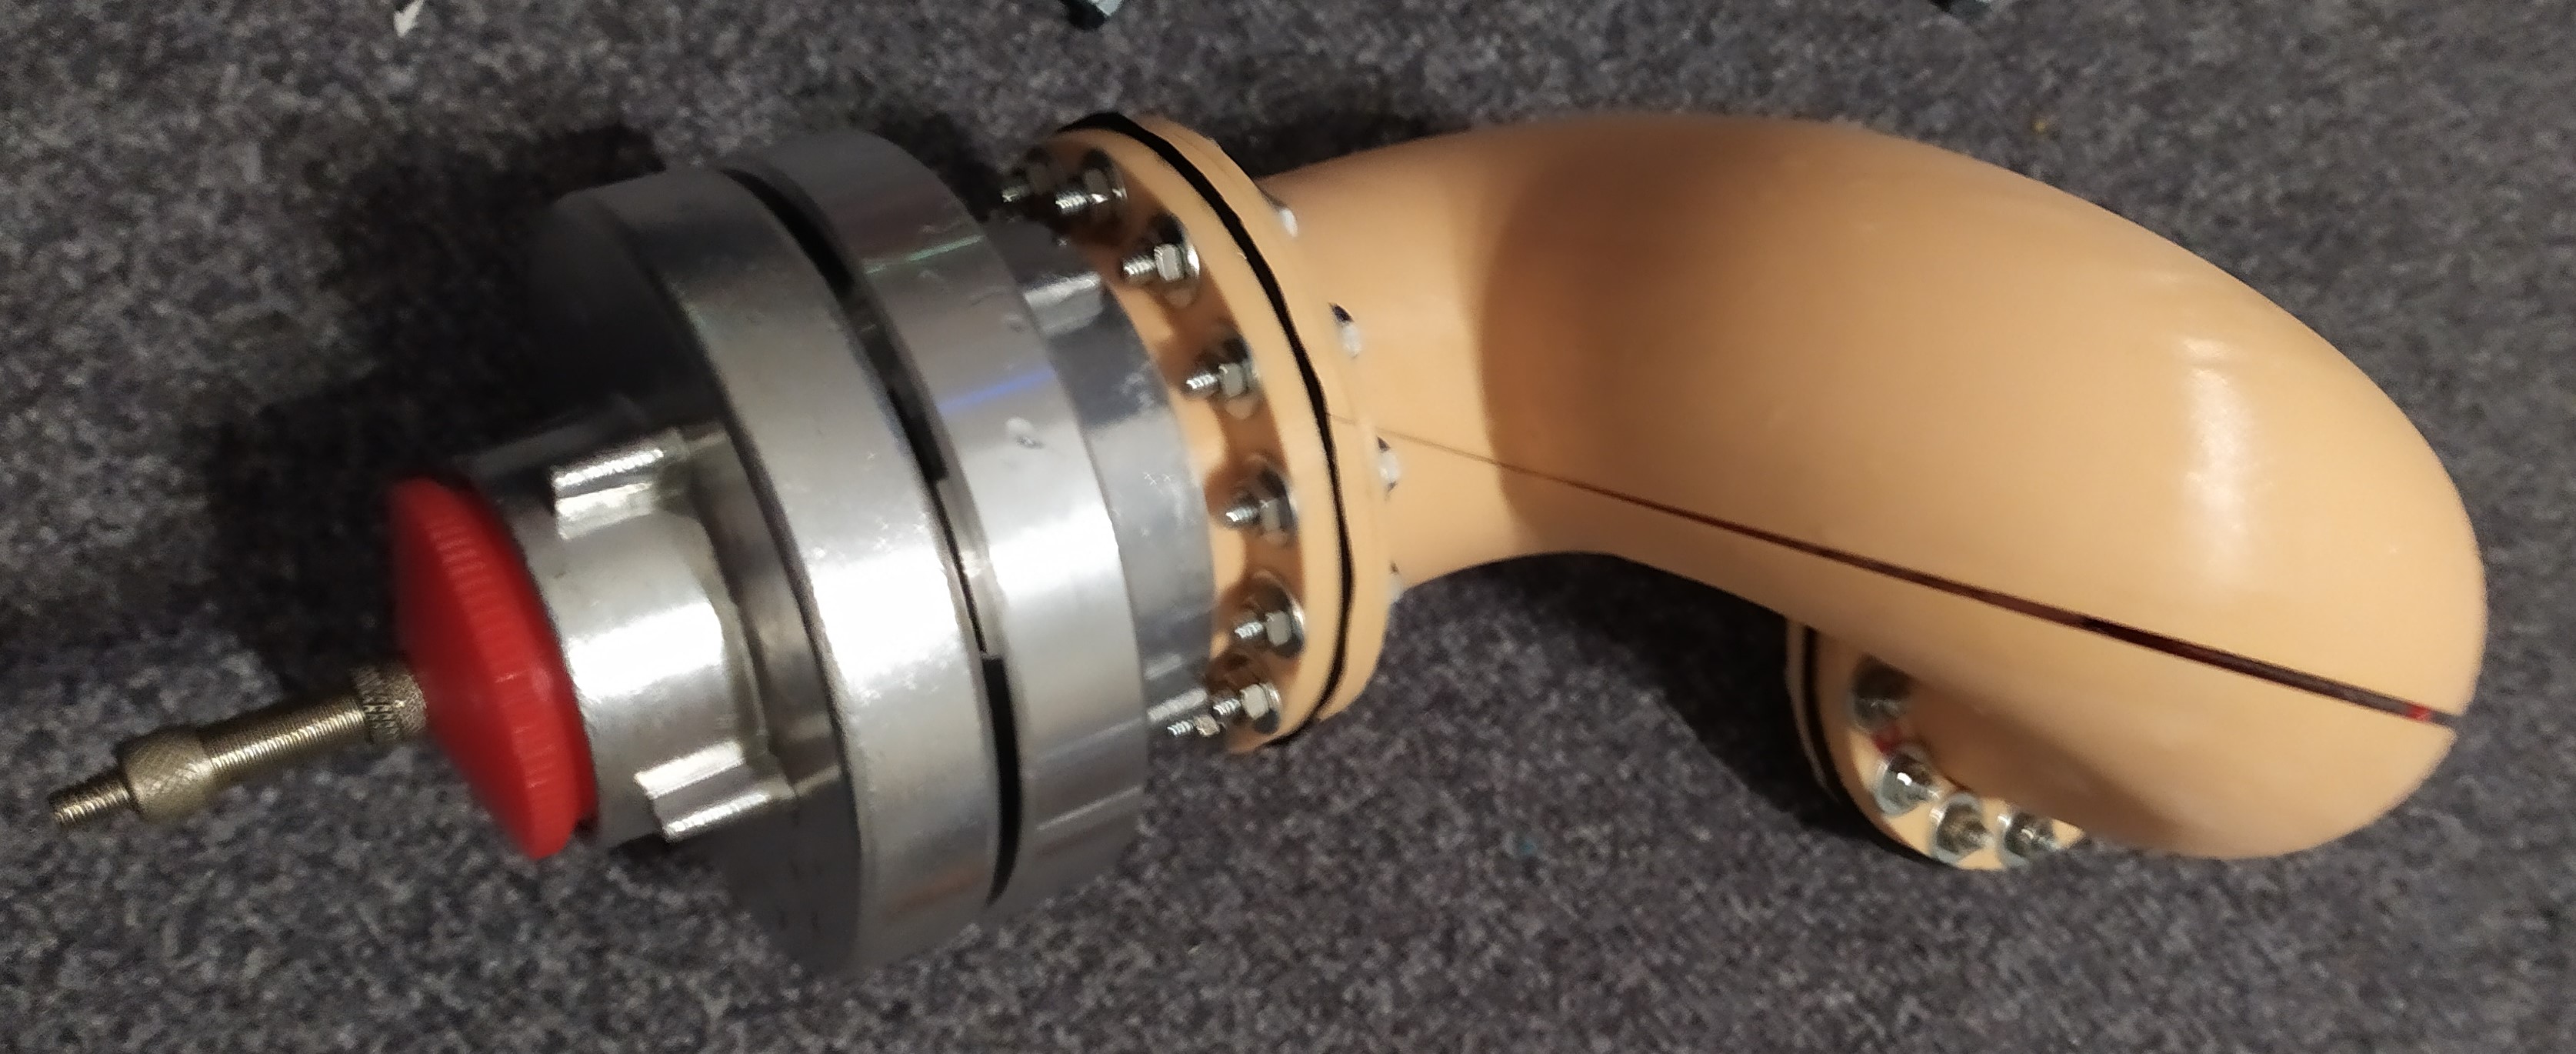
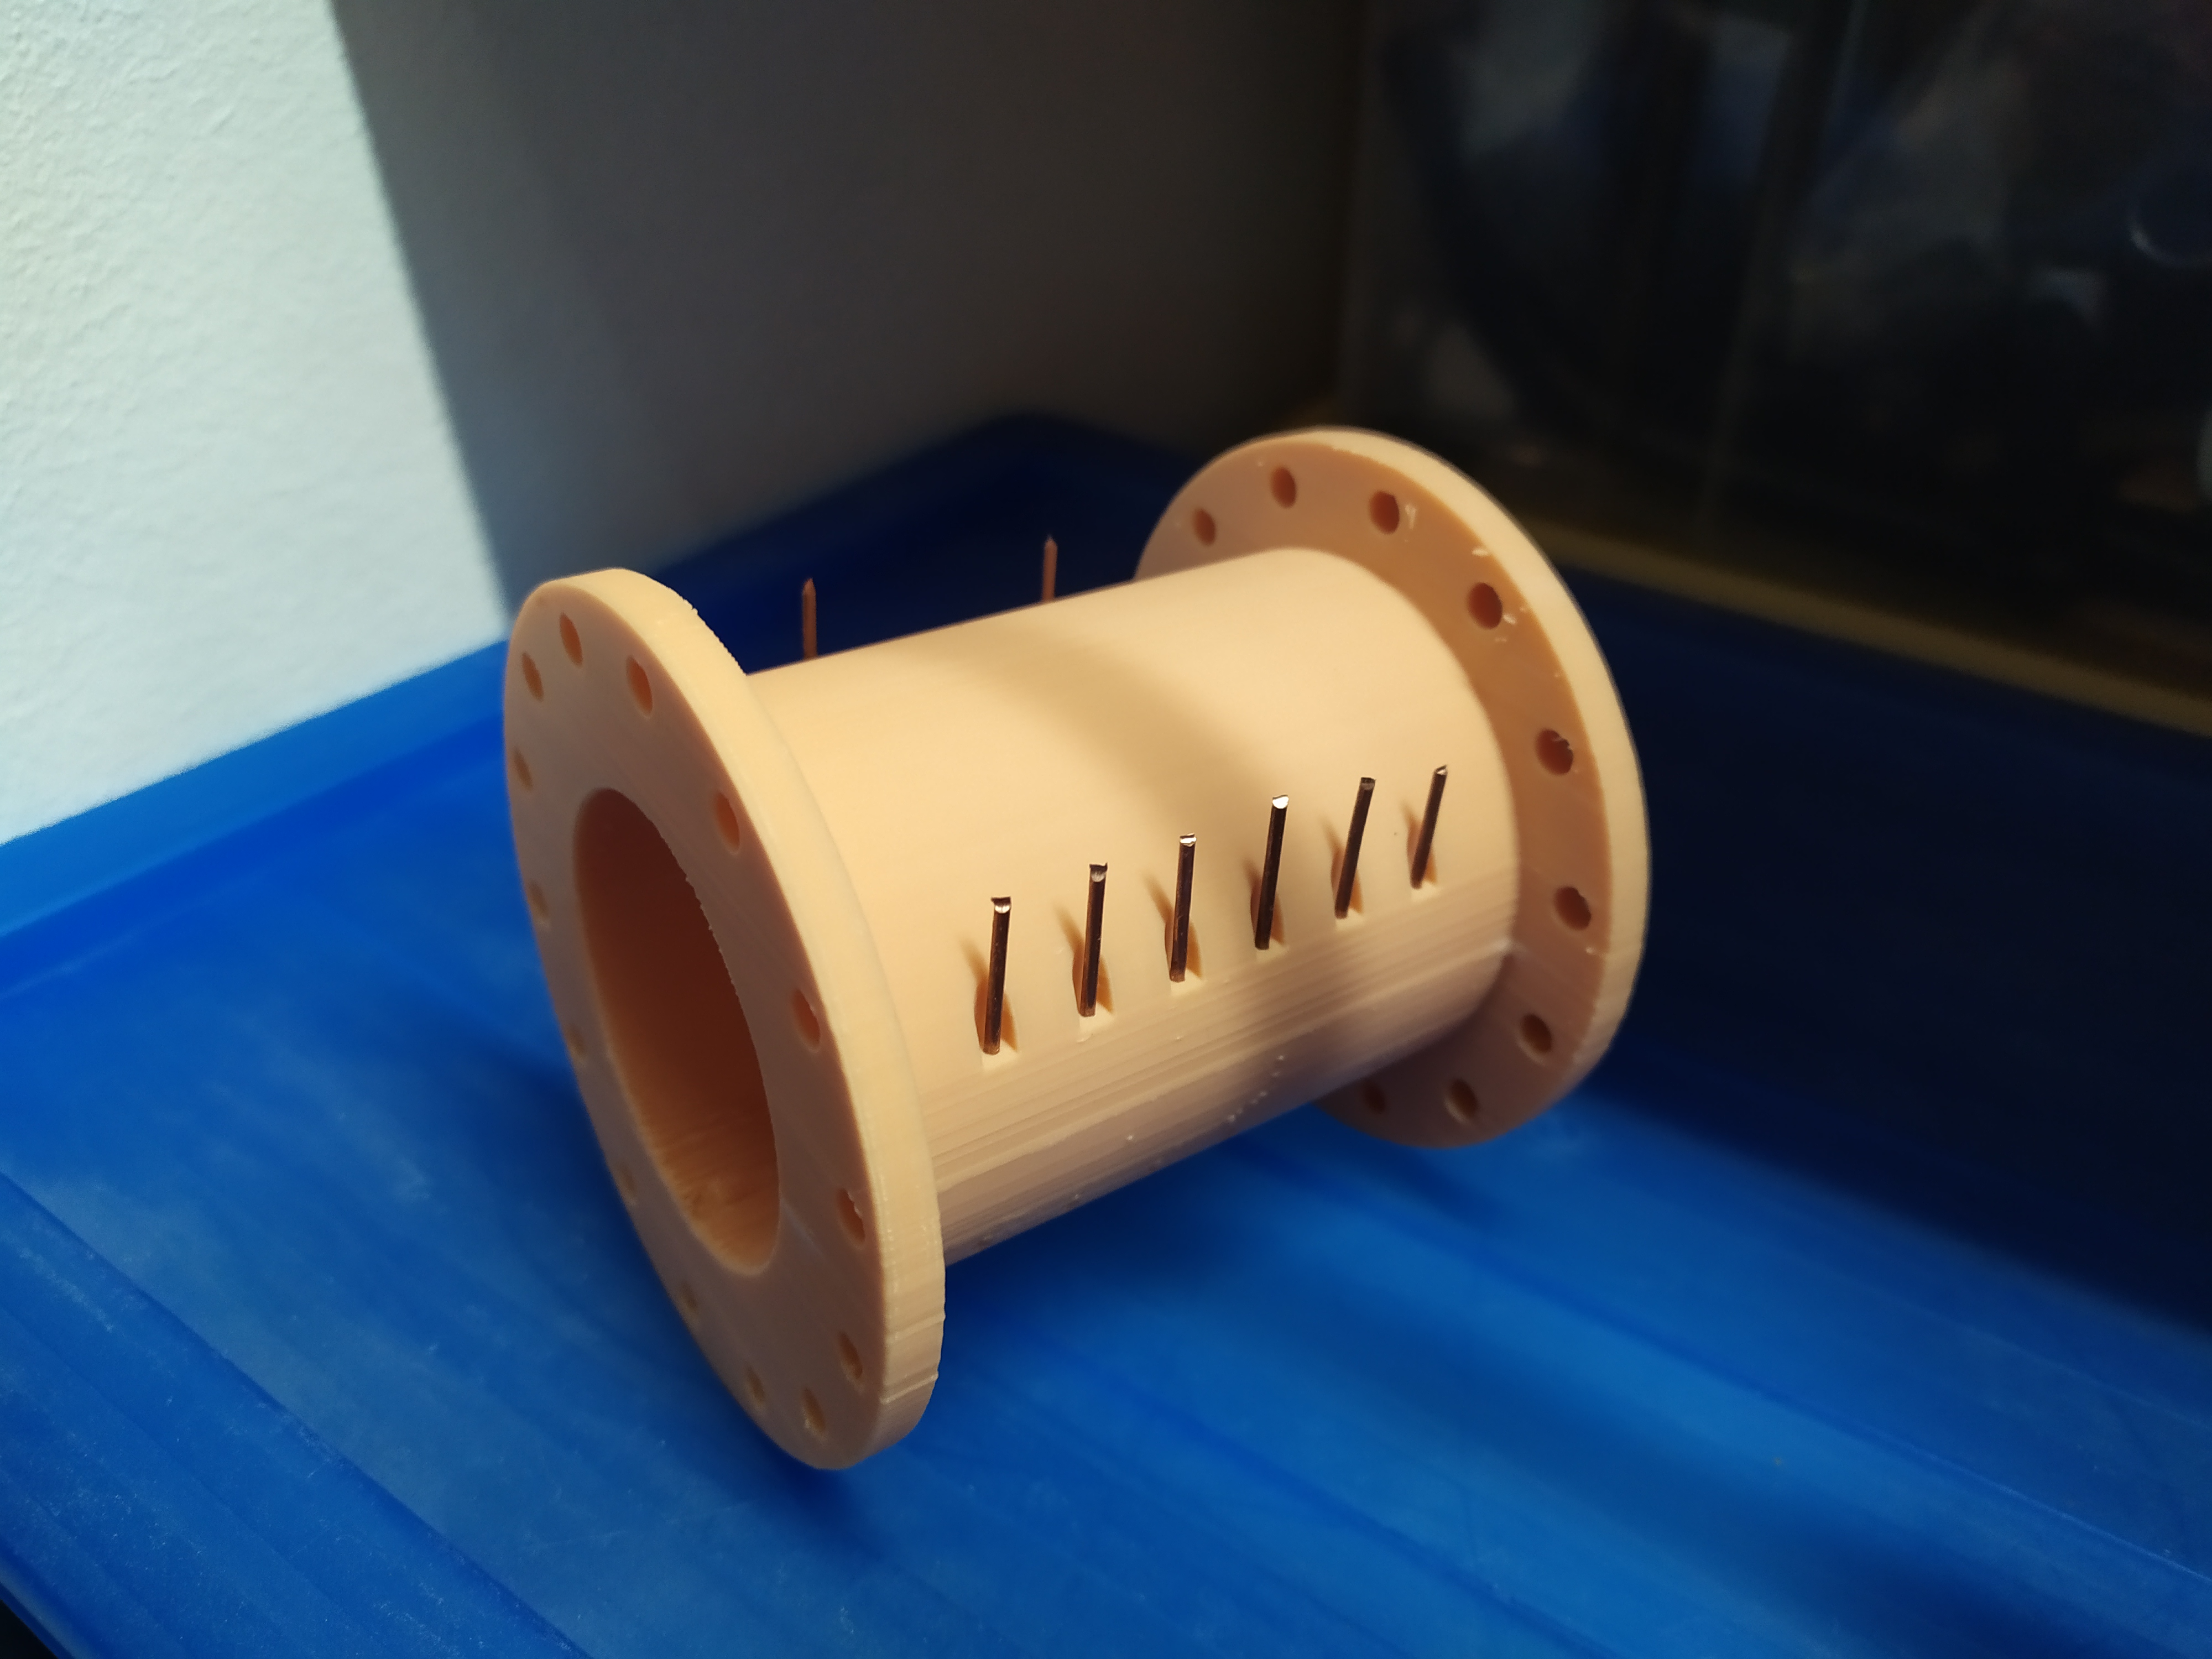
At the beginning i printed the parts with normal walls and infill. That resultet in some failures during pressure tests. After printing with many perimeters my parts can withstand a pressure of 12 bar and dont explode anymore.