
3D print your own T-shirt design
Obliczymy ostateczną cenę na podstawie wybranego pliku. Sprawdzisz ją i zaakceptujesz przed płatnością.
Zapisane na tym urządzeniu.

A tutorial on how to print your own designs to your T-shirts.
- Ocena
- 0 / 5
- Polubienia
- 21
- Pobrania
- 113
- Wydruki
- 0
- Wyświetlenia
- 1853
- Oceny
- 0
Aktualizacja u źródła:
Informacje o modelu
- Źródło
- Printables
- Kategoria
- Other Costume Accessories
- Licencja
- Creative Commons — Attribution — Share Alike
All the models must be one layer high (usually 0.2mm).
I currently don't know how to share profiles for filament and print settings, if you know how to do it, please let me know.
What you will need
Flexible filament (more flexible is better)
Baking paper
Glue stick (Some brands don't seem to withstand the temperature, I use Kores)
Smooth sheet without any coating (suggested)
Step 1: preparation
Remove the sheet from your printer, this is important because the glue would dry off and the paper wouldn't stick.
Apply the glue evenly on the sheet, and cut the baking paper to size. Stick the paper to the sheet. It might create bubbles. Do not worry about them. Try removing some of the with something flat, the rest will disappear with heat.
Place the sheet on the print bed. Preheat it to temperature, I use 220/70. With heat, all your bubbles should disappear from under the paper.
Note: When you have the paper on the sheet before heating it, the glue will not dry off.
Step 2: Printing
Mirror the model along X axis
Filament settings:
Extrusion multiplier = 0.9
Nozzle = 220
Bed = 70
(We are only printing one layer, the “Other layers” temperatures are not used)
Retraction OFF (Flexible material might clog the nozzle)
Print settings:
Brim type = No brim
Skirt Loops = 0
Adjust the layer height while printing so that the filament sticks to the paper. If needed, you may use 3D printing adhesive spray (I use this one https://www.3dlac.com/3dlac/3dlac-product/).
Step 3: Post process
Because we have retraction off, you may encounter stringing, take tweezers and pliers you use for filament and carefully cut all the strings. Remember, all that is on the paper will be on the shirt.
Carefully remove the paper from the sheet.
The sheet can be washed with tap water to remove all the glue.
Step 4: Ironing on
Put a board in your t-shirt to separate the front from the back, if the board has varnish on it, it is a good idea to put another sheet of baking paper between the shirt and the board. Align the print on the T-shirt. It is very noticeable when the design is bit off, so pay extra attention to the alignment. Heat up your iron. I would usually heat it to the suggested temperature of the fabric. Iron the print to the shirt. It shouldn't take long before the filament soaks in the fabric. Don't remove the paper before everything cools down, it might still stick to the paper and make bubbles.
Voilà, you have your very own custom T-shirt
Troubleshooting
The design has bubbles, holes or uneven texture.
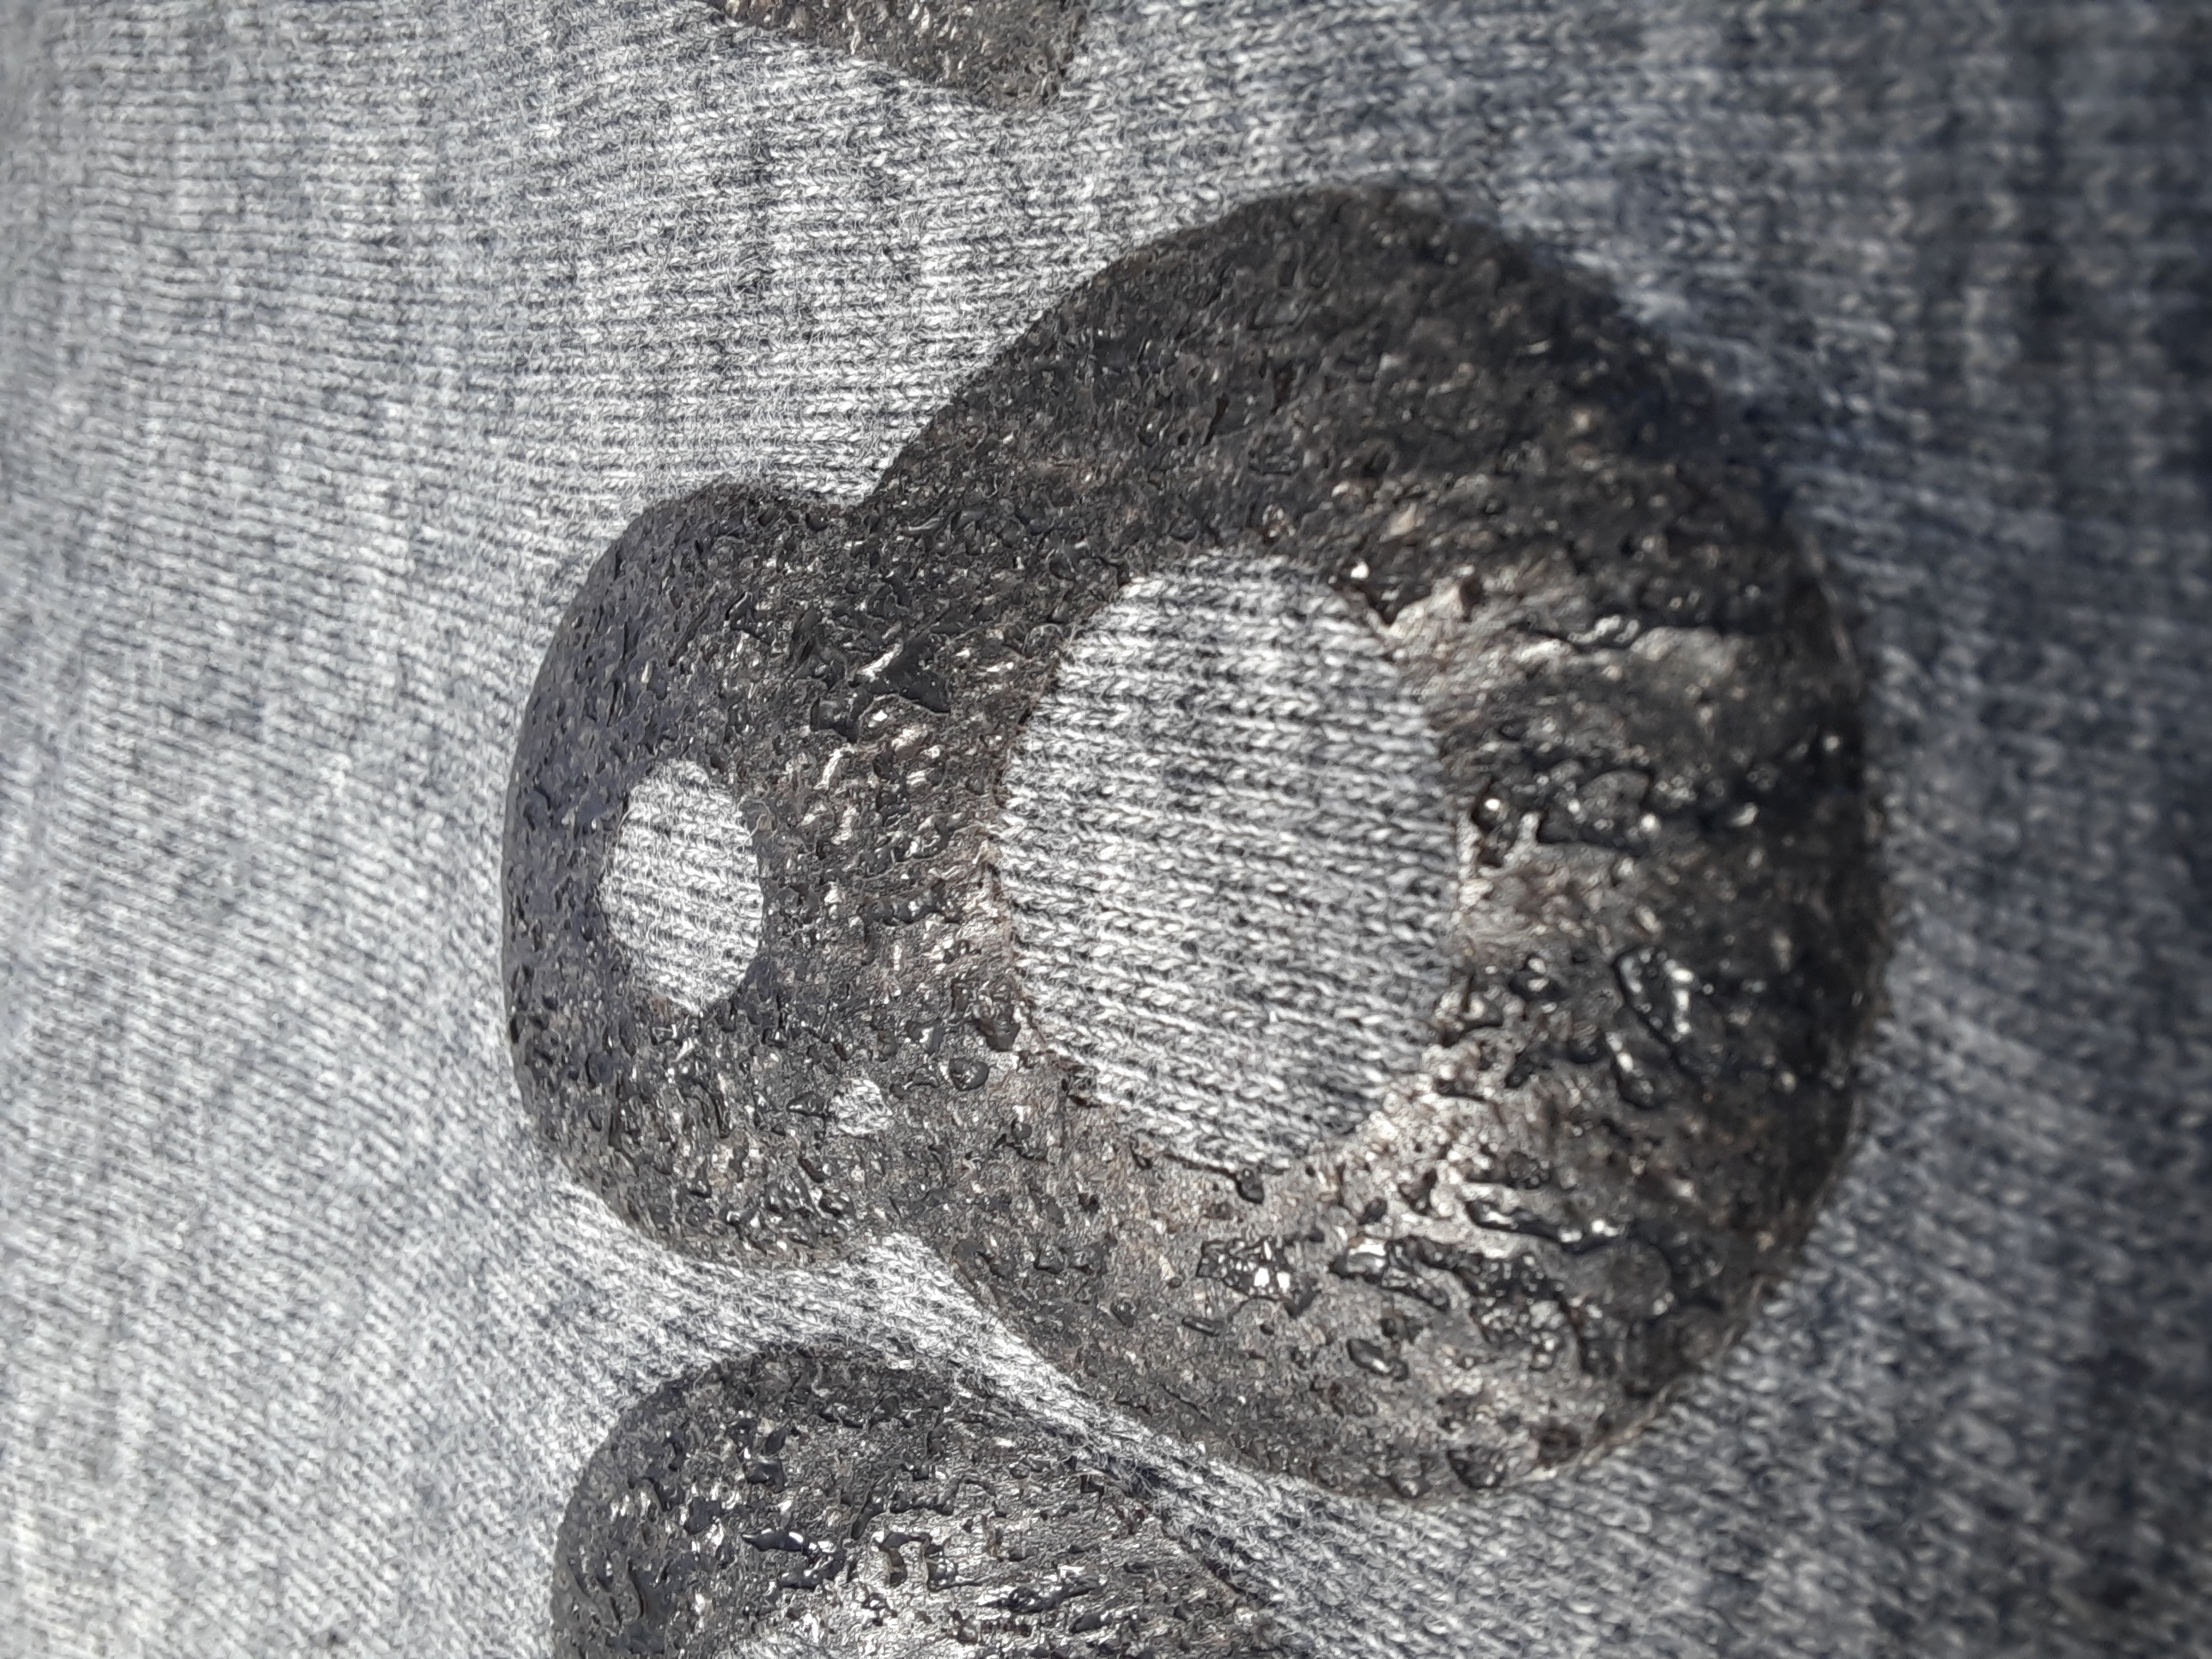
Try higher temperature or keep the iron on the part longer. This will not always work. You could also lower the layer height
Light filament on dark fabric
This color combination does not work quite well. Try making the layer height larger to prevent making the design gray.
Washing and ironing
You can wash it in washing machine just the way you would any other T-shirt.
Iron only around the design. If you were to touch the print, it would melt. Alternatively you can place baking paper on the print to prevent the filament sticking to the iron.