
Mini Basketball Game
Obliczymy ostateczną cenę na podstawie wybranego pliku. Sprawdzisz ją i zaakceptujesz przed płatnością.
Orientacyjna cena wydruku pliku
0,11 € – 0,13 € netto (bez VAT)
Dla pliku: Base-area-backboard-squares-and-rim_0.2mm_PLA_MINI_8m.gcode
To wstępna wycena jednego pliku. Dokładną cenę poznasz przed zamówieniem.
Plik i założenia wyceny
Plik użyty do wyceny
Średnia wycena orientacyjna: 0,12 € netto (środek widełek).
- Masa podana przez autora
- 1 g
- Czas druku podany przez autora
- 8,4 min
- Materiał u źródła
- PLA
- Materiał wyceny
- PLA
- Drukarka wyceny
- Bambu Lab P1S - 0.4 nozzle
- Proces wyceny
- 0.20mm Standard
Orientacyjna wycena wyłącznie wybranego pliku, oparta na masie i czasie druku podanych przez autora. Warianty plików nie są sumowane. Ostateczna cena zostanie obliczona po analizie pliku.
Zapisane na tym urządzeniu.

Fun little game you can easily print in a few hours and start playing!
- Ocena
- 5 / 5
- Polubienia
- 248
- Pobrania
- 1143
- Wydruki
- 12
- Wyświetlenia
- 7999
- Oceny
- 11
Aktualizacja u źródła:
Informacje o modelu
- Źródło
- Printables
- Kategoria
- Other Toys & Games
- Licencja
- Creative Commons — Attribution — Noncommercial
Welcome to the wonderful game of Finger MiniBasketball!

Slice settings:
These are the main settings I've used for slicing the parts:
- Layer height: 0.2mm. There is one part I recommend printing at a smaller layer height, which is the net, as it has very small details and it'll look better, I printed it at 0.15mm.
- Infill: 20% for all the part minus the pole which I used 100% to make it a bit heavier and steadier.
- Perimeters: 2.
- Supports: none.
- Brim: used for the pole only, because it is a tall part and it can move from the build plate.
You can check the .gcode file preview to see how I sliced every file in case you have any doubts on how to position them on the build plate.
Then, for the catapult, you can choose to print it with PETG if you want it to have a softer bouncing feeling, but it works perfectly with PLA too.
The whole design went through several iterations and I was playing a lot with every new change. I think it's quite good at the moment, but any feedback and suggestions are welcome.
Parts:
There are different options when printing this game. You have three different bases to choose from:
- Solid: print this one if you don't want to use the scoring system or to have a different color for the free-throw area.
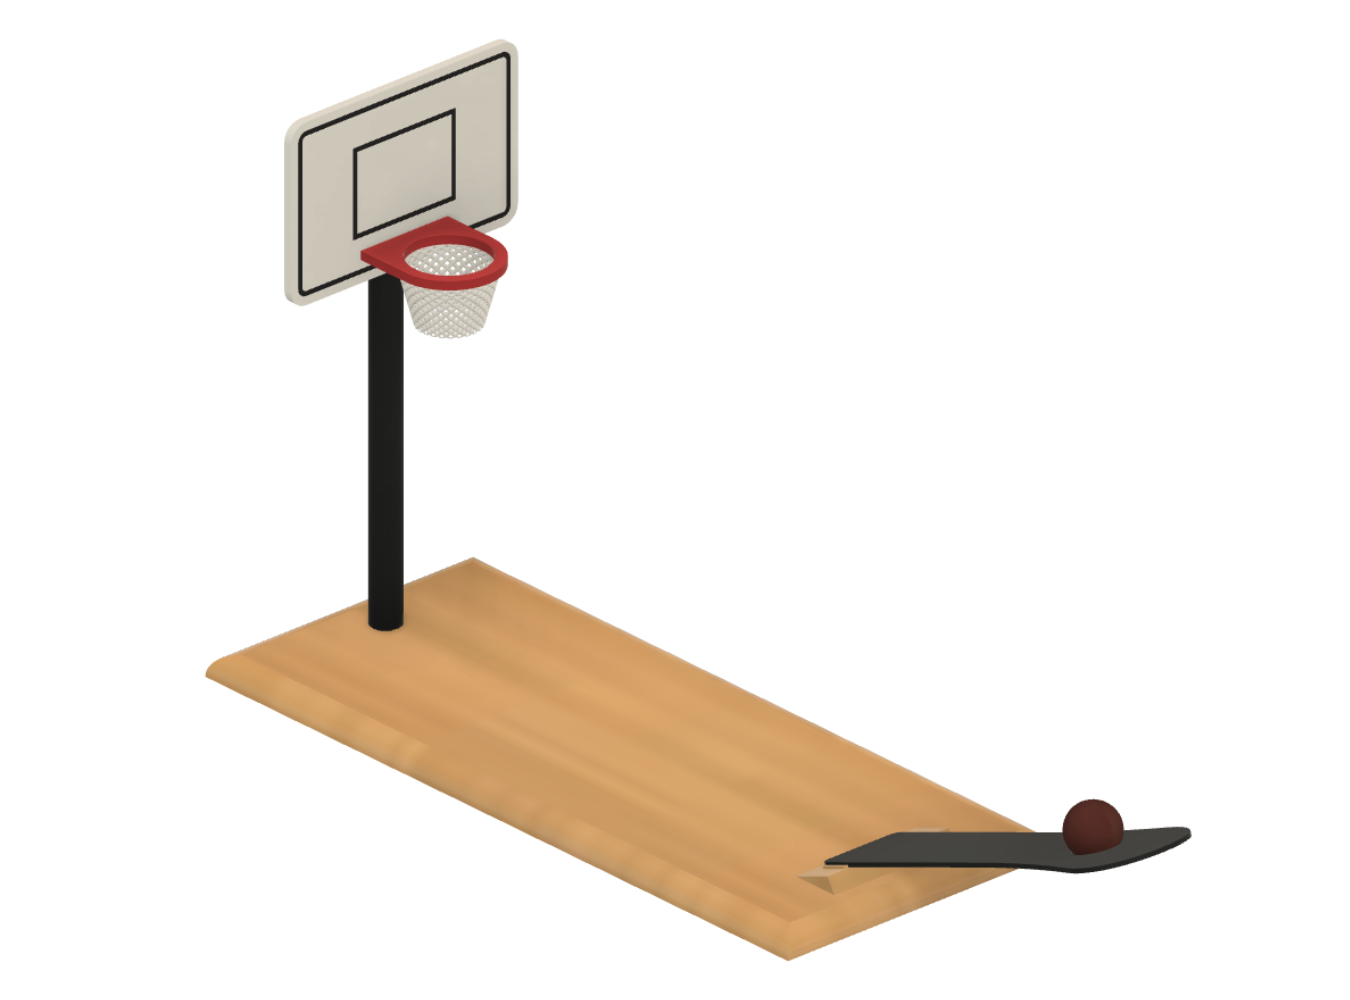
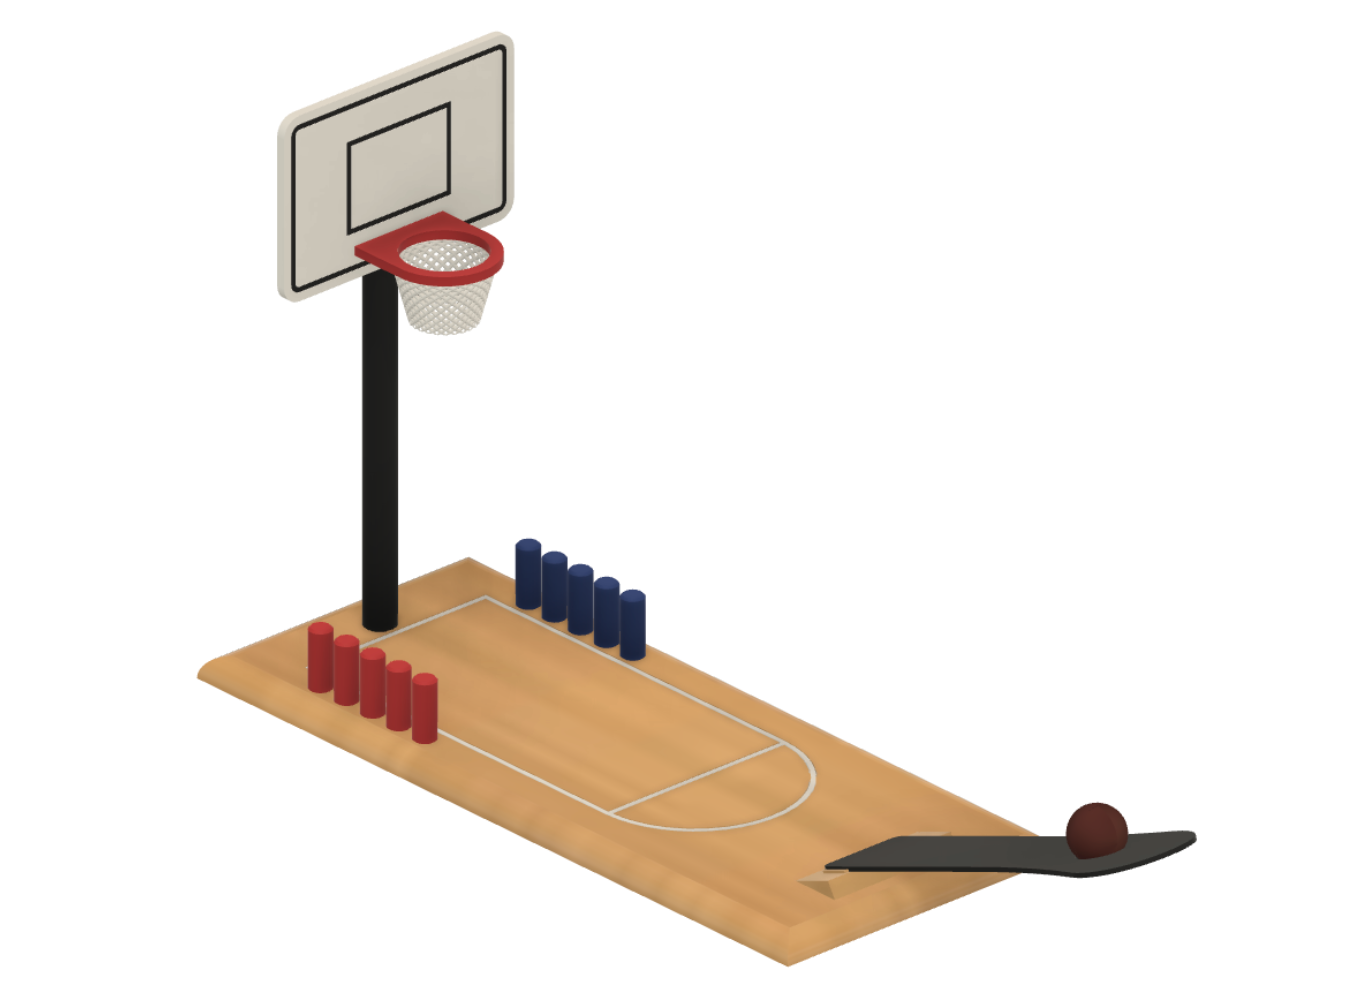
- With area: print this one if you would like to have the free-throw area in a different color. You will need to print the Base-area model too.

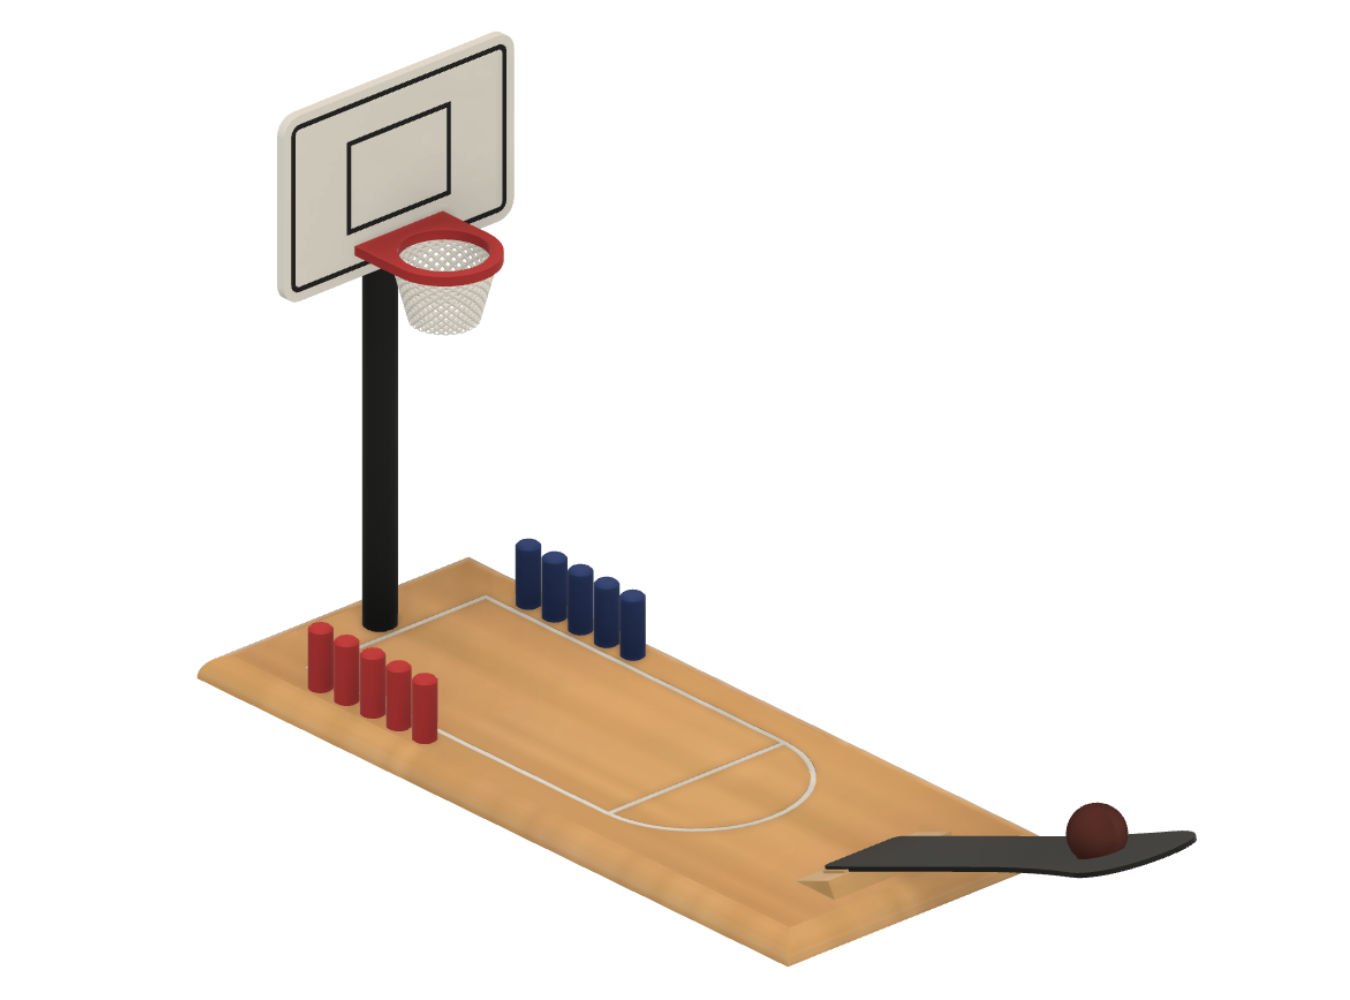
- With area and score: print this one if you want the whole set: the free-throw area and the scoring system. You will need to print the Base-area and the score pegs models too.
Similarly, for the backboard:
- Solid: print this one if you don't want to have the squares with a different color.

- With squares: print this one if you would like to have the two squares on a different color. You will need to print the Backboard-big-square and the Backboard-small-square models.
Also, for the hoop, you have the option of just printing the rim and not the net.
For the little score pegs, I added a model with 5 of them connected together. I thought if you are going to want to use the score system, you will have to print 10 of them anyways so I think it's easier to print and break them apart.
As you can see, there are many different options. My recommendation is that you print the whole thing, it looks great and it's a lot of fun to play with someone!
Assembly:
Everything should fit nicely, but tolerances are generous. Different printers and filaments can give different results, so you may have to glue something in place or sand something (hopefully not). There is only one part you'll have to glue together, and that is the ball.

If you don't want to be searching around for the little ball, it's highly recommended you get a piece of string. That would be the only part that is not printable on this design. But this is optional, you can use it without one. If you decide to use one, the idea is that you can introduce a bit of the string inside the hole at the bottom of the pole, and when fitting it into the base, the string gets pinched and doesn't move.
Here is an easy graphic of how everything fits together. Don't hesitate to ask if you have any doubts.
