
Make your own Cookie Cutter
Obliczymy ostateczną cenę na podstawie wybranego pliku. Sprawdzisz ją i zaakceptujesz przed płatnością.
Zapisane na tym urządzeniu.

Create a cookie cutter and cookie stamp from any two-colored graphic of your favorite character, logo or your name.
- Ocena
- 5 / 5
- Polubienia
- 88
- Pobrania
- 494
- Wydruki
- 1
- Wyświetlenia
- 4010
- Oceny
- 1
Aktualizacja u źródła:
Informacje o modelu
- Źródło
- Printables
- Kategoria
- Kitchen
- Licencja
- Creative Commons — Attribution
You could not find the cookie cutter you were looking for? No problem: create it yourself.
We all know the problem: It is very hard to find cookie cutters from your favorite movie series or your kids favorite TV show. The reason could be your exquisit taste in rarely known movies or - much more likely - Copyright. Some studios are not too happy when seeing fan art on the internet and are taking more or less drastic meassures to take it down.
This is where this project comes in: To make it easy to create a cookie cutter for your personal use. But it also works with logos and custom designs.
HowTo
All you need is
- Inkscape, the open source vector graphics program
- OpenSCAD. You need at least version 2022.12, which currently can only be found as “Development Snapshot”
- and an SVG of what you want to print
Good sources are- Noun Project is a good resource for uni-colored SVG. Most are available under a CC license after login and can even be remixed and shared
- coloring pages for kids. Scan them or find them on the internet
- Google Images filter for black-white cliparts
- Create stamps with writing yourself
1. Prepare SVG
For this walkthrough we are using an image of our favorite imaginary character SuperKid (by Ker'is from Noun Project, licensed CC-BY) and open it in Inkscape.
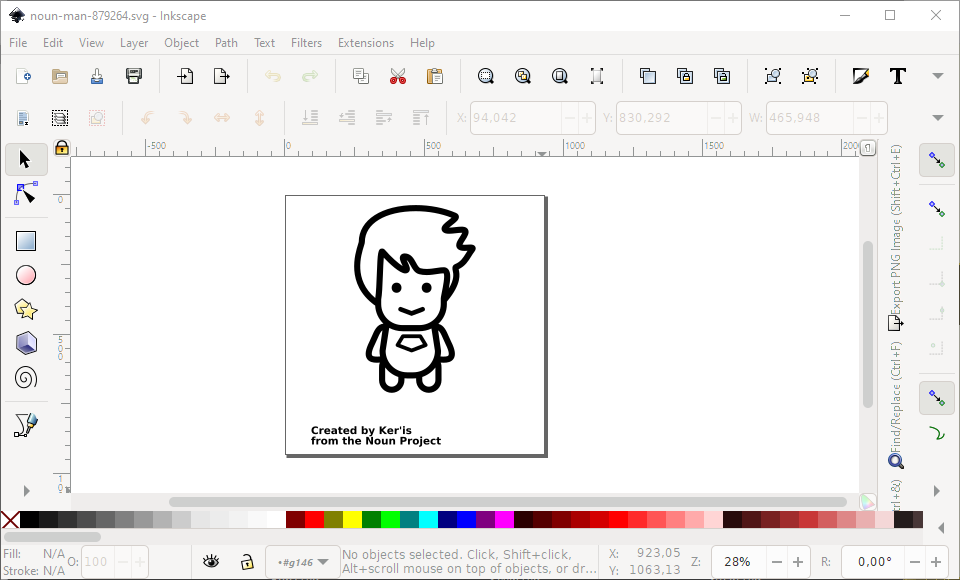
Remove all parts you don't want to print. Then select everything that remains, change the unit to mm (1), activate the lock (2), and scale to the desired size. Use your palm and a ruler for reference. ;)

Go into File → Document Properties, in Tab “Page” click “Resize page to content…” and “Resize page to drawing or selection”.
Your result should look something like this.
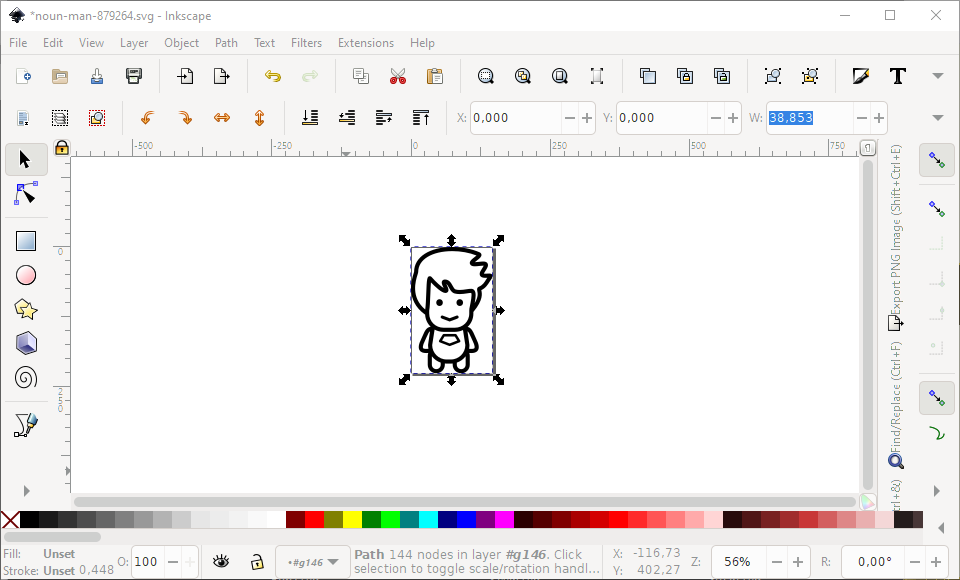
Save and you are done here.
2. Generate STL
Start OpenSCAD and open the scad file from the download section of this model.
On the right side, enter the location of your SVG file. (on Windows you have to use forward slashes “/” to seperate paths).
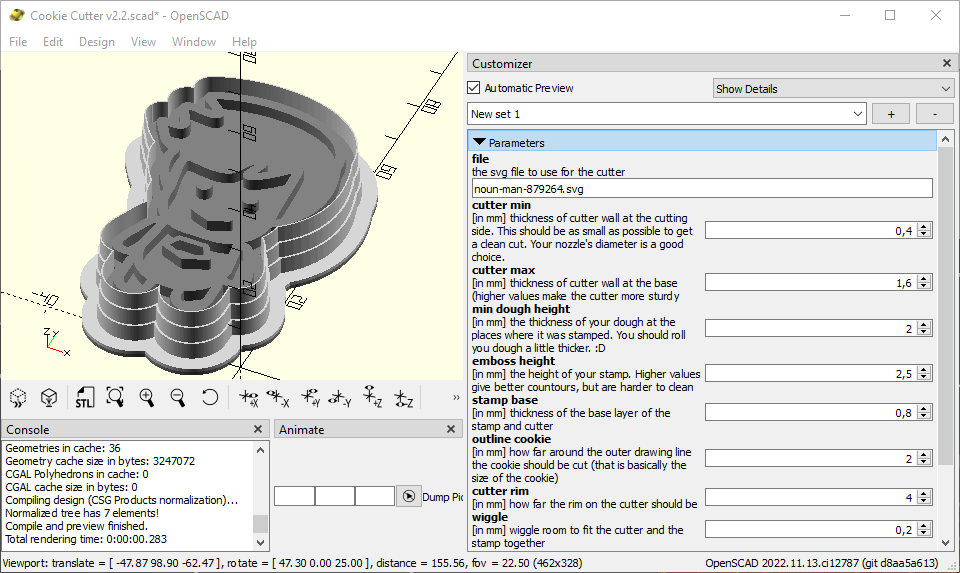
On the left you see the preview of your cutter. Ignore the steps on the cutter for now, this is just a preview of the tapered extrusion. The render will be much smoother.
Go to Edit → Preferences and in tab “Features” activate “fast-csg” and “fast-csg-trust-corefinement”. They speed up the slow rendering at least a bit.
As the model consists of two parts (the cutter and the stamp) we have to export them seperately.
First un-check “render cutter” and check “render stamp” in the parameter screen. Hit F6 to render (or Design → Render in the menu). This can take a while. Once done hit F7 (or File → Export → Export as STL…) and save your STL.
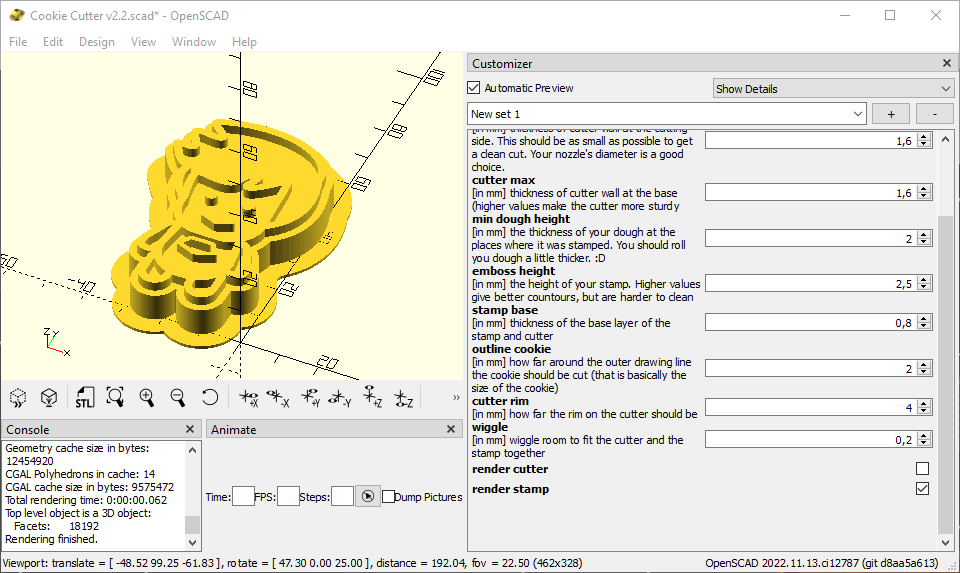
Repeat this with “render stamp” un-checked and “render cutter” checked.
You now have STL files for the cutter and stamp.
3. Print
I hope you now feel save back on familiar terrain. :D Import both models into your slicer.

Here are a few hints for printing:
- Use a food safe filament for printing.
Not all filament is food safe, as it might contain different additives. Check with your supplier.
Be aware that even these filaments can be problematic. Check the Prusa Knowledge Base and a related blog post for details and considerations. Please use your own judgement. - Make sure your nozzle and print bed are clear of other filaments.
Avoid contamination with non-food safe filament. - 10% infill is sufficient.
- Iron the top layer.
Ironing the top layer of the stamp makes it smoother.
4. Cut and Bake
Now comes the other fun part.
- Don't use any baking soda for the dough.
“When the cookie grows, your imprint goes” - Use flour to prevent the cutter from sticking.
- Cut and stamp.
Cut first, then insert the stamp into the cutter and apply force as necessary. This gives the best overall result. - Or stamp and cut.
If you are having problems with dough sticking to the printed parts, you can also stamp first and cut the dough in step two.
5. Enjoy
Bon appétit.
Please leave a picture of your delicious creation as a make if you liked it. I would like to see what you created and it can serve as inspiration for others.
Hints for designing and troubleshooting
- Avoid unnecessary detail
It takes longer for the cutter to generate, it is probably not visible on the baked cookie and it might be harder to clean - Use Inkscapes measurement tool to check for line thickness

- Use Path → Inset and Path → Outset to adapt thickness

- Everything needs to be a path without stroke
When using the line tool, texts or imported shapes in your SVG, make sure everything is a contour path before importing to OpenSCAD. To do this use Path → “Object to Path” and Path → “Stroke to Path”. Use the Node Tool to check. If it shows the dots on the contours it is good:
This process is irreversable, so save a copy if you want to edit texts later on. - Inkscape can convert pixel images into vector images
This is extremly powerful to create an SVG from almost any drawing with high contrast. - Fix STL if it behaves odd in the slicer

There are some scenarios when the SVG makes OpenSCAD generate a mesh that is broken in places and make the slicer do strange things. But this can be fixed.