
Chocolate Vacuum Forming
Obliczymy ostateczną cenę na podstawie wybranego pliku. Sprawdzisz ją i zaakceptujesz przed płatnością.
Zapisane na tym urządzeniu.

This is an instruction for vacuum forming 3D printed parts to easily create your own chocolate as a christmas gift.
- Ocena
- 0 / 5
- Polubienia
- 10
- Pobrania
- 45
- Wydruki
- 0
- Wyświetlenia
- 870
- Oceny
- 0
Aktualizacja u źródła:
Informacje o modelu
- Źródło
- Printables
- Kategoria
- Other Art & Designs
- Licencja
- Creative Commons — Attribution — Share Alike
This is an instruction for vacuum forming 3D printed parts to easily create your own chocolate. I have uploaded some 3D files that you can start experimenting. After my files, you should be able to recreate the chocolate forms in your own style for your needs and presents.
I started this project for a workshop at our Makerspace. There the people can create their own Christmas presents, and we chose this as an example.
Choose the correct chocolate:
The chocolate you use should have a high amount of cocoa. I usually used some cake chocolate with a value of 50%, but I'm still trying to get the perfect mix. The biggest problem after hardening is that the chocolate gets pretty melty.
Vacuum Forming 3D printed parts:
If you use PLA:
- Infill ≥ 50%
- Wall ≥ 4
You should be using a higher infill and wall amount, that the plastic doesn't melt, and you don't see the infill pattern on your molt. You can find a .3mf file named “muetze” with the right settings in the project.
I'm still working on the DIY version for the vacuum forming device, but I will upload them soon and add the link here. For the first version, I used a professional vacuum machine.
The vacuum machine:
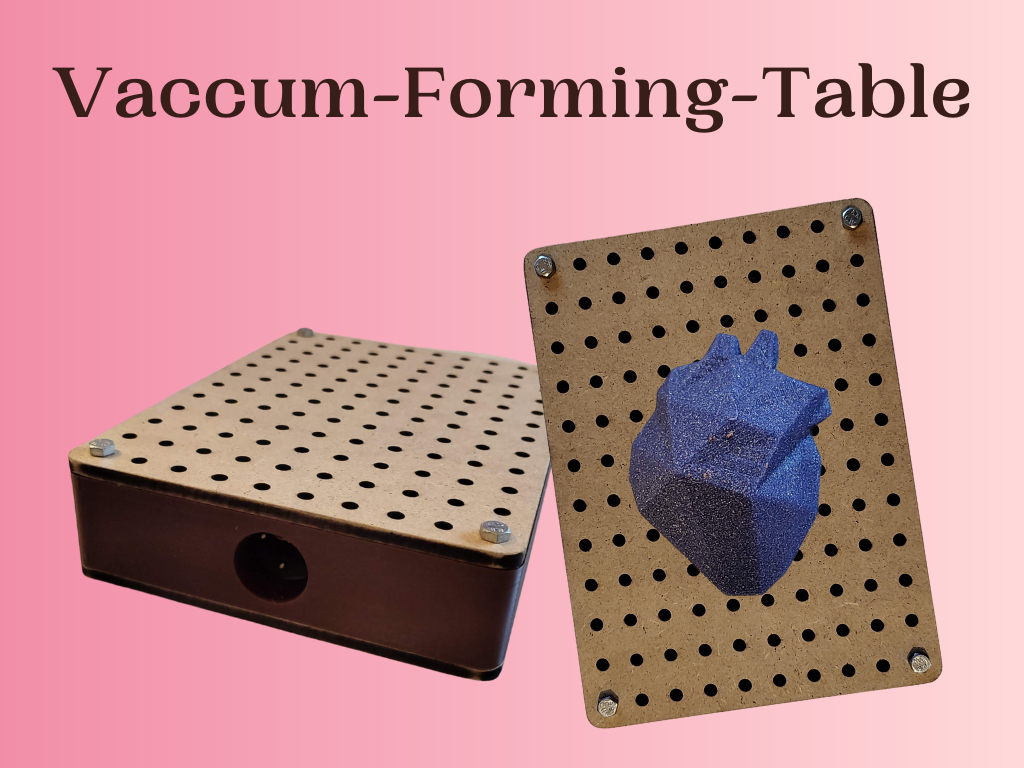
I'm actively working on the vacuum forming machine, to upload the files to printables. When you want to use the vacuum machine, you also need some:
ABS/PLA plastic sheet
Heat gun or other form of heater
vacuum plate like mine or the many others you can find online
My first test:
You can find the files for the heart here. I used the original model and lowered the model in the bottom to cut it in half.
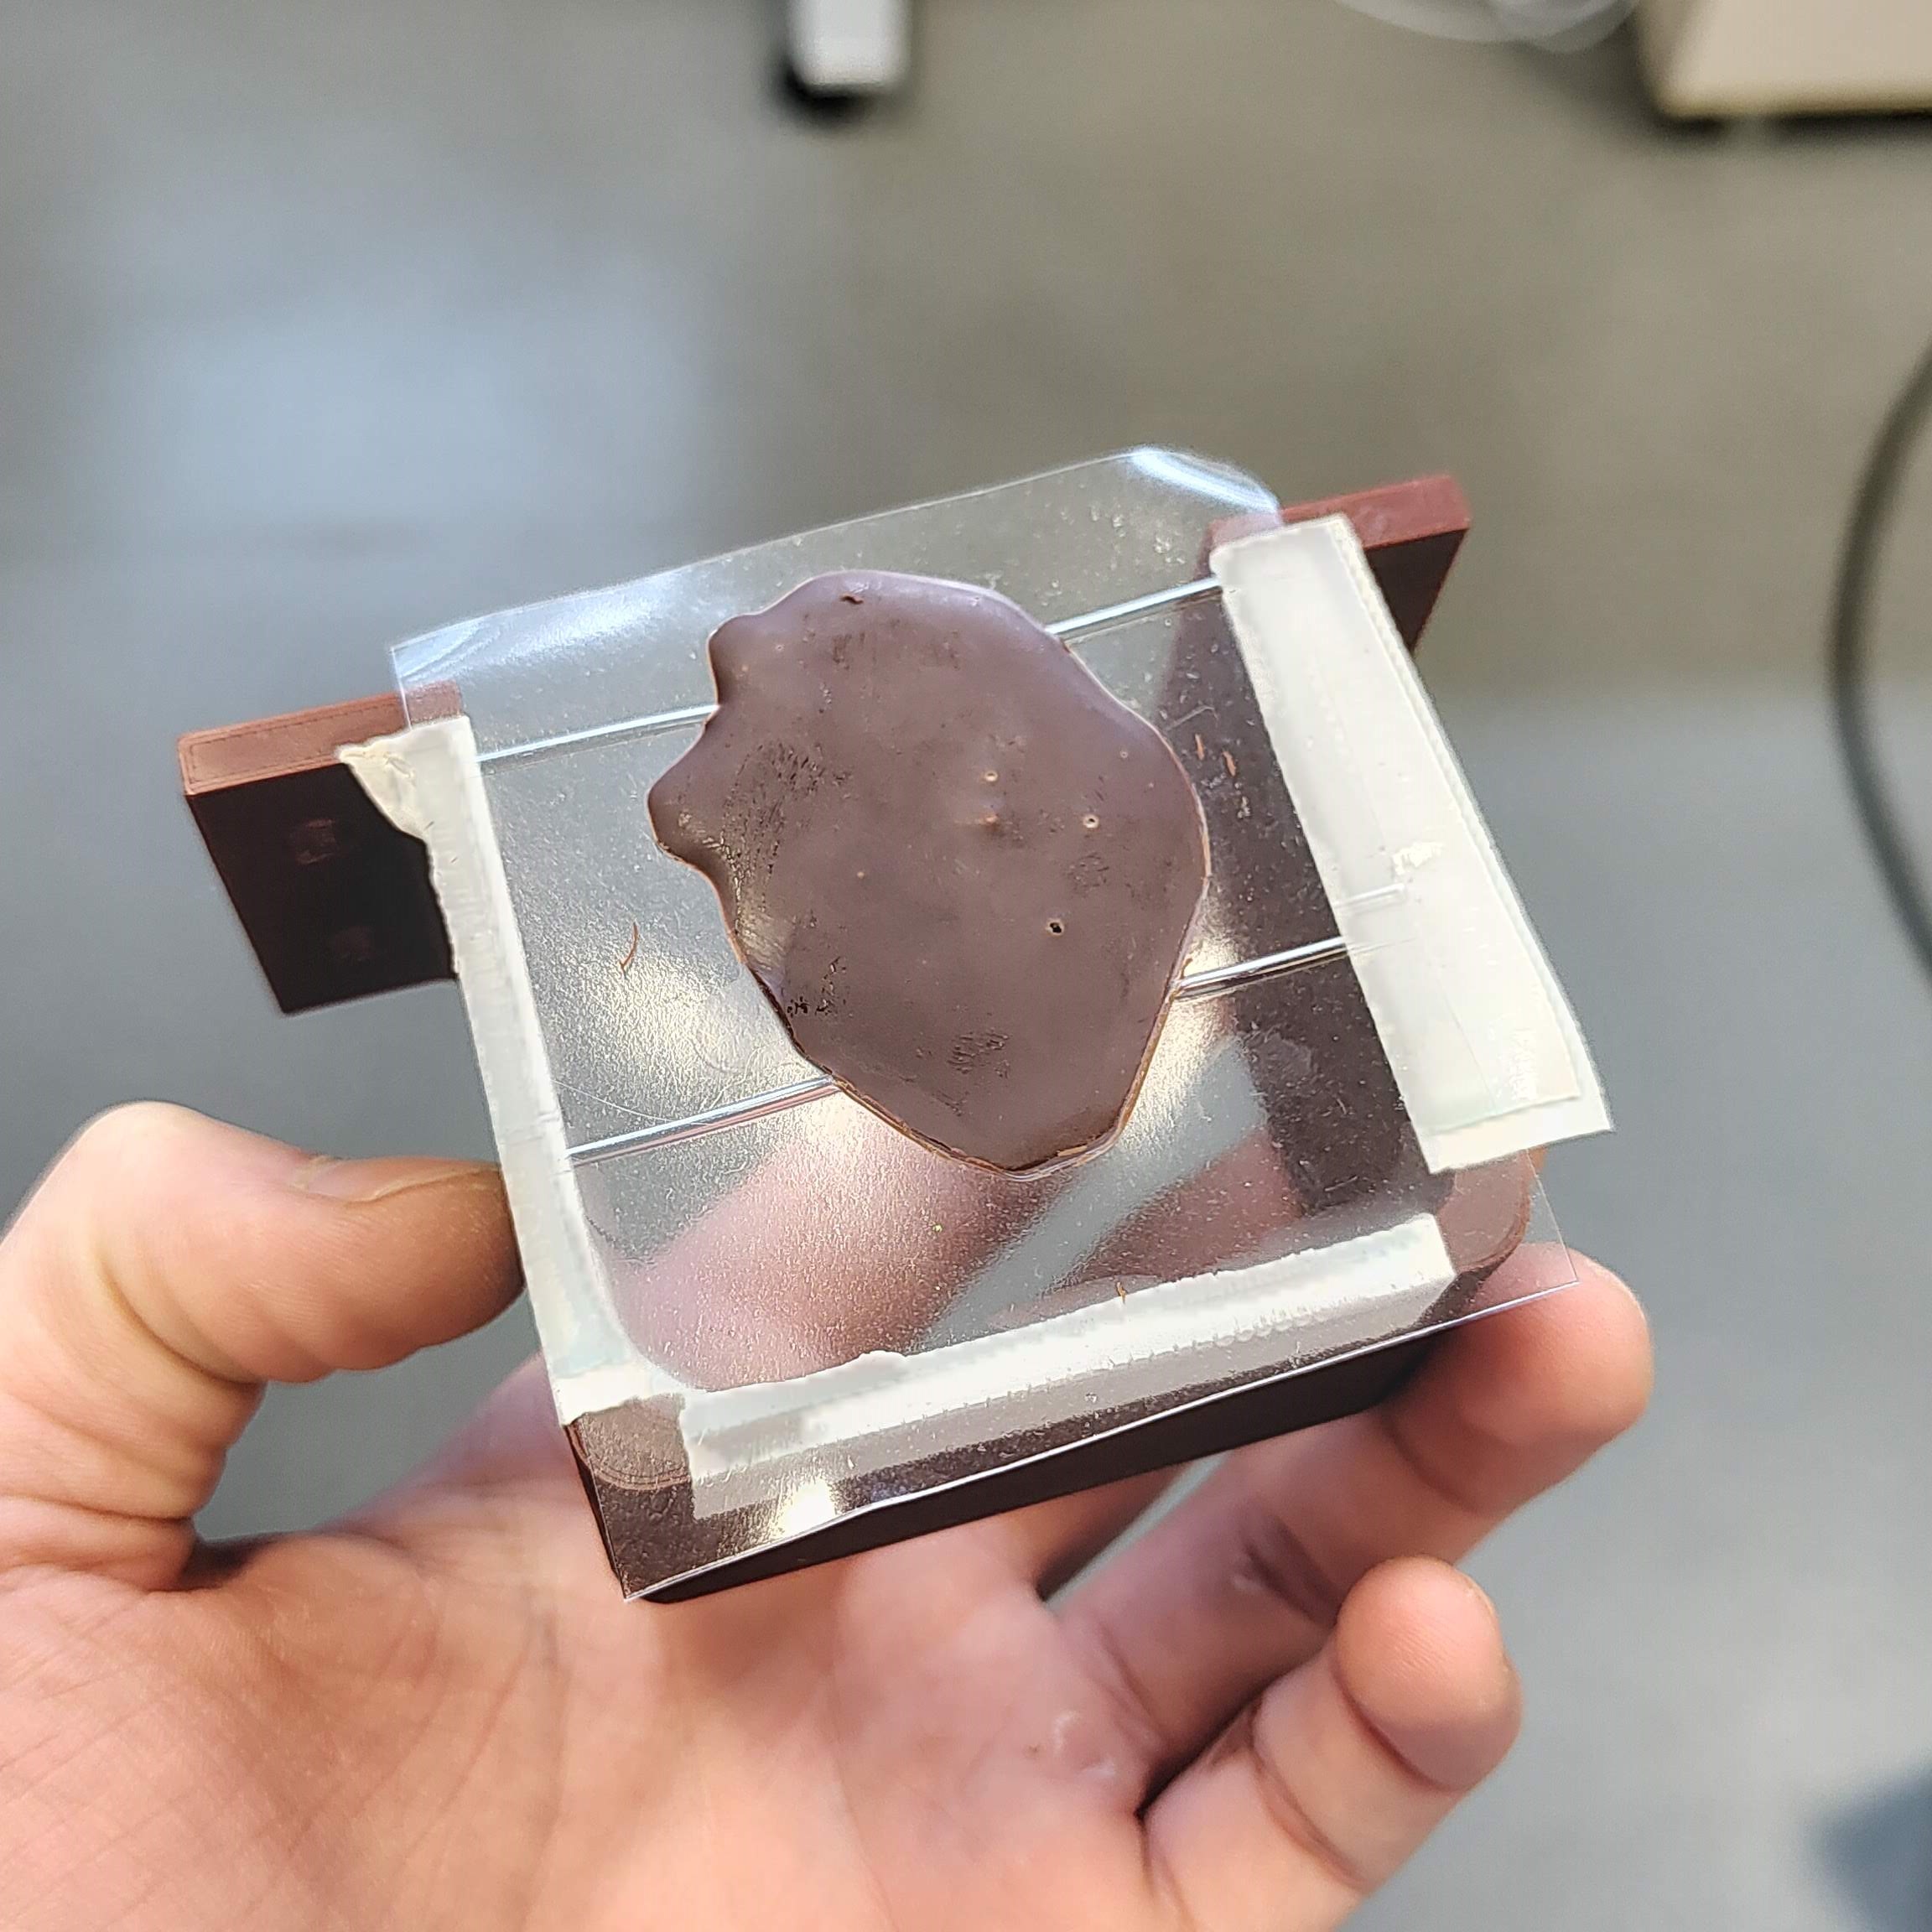 I used a 3D printed Nema 17 mount to secure the plastic with double sided tape. | 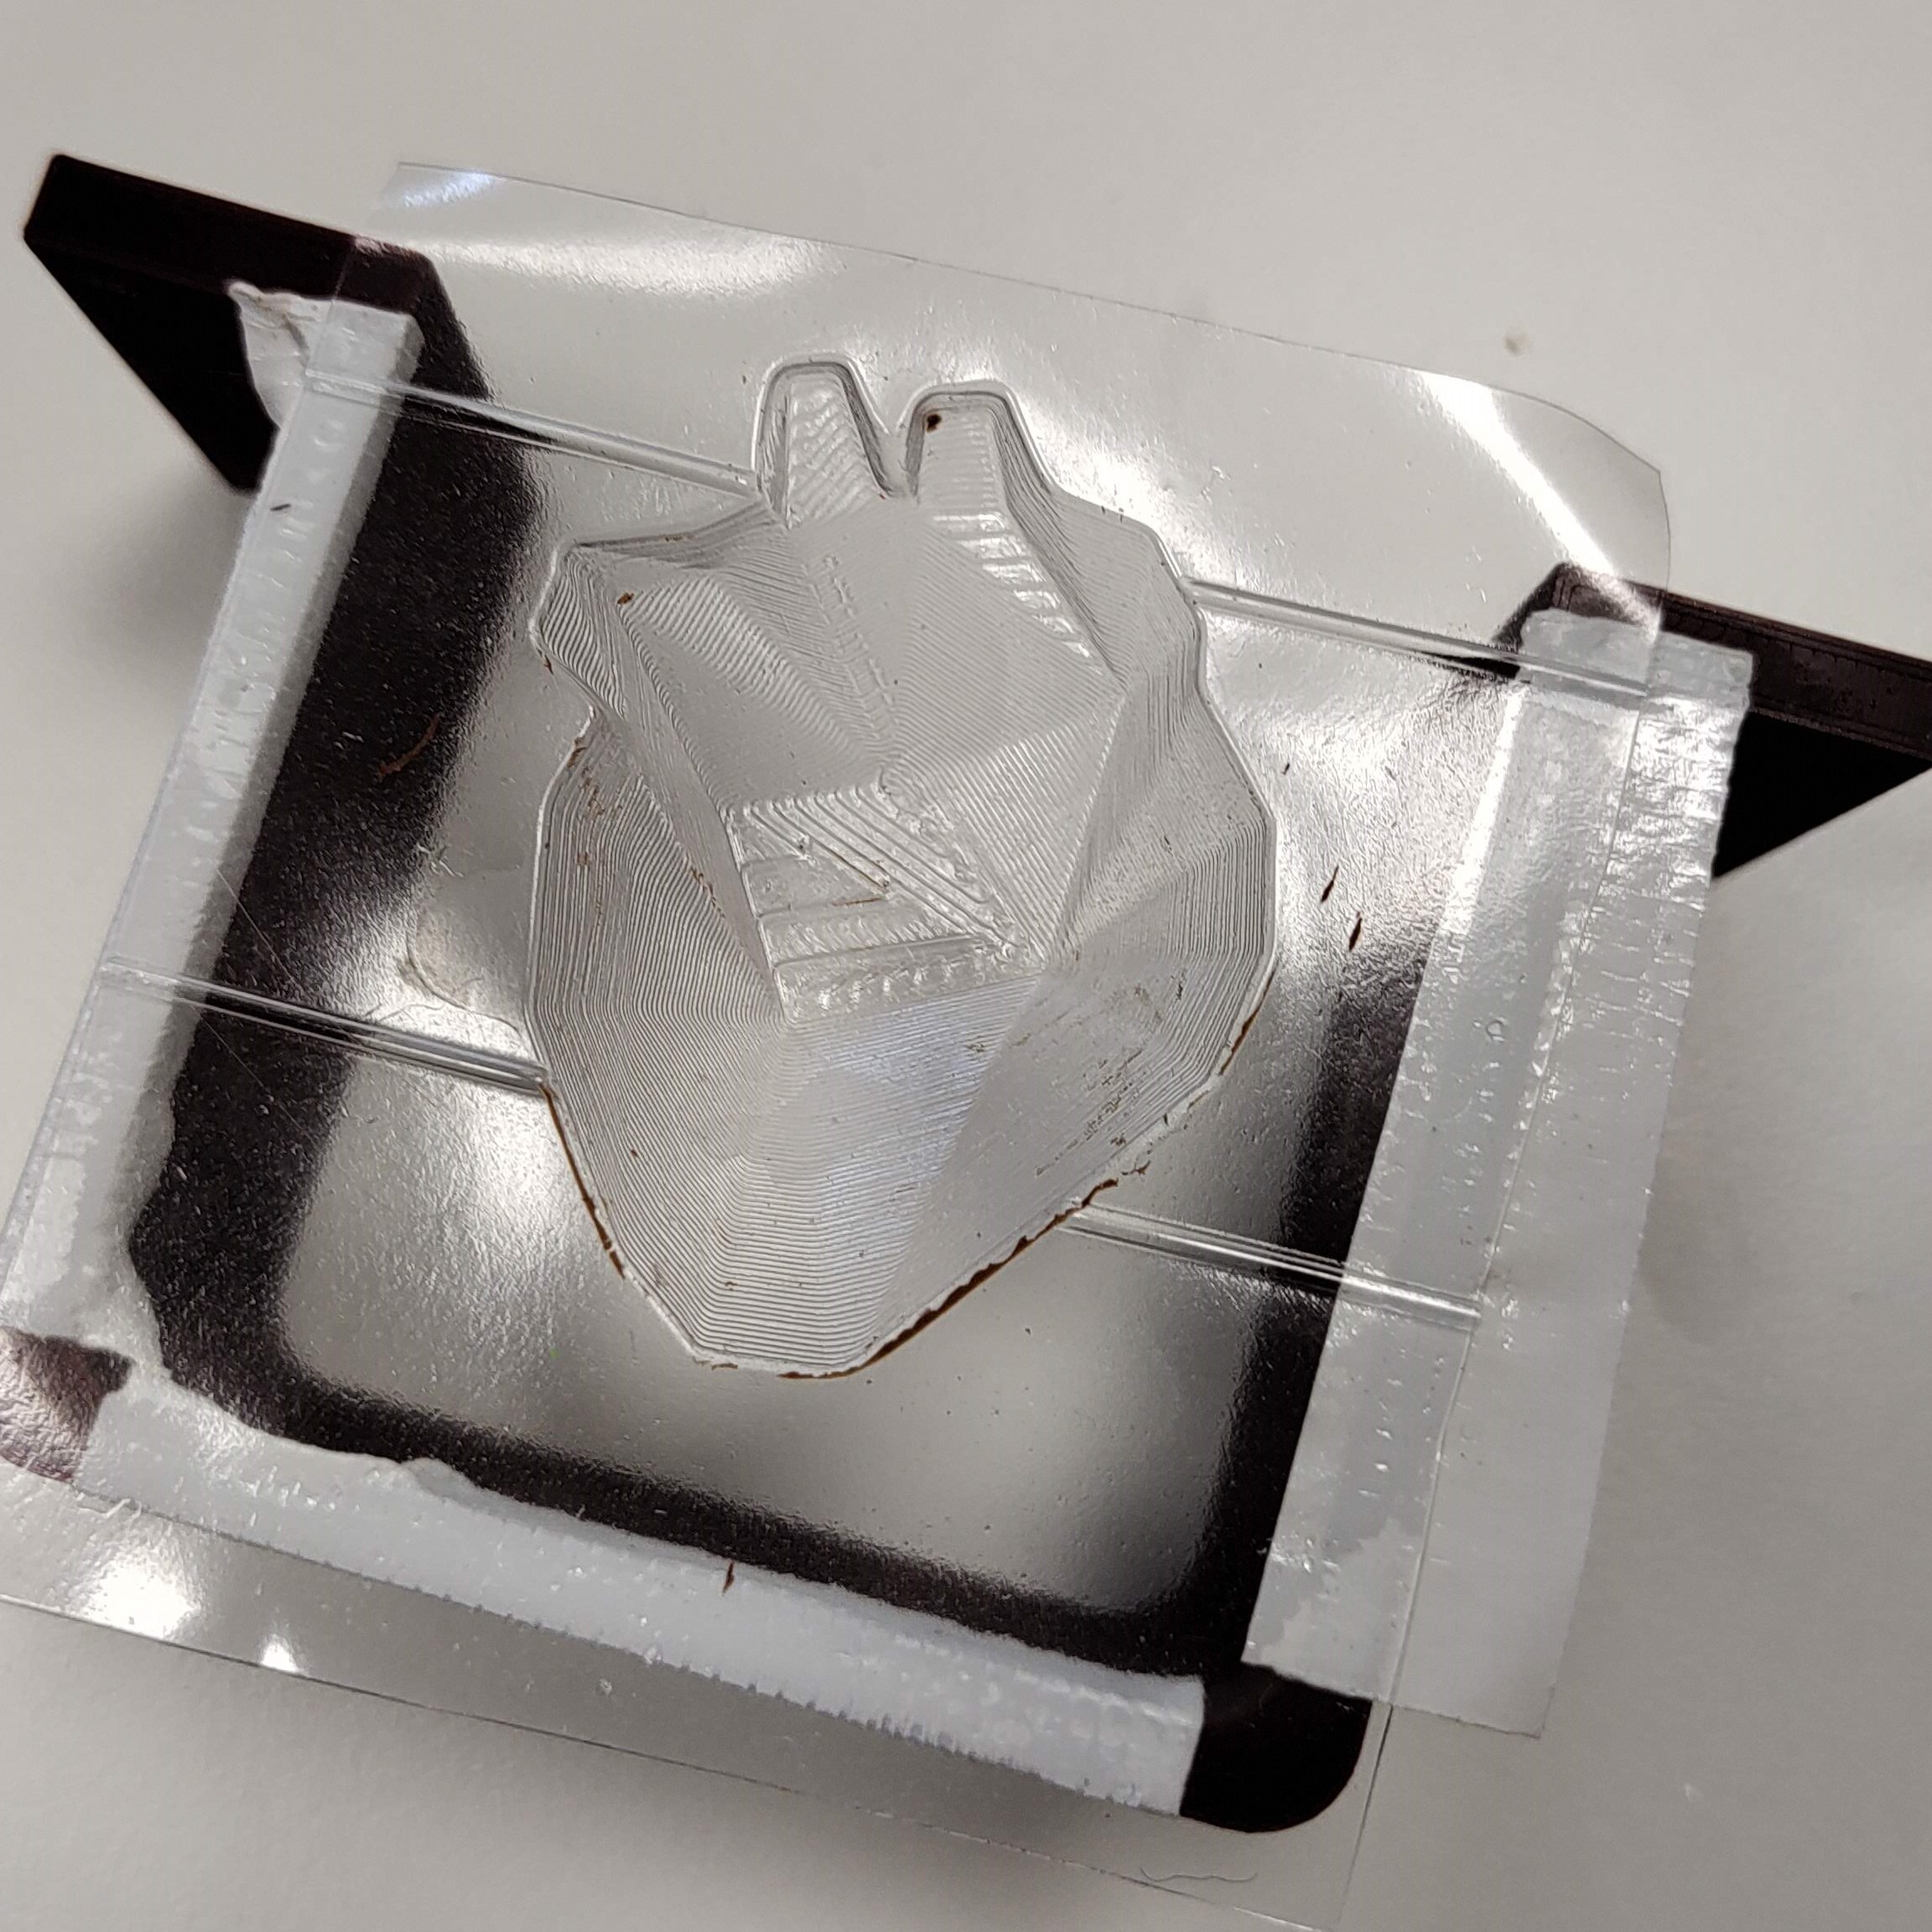 | 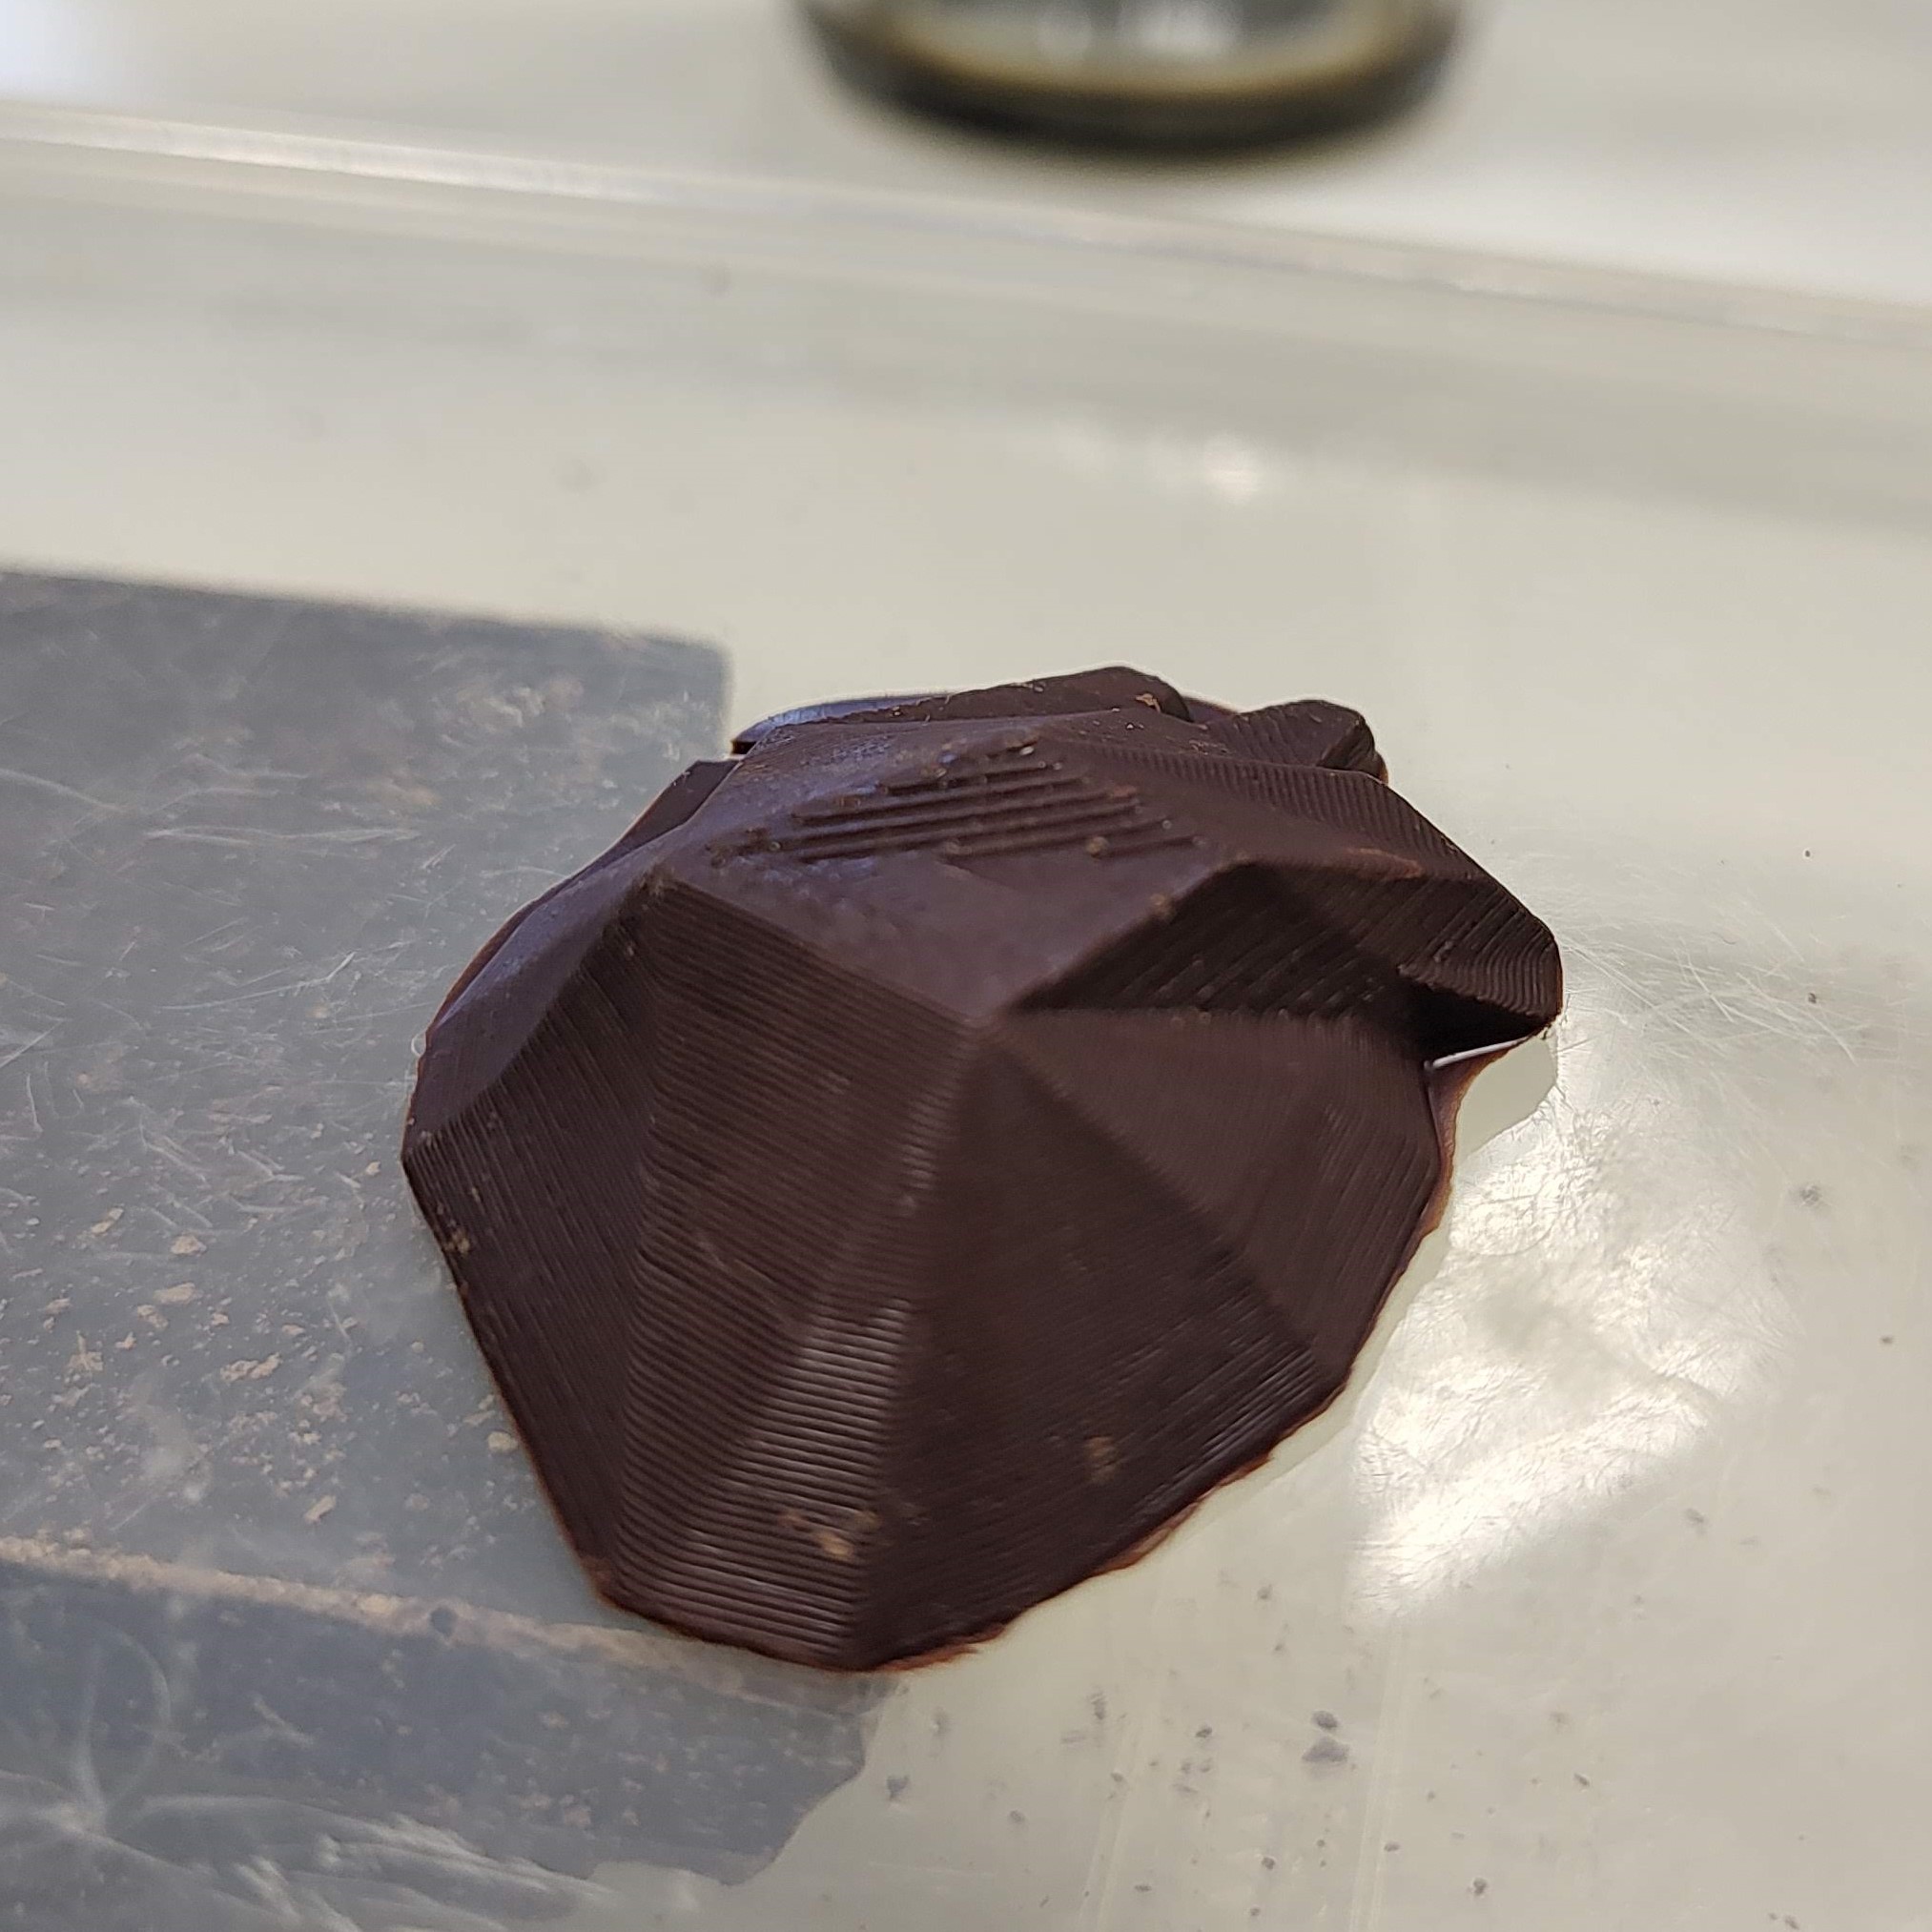 The chocolate looks really good and you can see all the layer lines |
Second Test:
Here you can see the negative are a bit more creative. You can also exchange the name plate on the wrench. The Christmas tree also has a lot of detail in the star. You see I have some problems with to much chocolate, but that could be fixed with a scraper.
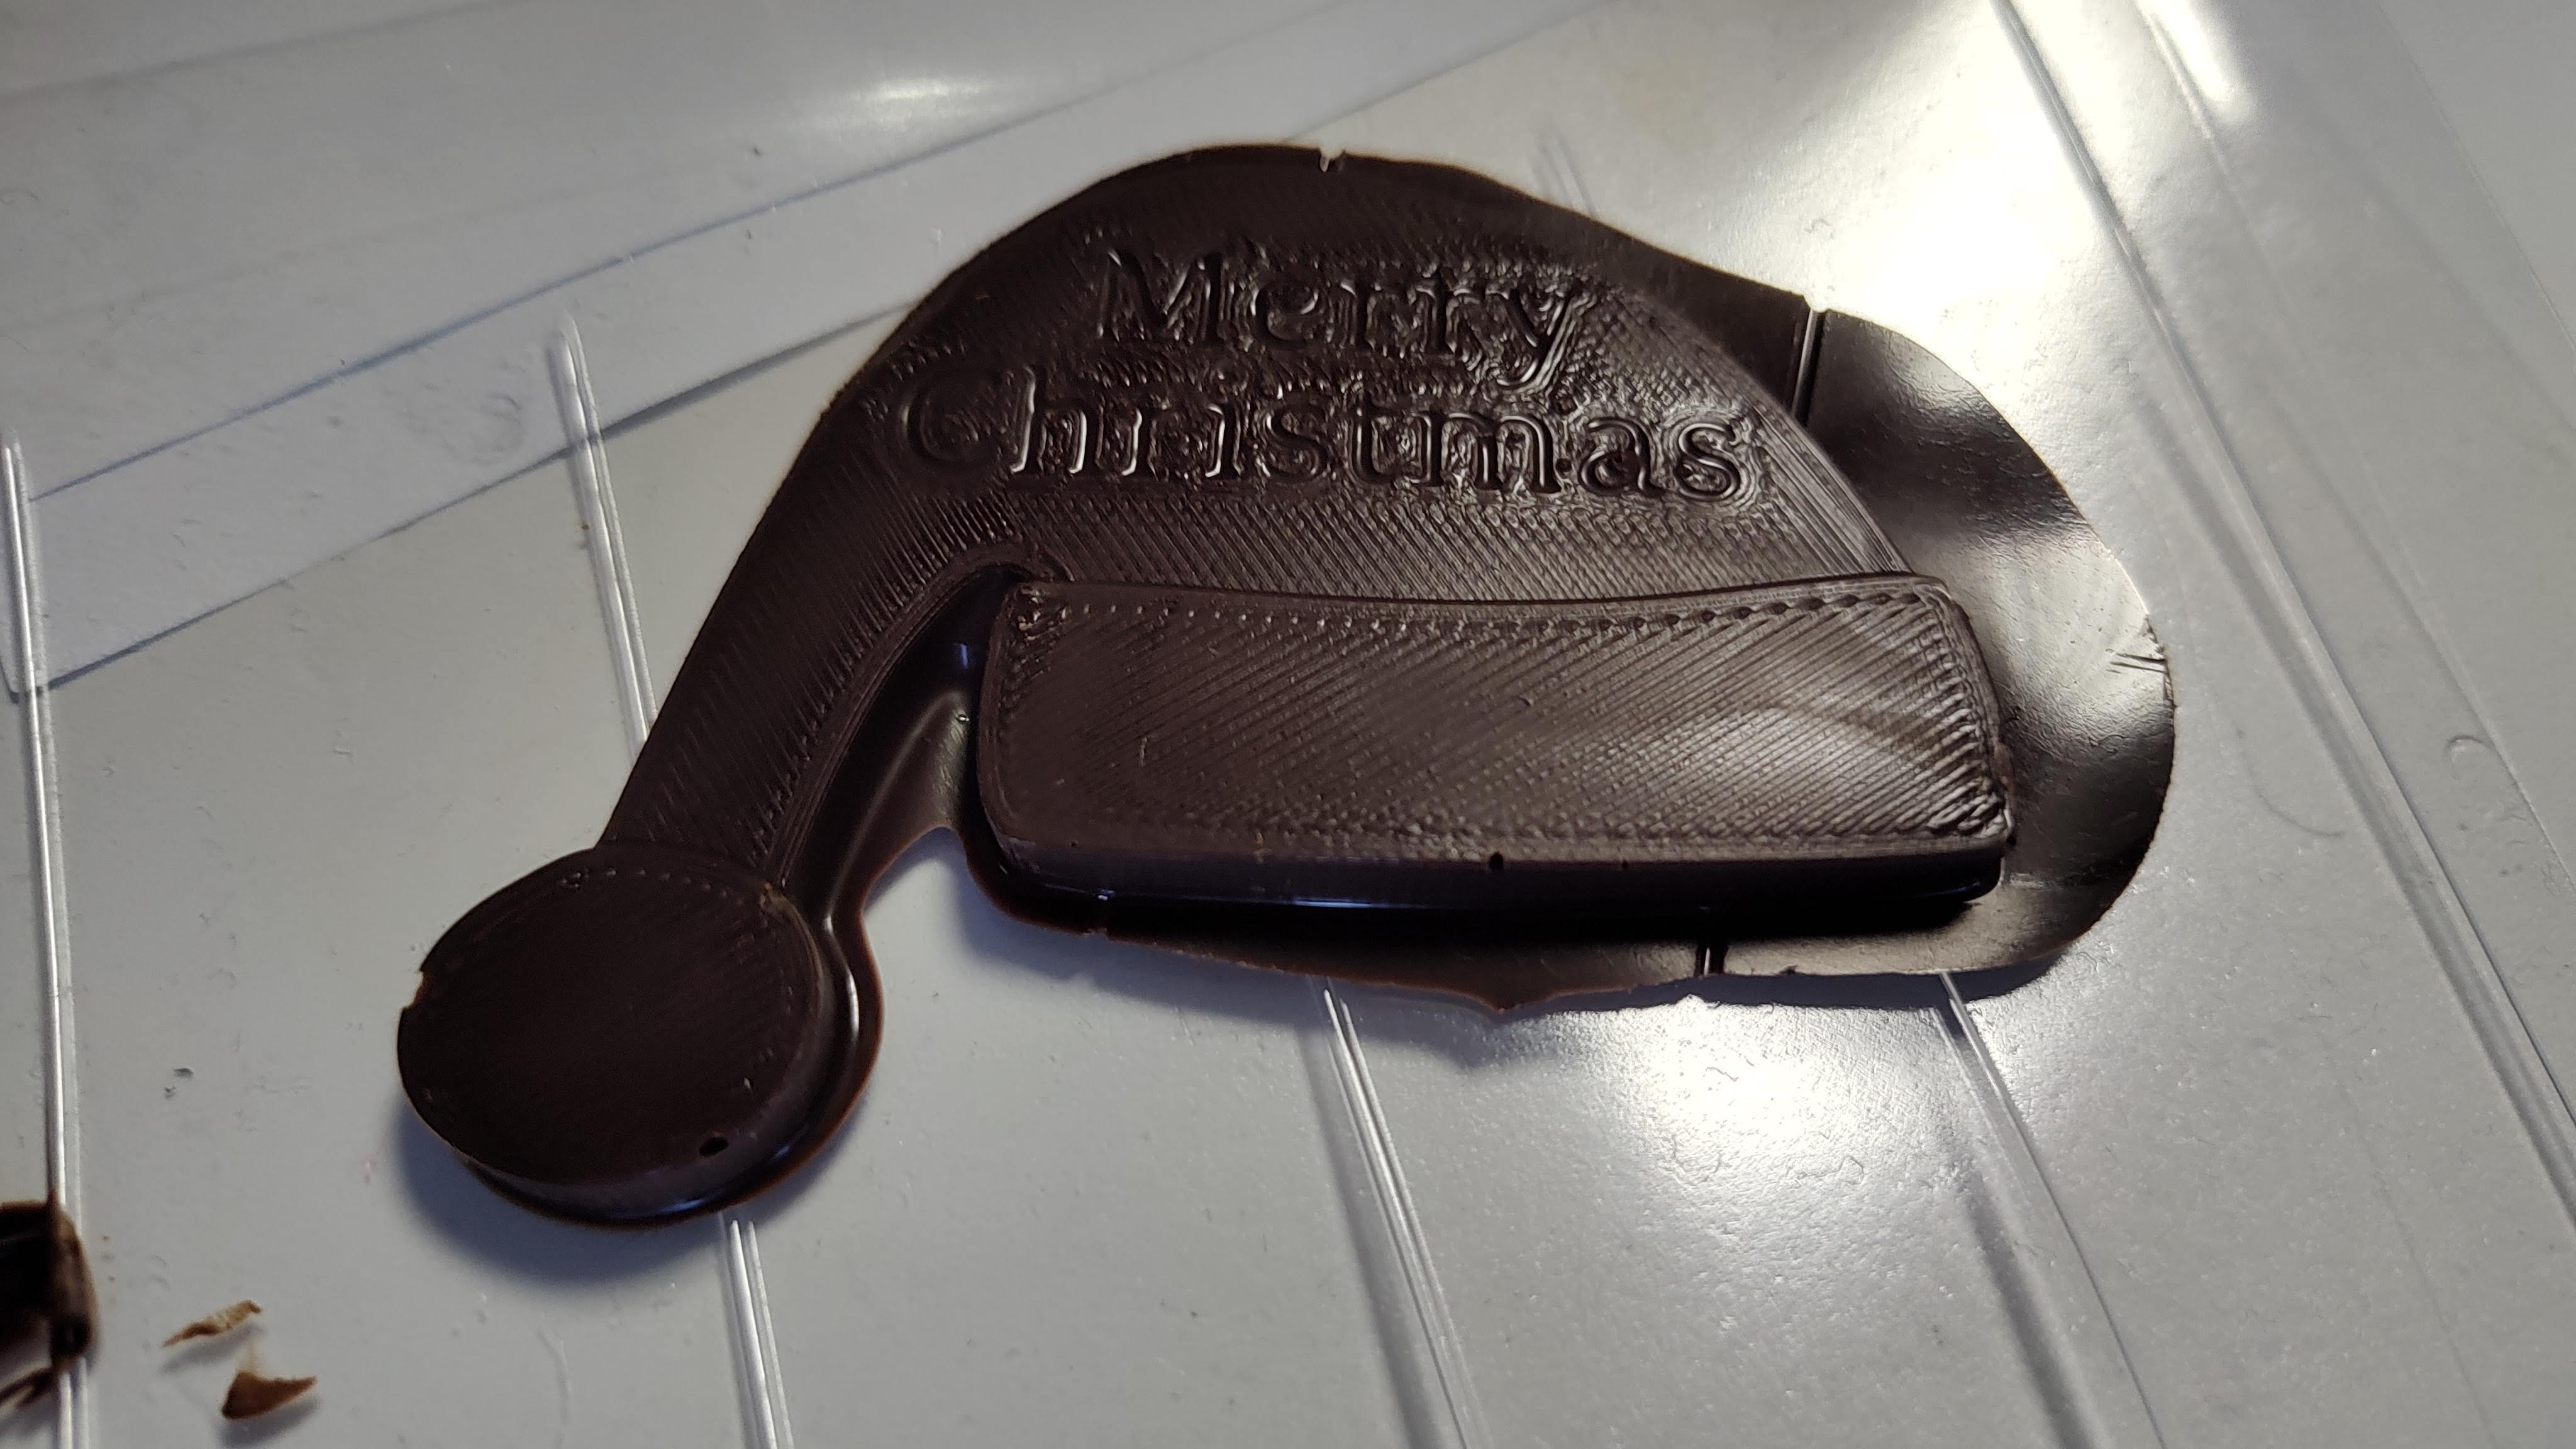 | 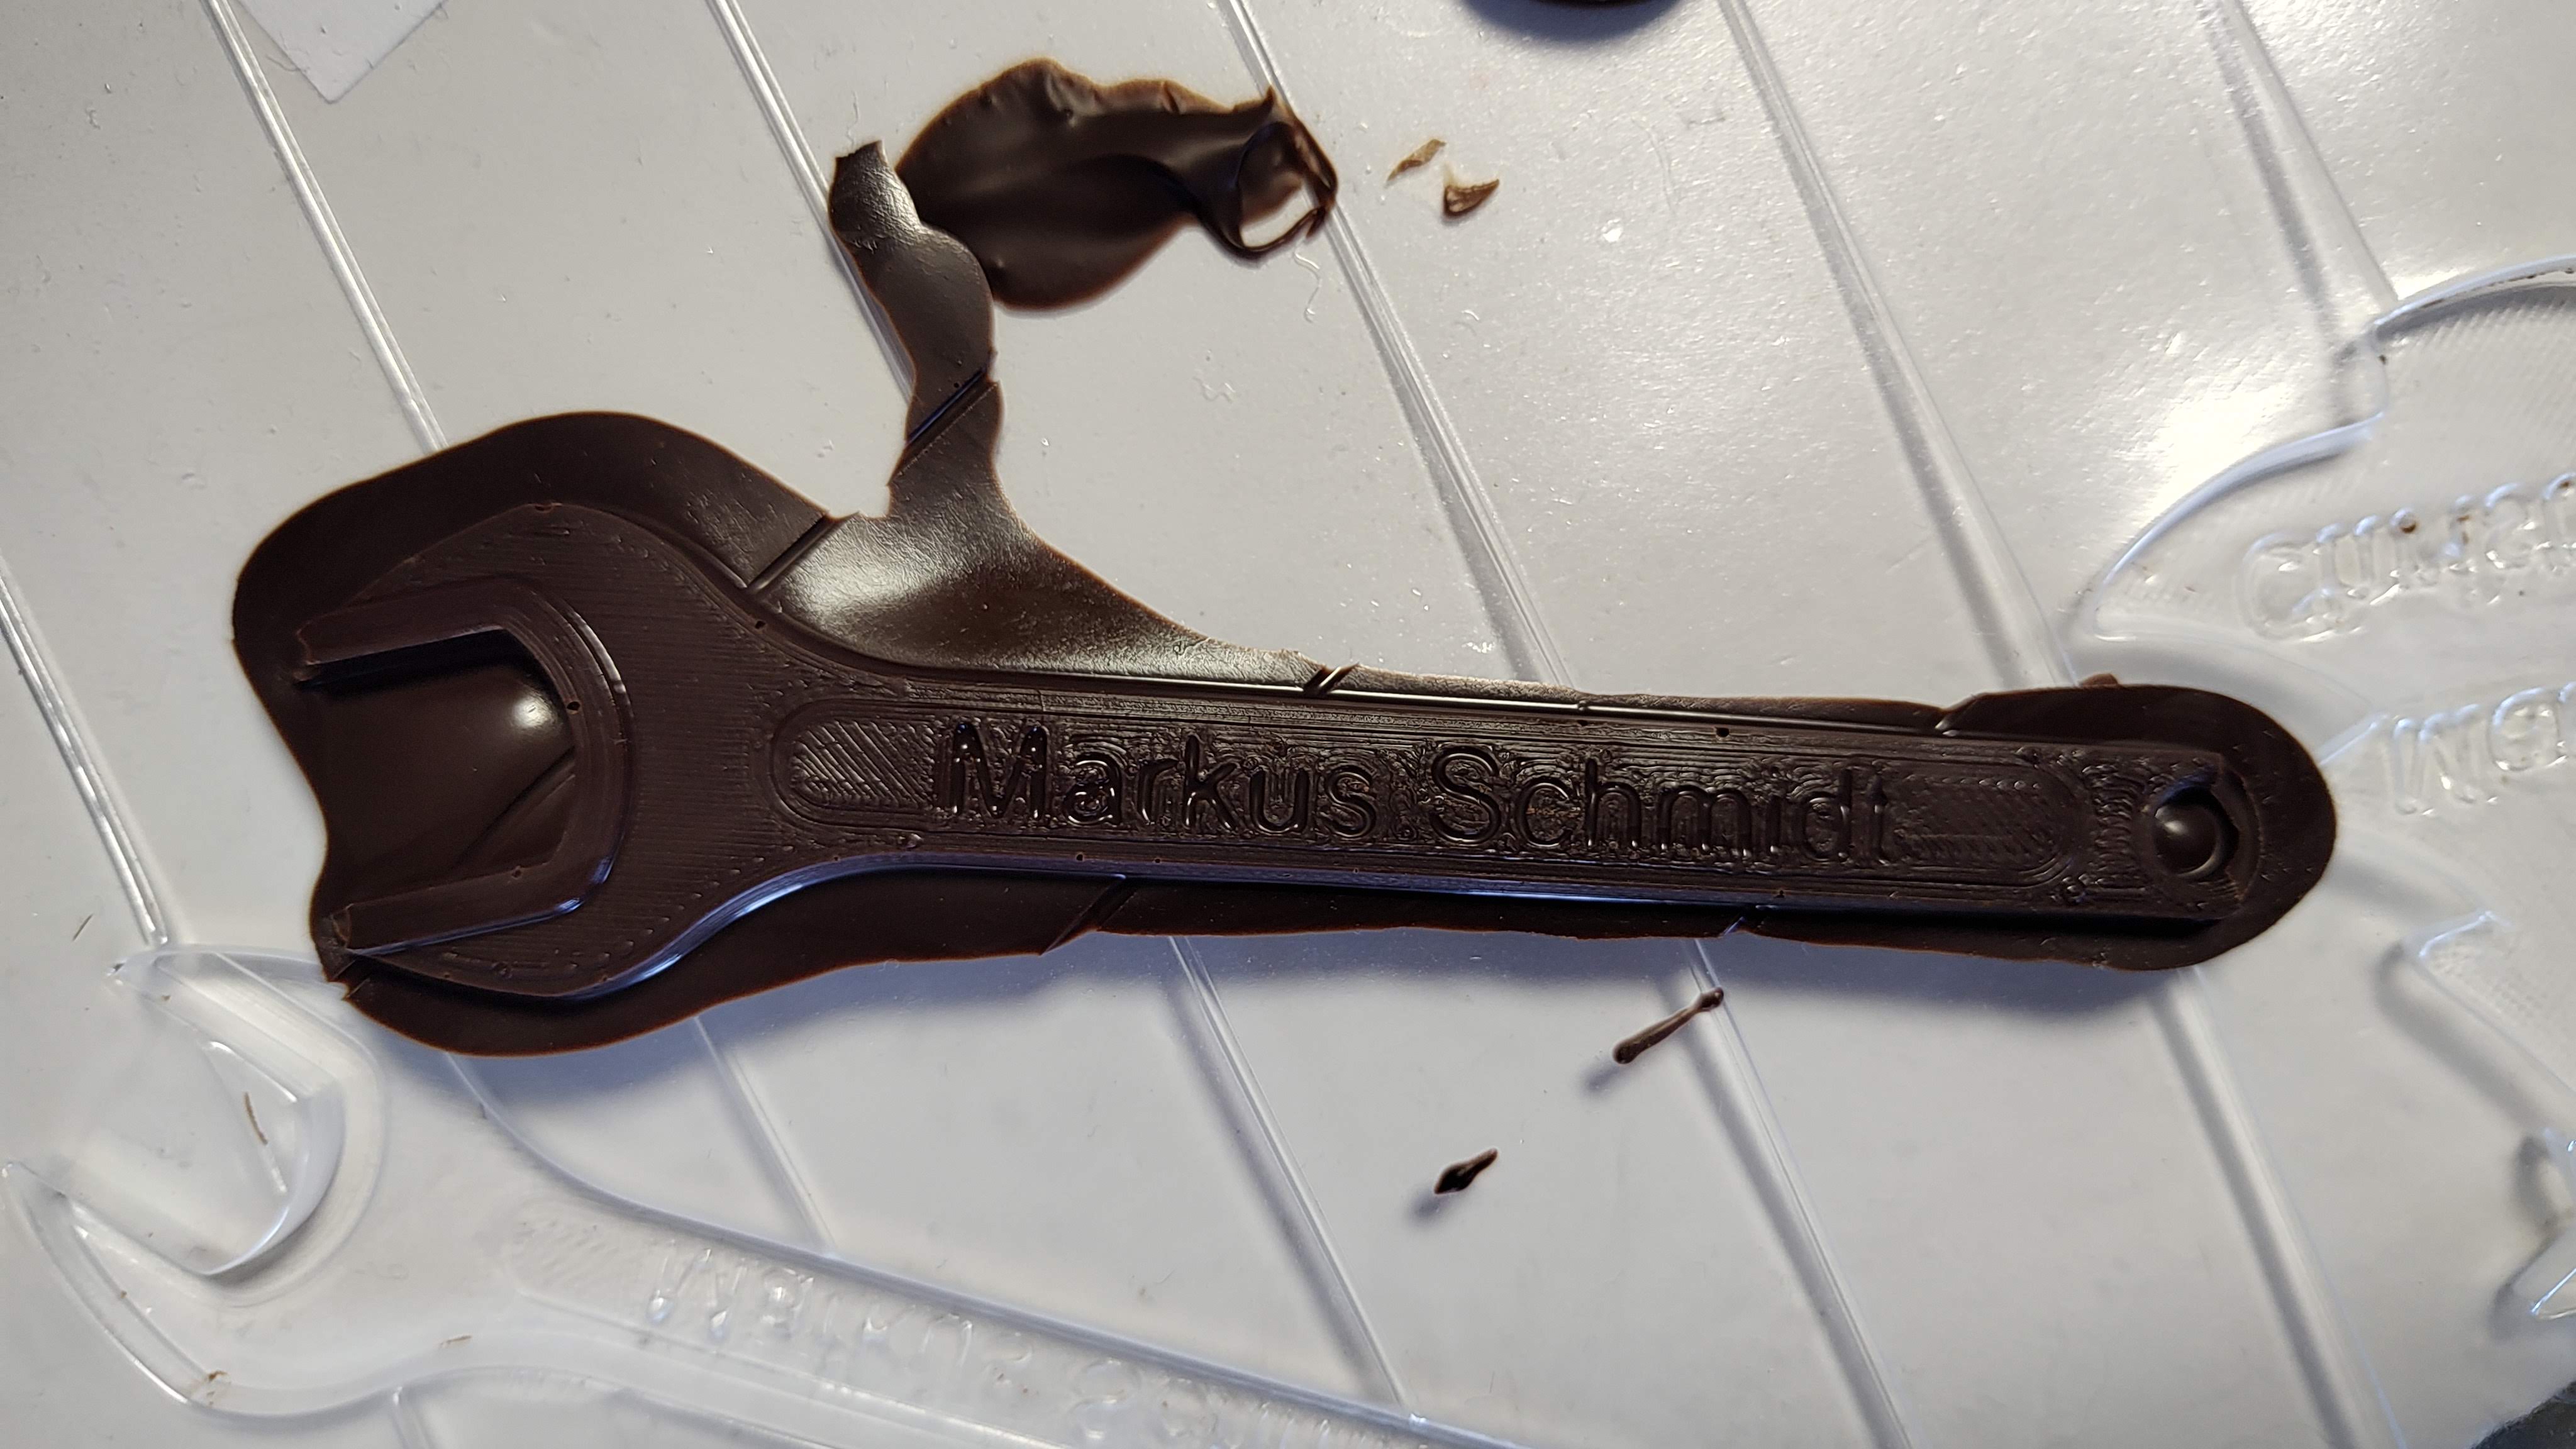 | 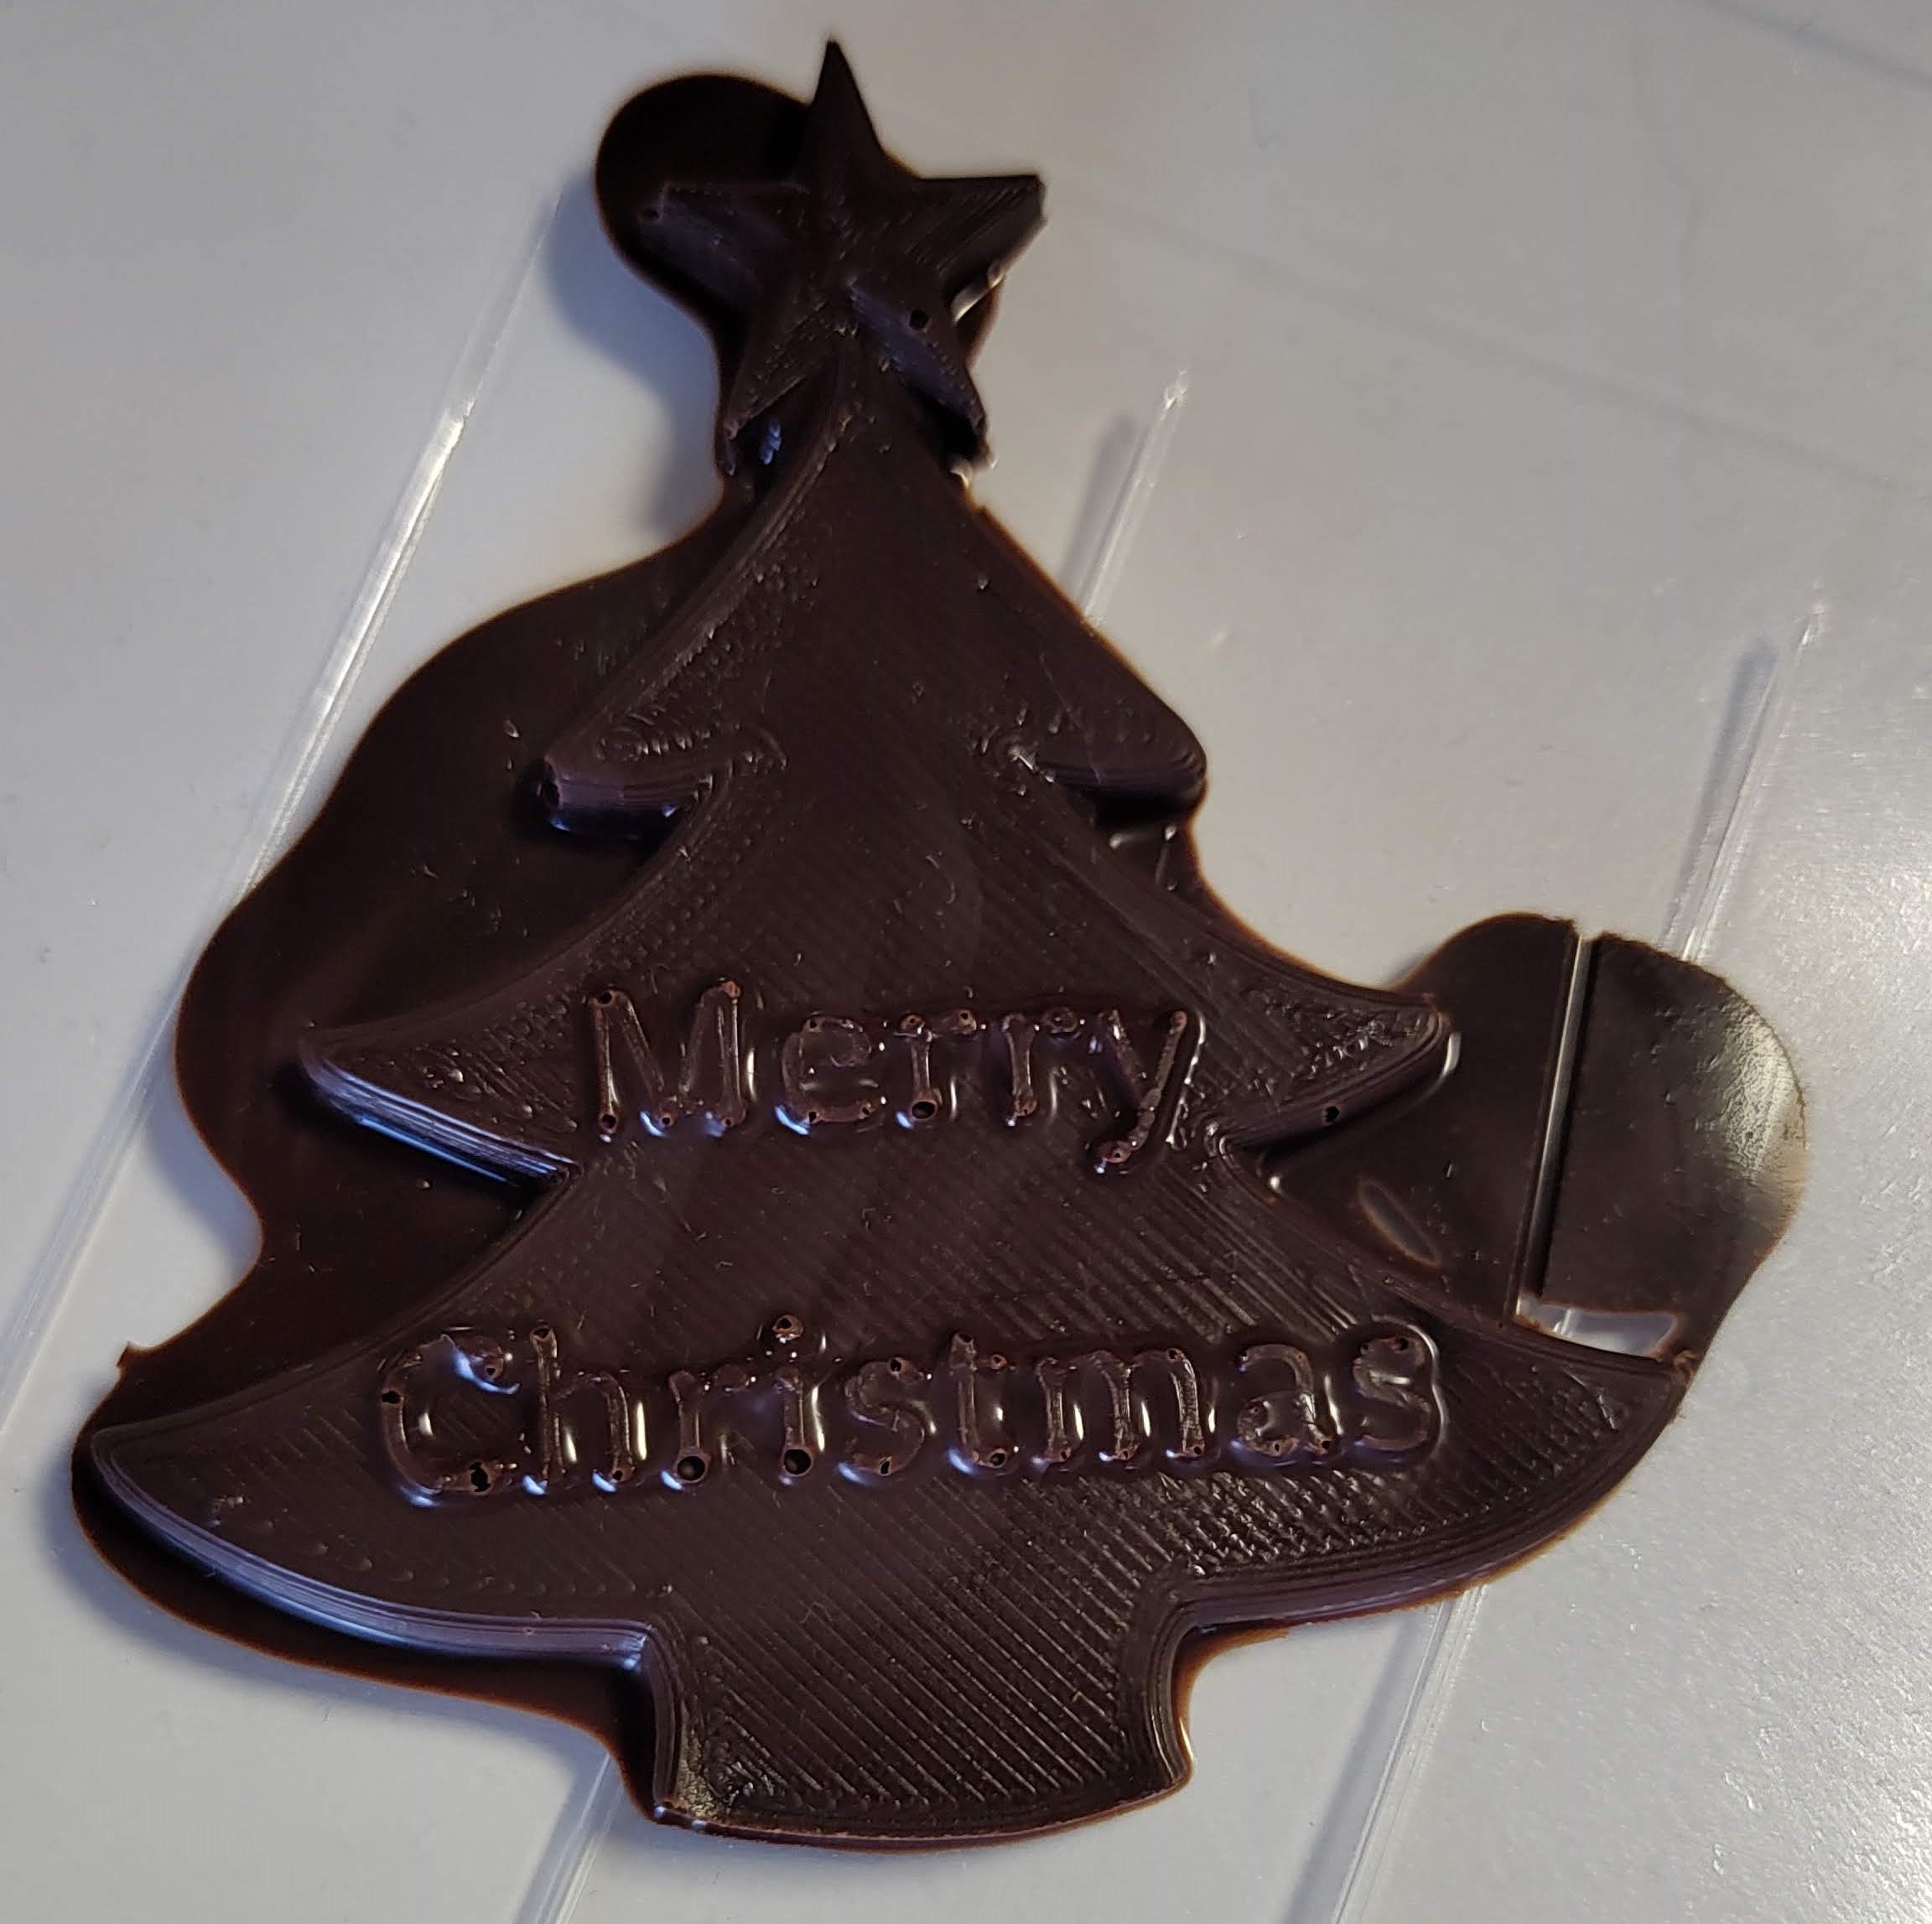 |
Designing your own forms:
You should focus on this design roles while making your 3D model.
- height of the part → the part should only be from 5 mm to 20 mm
- overall radius/size → the part shouldn't be to width, because if the part gets to width, the plastic sheet on the top of the form gets really thin and can rip
- small details & hard/small corners → Like you can see very slightly on the Christmas tree, the star on the top has some holes where the chocolate couldn't file the form completely. You can help the plastic to get into all the small holes by vibrating or shaking it softly.
Optional for the Geeks:
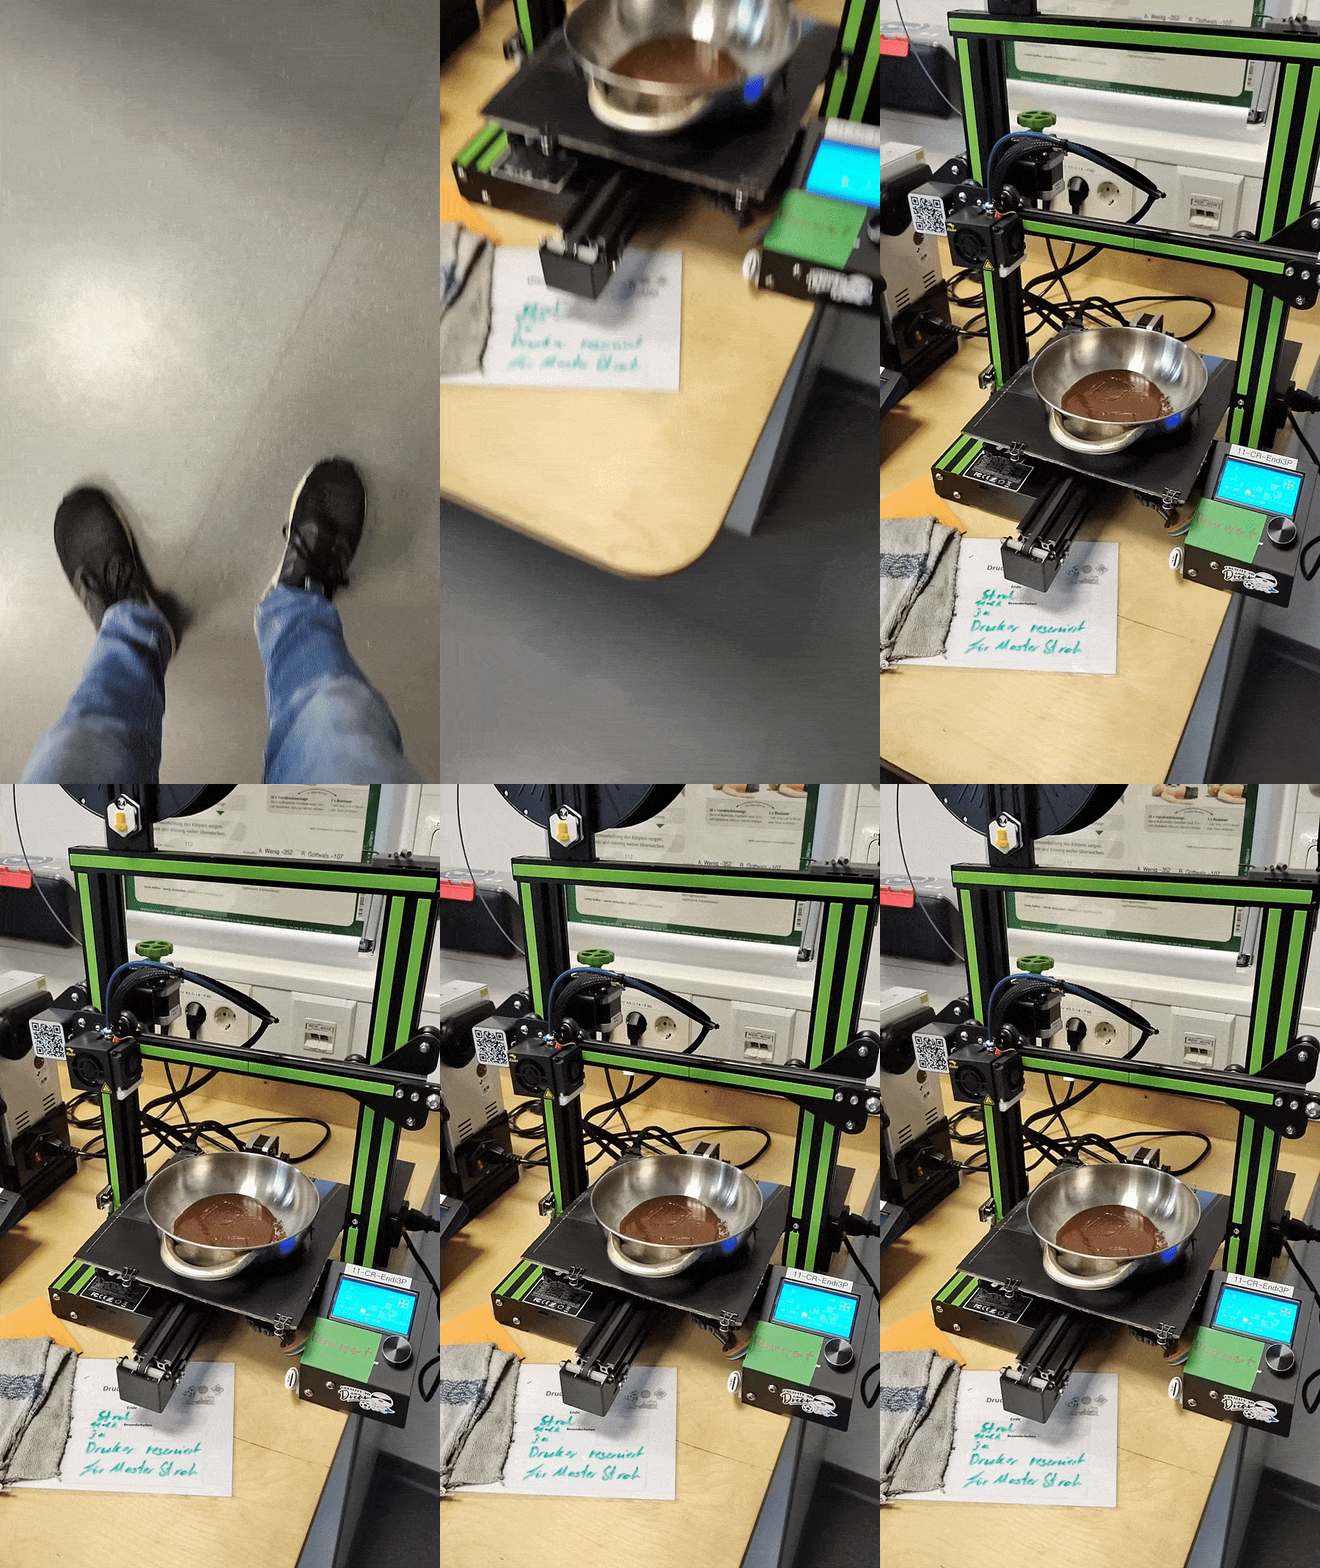
I wanted to use a 3D printer to melt the chocolate, because I always saw the 3D printer memes where the people used their printers to make fried egg. I thought the chocolate melting is a good situation to test this.
So I created some custom G-code for an Ender 3 at our University to melt the chocolate directly in the lab. You can also find the code inside this project(schokiV2.gcode), but be careful because I modified the file for a standard Ender 3. I used a roughly cardboard cutout for holding the pot in place. You should also the office clamps to mount the cardboard cutout to the printing bed. The last thing you should be aware of is the G29, the homing that my crash into the pot, so definitely put the pot on the printer when it started shaking.
If you like to, check out my other designs too!