
Panasonic RP-HJE125E earphones side sleeping mod
Obliczymy ostateczną cenę na podstawie wybranego pliku. Sprawdzisz ją i zaakceptujesz przed płatnością.
Zapisane na tym urządzeniu.
A modification of the Panasonic RP-HJE125E earphones, which reduces their size to allow for sleeping on the side.
- Ocena
- 0 / 5
- Polubienia
- 1
- Pobrania
- 18
- Wydruki
- 0
- Wyświetlenia
- 374
- Oceny
- 0
Aktualizacja u źródła:
Informacje o modelu
- Źródło
- Printables
- Kategoria
- Bedroom
- Licencja
- Creative Commons — Public Domain
Description
A model to replace the outer casing of the Panasonic RP-HJE125E earphones to allow for sleeping on the side with them on. It's not perfect and therefore not final. I'd like to eventually make it smaller still.
This mod, of course, changes the sound of the earphones. Even unmodded, they have a very in-your-face sound, but it's even more pronounced with this mod, along with a sharp kick in a particular band of bass frequencies. Can't say I particularly like the change, but I'm surprised the sound hasn't gotten much worse.
The story (you can skip this)
I have looked far and wide for earphones I could sleep on the side with, without the pillow pushing the earphone tip into my brain. All I could find were either sussy Chinese earphones I was too afraid to buy, or 70€ Sennheisers, which I may or may not have been able to sink into my ears without the earphones' casing poking out too much.
Since I wasn't convinced by either, I decided to modify a different model.
I've used the venerable RP-HJE125E for years now and since I had an extra pair on hand, I decided to modify these for side sleeping. Since I had managed to break a pair of these earphones in the past, I already knew they can be… disassembled in a way that allows for what I intended to do with them.
Printing instructions
I printed the models on a Mini+ in (recycled) PETG, 0.1 mm layer height, with concentric infill, but otherwise on default settings. You might find better settings if you play with them though. I didn't since it printed satisfactorily with these.
I'm pretty sure it can be printet in PLA just as well, the only reason I used PETG is that I had it loaded already.
(Dis)assembly instructions
Note: The original outer case of the headphones is strung onto the wire with no way to remove it without breaking it. I left it hanging on the wire myself, out of fear of damaging the wire (that's what I told myself, but I was really just too lazy to do it)
Tools used:
- break-off knife (any sharp, thin blade that doesn't bend too much will do)
Yeah, that's it.
Instructions:
- Separate the outer shell from the in-ear piece of the thing by inserting the sharp blade between them and prying gently. (see fig. 1, since these words I'm making up here might not be sufficiently descriptive).
- Gently push the cable against the outer shell to move the outer shell down and expose the knot which held the cable in place.
- Untie the knot, since it's too big and we want to minimize the side of the resultant earphone.
- At this point, you might notice that a part of the outer shell that held it in place broke off and stayed stuck to the glue that additionally secured it. Even if not, the glue will probably stay stuck inside the in-ear piece. Remove this with any fitting instrument, I used the same blade as I separated the parts with.
- Find a notch inside the in-ear piece, between the driver magnet and the body of the in-ear piece. If you hold the piece so you face the magnet flat, the notch should be visible on the bottom right or bottom left, top being the original top of the earphone.
- Place the untied cable snug around the magnet so that it comes “out of the earphone” right where the notch is. One of the holes in the model will both serve as a counterpart to the notch to prevent rotation, and a hole for the wire.
- Note where the cable meets the notch and push this segment of the cable into the hole on the printed model.
- Now, finally, put the printed model onto the in-ear piece and press them together. If it doesn't fit well, you can play with diameters in the SCAD model to finetune it to your particular pair of earphones.
Done!
I'm not sure whether anyone will ever try to do this, but if so, and if you manage to improve this model in any way, or if you have anything at all to say, please do let me know!
Images

Fig. 1 - Insert blade here
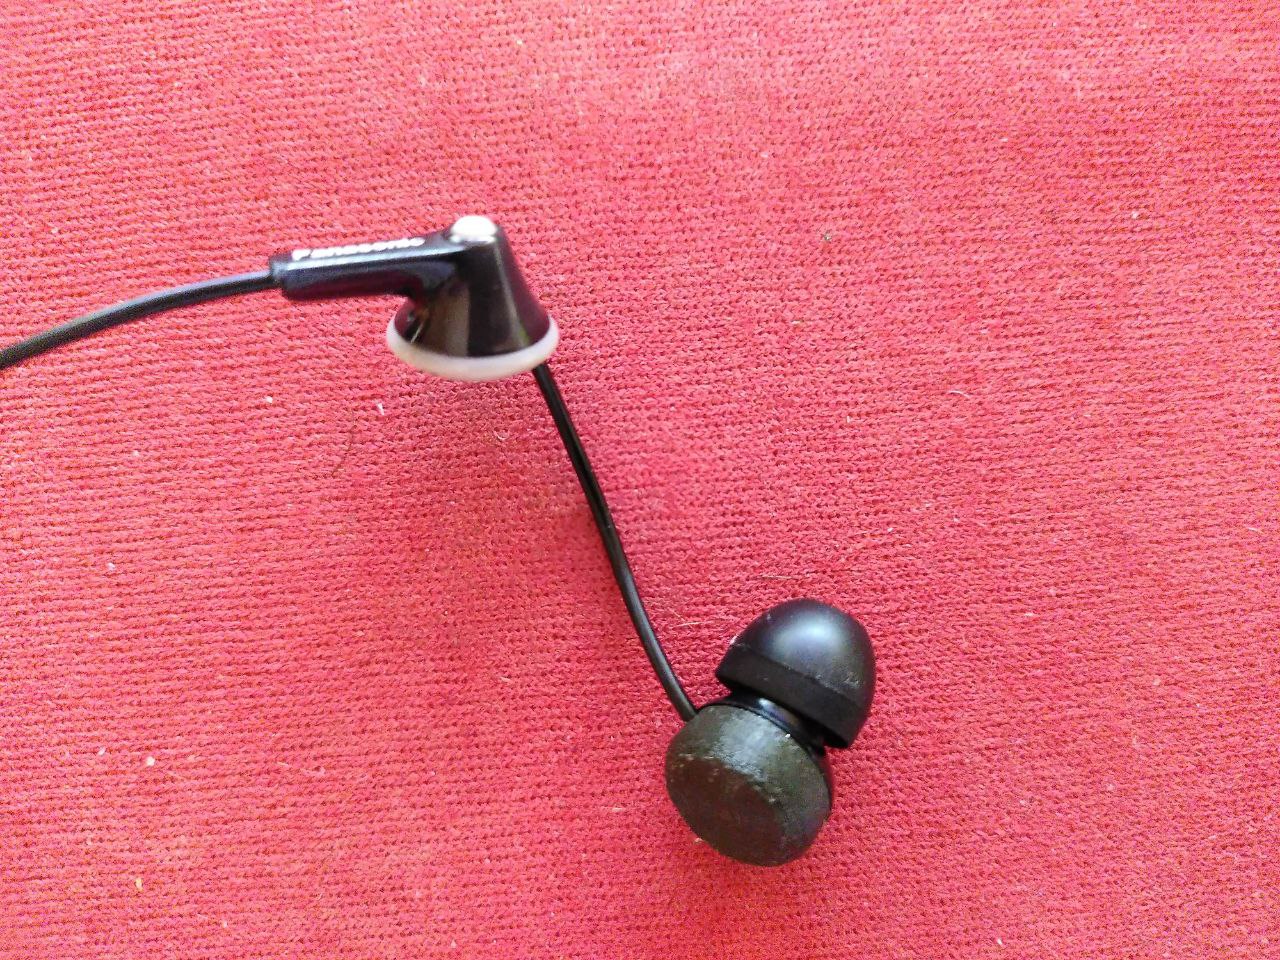
Fig. 2 - Final state. Still not sure what I'll do about the original shell