
Weihnachtsstern / Moravian Star / advent star / Adventsstern
Obliczymy ostateczną cenę na podstawie wybranego pliku. Sprawdzisz ją i zaakceptujesz przed płatnością.
Zapisane na tym urządzeniu.

inspired by the herrenhuter star from the year 1897
- Ocena
- 4,167 / 5
- Polubienia
- 124
- Pobrania
- 471
- Wydruki
- 8
- Wyświetlenia
- 3967
- Oceny
- 6
Aktualizacja u źródła:
Informacje o modelu
- Źródło
- Printables
- Kategoria
- Sculptures
- Licencja
- GNU General Public License v3.0
TL;DR
A tool free, snap fit joints only, moravian star.
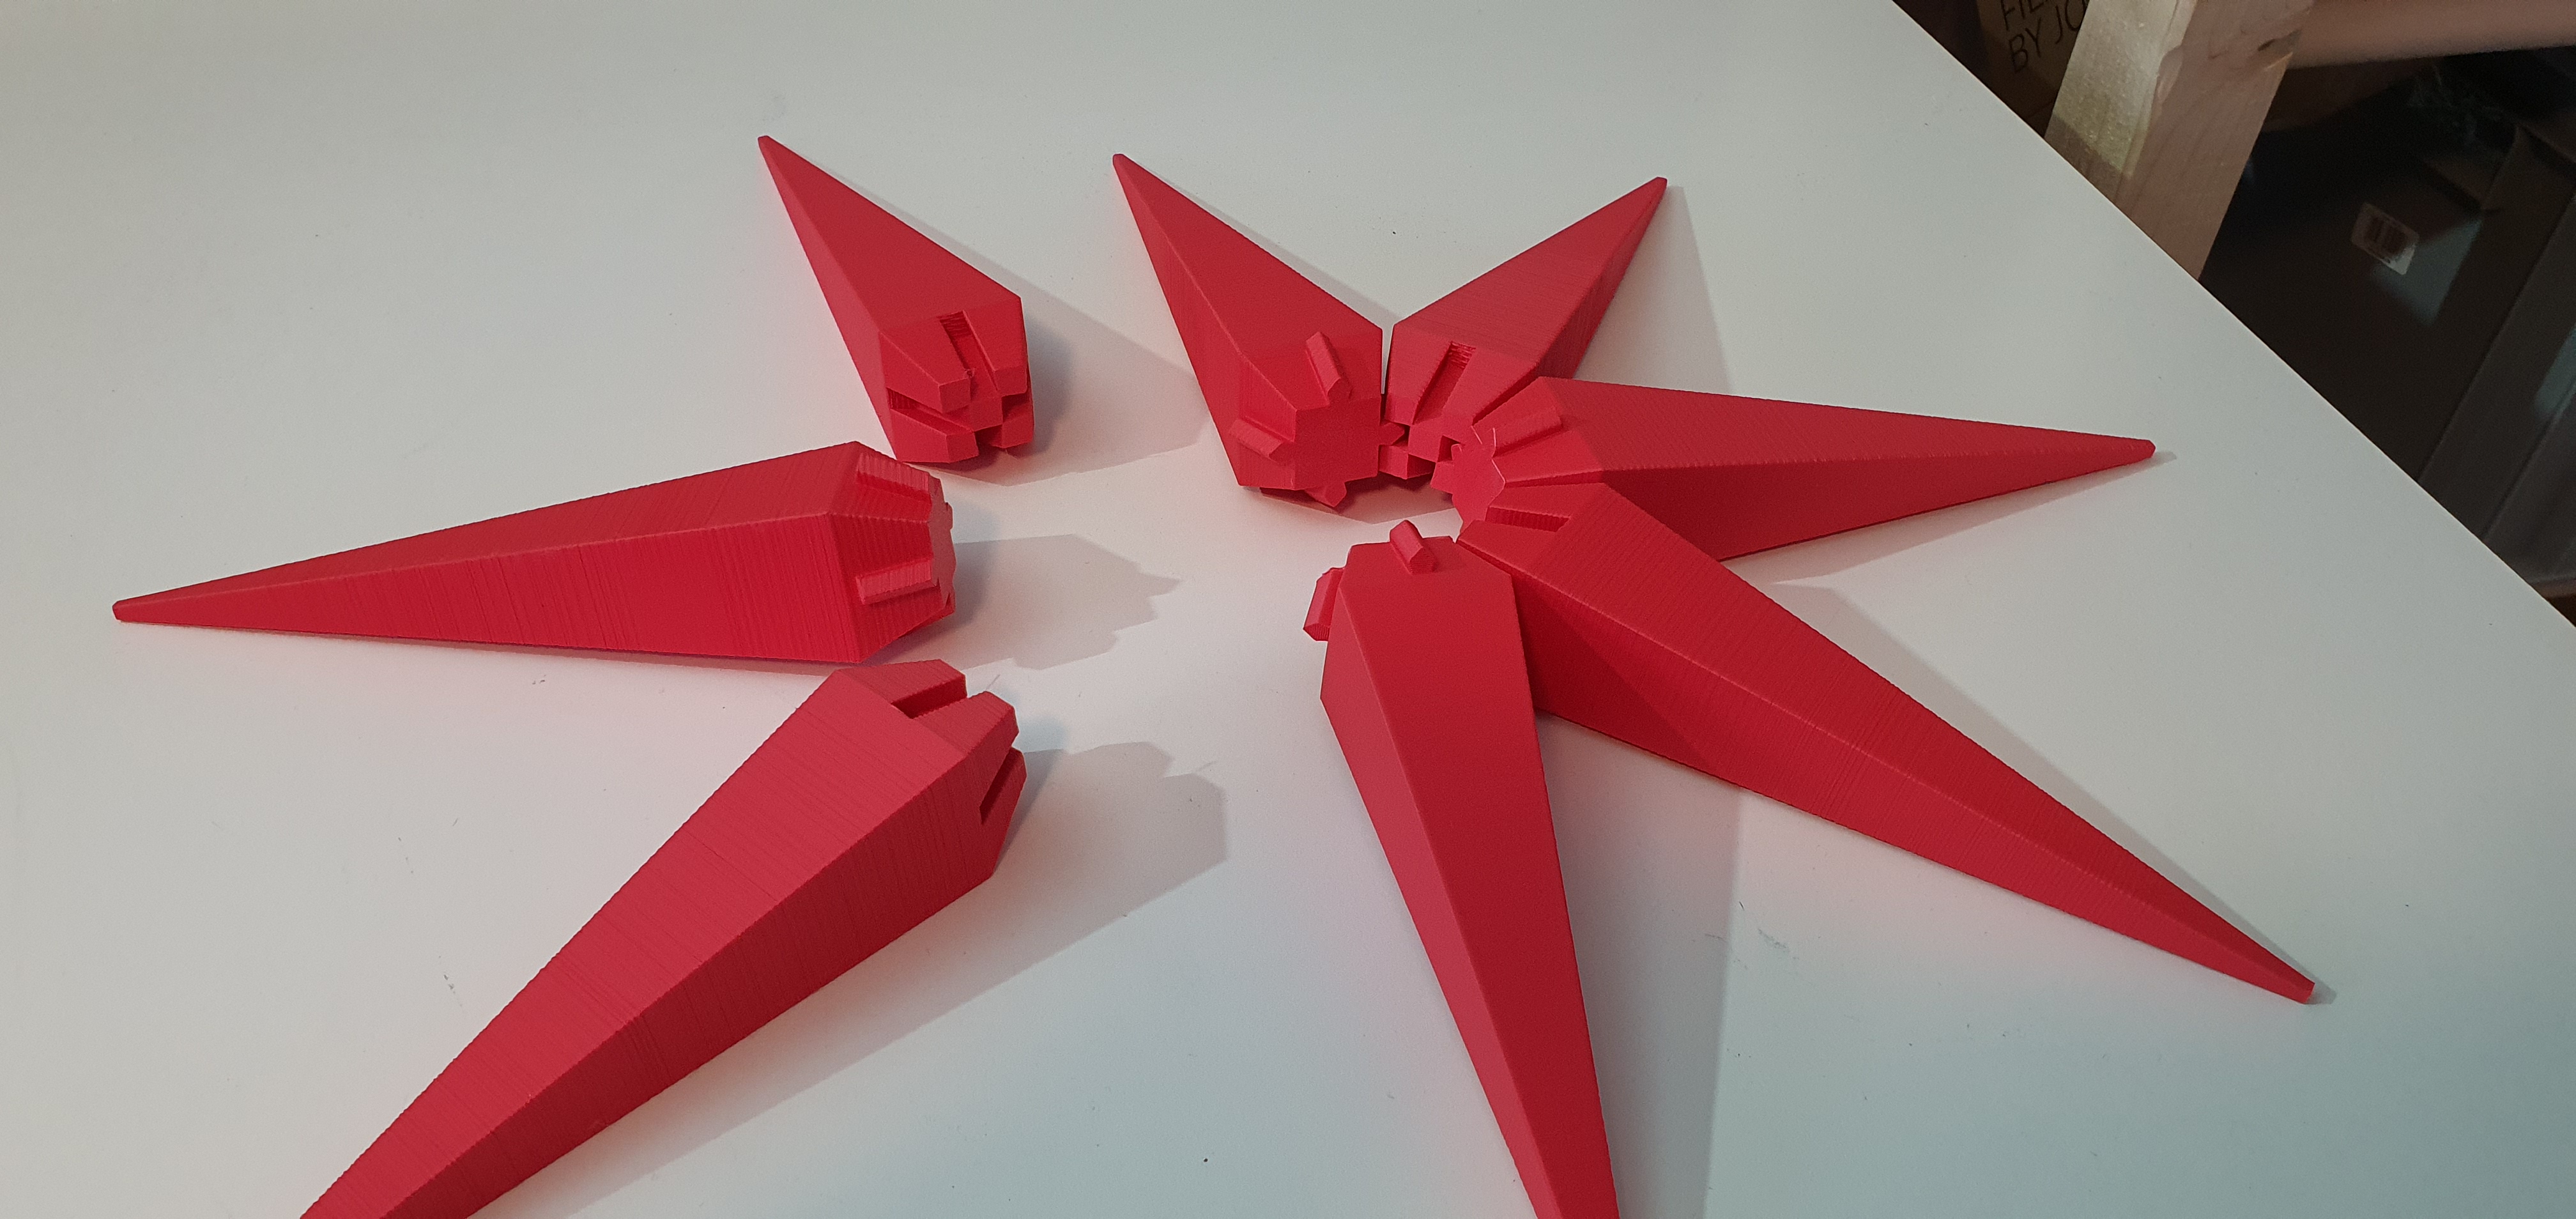
update 2023-1214 step by step build
sort all parts, use glue at least for outdoor stars

if trained with hot glue, that will speed up the assembly a lot, if not use super glue

first step a male and 2 female rays
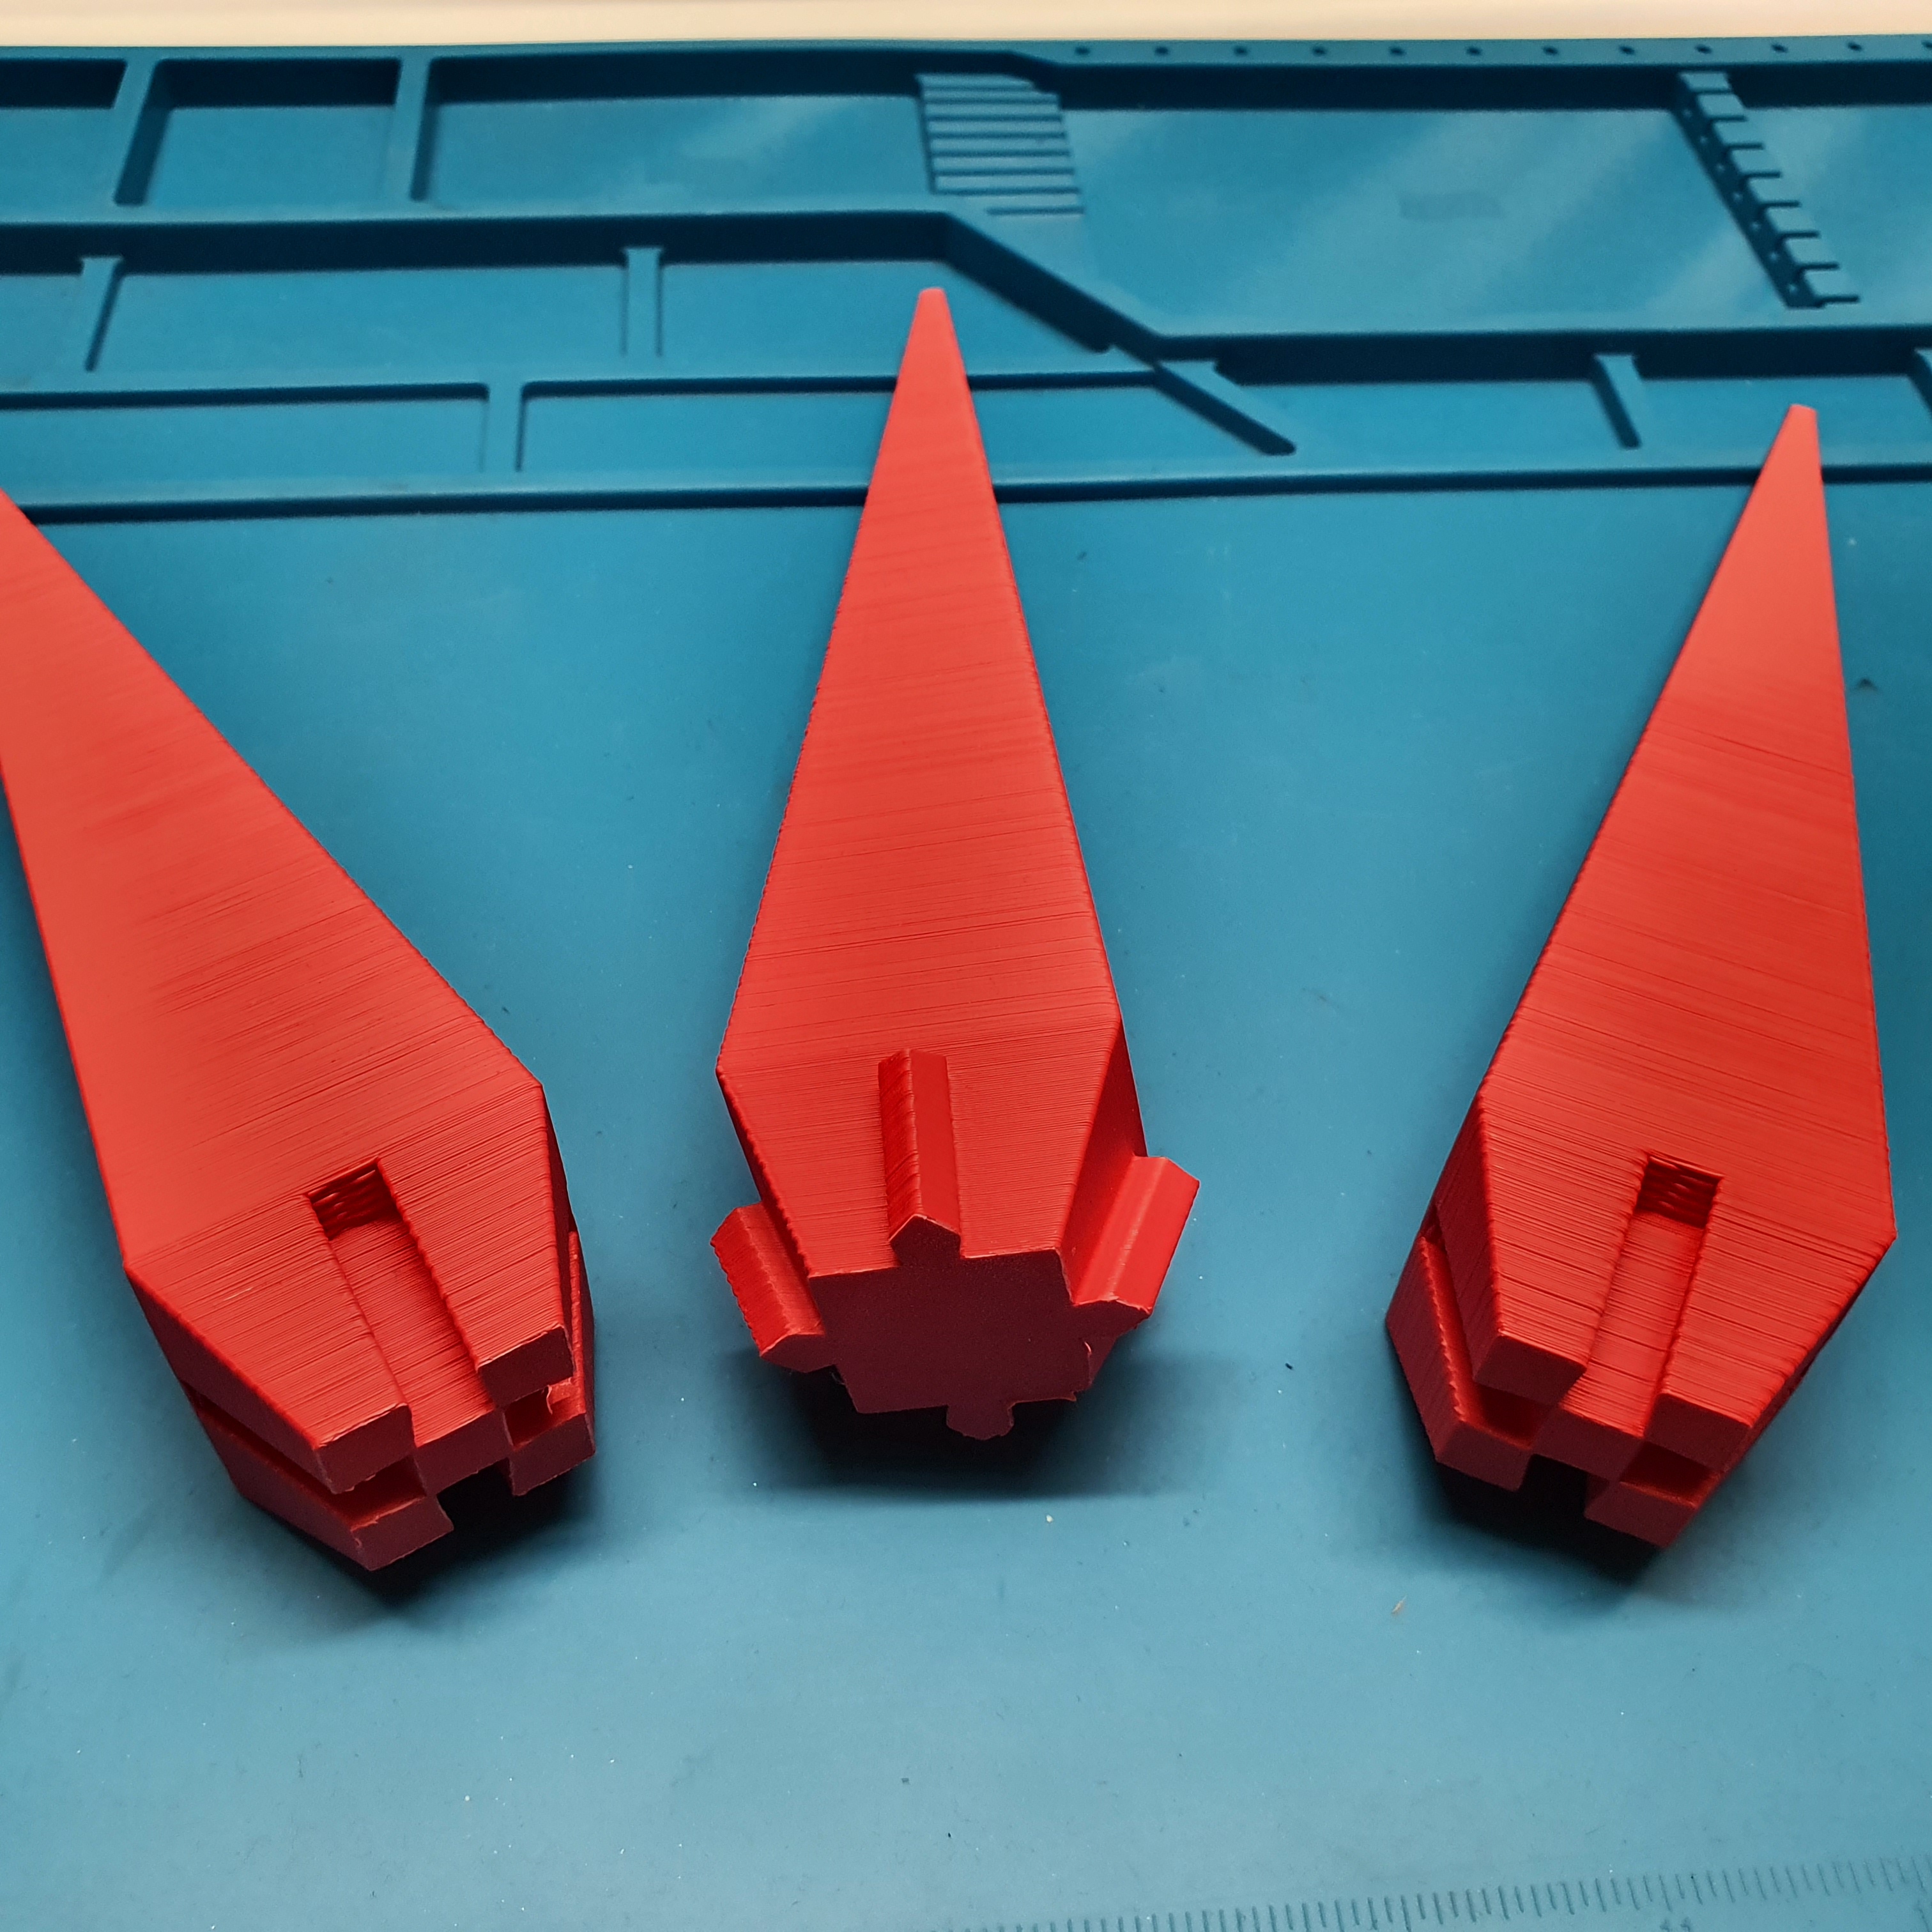
add a 3. female
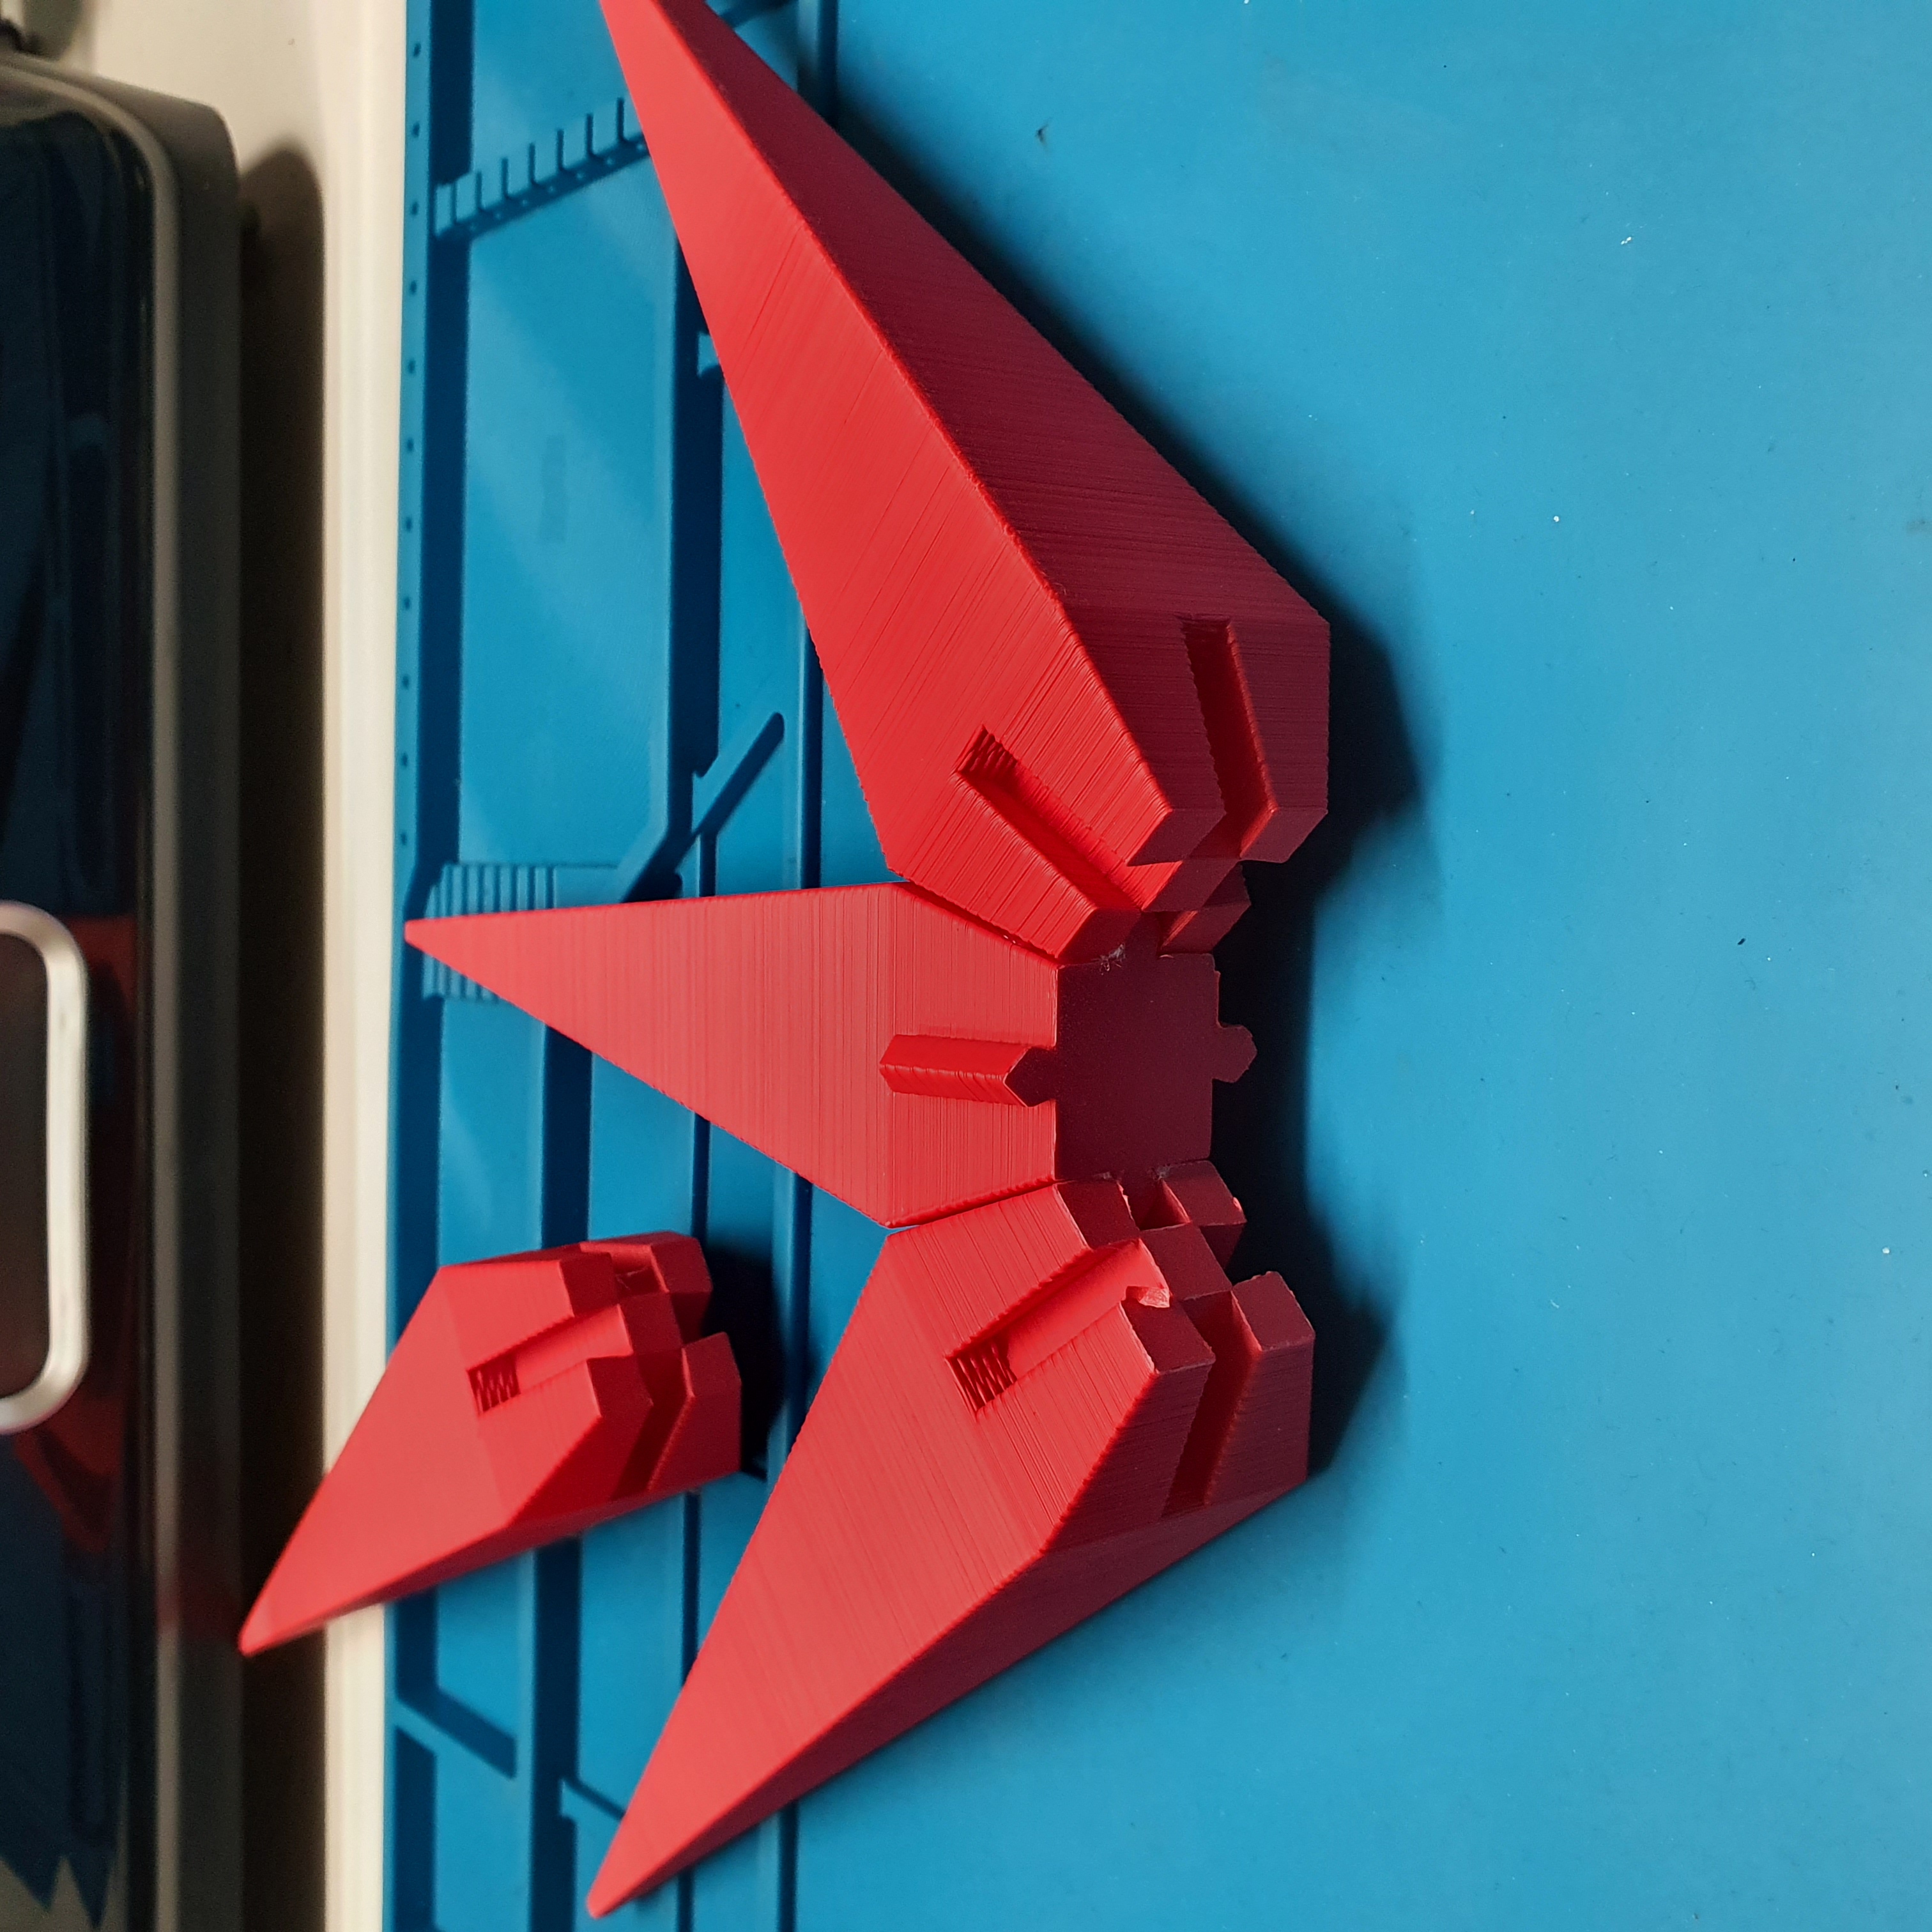
next 2 triangle sided rays


turn over for the next female ray


again 2 triangle sided rays

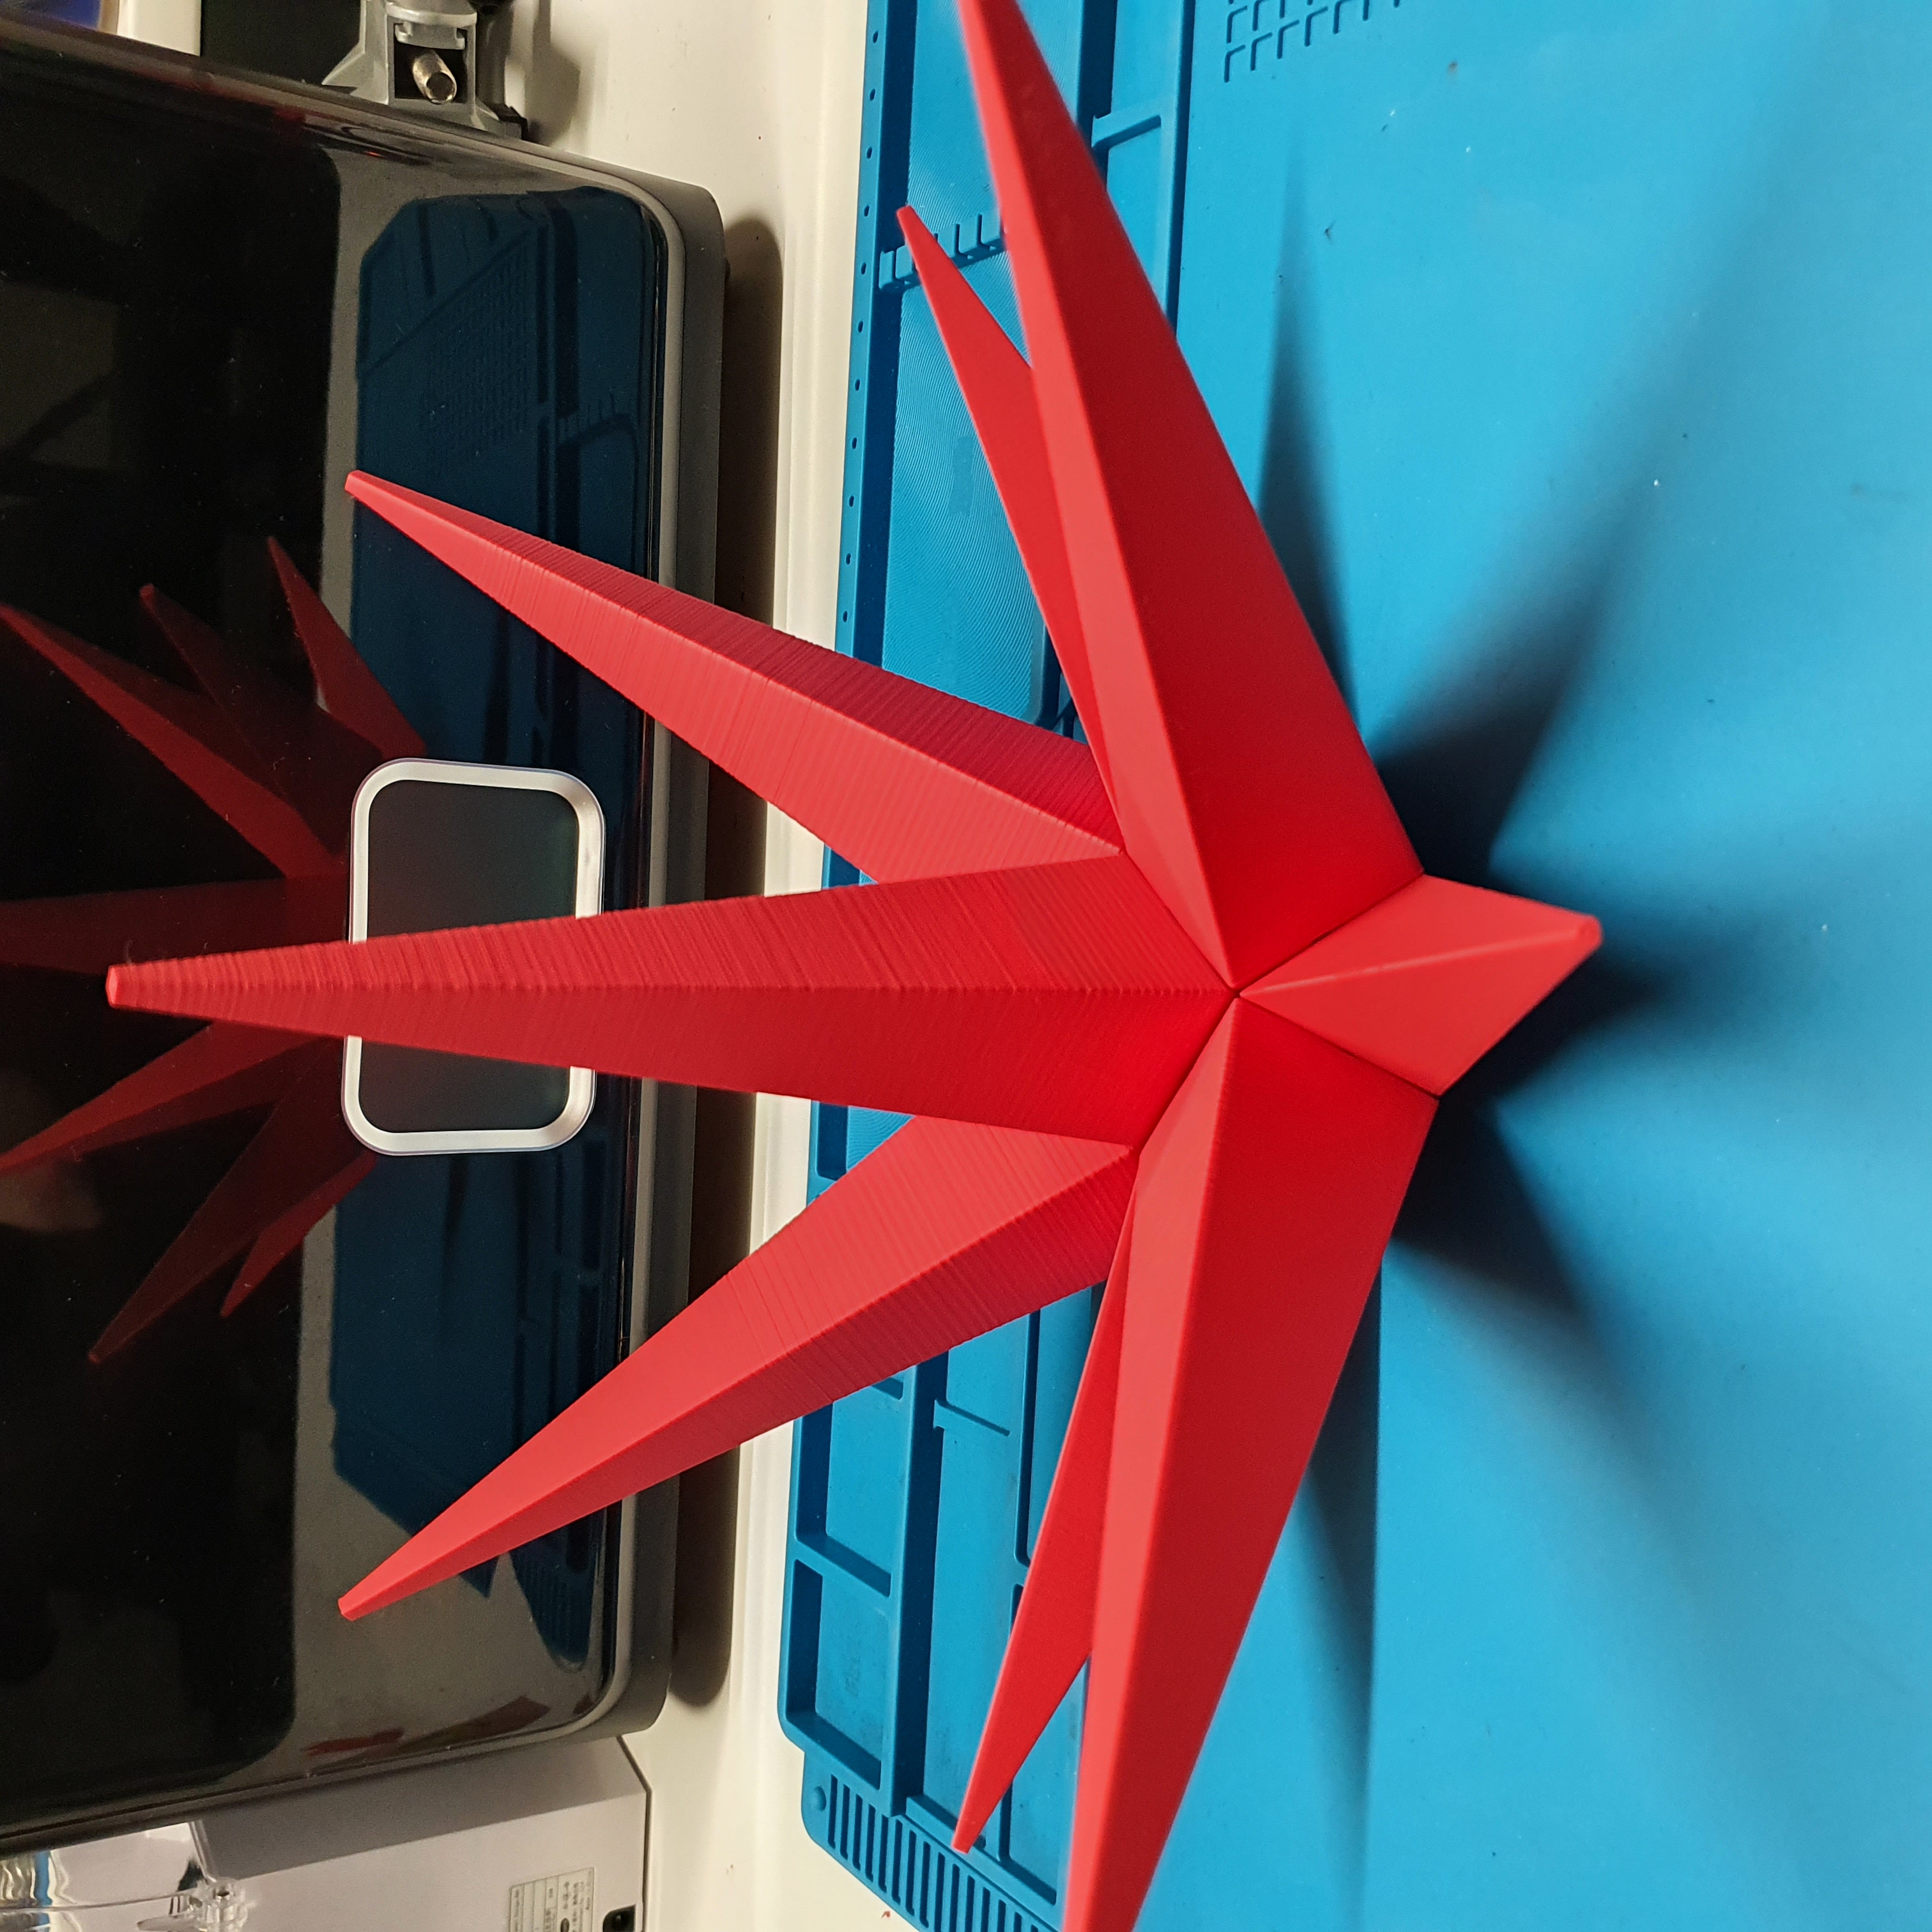
turn over to add a male and 2 female rays

start with the male, then add the females side by side


next step add two males


again 2 female and 1 male ray


turn over and look at this
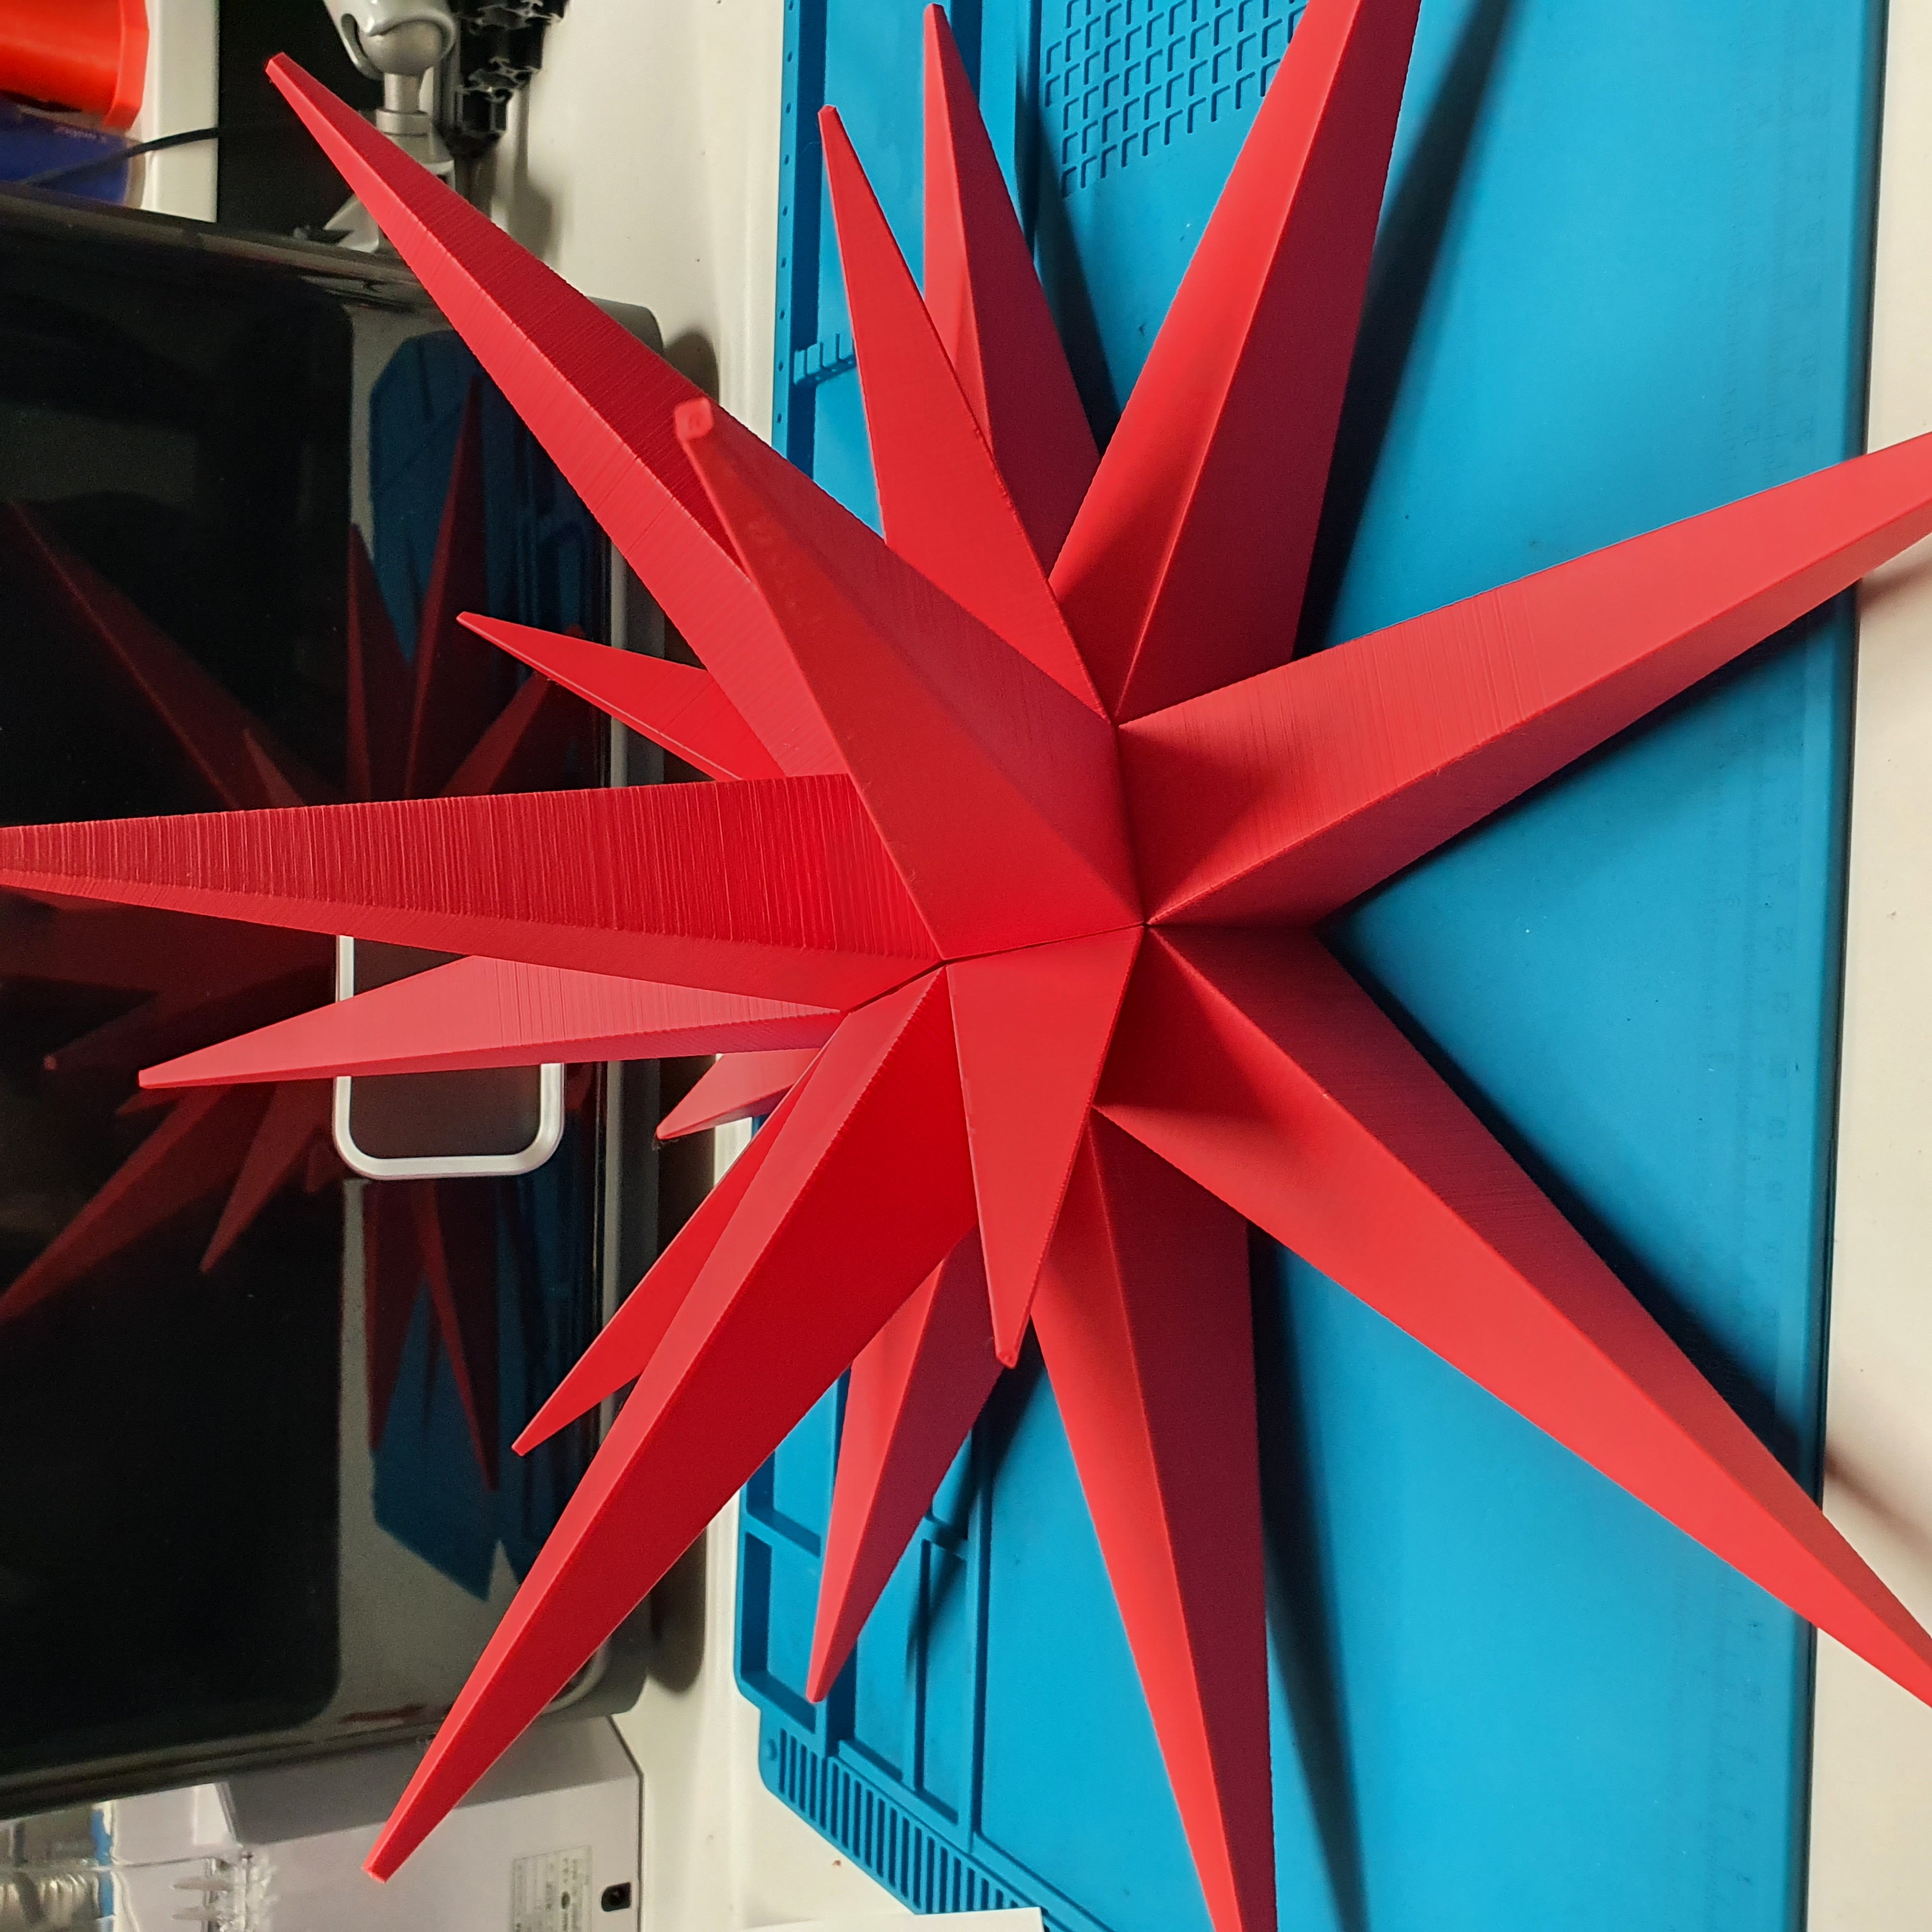
next step 4 female rays


now we add 4 triangle rays, and even without the use of glue you will need some force to bring them in


the very last piece, the last male ray

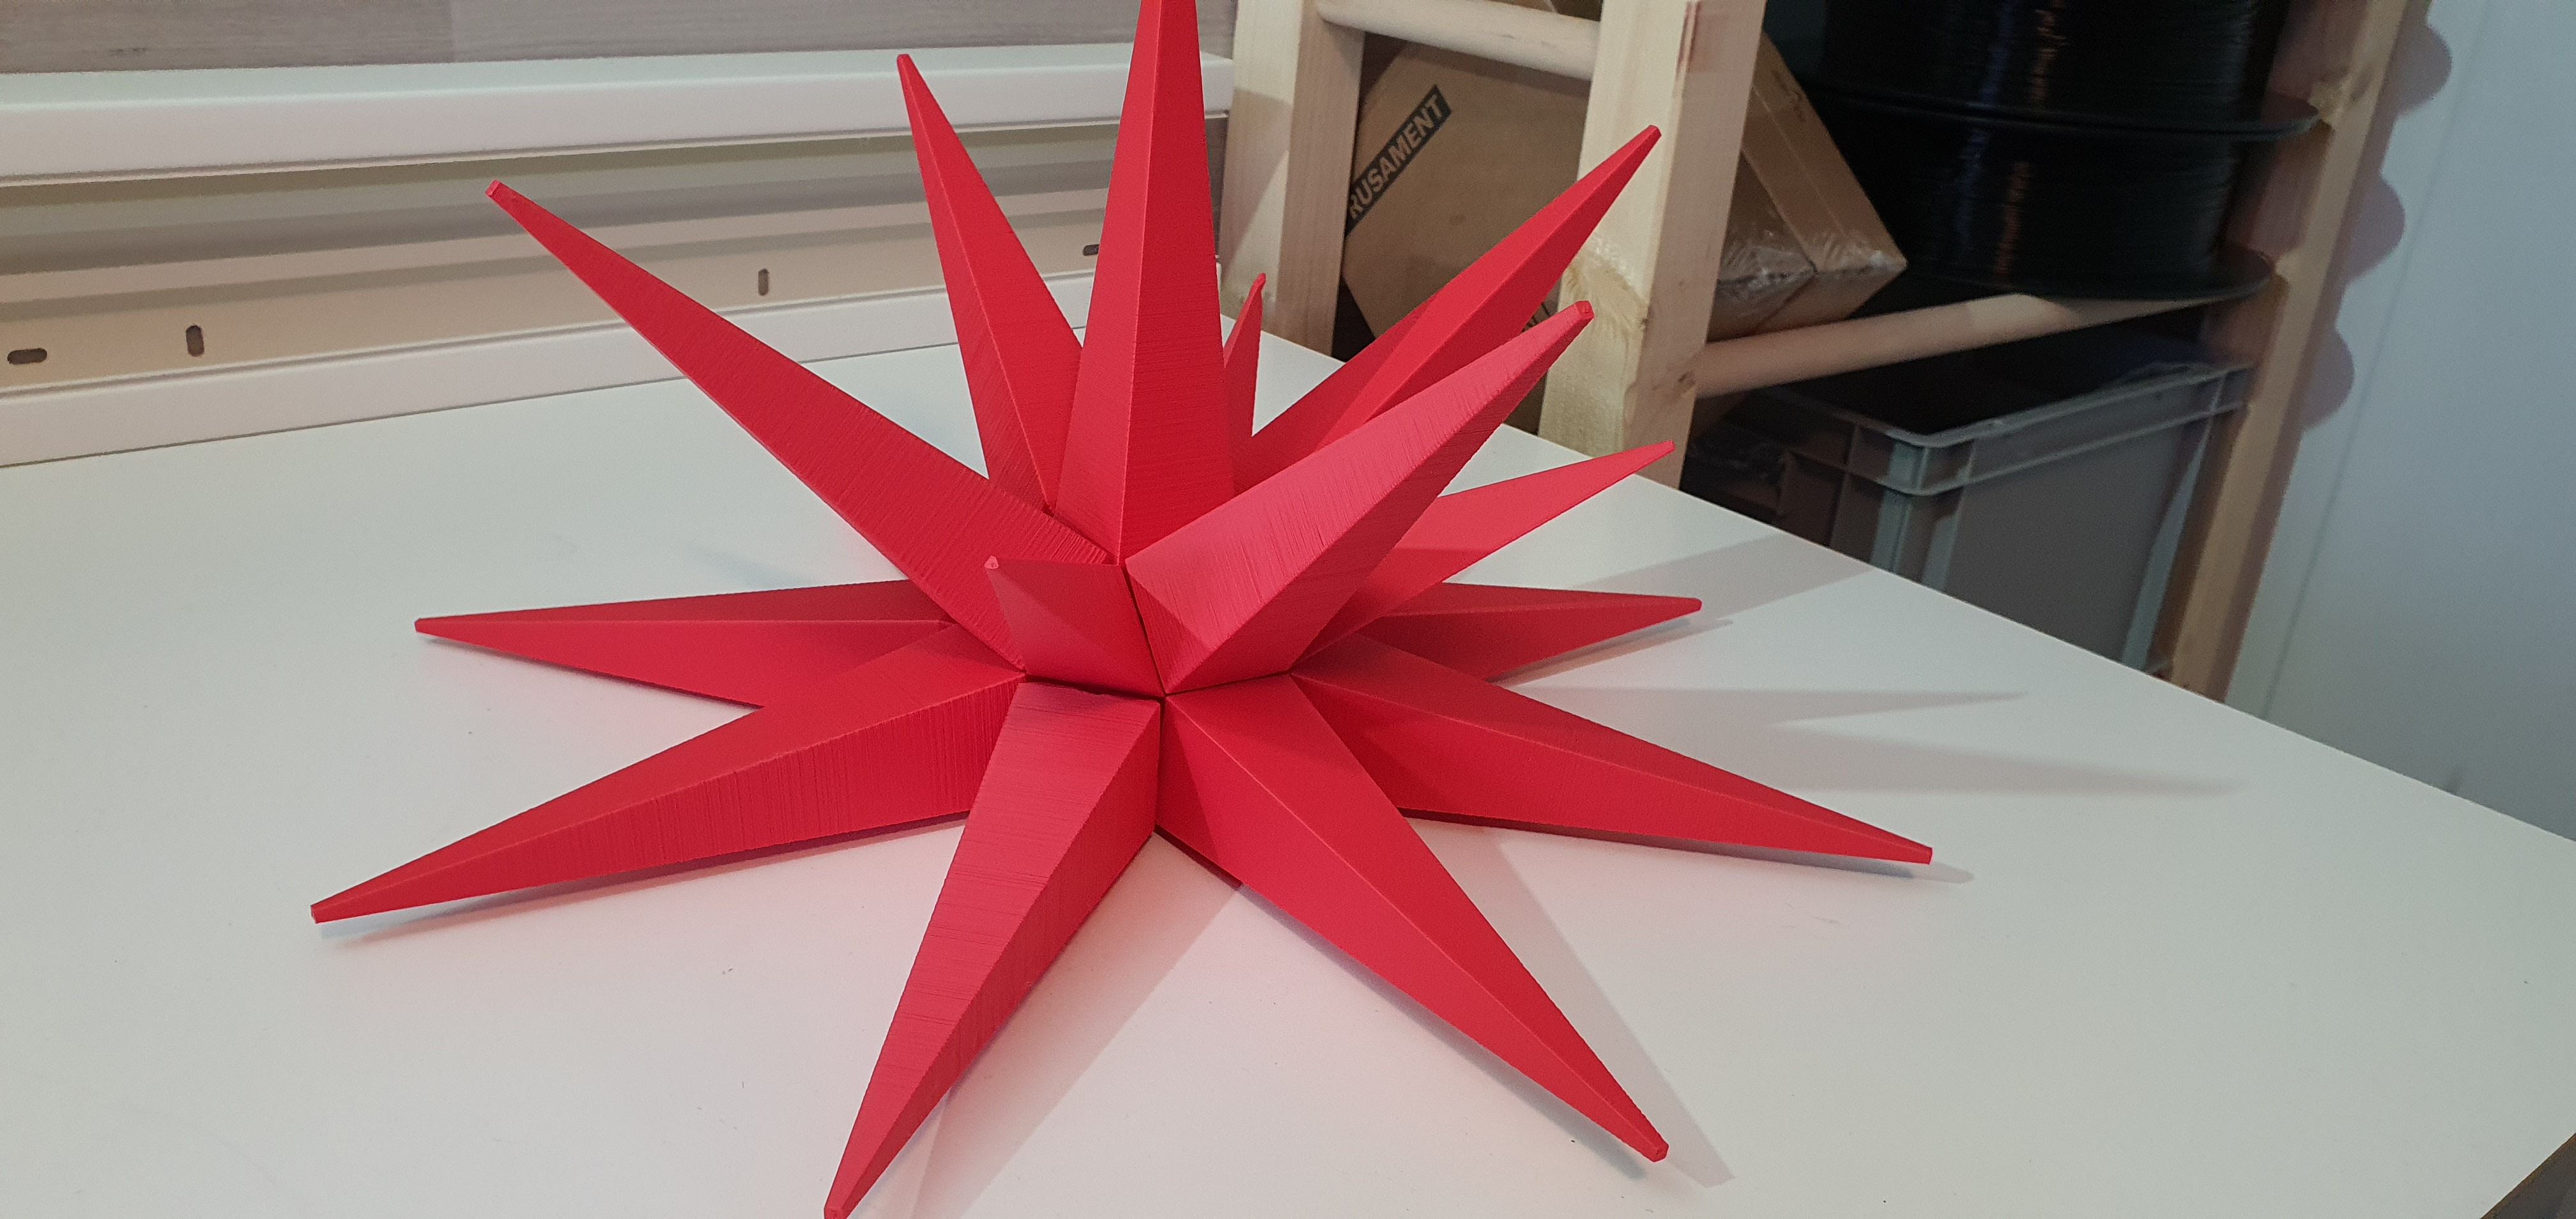
look at this beauty you made


update 2023-1123
- reorganized the 4 print files:
- print me first test file
- 6 big male parts
- 8 small male parts
- 12 female parts - removed gcode
- removed old files
Motivation
Moravian Stars in many shapes are very popular in Europe during the advent time. I wanted to make a free one for the printables.com holiday contest 2022. The main goal was to create a star which could be printed on a prusa mini but with a real good size. So this one is a 45cm version. Stars with that size are sold at amazon for up to 100€.
https://en.wikipedia.org/wiki/Moravian_star
45cm
The star is made from 26 pieces with up to 18 cm each.
You need no tools and no glue to build it.
Everything is snap fit jointed!
This star is build from:
- 8 triangle male rays
- 6 square male rays
- 12 square female rays
Let's get started

This is a hugh print with a lot of parts, do yourself a favour and print the test patterns first.
This test will show you that your printer calibration is well done and be able to print functional snap fit joints.
I added 3 versions with different tolerances, the final version (easy print) has the highest tolerance. Stiff has lesser tolerance (hard to print) and stiffer the lowest tolerance (die hard to print).
The lower the tolerance the harder to print, if in doubt use the finale version.
24 hours of printing
Overall this is an easy but long print. The build in tolerances are made to let you successful print this great star. The print is a single perimeter print, so i made it slow for your success.
On CoreXY printers you can speed up the print a lot.
The whole 26 rays 45cm star needs nearly 500 g of filament.
BRIM/RAFT
If you like to illuminate the star use a translucent filament and print with 0 bottom layer but raft or brim with less or none distance. Don't worry about the brim it is all inside of the star not visibly from the outside.
outdoor
For outdoor usage i would recommend to use PETG, best is translucent PETG. While the snap fit joints will be strong enough to hold the star together, for outdoor usage i would additional use glue to increase the stability against strong wind.
Glue
Stick the star together without glue and just pure plastic binding glue between the center of the rays. That is much cleaner done after assembling the star.
Assembling
While assembling from ray to ray it would be stiffer to fit the next one in. Start with the 8 middle rays in one ring structure. Build up to a half sphere and use a triangle ray as last one.


Attribution
https://www.printables.com/social/277533-yahbluez/
Can I sell copies of this?
Yes! This project was shared under the GNU GPL v3.0 license. This license allows selling copies, but you must provide proper attribution, as detailed in the license itself.
(Just link to this model page.)