
Sample Filament Spool - Arms Expand with a Twist
Obliczymy ostateczną cenę na podstawie wybranego pliku. Sprawdzisz ją i zaakceptujesz przed płatnością.
Zapisane na tym urządzeniu.
Pull Handles Up, then Twist CW to Open Arms (3 Positions), Push Down to Lock. I think fidget fans may enjoy.
- Ocena
- 5 / 5
- Polubienia
- 17
- Pobrania
- 47
- Wydruki
- 2
- Wyświetlenia
- 453
- Oceny
- 2
Aktualizacja u źródła:
Informacje o modelu
- Źródło
- Printables
- Kategoria
- Accessories
- Licencja
- Creative Commons — Attribution — Noncommercial — Share Alike
Oct. 2025 - Added Handle Cover File: It slips over the handles of the main gear. Before, you had to have the handles facing away from the spindle post on your spool holder. This cover allows smooth rotation. See the last 3 pictures.
There are (3) Open Positions of the Arms that lock in place. They are: Approx. 100mm, 125mm and 150mm diameters. See one of the photos.
The diameter of the filament must be at least approx. 100mm in order for the arms to lock at the first open position. If your filament diameter is a bit smaller at any of the open positions where you can't lock it in, you can loosen the filament up by giving it a “hand massage” a few times to expand the diameter of the filament. With a small amount of patience, it worked for me.
Parts Needed: (3) Pan Head screws + nuts, either: M4 x 45mm or 8-32 x 1 ¾" length. Also, (3) Arms and (3) Sleeves (M4 or 8-32, just use the corresponding “Sleeve” file.), and one each for the rest of the printable parts. I did a color change at 2.20 on the “Grip” part. Supports were used only on the Arms.
Note: The Sleeves must spin freely in the Arms, and the Main Gear must spin freely on the Base in the unlocked position. Smoothing out the seams might be necessary. If the Main Gear still seems a bit rough when turning, I used a touch of the lithium grease that came with my Mini, between the Main Gear and the Base. With use (or fidgeting), the moving parts smooth each other out. I used PETG on my Prusa Mini+ but PLA should be fine.
I highly recommend using the Clip to ease the threading thru the last Arm, as seen in the video. The clip is a remix I published of the Plant Clip by fns729.
Assembly:

1st: Place the Main Gear on the Base, in the locked position, where a handle lines up and centers with any hole on the Base. (Fig.1)
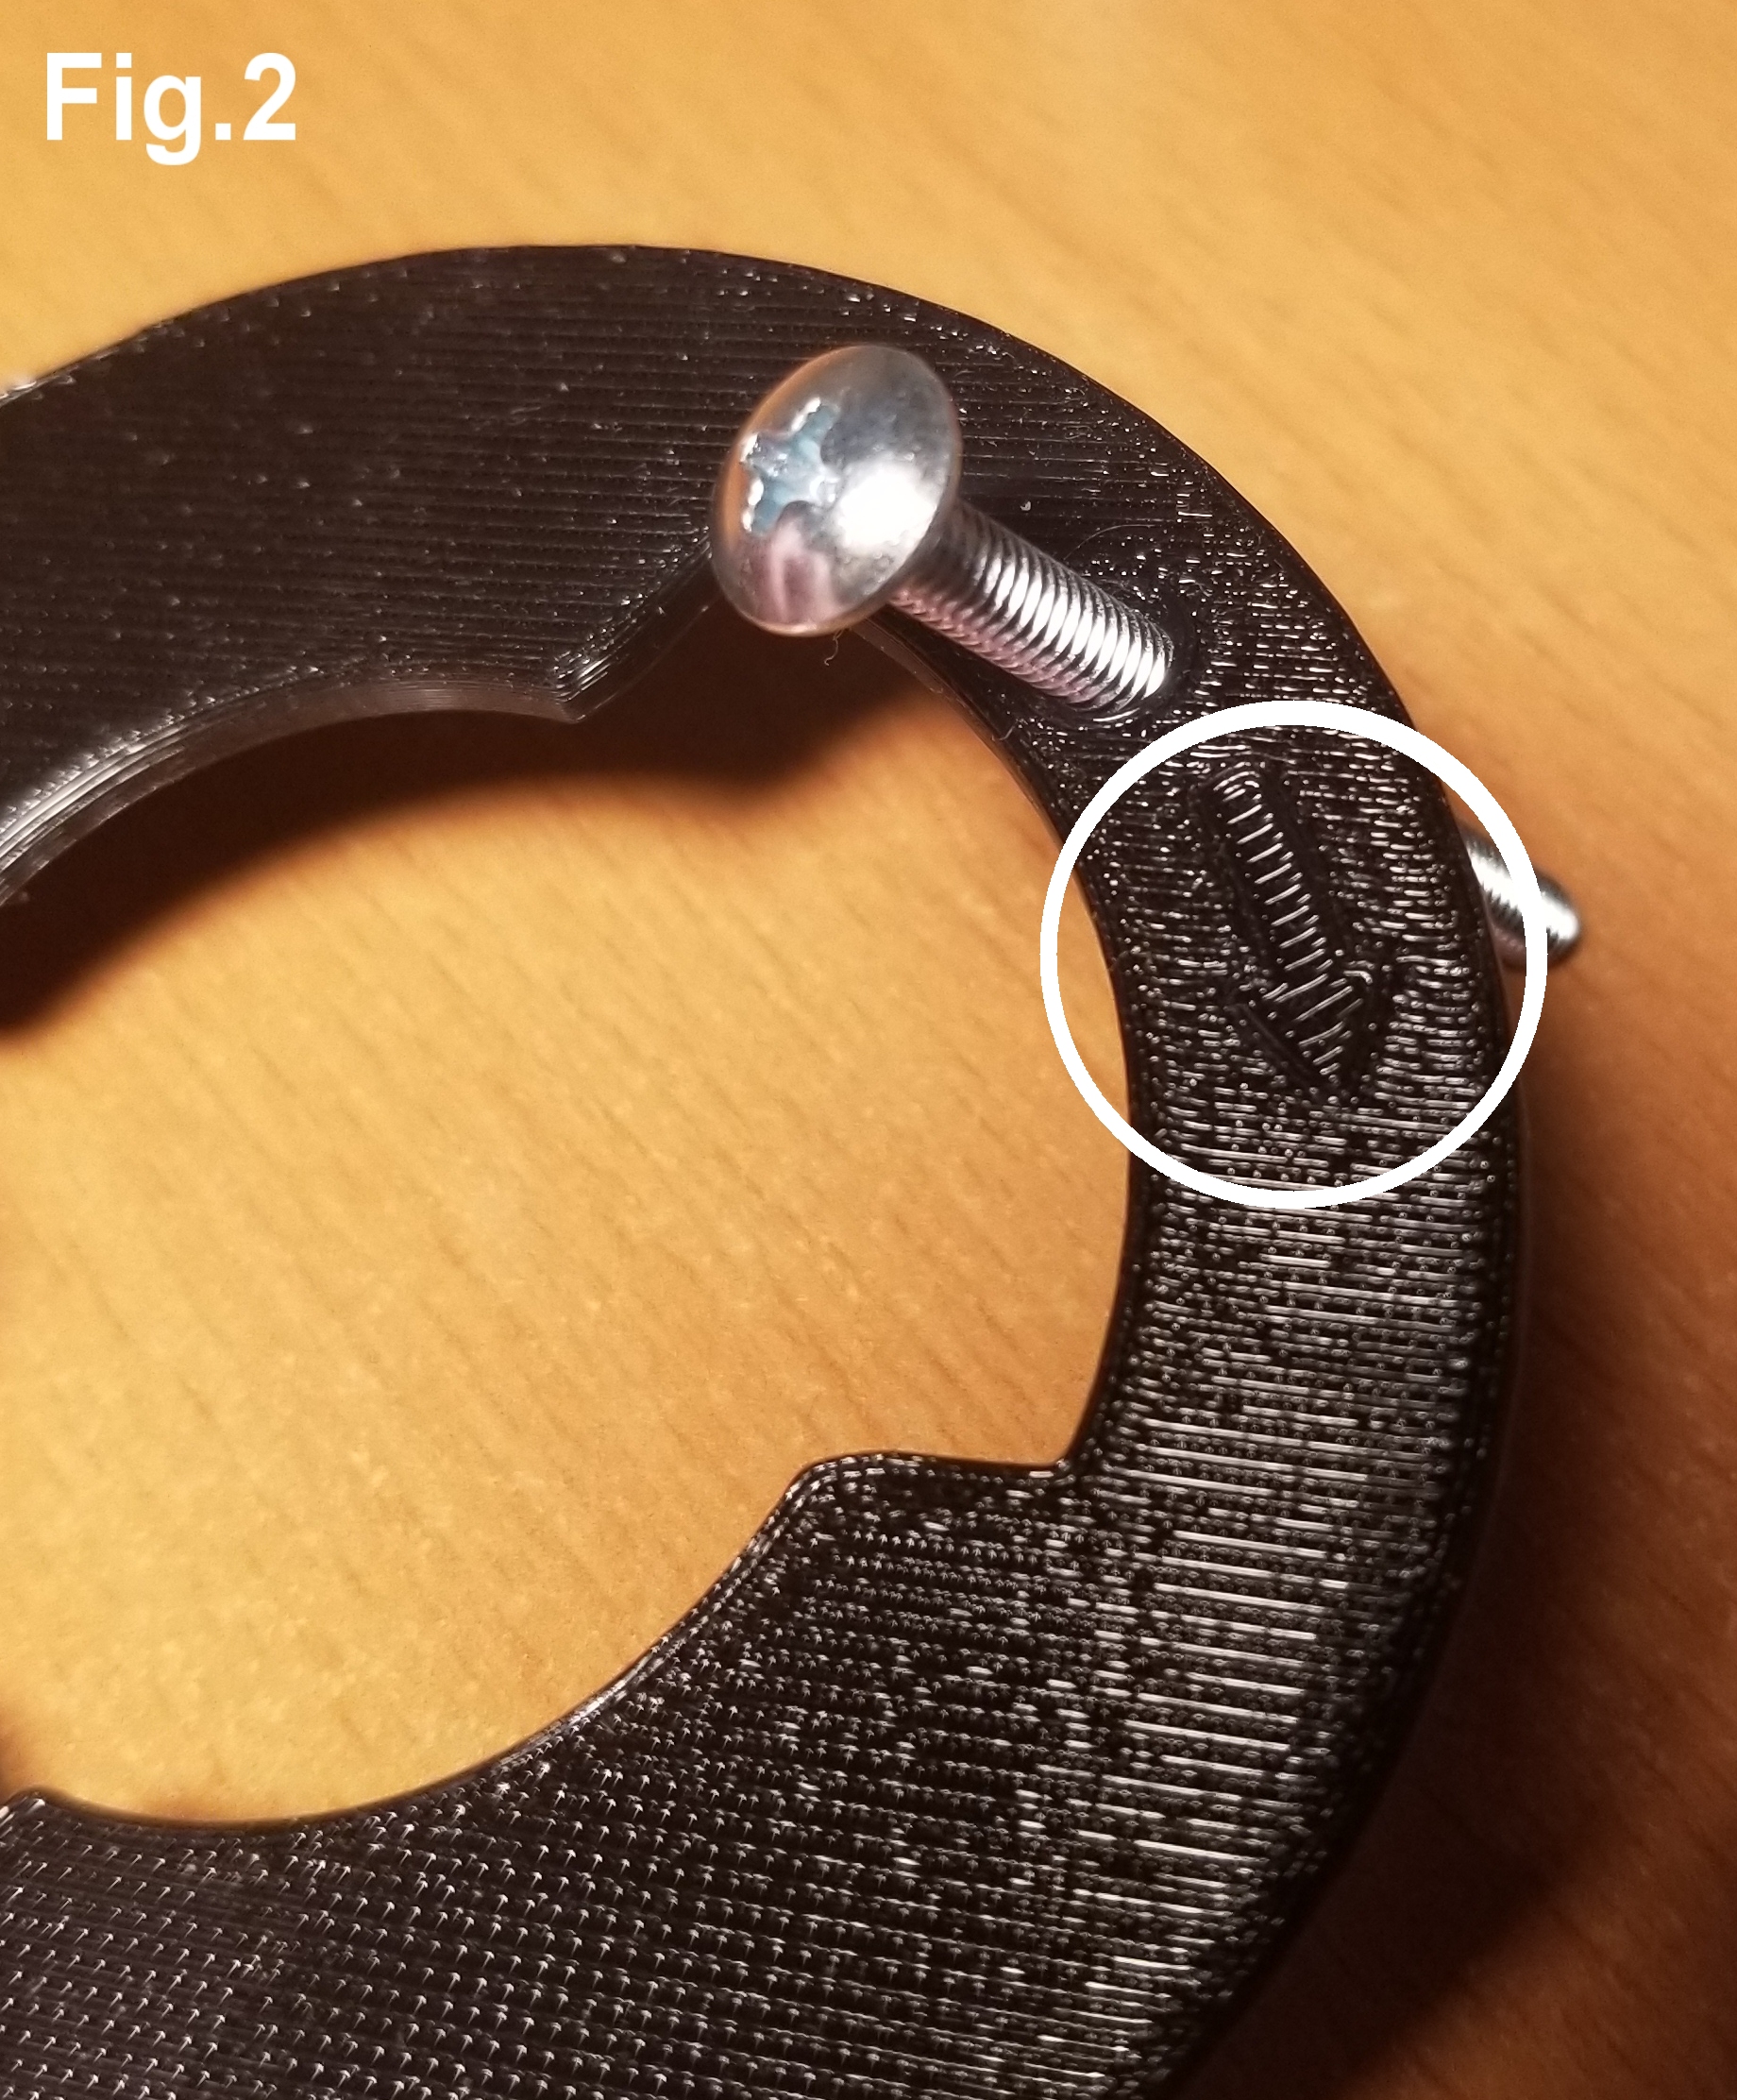
2nd: Put a screw in the hole of the Top Plate, next to the arrow. (Fig.2)
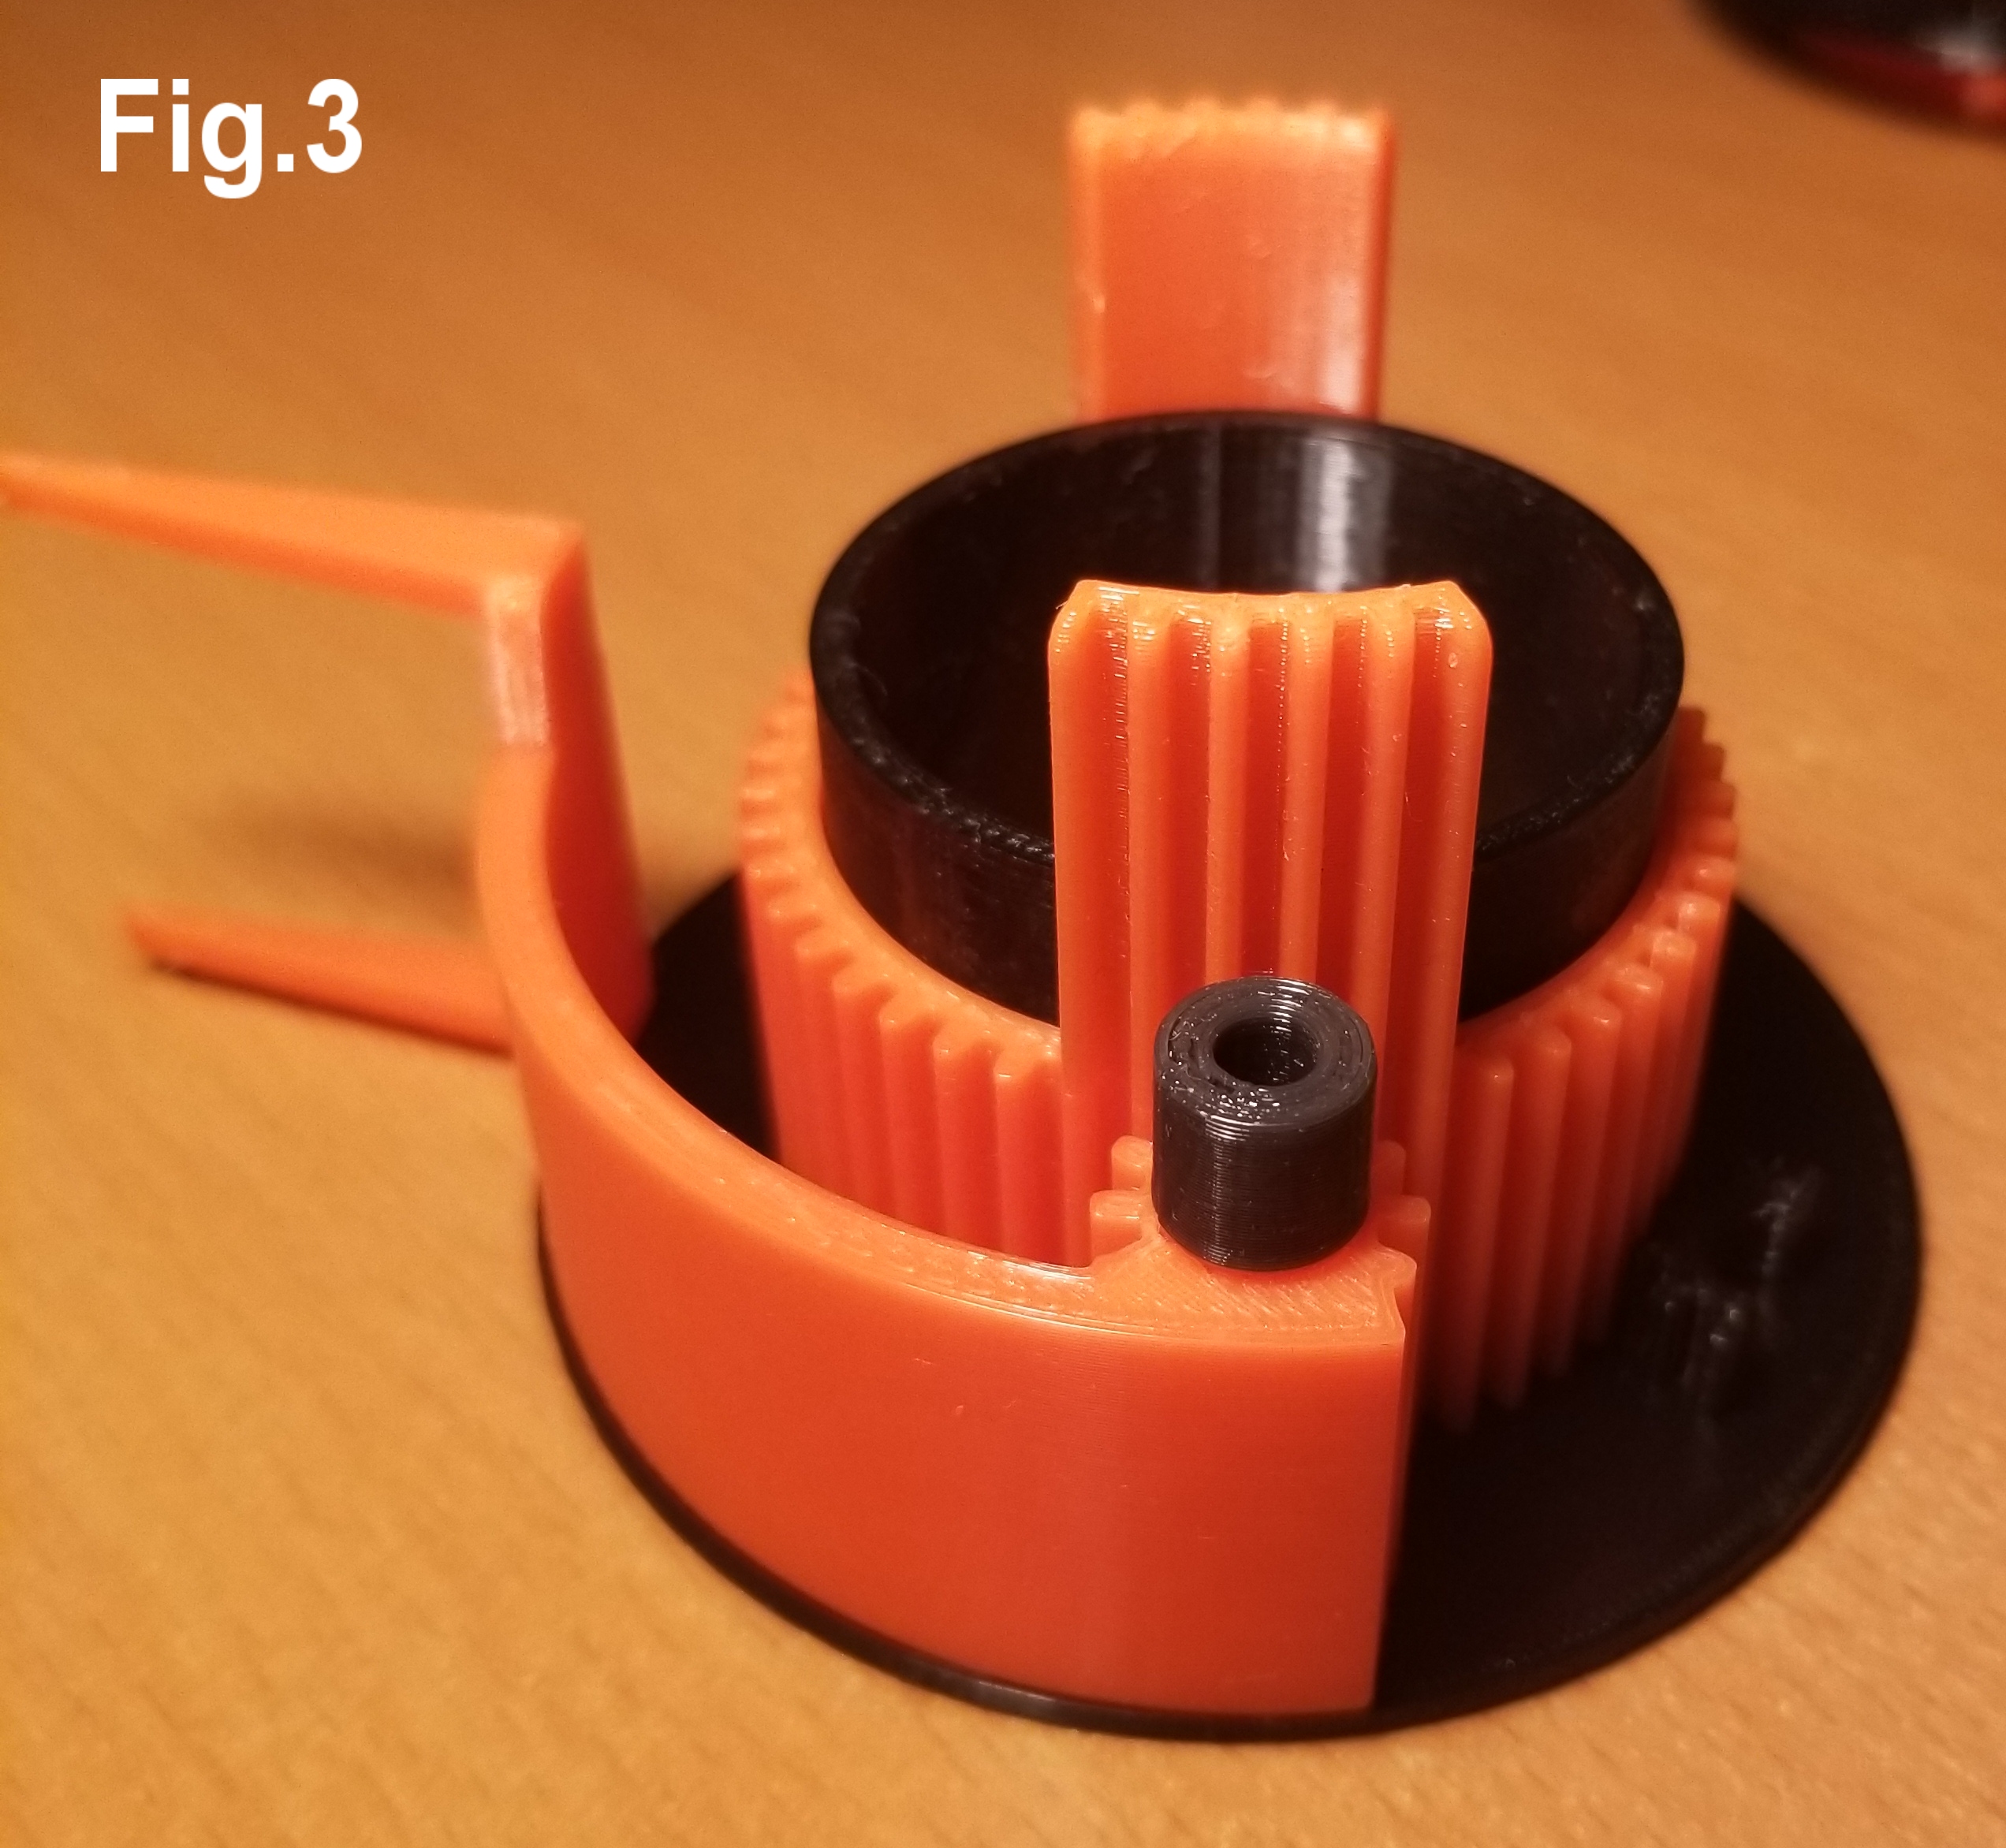
3rd: Take one Arm with the Sleeve inserted and align it over the hole, centered on the Main Gear in the closed position, as shown. (Fig.3) Install the Top Plate with the above screw thru the Sleeve, the Base and the Grip and snug up the nut a bit. Install the other 2 arms likewise over the remaining holes in the Base and secure all the nuts evenly.