
1 / 7
Clean Raspberry Pi Case for Original Prusa Enclosure
Zamów wydruk tego modelu
Obliczymy ostateczną cenę na podstawie wybranego pliku. Sprawdzisz ją i zaakceptujesz przed płatnością.
Zapisane na tym urządzeniu.

Case for the Raspberry Pi inside the original prusa enclosure! Instructions and part list provided!
- Ocena
- 0 / 5
- Polubienia
- 25
- Pobrania
- 77
- Wydruki
- 2
- Wyświetlenia
- 930
- Oceny
- 0
Aktualizacja u źródła:
Informacje o modelu
- Źródło
- Printables
- Kategoria
- Prusa Parts & Upgrades
- Licencja
- Creative Commons — Attribution — Noncommercial
SzczegółyPliki (4)Wydruki i komentarze (Wydruki: 2) (Komentarze: 3)Remiksy (1)Kolekcje (56)Powiązane
Located at the back of the enclosure; makes cable routing much easier for both the POWER and USB cable.
Also supports the raspberry camera cable via slot underneath.
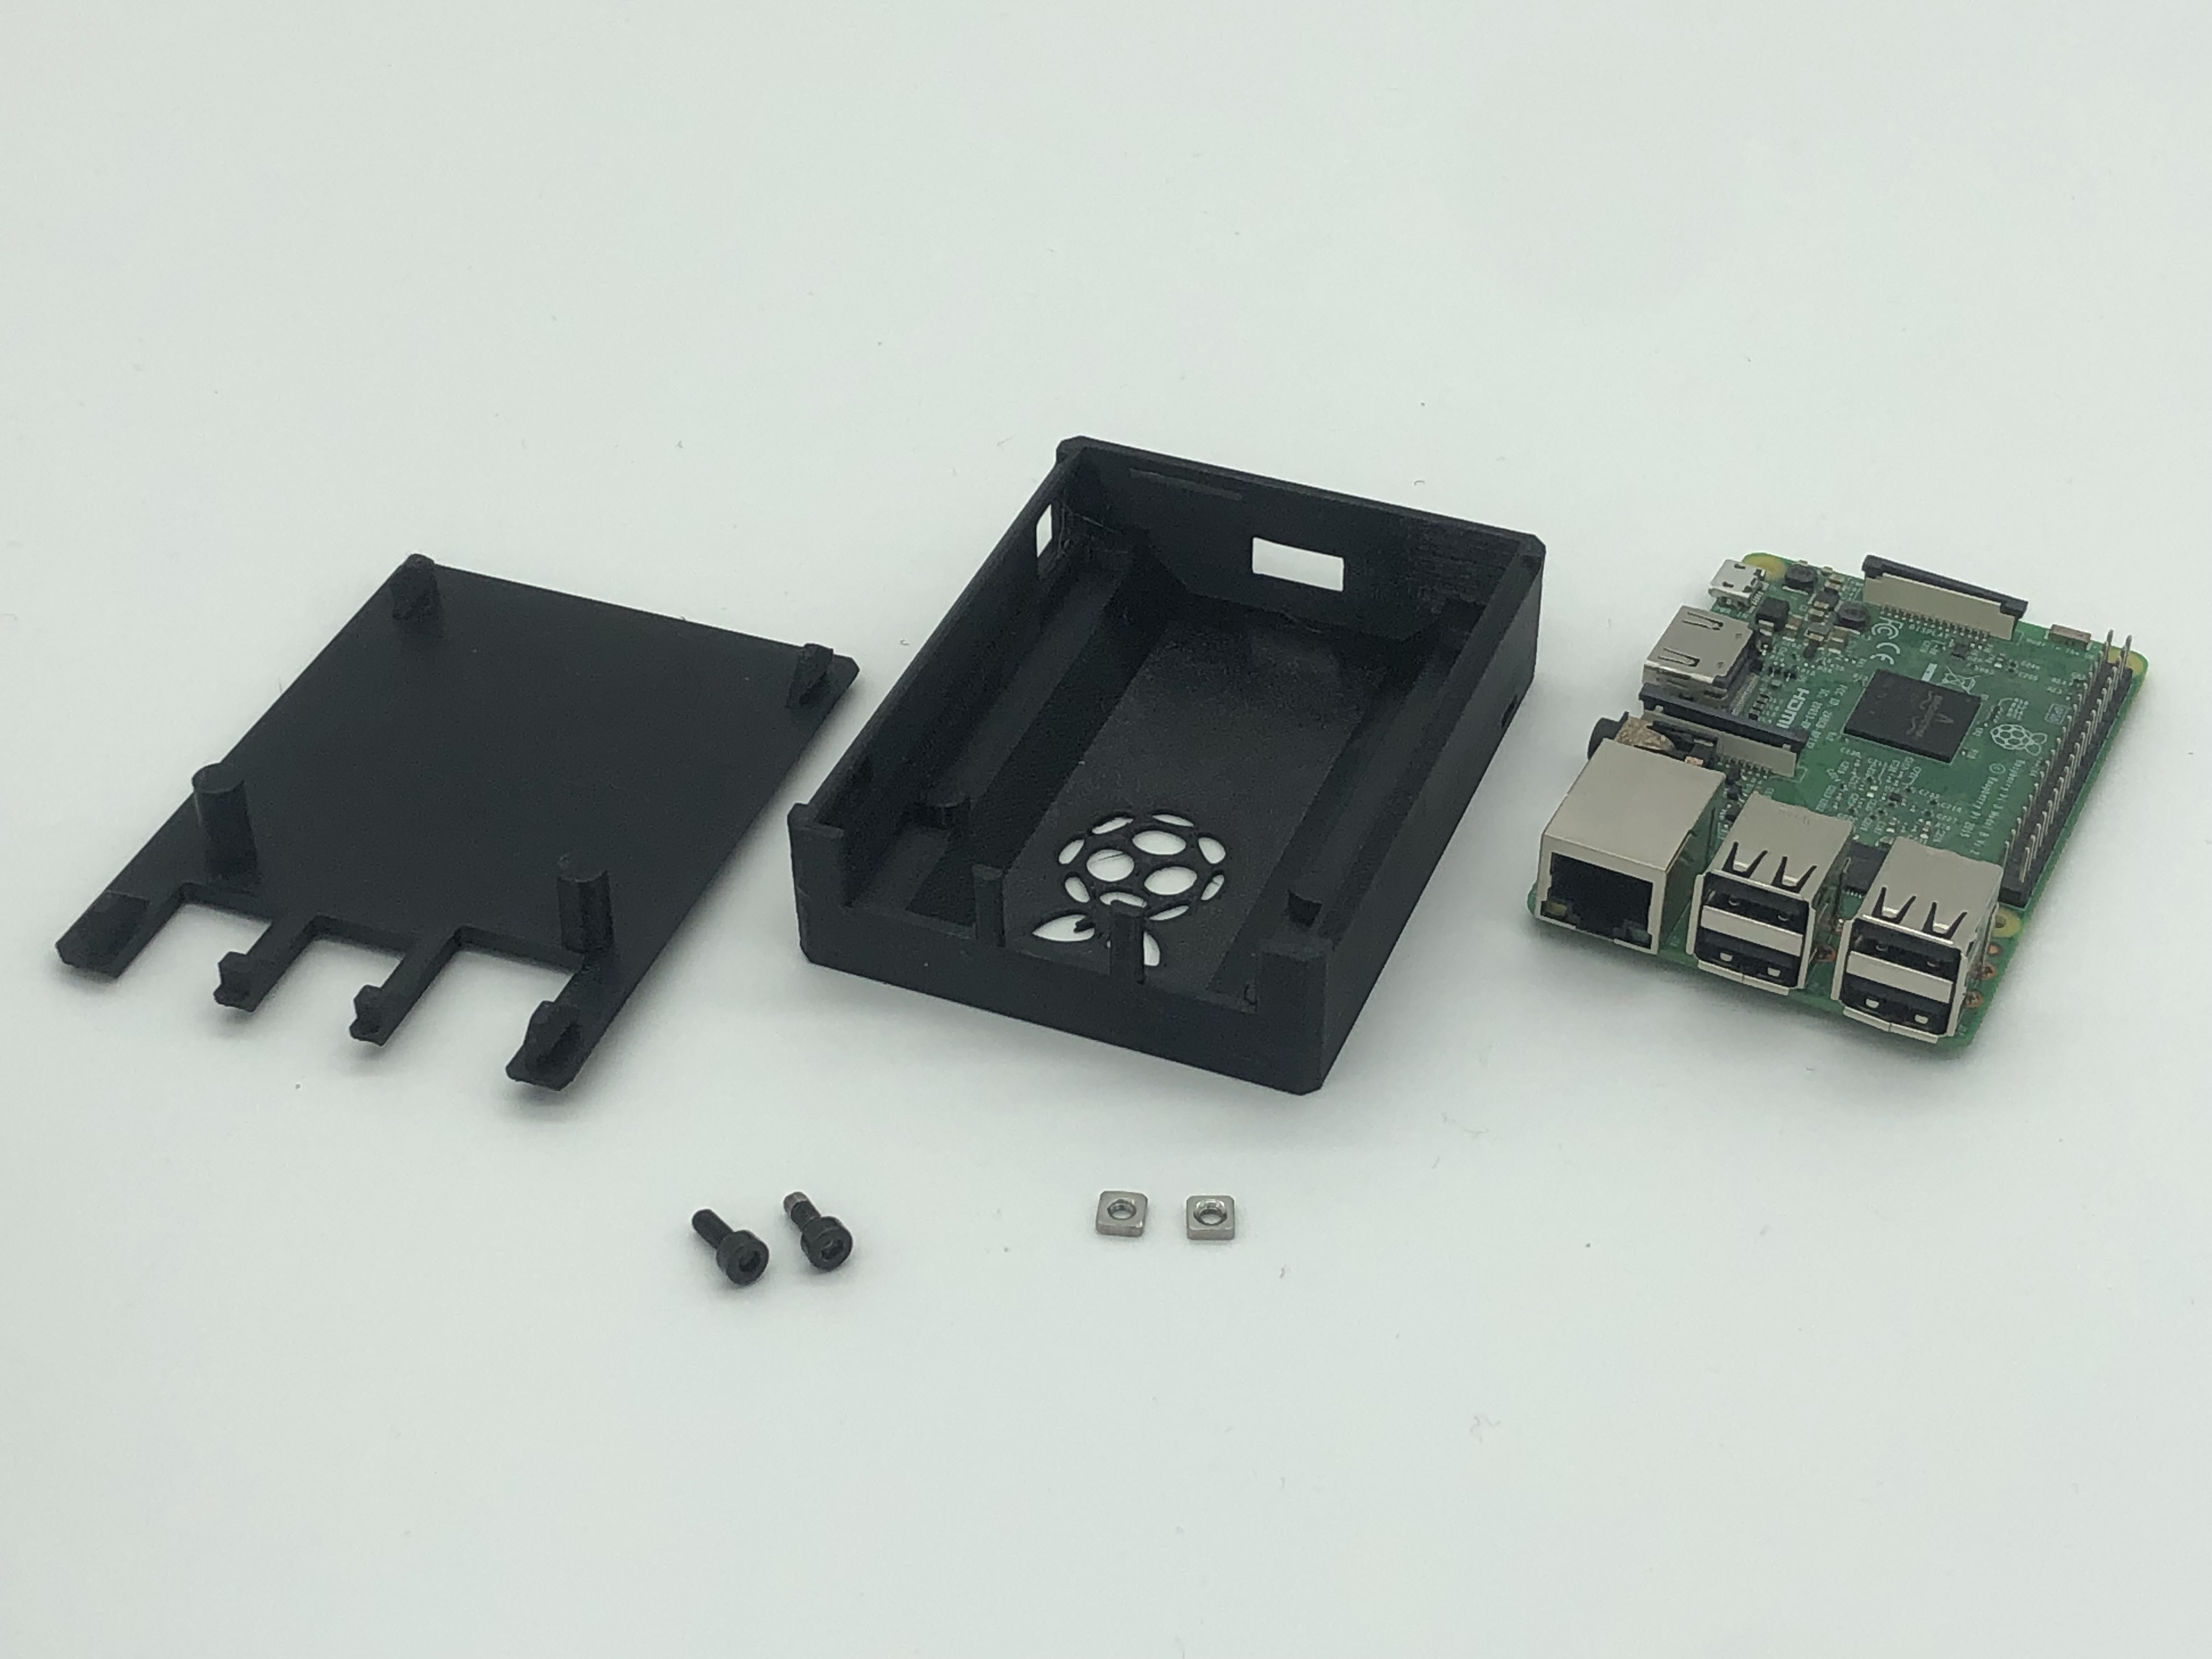
Part list
- PiCase-TOP
- PiCase-BOTTOM
- M3nS nut (2x) - (Prusa spare parts)
- M3x8 screw (2x) - (Included with the enclosure)
Assembly instructions
I strongly recommend installing the Hinged lid (add-on) before assembly. Not only is it a great add-on, it also makes the attachment of the PiCase easier: https://help.prusa3d.com/guide/6-hinged-lid-add-on_354154
Step 1 Nut insertion
- Insert the two M3nS nuts in the PiCase-BOTTOM.
- Using an Allen wrench, push the nuts to insure proper nut insertion.

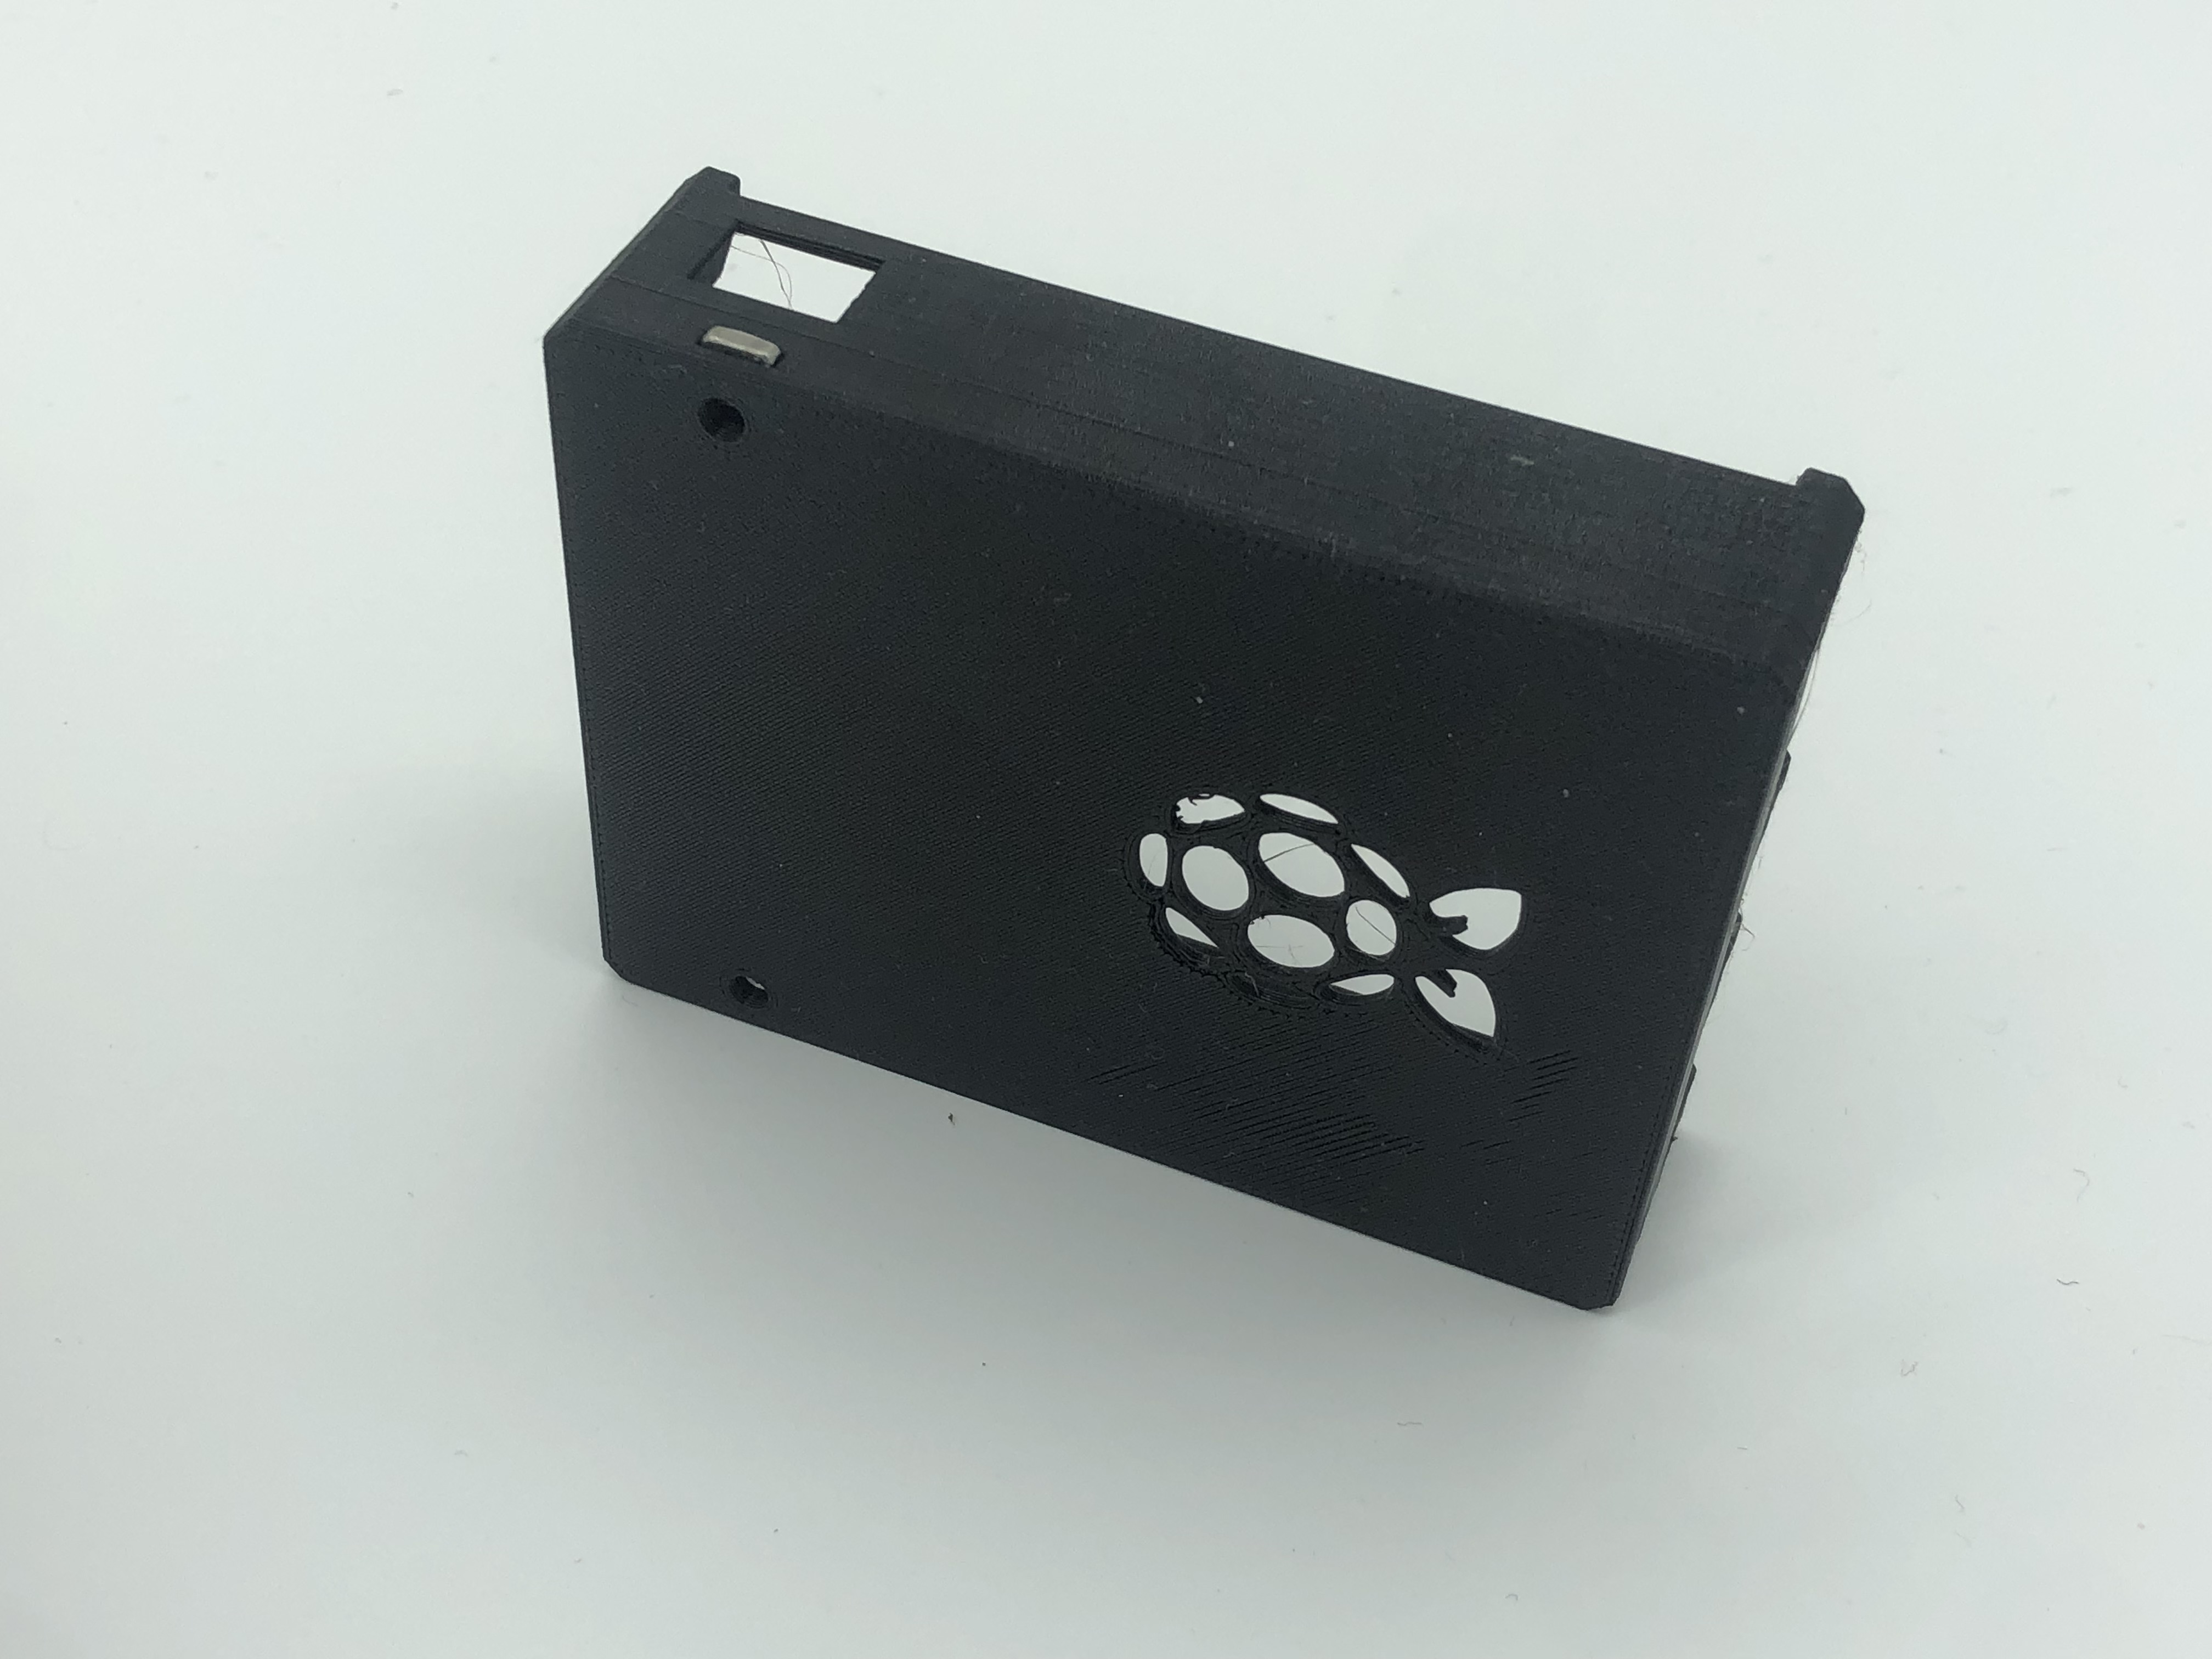
Step 2 Raspberry Pi preparation
- Remove the Micro SD card from the Raspberry Pi. The card will later be inserted again
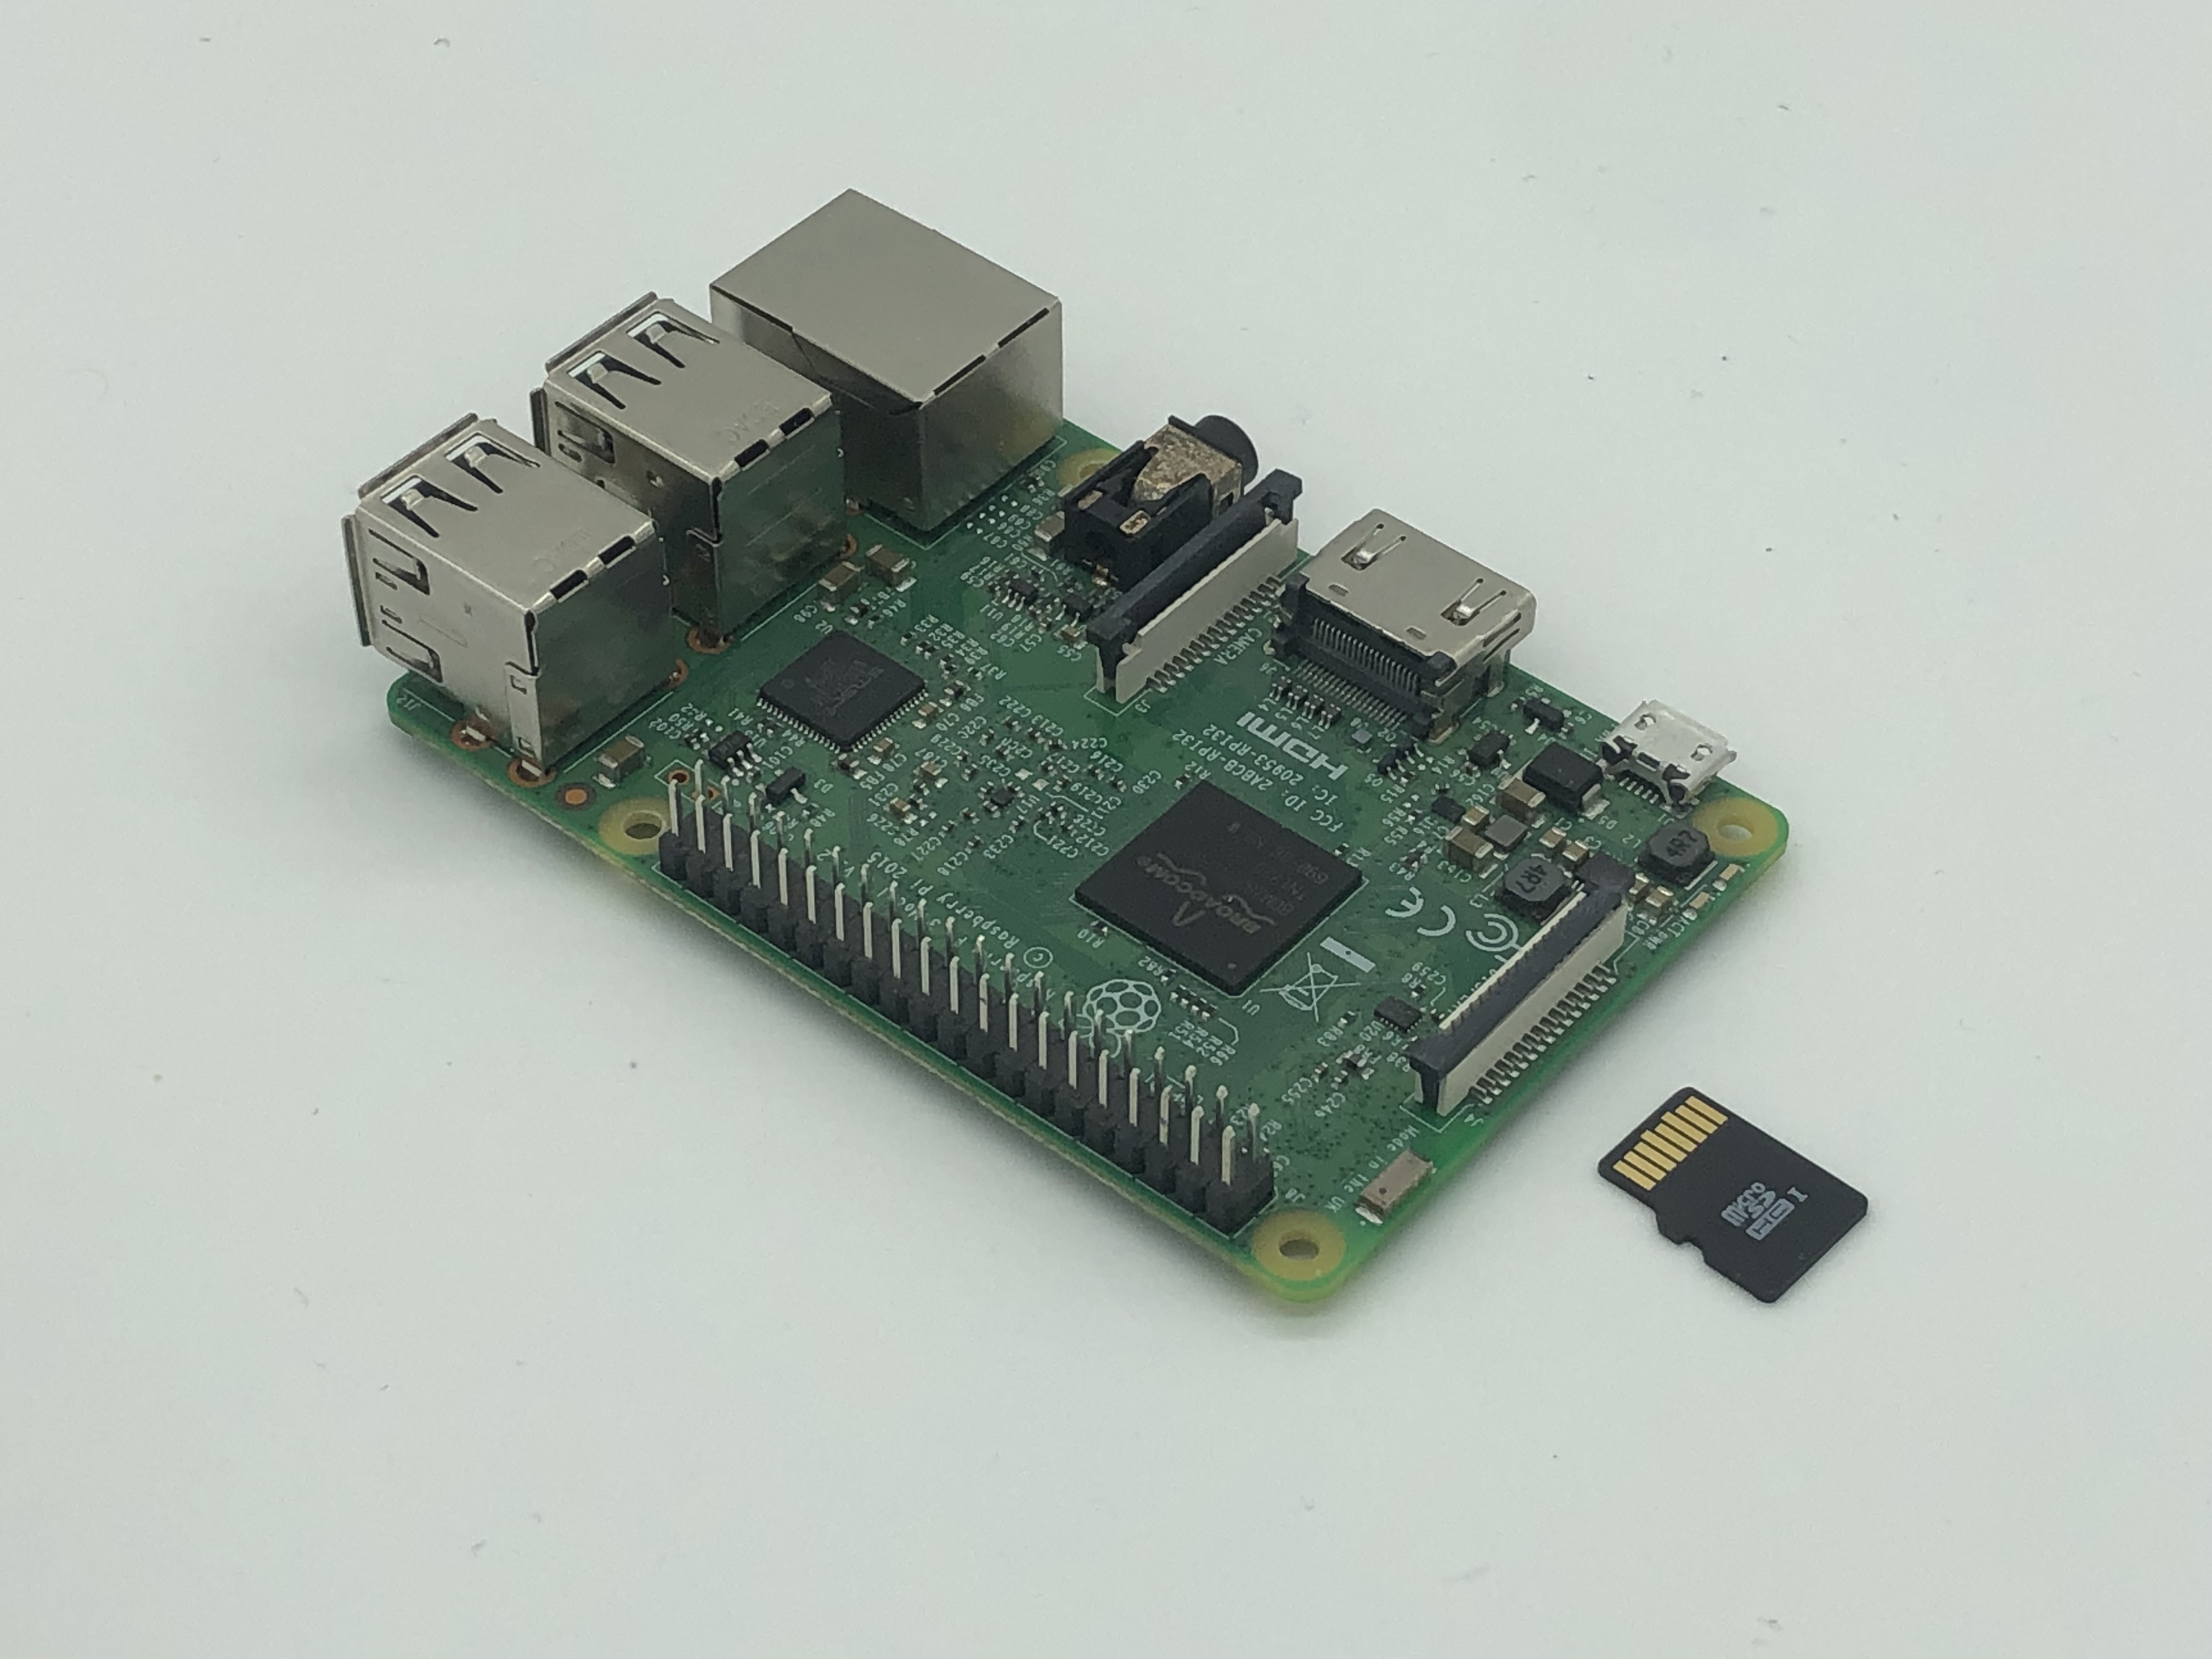
Step 3 Raspberry Pi installation
- Place the Raspberry Pi inside the PiCase-BOTTOM

Step 4 Camera wire connection (Optional)
- Pass the Camera Wire through the slot on the back and connect it to the Raspberry Pi

Step 5 PiCase-TOP installation
- Snap the PiCase-TOP on the PiCase-BOTTOM

Step 6 Micro SD Card insertion
- Insert the Micro SD Card through the slot on the back

Step 7 Original Prusa Enclosure preparation
- Remove the highlighted nylon rivet.

Step 8 Power cable connection
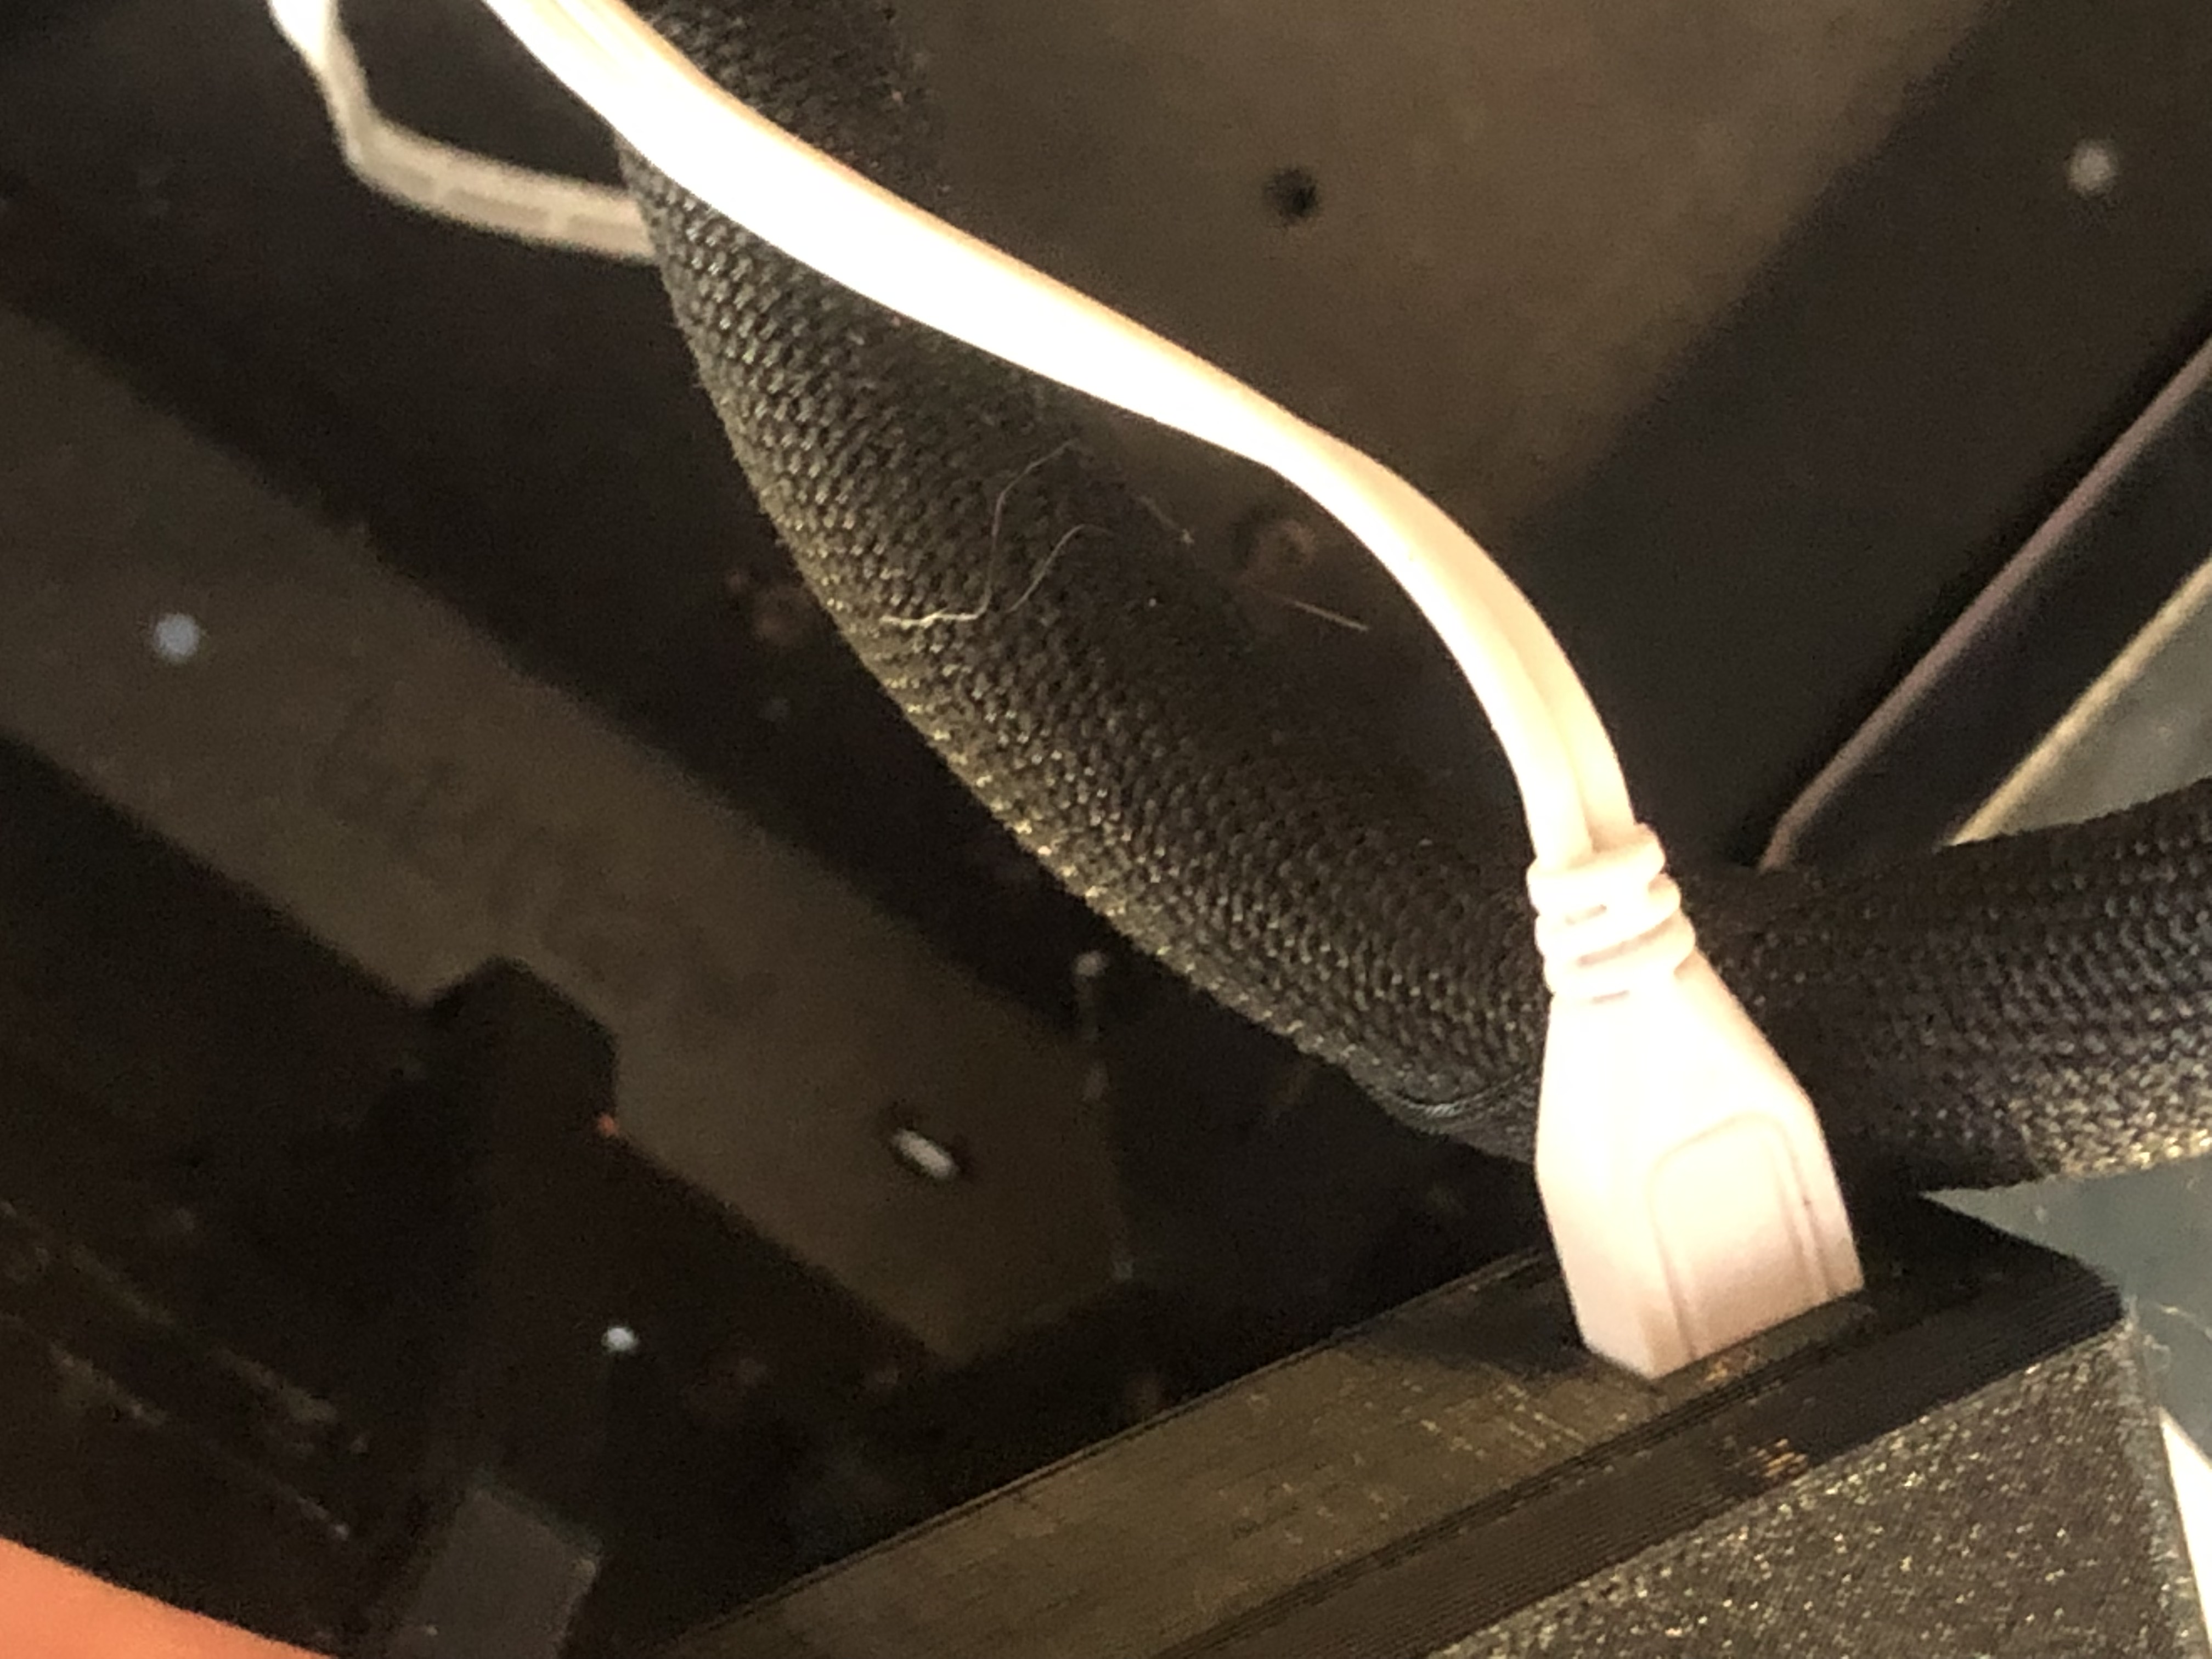
- Pass the Raspberry Pi's power cable through the hole at the back of the enclosure.
- Connect said power cable to the Raspberry Pi.

Step 9 Pi Case installation
- Align the holes on the case with the ones on the enclosure.
- Insert and tighten the two M3x8 screws through the highlighted holes.

Well done! You have successively installed the PiCase!
