
Pie crust decoration cutter for Pi Day celebration
Obliczymy ostateczną cenę na podstawie wybranego pliku. Sprawdzisz ją i zaakceptujesz przed płatnością.
Zapisane na tym urządzeniu.

Decorate your pie for Pi Day by cutting the Greek letter into your pie top crust
- Ocena
- 5 / 5
- Polubienia
- 16
- Pobrania
- 42
- Wydruki
- 0
- Wyświetlenia
- 794
- Oceny
- 1
Aktualizacja u źródła:
Informacje o modelu
- Źródło
- Printables
- Kategoria
- Kitchen
- Licencja
- Creative Commons — Attribution — Share Alike
Cut the shape of the Greek letter π – the most popular circle constant relating the circumference of a circle to its diameter – into the top crust of your pies to celebrate Pi Day on March 14.
If you have kids, making a tradition of having pie on Pi Day is a great way to introduce and discuss the geometry of circles each year!
This design also features vents made from the intersection of two circles such that the center of each circle lies on the perimeter of the other. Known as the vesica piscis or mandorla, this shape was first discussed in Euclid's Elements.
See also: similar pie cutter for Tau Day
How to use
See this video for a demonstration. You can make your own crust or buy pre-made or boxed crust at the grocery.
- Roll out your crust to be the right size and shape for your pie dish
- Put this design in the center of your crust and press down to cut
- Punch the cut pieces out of the cutter – save them for decorations too!
- Wrap the cut crust around your rolling pin and transfer it to the top of your pie
- Make sure your design is centered, and add the cutout pieces if you like
- Seal the top and bottom crust with a fork or your fingers
- Brush the top crust and cutout pieces (if used) with egg wash
Note that the print bed of most 3D printers is not large enough to accommodate the total diameter of a pie crust, so this design doesn't cut the outermost edge of the crust. You can do that part yourself just by placing the crust on top of the pie and cutting it around the pie dish.
Update: After cutting, I had difficulty getting the dough out of the cutter without messing up the shape. It's not critical, but nice to have those as extra decorations. So I have now added punches with a little handle so you can push the dough out with the shape retained.
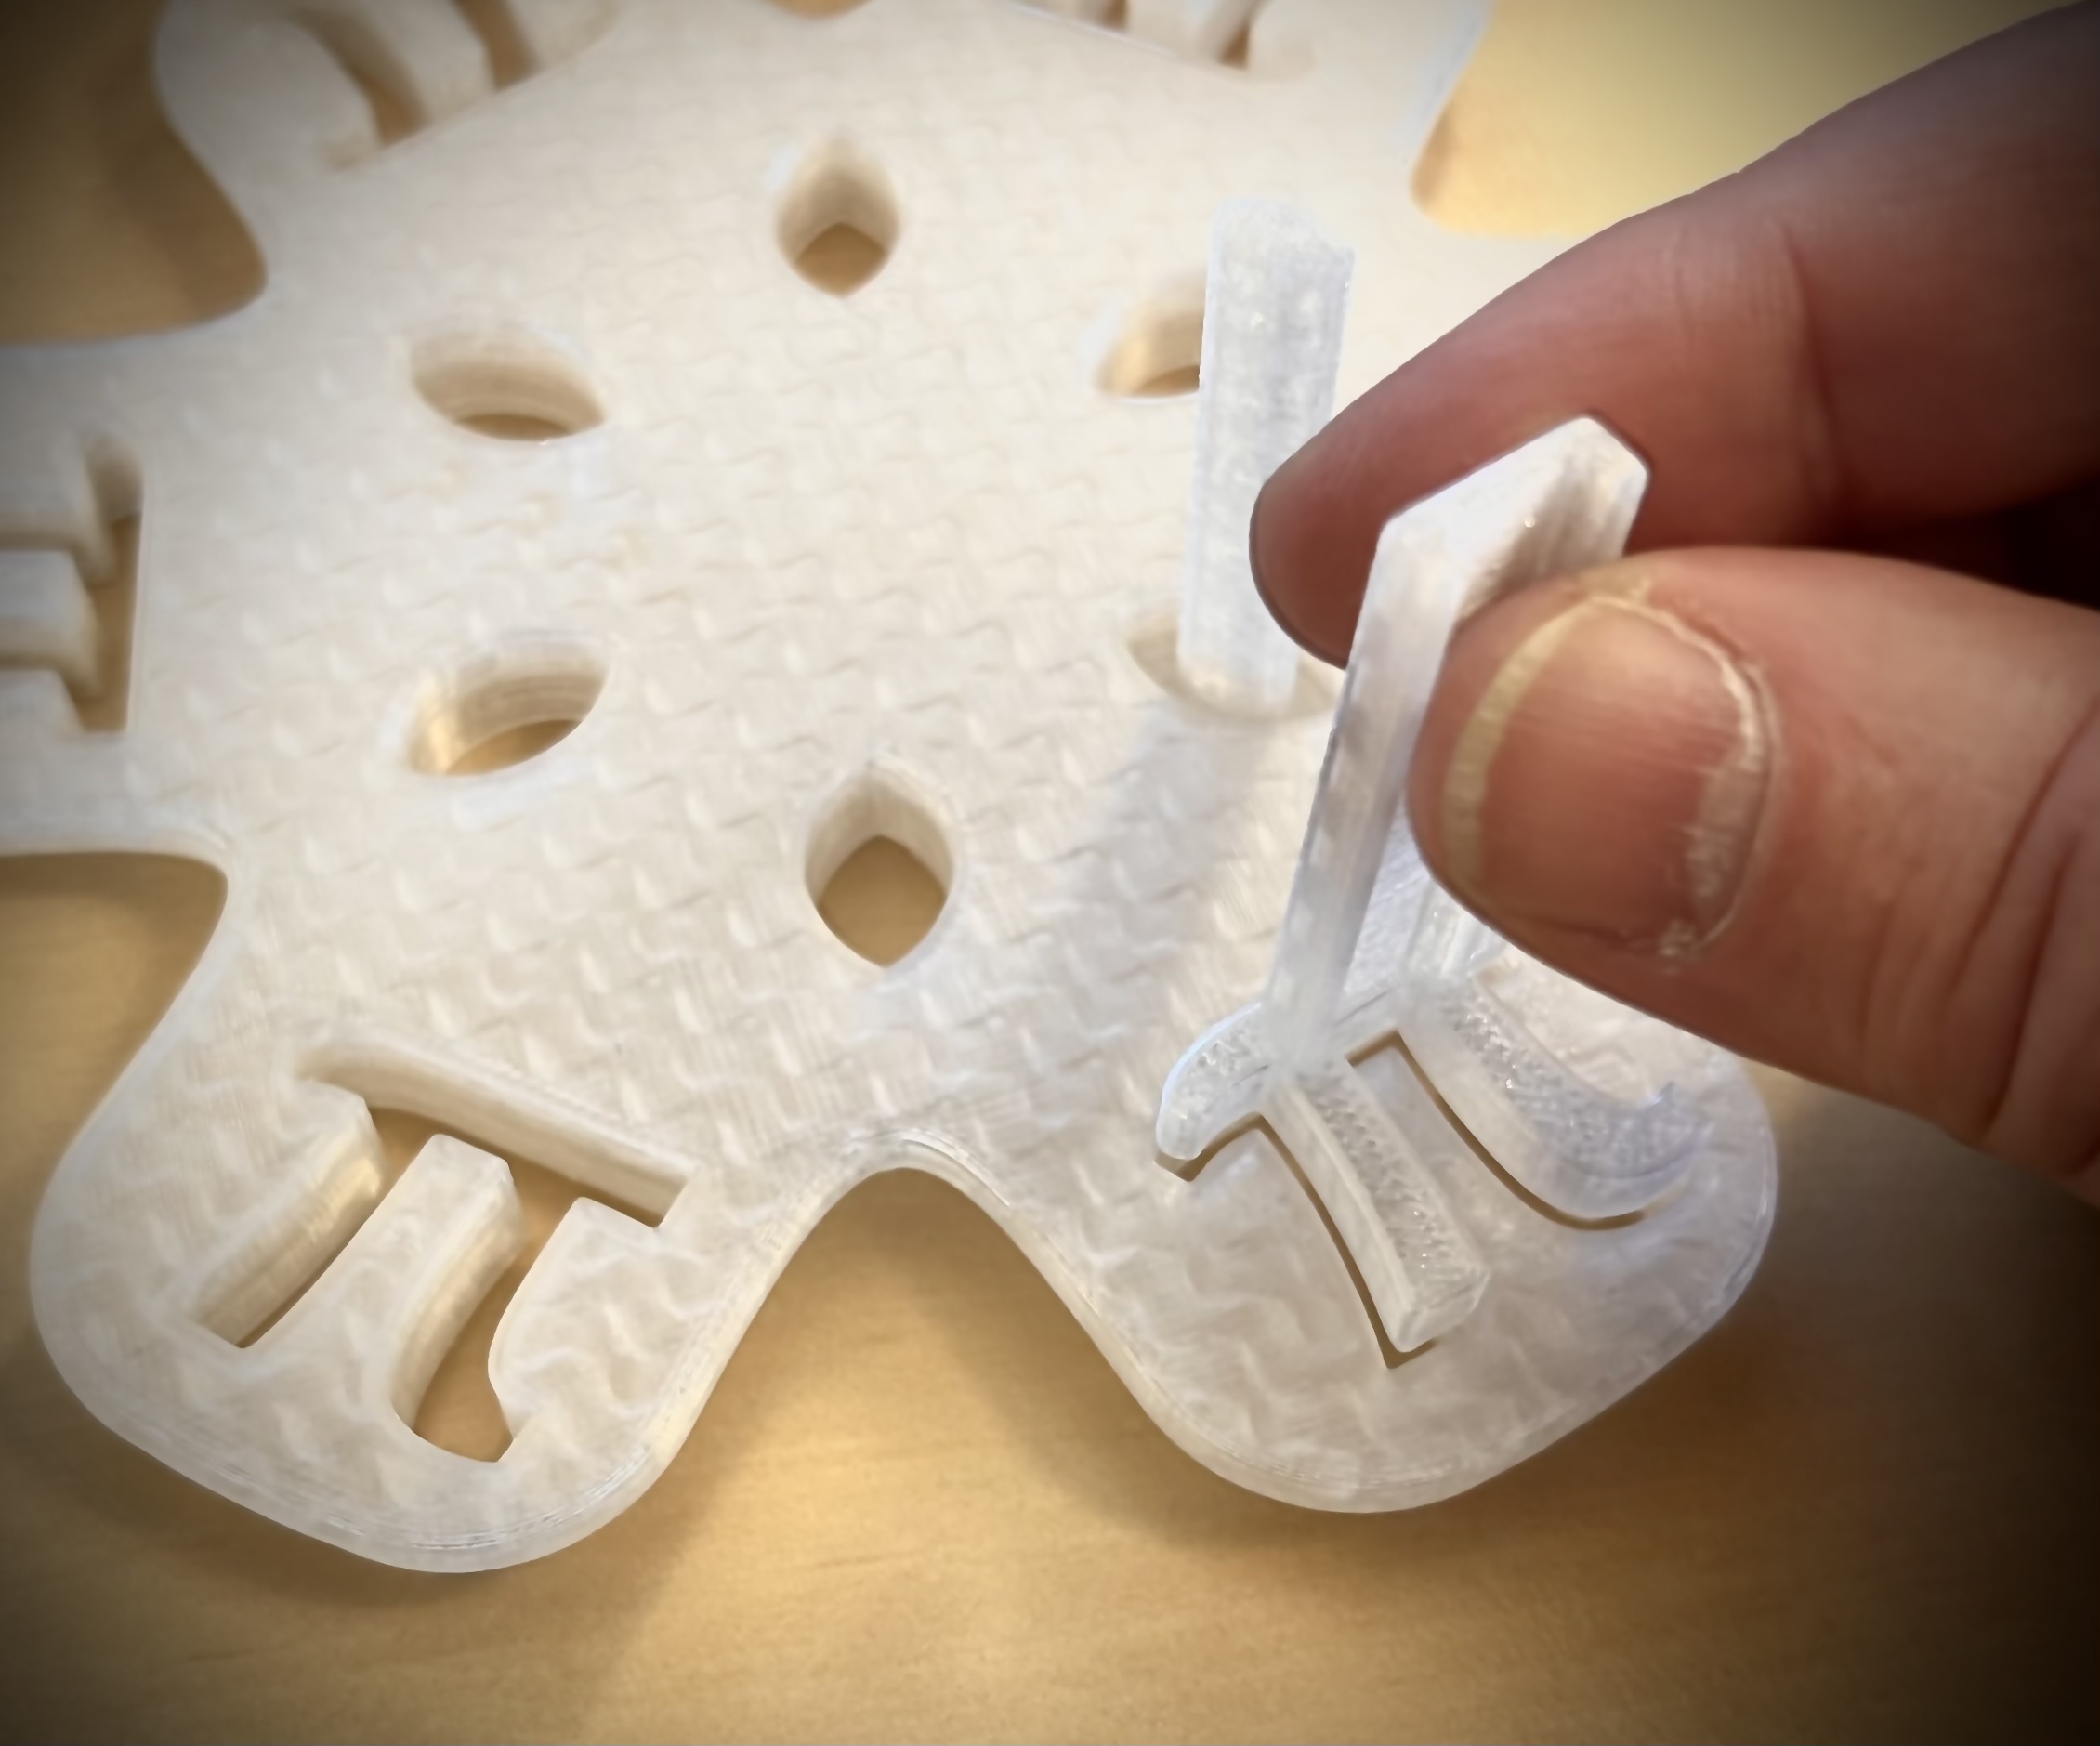
It is so satisfying to punch the dough shapes out.
How to print and a note about safety
No supports are needed. Print with 0.2 mm layers and at least 15% infill for strength. It's possible other settings will work well, but I haven't tried. Let me know if you have success with other settings in the comments.
Use a print nozzle that is 0.4 mm or less – the cutting edge is set at 0.8 mm, which is optimized for a 0.4 mm nozzle.
I recommend PETG or polypropylene because they are a little more food-safe than many other filament materials.
To minimize porosity in the cutting surface, I recommend using the ironing print setting on the uppermost top layer to seal up any gaps. (The print file .gcode attached to this model has ironing the top layer set.)
Making 3D prints truly food-safe is not trivial, as the prints are somewhat porous and can harbor bacteria. But you know, so can wood.
Also, filaments and brass can have toxic compounds or metals in them. It's my belief (I make no guarantees) that the brief contact involved in cutting crusts won't lead to any substances leaching into the dough.
Clean carefully before first use and between uses.
If you want to learn more about the topic of food safety in 3D printing, check out this article.