
Bins with Label Shelf - For Harbor Freight Medium Parts Organizer
Obliczymy ostateczną cenę na podstawie wybranego pliku. Sprawdzisz ją i zaakceptujesz przed płatnością.
Wstępna wycena dla PETG
0,68 € – 0,83 € netto (bez VAT)
Dla pliku: 10 x Half Label isolate_0.2mm_PETG_MK3S_51m.gcode
To wstępna wycena jednego pliku. Dokładną cenę poznasz przed zamówieniem.
Plik i założenia wyceny
Plik użyty do wyceny
Średnia wycena orientacyjna: 0,76 € netto (środek widełek).
- Masa podana przez autora
- 8 g
- Czas druku podany przez autora
- 51 min
- Materiał u źródła
- PET
- Materiał wyceny
- PETG
- Drukarka wyceny
- Bambu Lab P1S - 0.4 nozzle
- Proces wyceny
- 0.20mm Standard
Orientacyjna wycena wyłącznie wybranego pliku, oparta na masie i czasie druku podanych przez autora. Warianty plików nie są sumowane. Ostateczna cena zostanie obliczona po analizie pliku.
Zapisane na tym urządzeniu.

Storage bins for the cheap Harbor Freight small/medium parts organizers designed with screw in feet and a label shelf
- Ocena
- 5 / 5
- Polubienia
- 131
- Pobrania
- 490
- Wydruki
- 2
- Wyświetlenia
- 4552
- Oceny
- 1
Aktualizacja u źródła:
Informacje o modelu
- Źródło
- Printables
- Kategoria
- Organizers
- Licencja
- Creative Commons — Attribution
Background
The natural state of every garage or shop is disorder and its a constant and never ending battle keep some semblance of order. A good organization system helps with that. As a maker I also found myself buying lots of assorted parts and screws from amazon. The problem the becomes storing these cases and finding the right one when you need it and also they're all different sizes and those little divider tables tend to work their way up and then part mixing happens. 😱 I needed a solution.
I decided to use the cheap Harbor Freight “Store House Medium Parts Organizers” because they're very similar to what Stanley makes but frequently only cost $7.5/case and the Stanley ones, while significantly better built, are more than double the cost. Unfortunately I found the cases didn't come with enough of the small bins so I decided to print them. I found a brilliant design by Brian Paonessa on thingiverse that uses #4-40 Fillister Head screws in the base to preserve the grid locking feature but also avoid needing to print with support and to improve the peg strength of the little pegs that go in the grid of the containers. I really liked this design but Brian didn't provide the source file and I also wanted to have a spot to put labels on each of the bins similar to what Alexandre Chapel did with his assortment bins. So with those two designs as the inspiration, I made my own in fusion that's parametric (check the user variables if you play around with it).
The nS x mL Grid System
The storehouse bins have a (regrettably) asymmetric grid system. If you chop off the handle region and look at a case you will see a grid of indentations for the pegs on the base of the bins to drop down into. Now look at the smallest bin. It has a short side we dub “S” in the files on it and a long side we dub “L.” So a 1Sx1L bin is the smallest stock bin size. A 2Sx1L bin would be the stock medium bin size and the stock large bin would be 2Sx2L and contain the same area as 4 of the smallest bin. See the following image and it will make more sense.

As you can see, things get rotated in the handle region but the same coordinate system applies. You can also see I have some 1Sx2L bins which don't come stock.
The Label Shelves
I added label shelf so everything is clearly visible while the lid is shut and also to give a little handle to make it easier to pull out. Standard labels are about 12 mm height. For a good fullsize label print them at size 12.5mm (labeled “full size” in the stl/3mf/gcode exports). What I did, however, is printed them half size at 6.5mm and then used the enter feature on to get two lines of text per label and then cut that in half with scissors. This makes it easier to get the hardware in and out of the bins but makes applying the labels in the first place more of a pain. I used these colored labels to sorta match the plastic color.
Printing and Post Processing
I suggest using PETG, ABS/ASA if you live in place with hot summers and intent to put these in a garage or similarly hot environment. I used mostly this Duramic 3D filament as its yellow is a close match to the stock polypropylene. The model shouldn't need any support. Recommend printed at .3mm layer height to print a little faster. For the feet, get some of the cheapest short #4-40 Fillister Head screws you can find and screw them in. I got 700 of a discontinued model for $1.12+S/H in 2021.

Side note: I bought a bunch of screws from Bolt Depot. They come with little stickers that have QR codes on them that makes reordering easy so I transferred these stickers to the bins.
The Glue-in Label Shelves to reuse stock bins
I wanted label shelves in all my bins but I don't want to through away any of the stock bins so I also made some isolated label shelves to be glued into the stock bins. The problem is the stock bins are made of polypropylene which is a low surface energy plastic and adhesives don't really stick well, especially if you skew the containers to put it in a bending mode. I tried super glue, MMA glue, 2-part 5 minute epoxy, 2-part 30 minute epoxy, and none of it worked. What did work is drilling some little holes in the both the bin and the label (separately) and then gluing together with hot glue.

Once you're done, you can barely tell the difference between the stock bins with shelves glued in and the printed bins with integrated shelves. Yay less plastic waste.

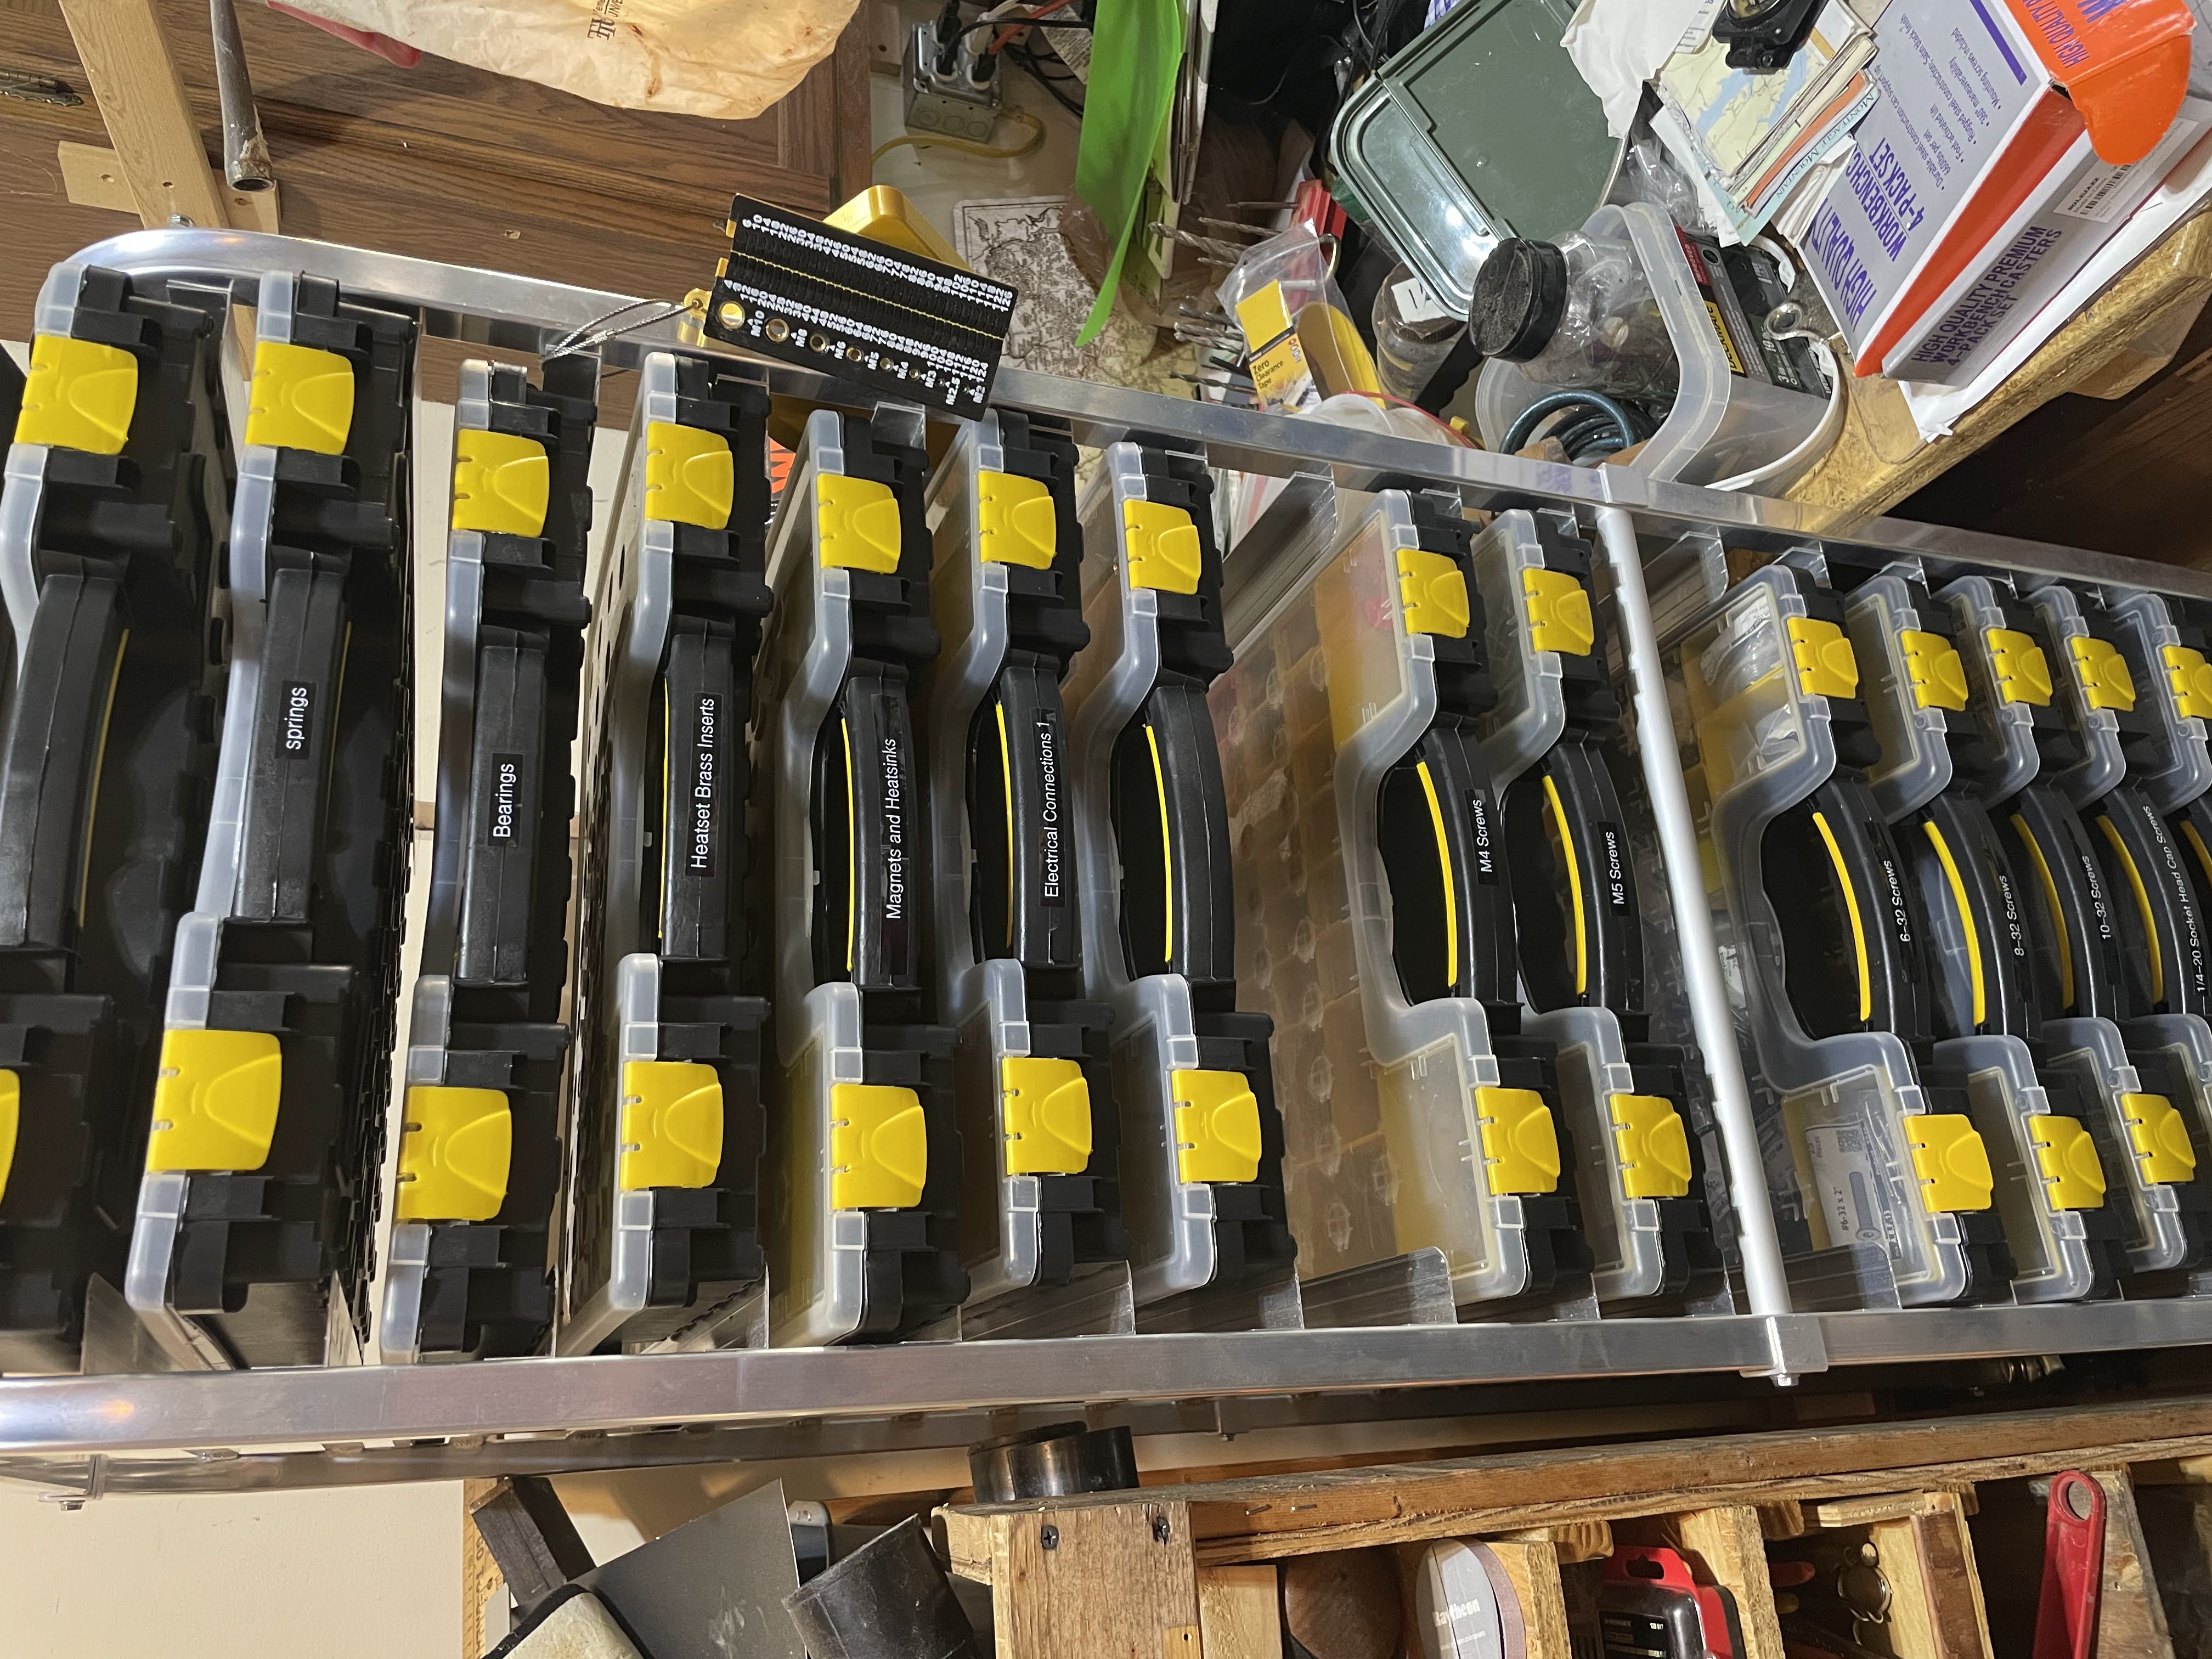
I store my cases in an aluminium bread drying rack that I narrowed to fit the cases. It cost about $200 shipped in 2021 and stores 40 cases if you use both sides.
Happy printing!