
Flush Plug for InLine Fabrication Flush Mount Quick Change Base Plate
Obliczymy ostateczną cenę na podstawie wybranego pliku. Sprawdzisz ją i zaakceptujesz przed płatnością.
Wstępna wycena dla PETG
0,69 € – 0,84 € netto (bez VAT)
Dla pliku: InLineFabFlushMountBasePlateMagPlug_0.2mm_PETG_MK3SMMU2S_49m.gcode
To wstępna wycena jednego pliku. Dokładną cenę poznasz przed zamówieniem.
Plik i założenia wyceny
Plik użyty do wyceny
Średnia wycena orientacyjna: 0,76 € netto (środek widełek).
- Masa podana przez autora
- 9 g
- Czas druku podany przez autora
- 49,2 min
- Materiał u źródła
- PET
- Materiał wyceny
- PETG
- Drukarka wyceny
- Bambu Lab P1S - 0.4 nozzle
- Proces wyceny
- 0.20mm Standard
Orientacyjna wycena wyłącznie wybranego pliku, oparta na masie i czasie druku podanych przez autora. Warianty plików nie są sumowane. Ostateczna cena zostanie obliczona po analizie pliku.
Zapisane na tym urządzeniu.

A flush plug for the hole in the base plate of IF's flush mount quick change base plate to keep small items out.
- Ocena
- 0 / 5
- Polubienia
- 7
- Pobrania
- 38
- Wydruki
- 0
- Wyświetlenia
- 373
- Oceny
- 0
Aktualizacja u źródła:
Informacje o modelu
- Źródło
- Printables
- Kategoria
- Other Ideas
- Licencja
- Creative Commons — Attribution — Noncommercial — Share Alike
A flush, no-snag plug for the hole in an InLine Fabrication Flush Mount Quick Change Base Plate for when there's no quick change plate attached. Prevents small objects and debris from falling into the hole in the base plate when there's no quick change plate installed. The plug sits flush, reducing interference with your bench top when the base plate is not in use.
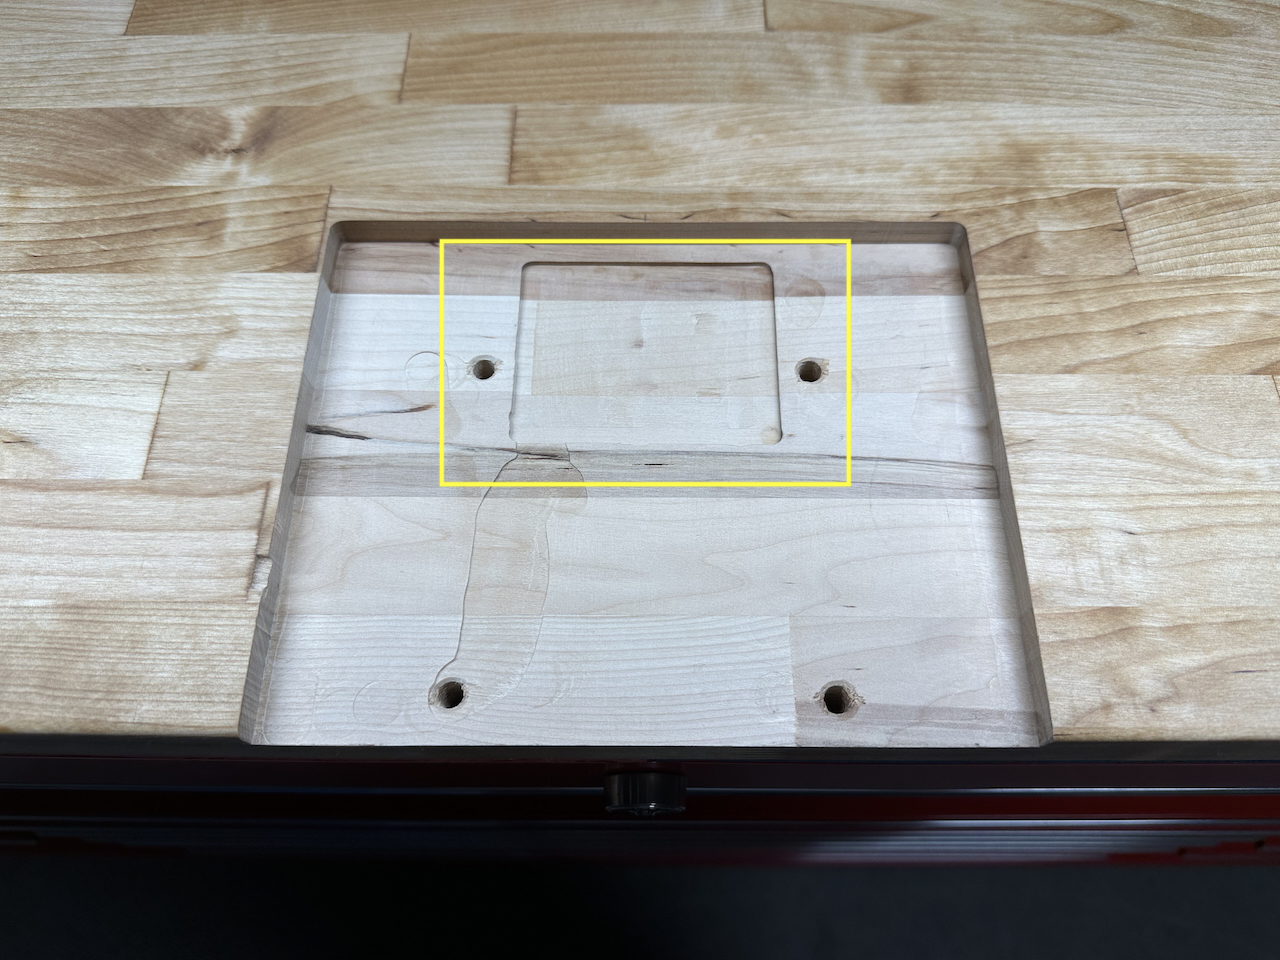
IMPORTANT NOTE: The plug is designed to be used with a base plate that has been flush-mounted to a bench top (using a router). If you did not route out the additional 1/16" under the hole in the plate (see image below, but please don't judge my amateur routing skills — yellow area), this plug will not sit completely flush with the plate!
There are two versions of the plug: one uses an embedded magnet for removal of the plug, the other has a spring-loaded trap door which exposes a lip when depressed which can be caught with the tip of a small screwdriver or a fingernail to lift the plug out of the hole.
Magnet Version
You will need one (1) 6.4x6.4x2.5mm block magnet for this version.
If you are slicing the model yourself, be sure to add a pause print at the appropriate layer in order to insert the magnet during the print process.

Spring-loaded Trap Door Version
You will need one (1) 0.5x6x10mm spring for this version.
Supports are required on the floor of the recessed area for the trap door, and on the lip of the trap door.
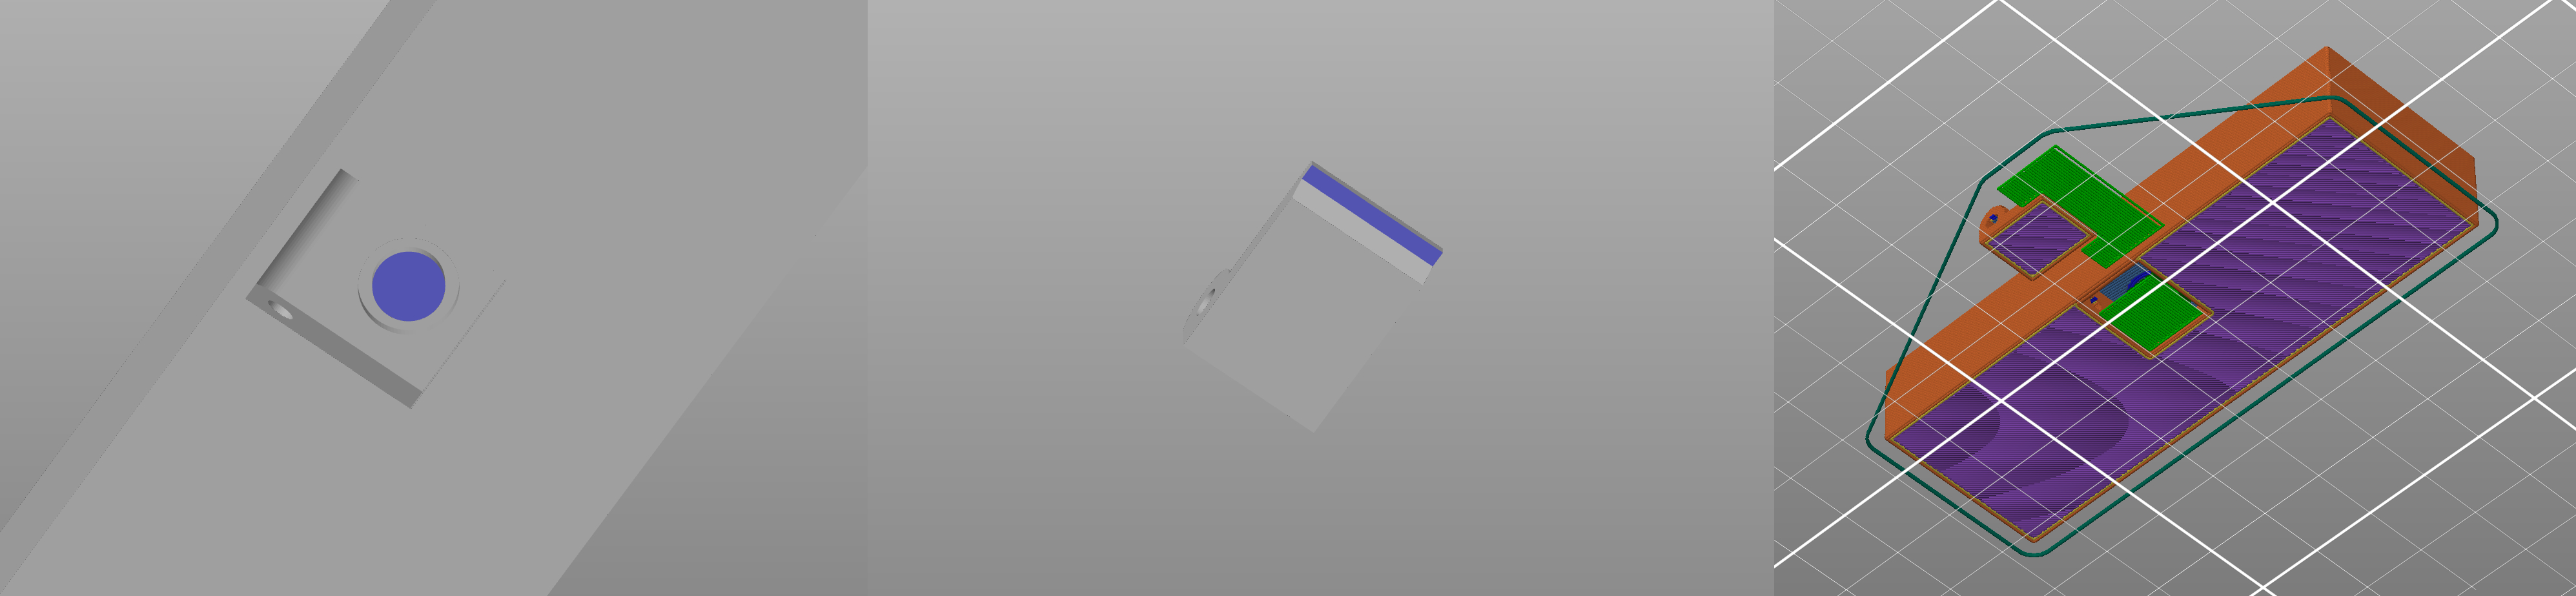
Assembly:
- Clean up the edges of the trap door and the opening in the plug with a hobby knife (or similar tool) and test fit the trap door; ensure there is no binding.
- Insert the spring. Ensure both ends of the spring are nestled into the corresponding recesses in the two parts. Tuck the lip of the trap door under the lip of the plug as you compress the spring and push the trap door into position.
- Secure the trap door in place with a ~25mm length of 1.75mm diameter filament. You will have to push on the back/hinge area of the trap door to get the holes to line up.
- Trim the ends of the piece of filament used as the hinge pin flush with the side of the trap door housing.
