
Ripcord Propeller Launcher
Obliczymy ostateczną cenę na podstawie wybranego pliku. Sprawdzisz ją i zaakceptujesz przed płatnością.
Zapisane na tym urządzeniu.

A 3D-printed take on the classic ripcord launcher. Get ready for minutes of fun with one of the toys of all time!
- Ocena
- 5 / 5
- Polubienia
- 45
- Pobrania
- 349
- Wydruki
- 2
- Wyświetlenia
- 2370
- Oceny
- 2
Aktualizacja u źródła:
Informacje o modelu
- Źródło
- Printables
- Kategoria
- Other Toys & Games
- Licencja
- Creative Commons — Attribution — Noncommercial — Share Alike
Additional Hardware
This toy requires one 608 skateboard bearing.
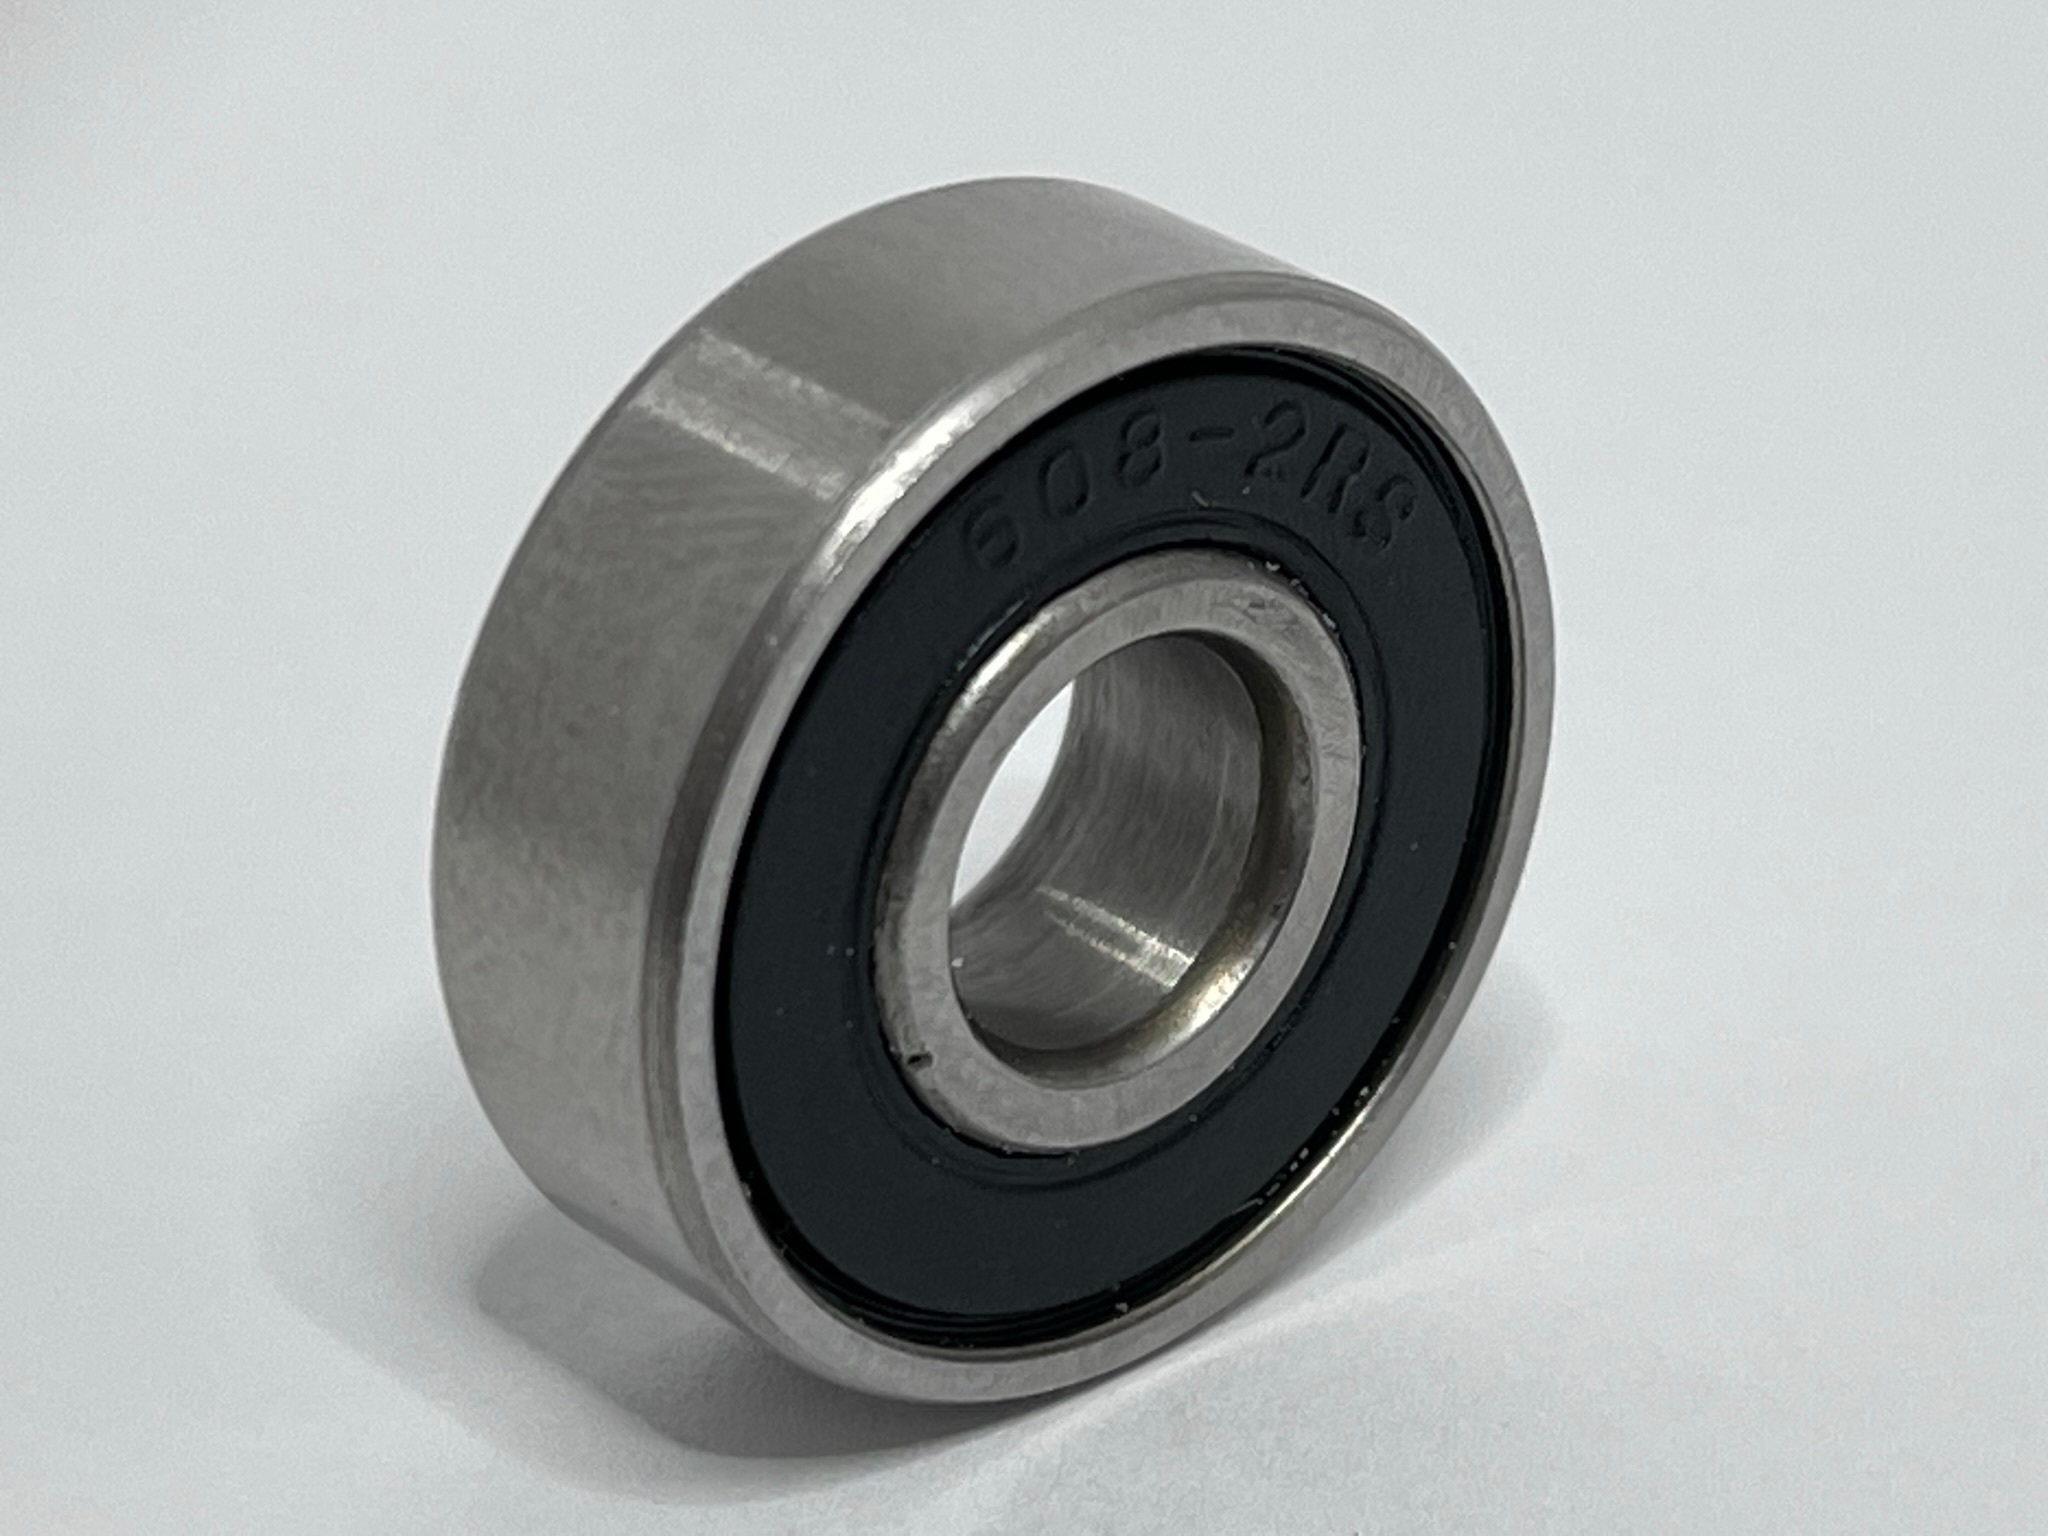
Printing
I've included 4 .3mf files prepared for a Prusa Mini+ (Should be easy to reconfigure for whatever bed size you have). Each of these .3mf files can be printed in a different color to recreate the version I've included in the attached images.
Estimated Print Time: 5 hours if you use the included .3mf files (They will fit on a Prusa Mini+)
Recommended Layer Height: 0.2 mm
Recommended Infill Percentage: 15%
Recommended Material: PLA
No Supports
Assembly
No tools are required for assembly.
Estimated Assembly Time: <5 minutes
Step 0 - Make sure you have all the parts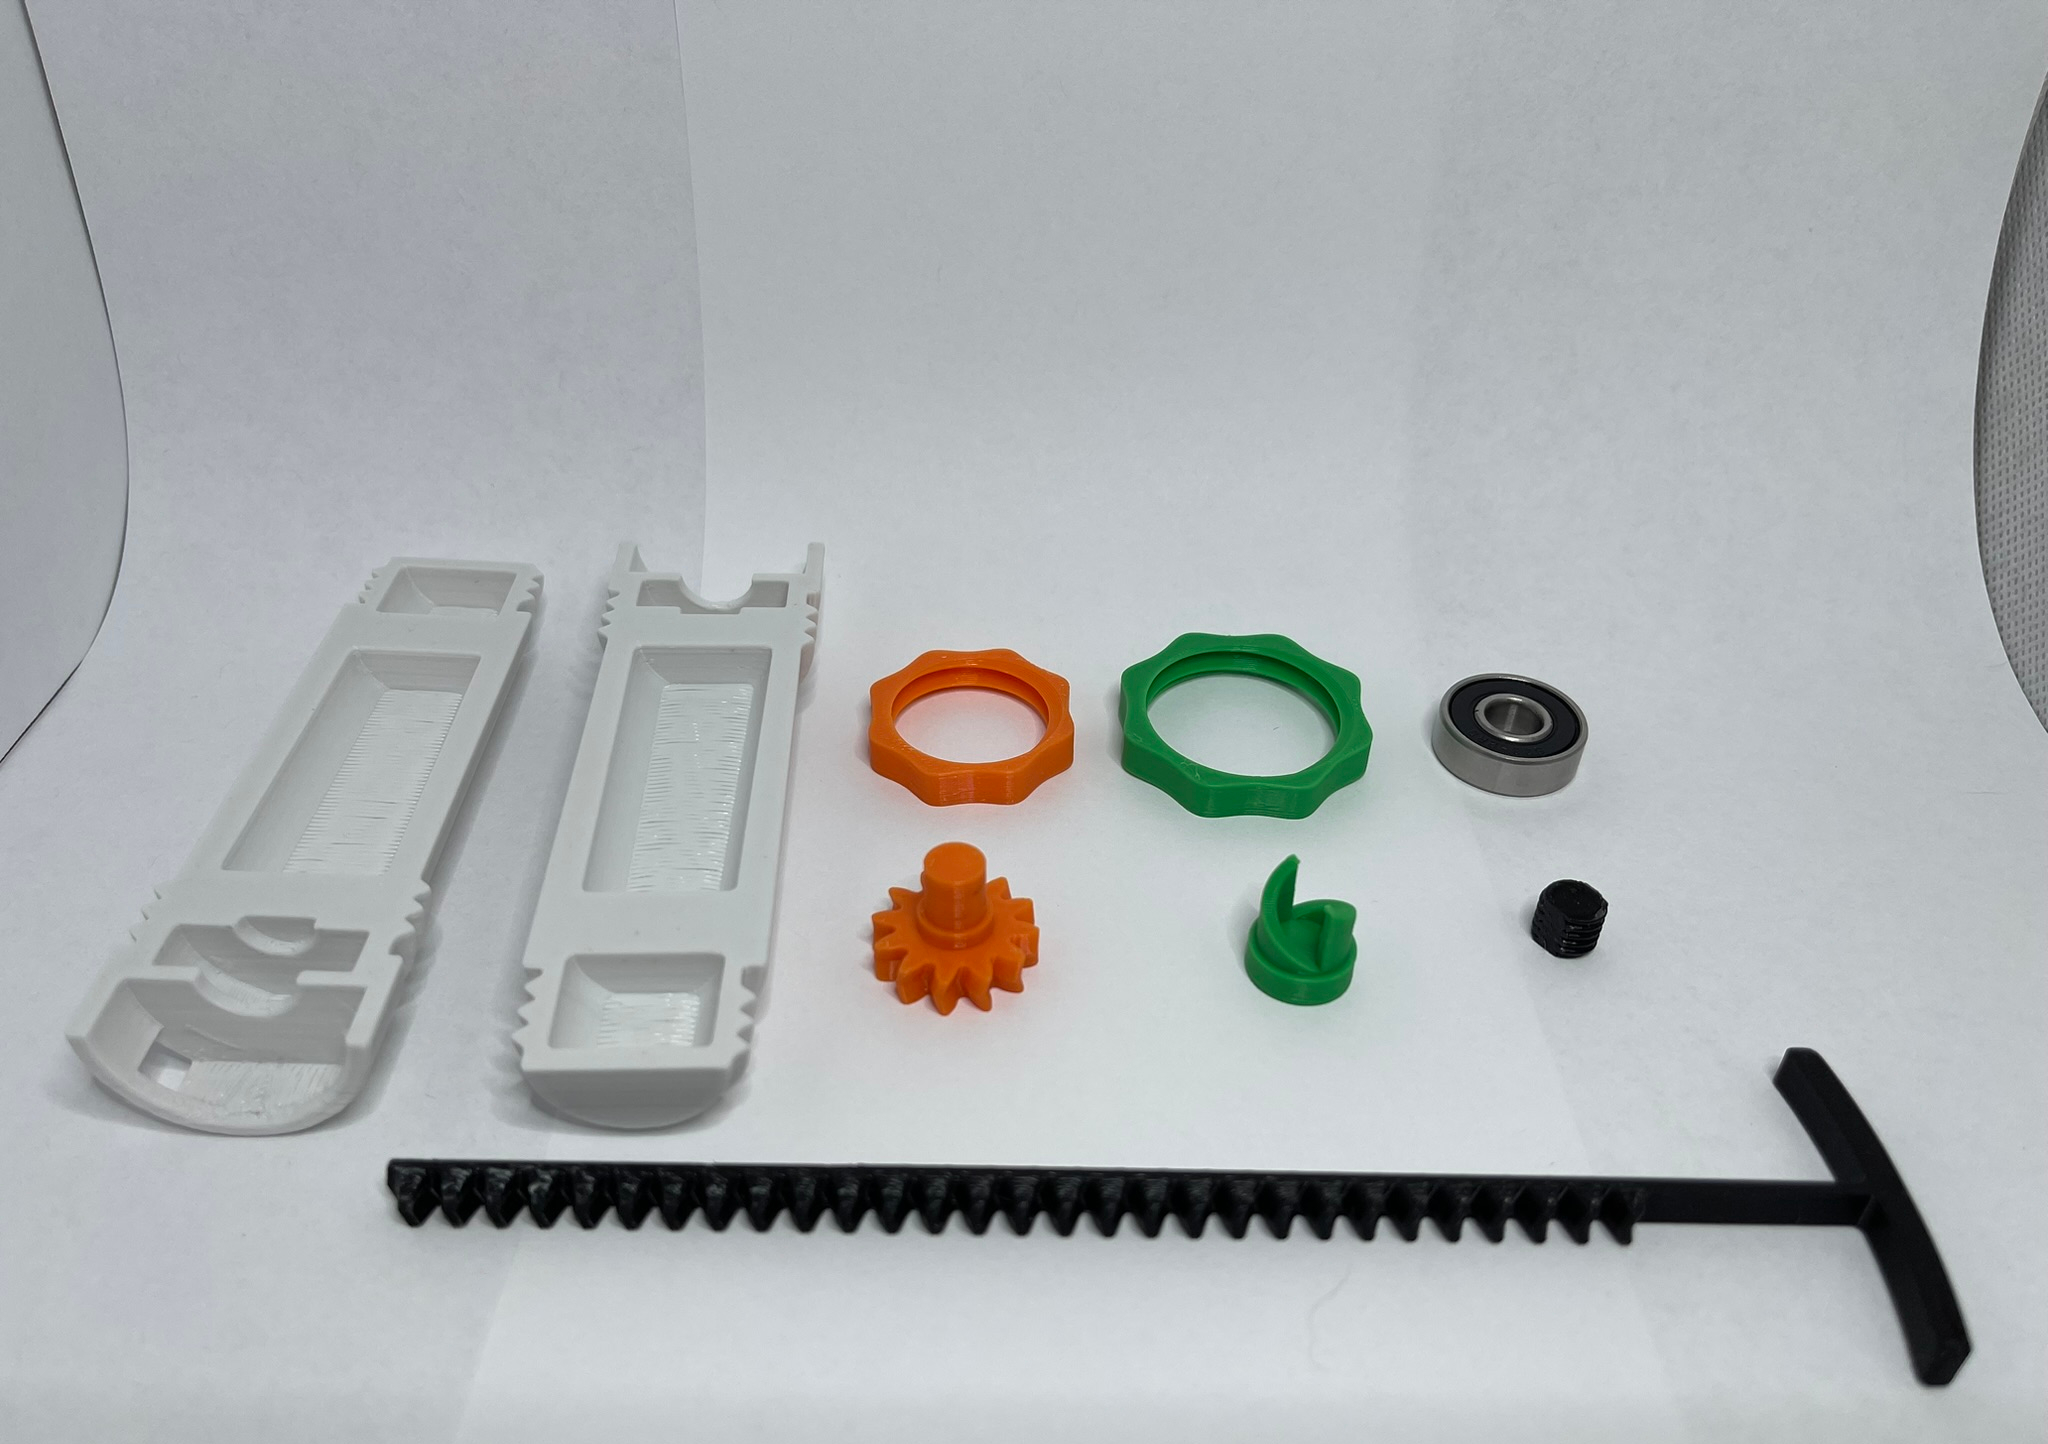
Step 1 - Install the internal thread into the 12-tooth gear
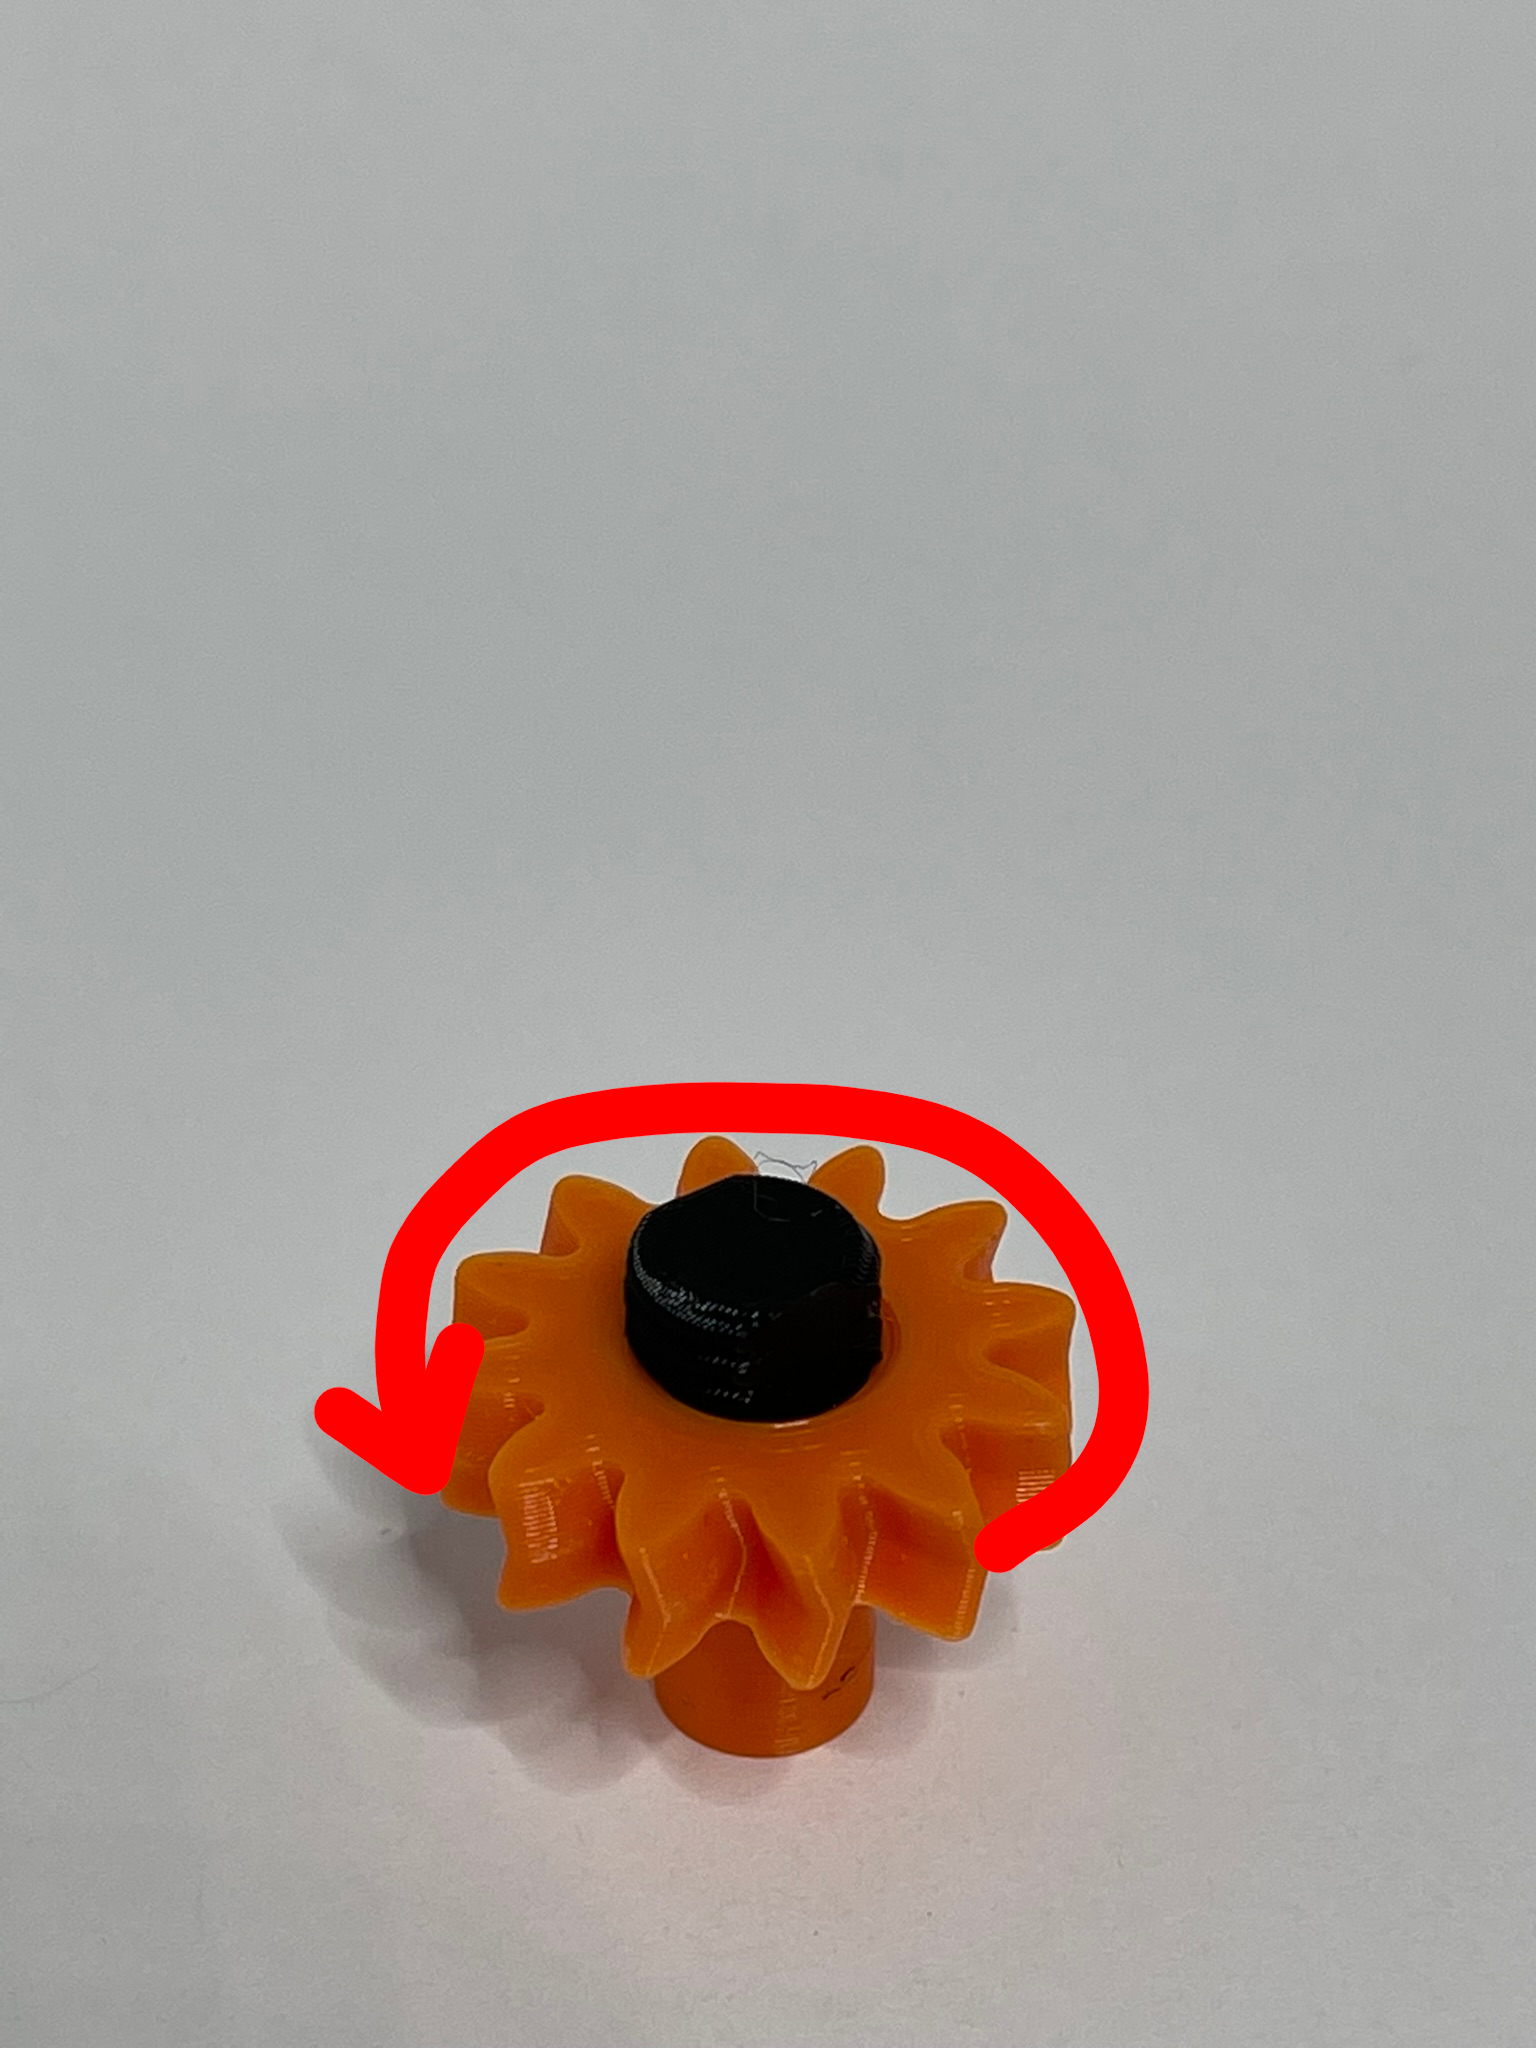
Note: This is a left-handed thread. Turn it counter-clockwise to tighten it
Step 2 - Install the propeller catch onto the gear/internal thread
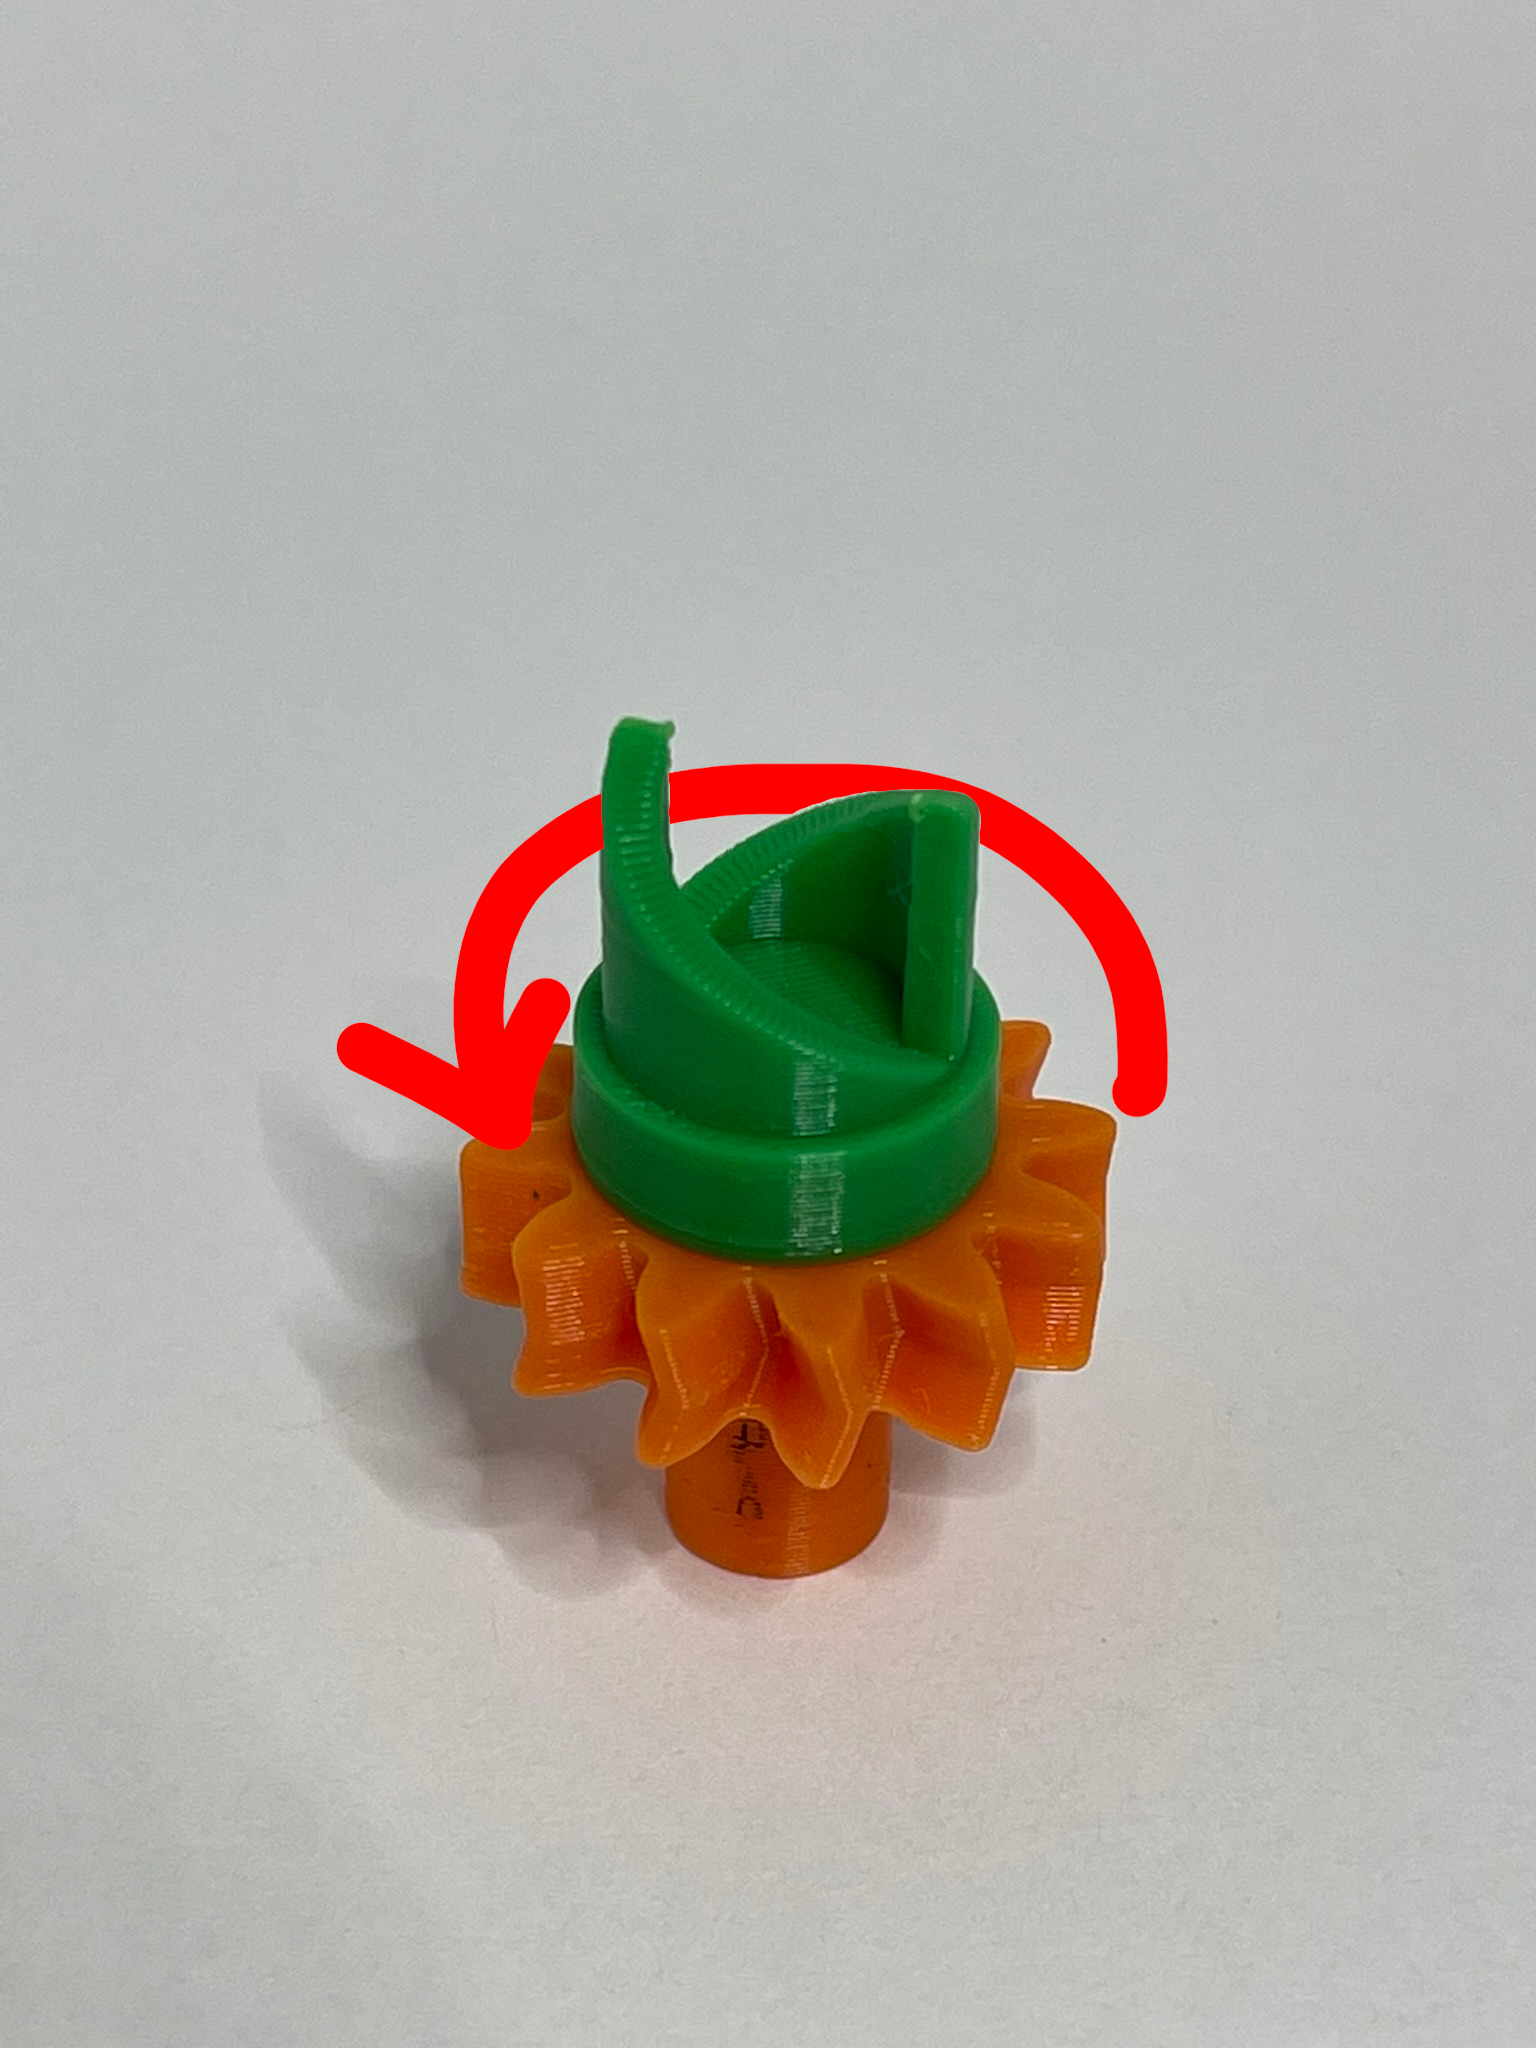
Note: Hand-tighten only
Step 3 - Press the gear/prop catch assembly into the 608 bearing

Step 4 - Seat the bearing assembly into the grip half
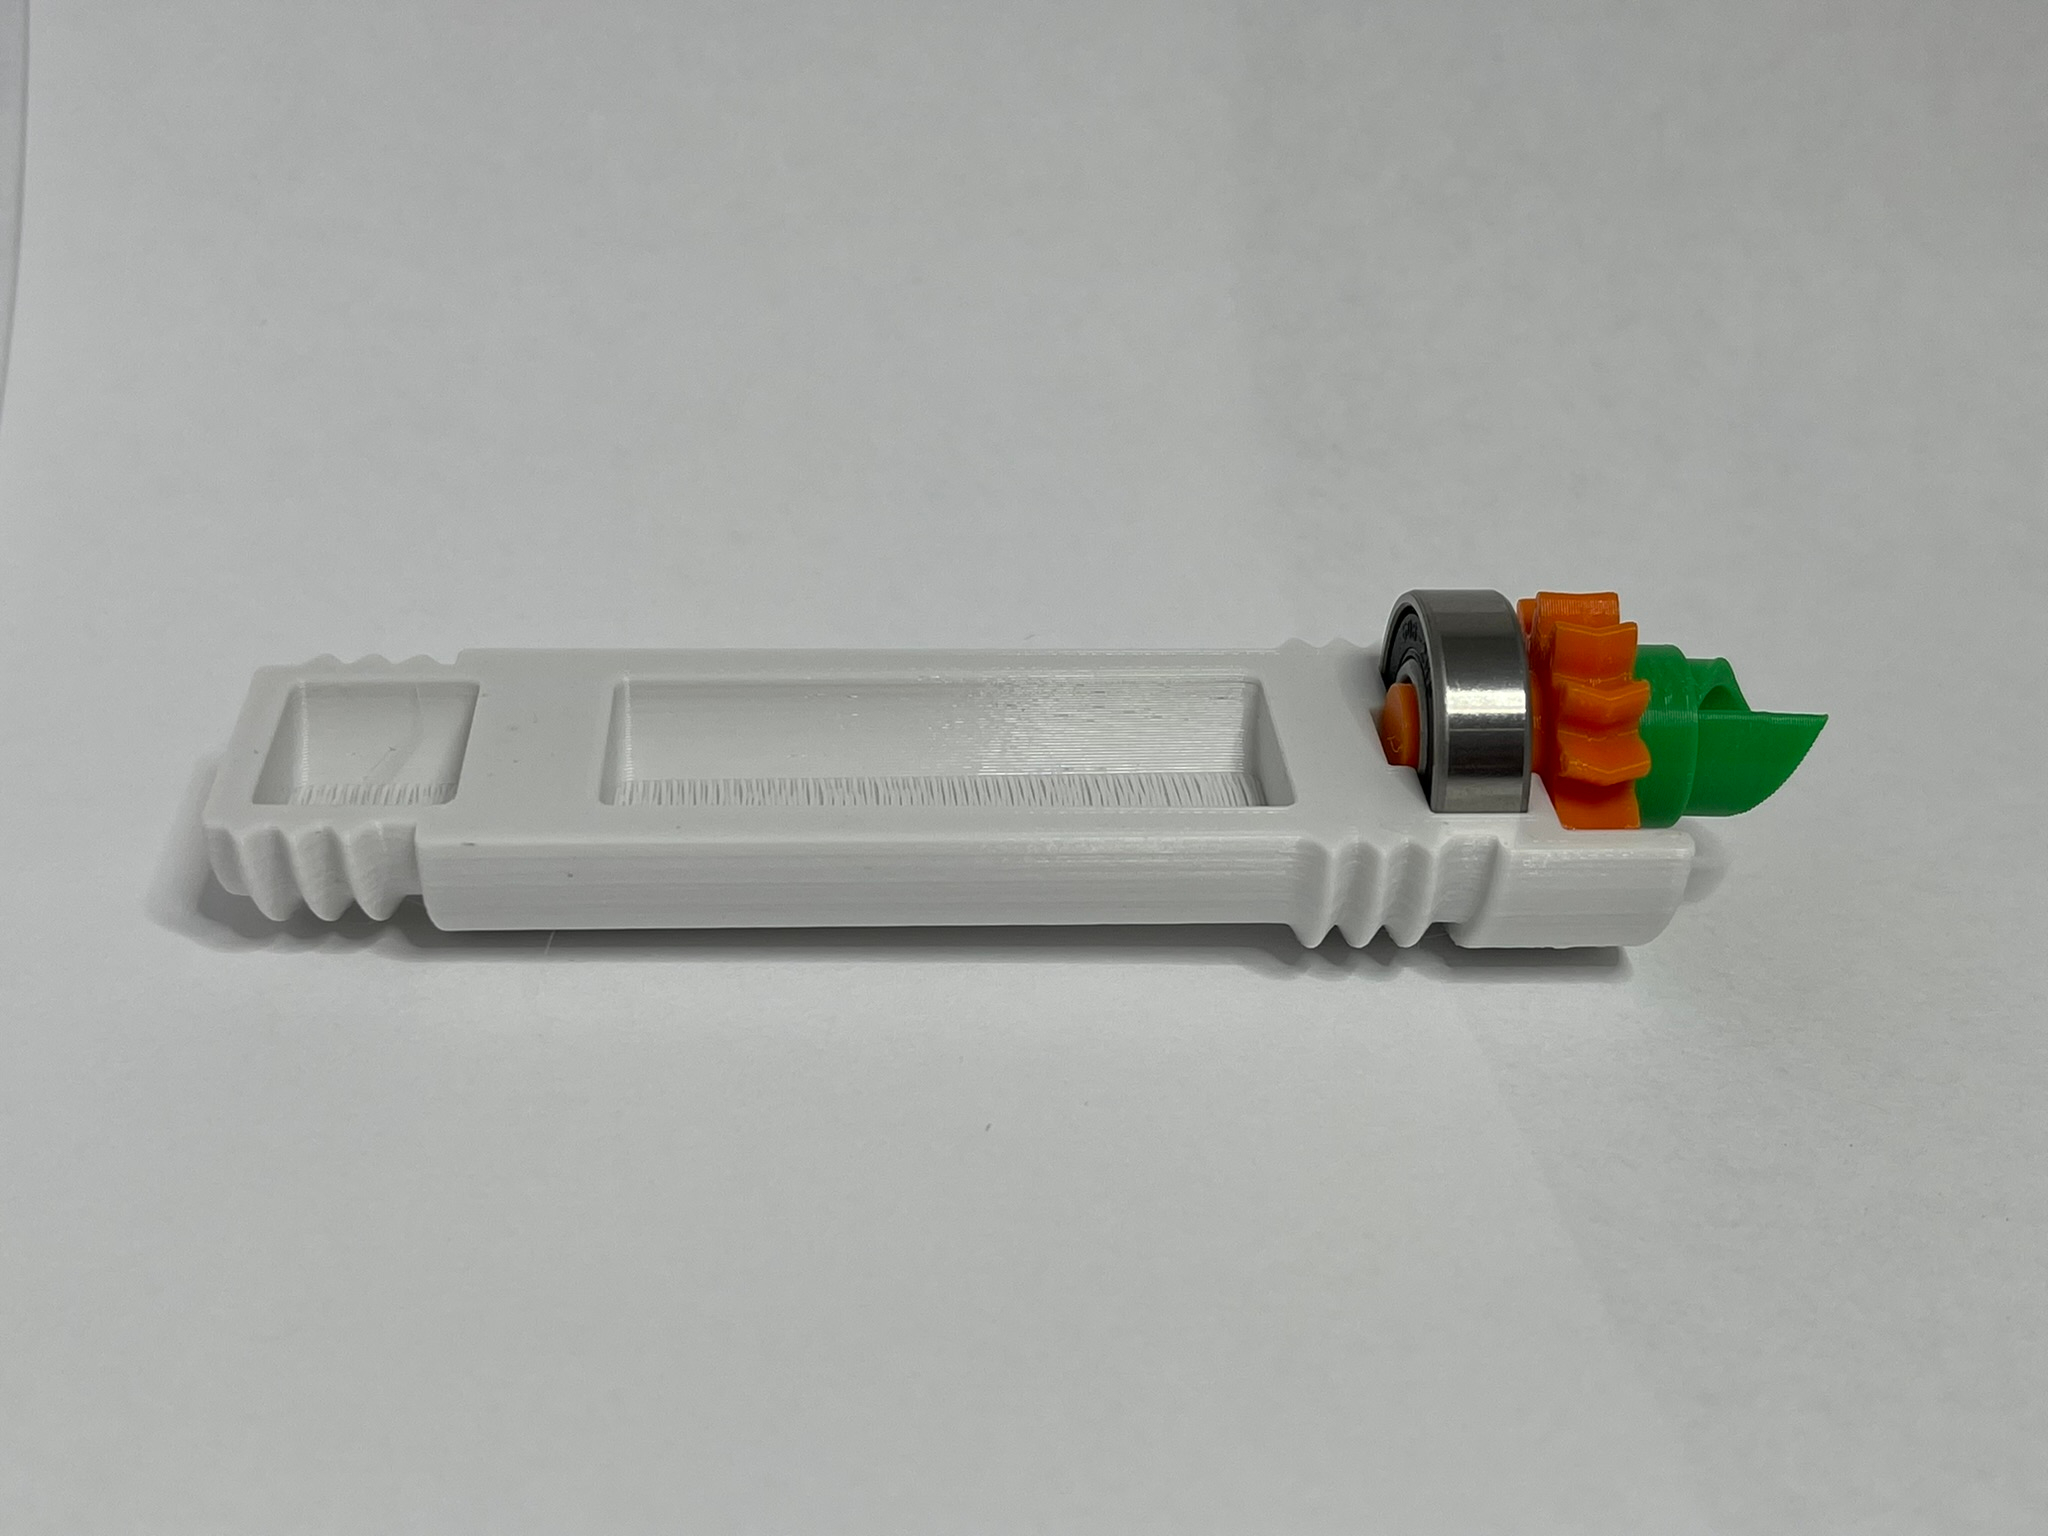
Step 5 - Press the other grip half onto the bearing

Step 6 - Slide the large nut onto the grip and twist it onto the external threads

Step 7 - Thread the small nut onto the end of the grip
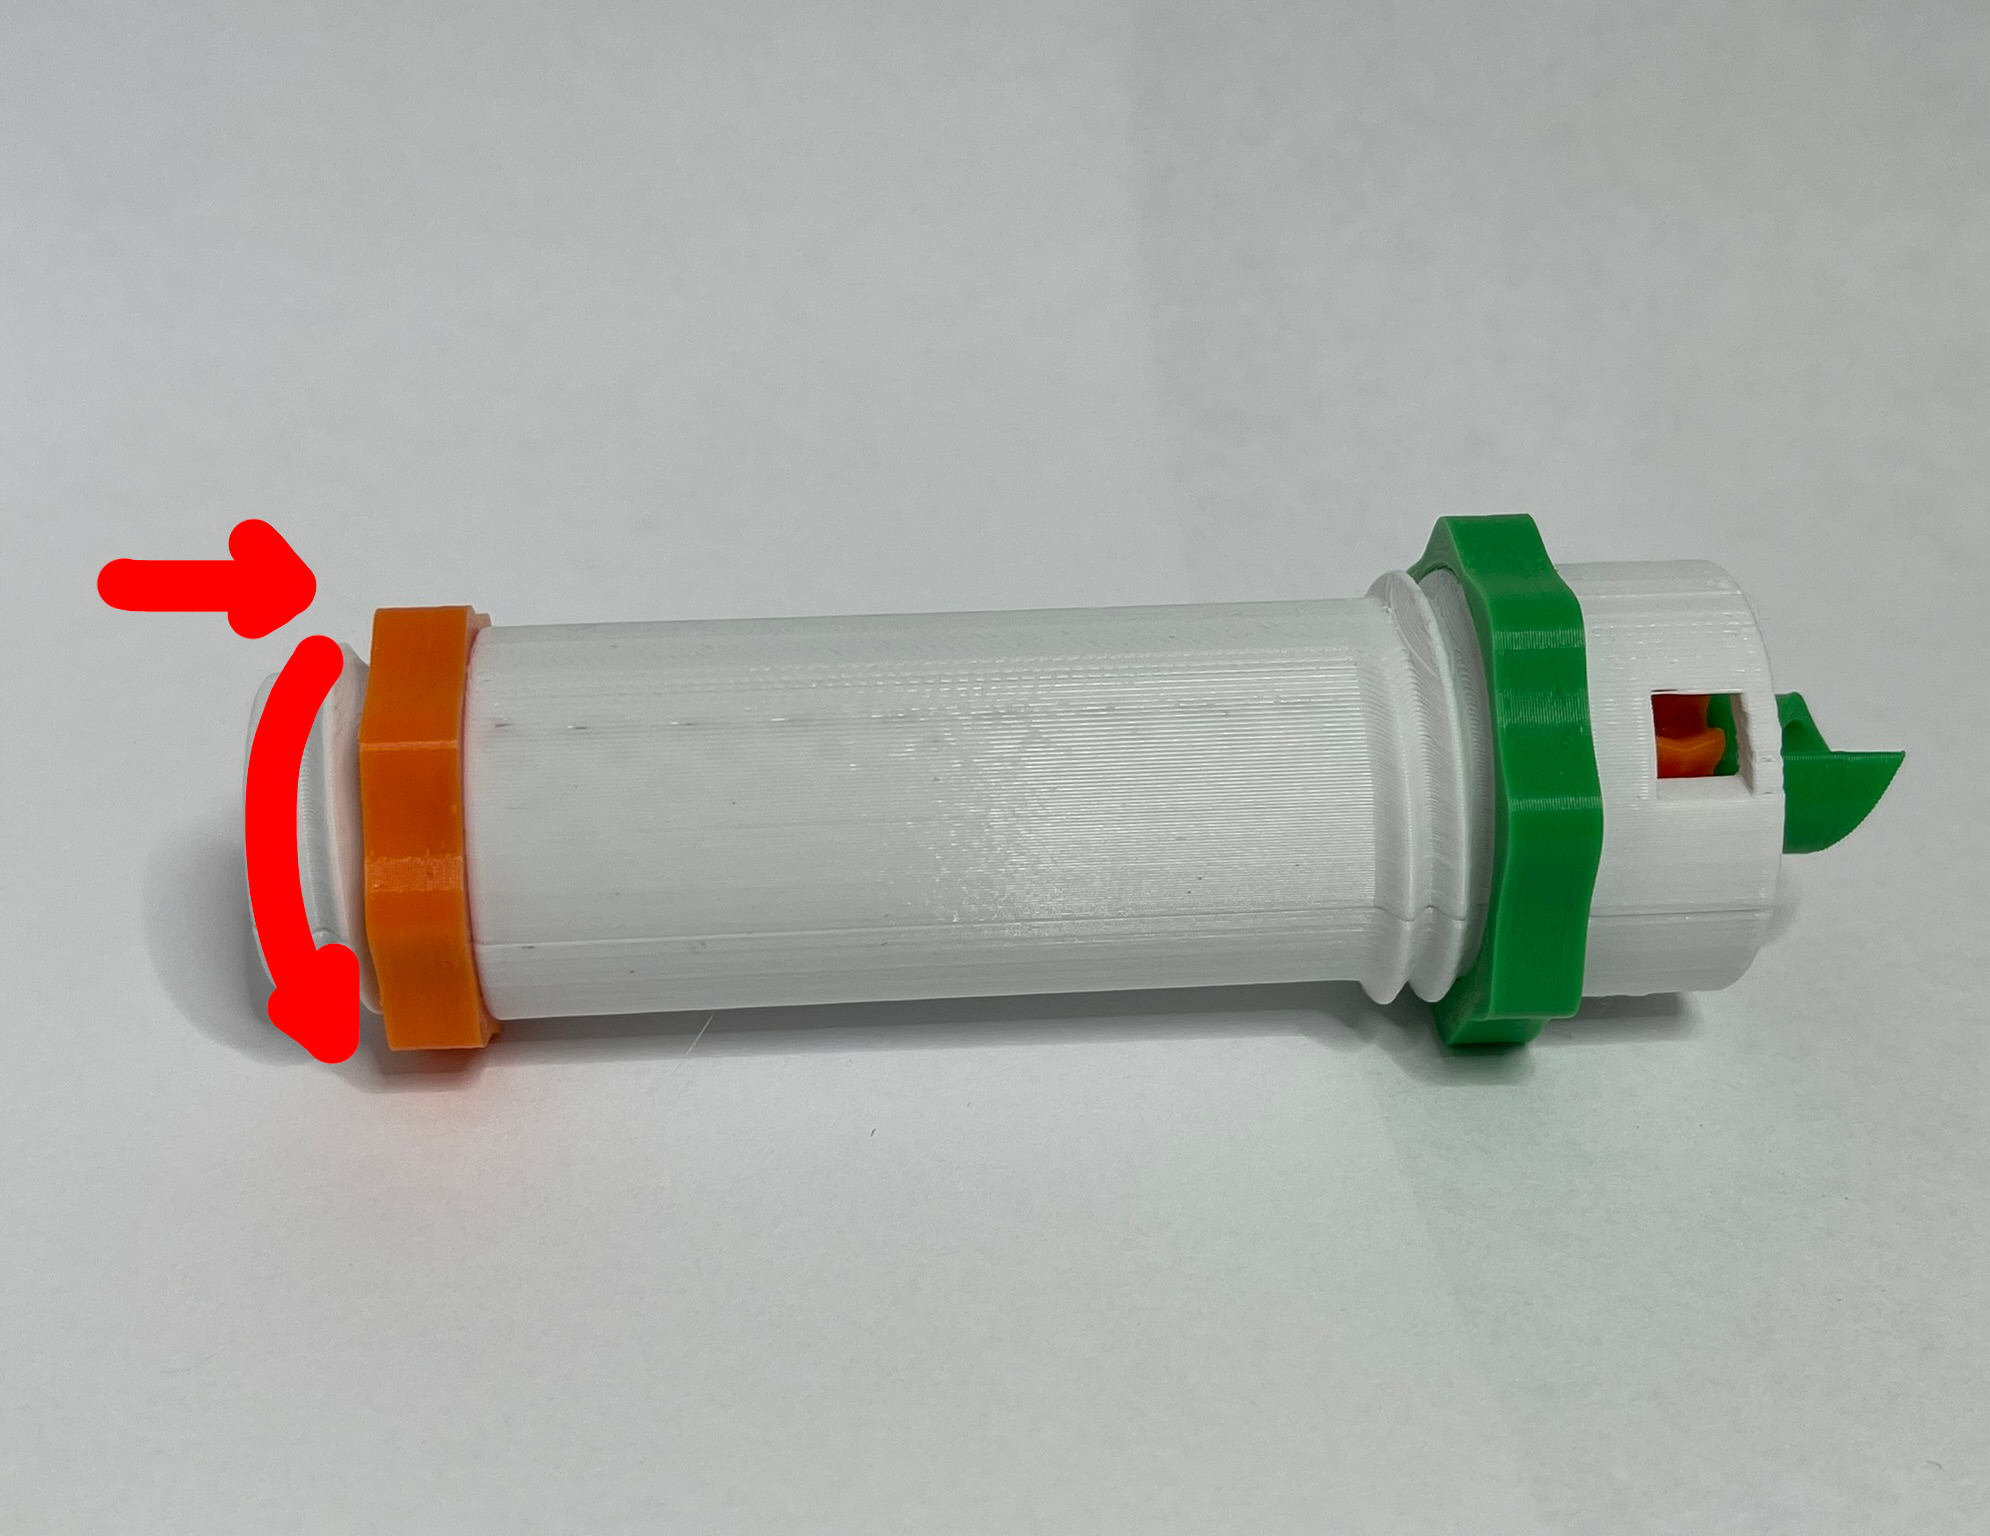
Step 8 - Insert the rip cord into the slot at the top of the grip (It will only go in one way)

Your launcher is ready to use!
