
Bolt-Nut Puzzle
Obliczymy ostateczną cenę na podstawie wybranego pliku. Sprawdzisz ją i zaakceptujesz przed płatnością.
Zapisane na tym urządzeniu.

The challenge of the puzzle is to guide the nut along the rope over to the right loop to the bolt and then screw it up.
- Ocena
- 5 / 5
- Polubienia
- 38
- Pobrania
- 232
- Wydruki
- 5
- Wyświetlenia
- 1119
- Oceny
- 3
Aktualizacja u źródła:
Informacje o modelu
- Źródło
- Printables
- Kategoria
- Puzzles & Brain-teasers
- Licencja
- Creative Commons — Attribution — Noncommercial
While looking for a little present for a visit to relatives with two kids, ages 8 and 10, I came across the nice little project called „Twin Nut Puzzle" on https://www.instructables.com/Twin-Nut-Puzzle/ Here are two nuts, one of which should be moved to the other side. The base is wood and the screws are metal.
Then I read the comments and saw framakers' post. I liked the idea of replacing one of the two nuts with a matching screw. I agree that it makes solving the puzzle much more attractive.
However, drilling vertically through a metal screw is not everyone's cup of tea, nor is it easy to do.
A good and relatively easy way to solve the problem with the pierced screw is 3D printing ... provided you own a 3D printer!
To implement the idea, I decided to prepare this small project completely for 3D printing.
Supplies:
For this project you need:
- bolt-nut puzzle_base.stl
- bolt-nut puzzle_bolt_M12x18.stl
- bolt-nut puzzle_nut_M12.stl
- cable ties (2x)
- rope (620 x Ø 4-5 mm)
- pliers or scissors

Step 1: Printing
- bolt-nut puzzle_base.stl
- bolt-nut puzzle_bolt_M12x18.stl
- bolt-nut puzzle_nut_M12.stl
Print Settings:
- printer brand: Prusa
- printer: MK3S / Mini
- supports: No
- resolution: 0,2
- infill: 15% ; nut and bolt 50%
- filament brand: Prusa; ICE; Geetech
- filament color: Galaxy Black; Young Yellow, Romantic Red; Silky Silver
- filament material: PLA
Remark: As all parts are designed to fit very precisely, it may happen that you have to rework one or the other part a bit with sandpaper and/or cutter due to different dimensional accuracy of the printers and the different behavior of the filaments.


Step 2: Insert Rope - Secure Ends
After the three parts are printed, you need for the next step:
- rope (620 x Ø 4-5 mm)
- cable ties (2x)
- pliers or scissors
Now you have to insert the rope as shown in the pictures.


Before you put the left end of the rope into the left hole, do not forget to insert the nut. Take one of the cable ties. Prepare a loop and place it about 5 mm from the end of the rope and pull it tight. Cut off the long end with pliers or scissors.


You can, of course, tie a knot. In that case I would cut the rope about 3-6 cm longer, depending on how thick the rope is.


Next you need to put the bolt on the right side of the rope. Make sure that you insert it with the threaded side. The screw head must be oriented to the base.


Then - as on the left side - insert the end of the right rope into the right hole and secure the end again with a cable tie.


That's it! Have fun with it!
Step 3: Solution
Notice:
For the solution you should only move the nut, because, due to the size of the bolt, the solution process would be more difficult.
Loosen the middle loop and slide the nut behind the loop as shown in the picture.

Turn the base over.
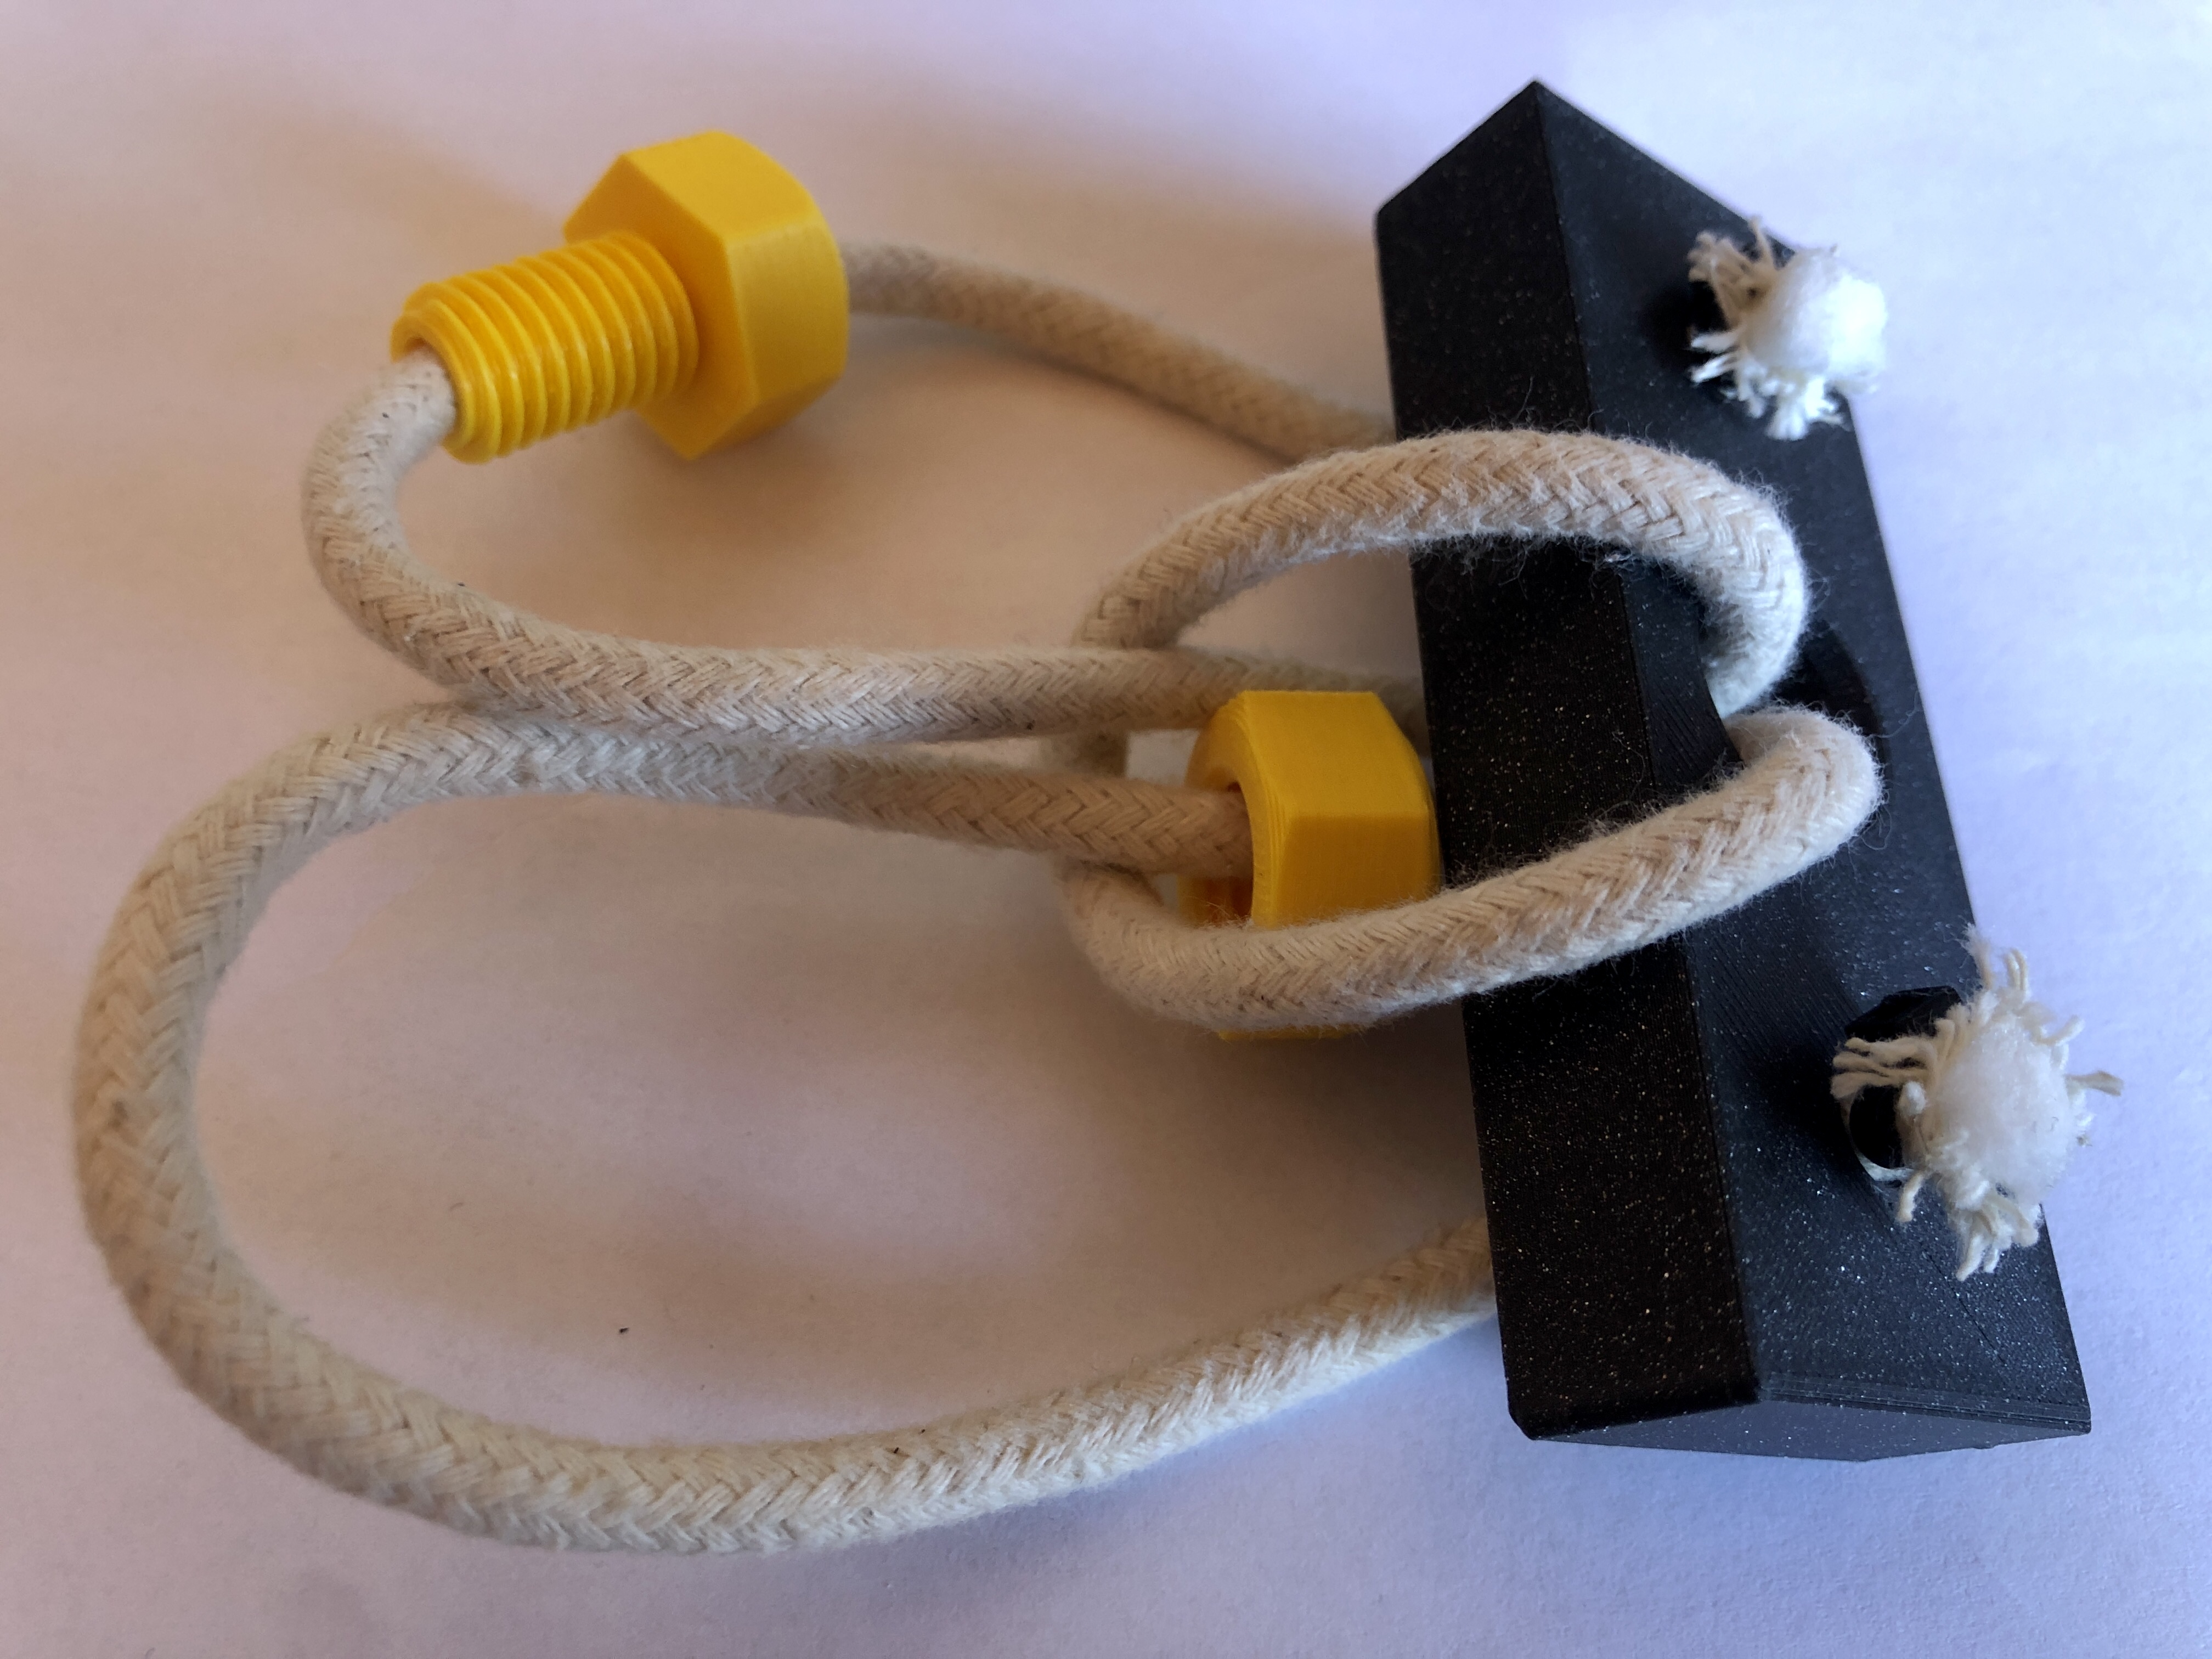
Now pull the loop with the cross ropes through the hole.

Depending on how thick the ropes are, this may take some effort.

Turn the base over again and pull the ropes out.
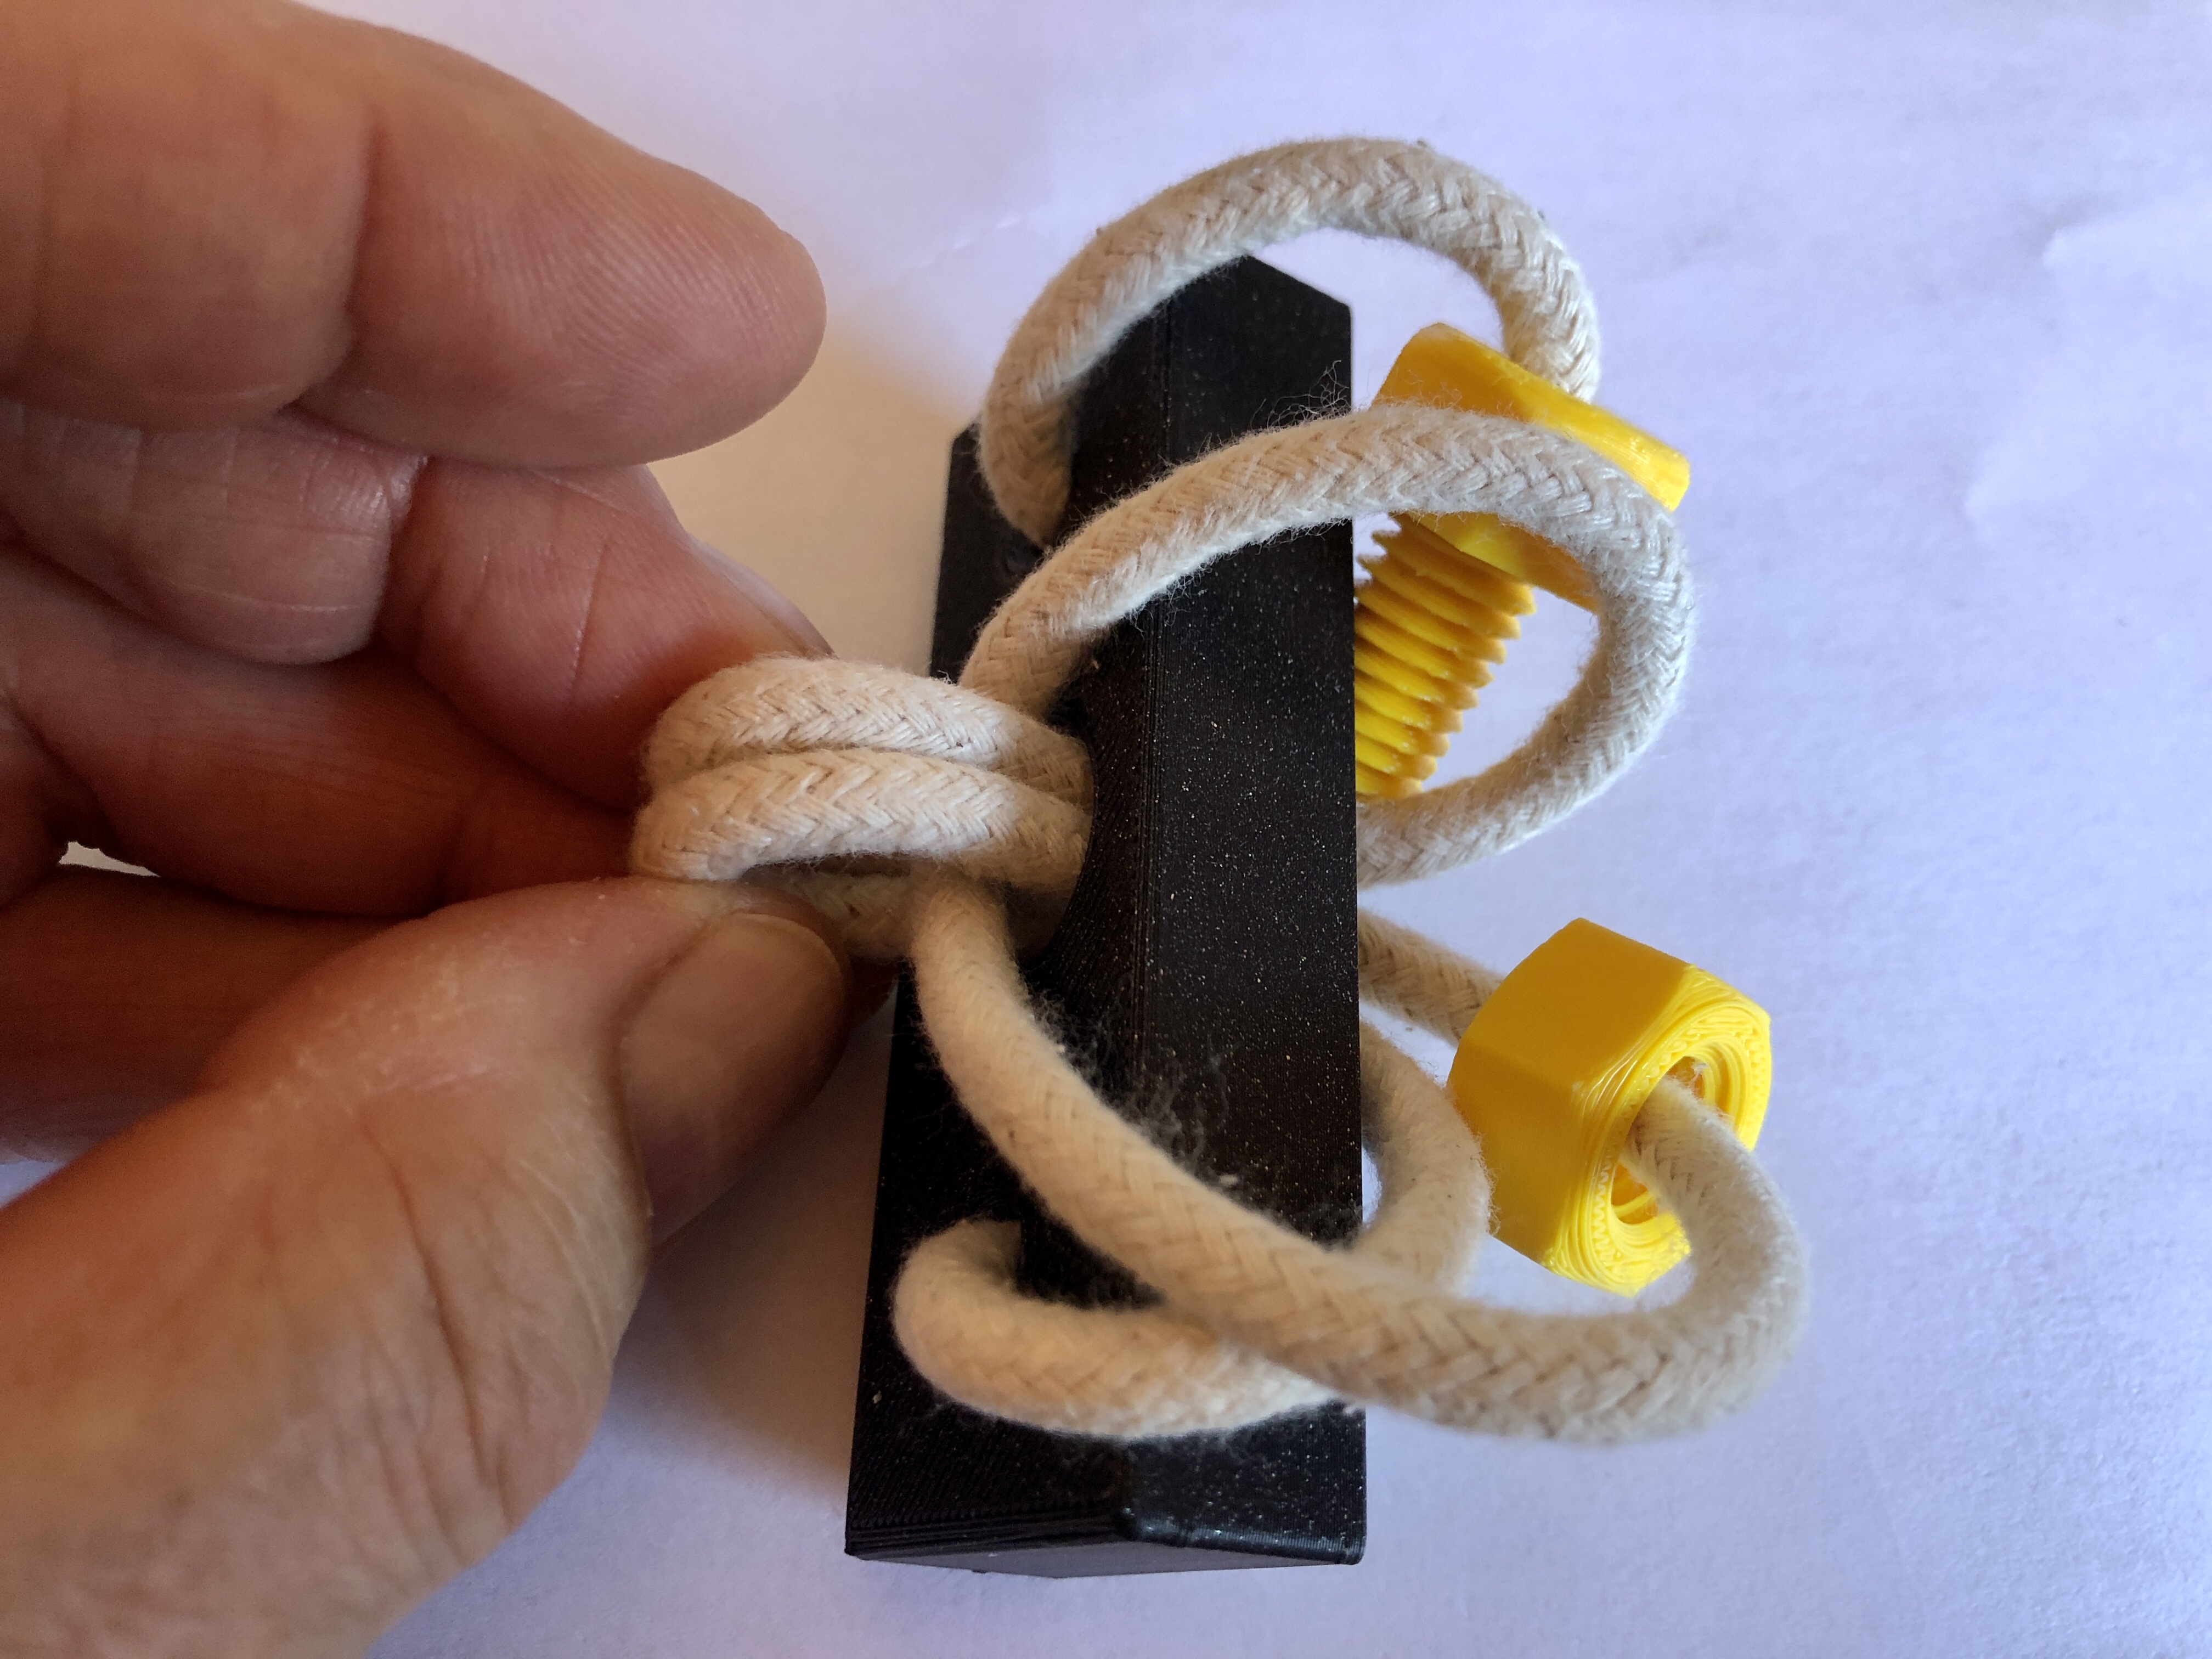
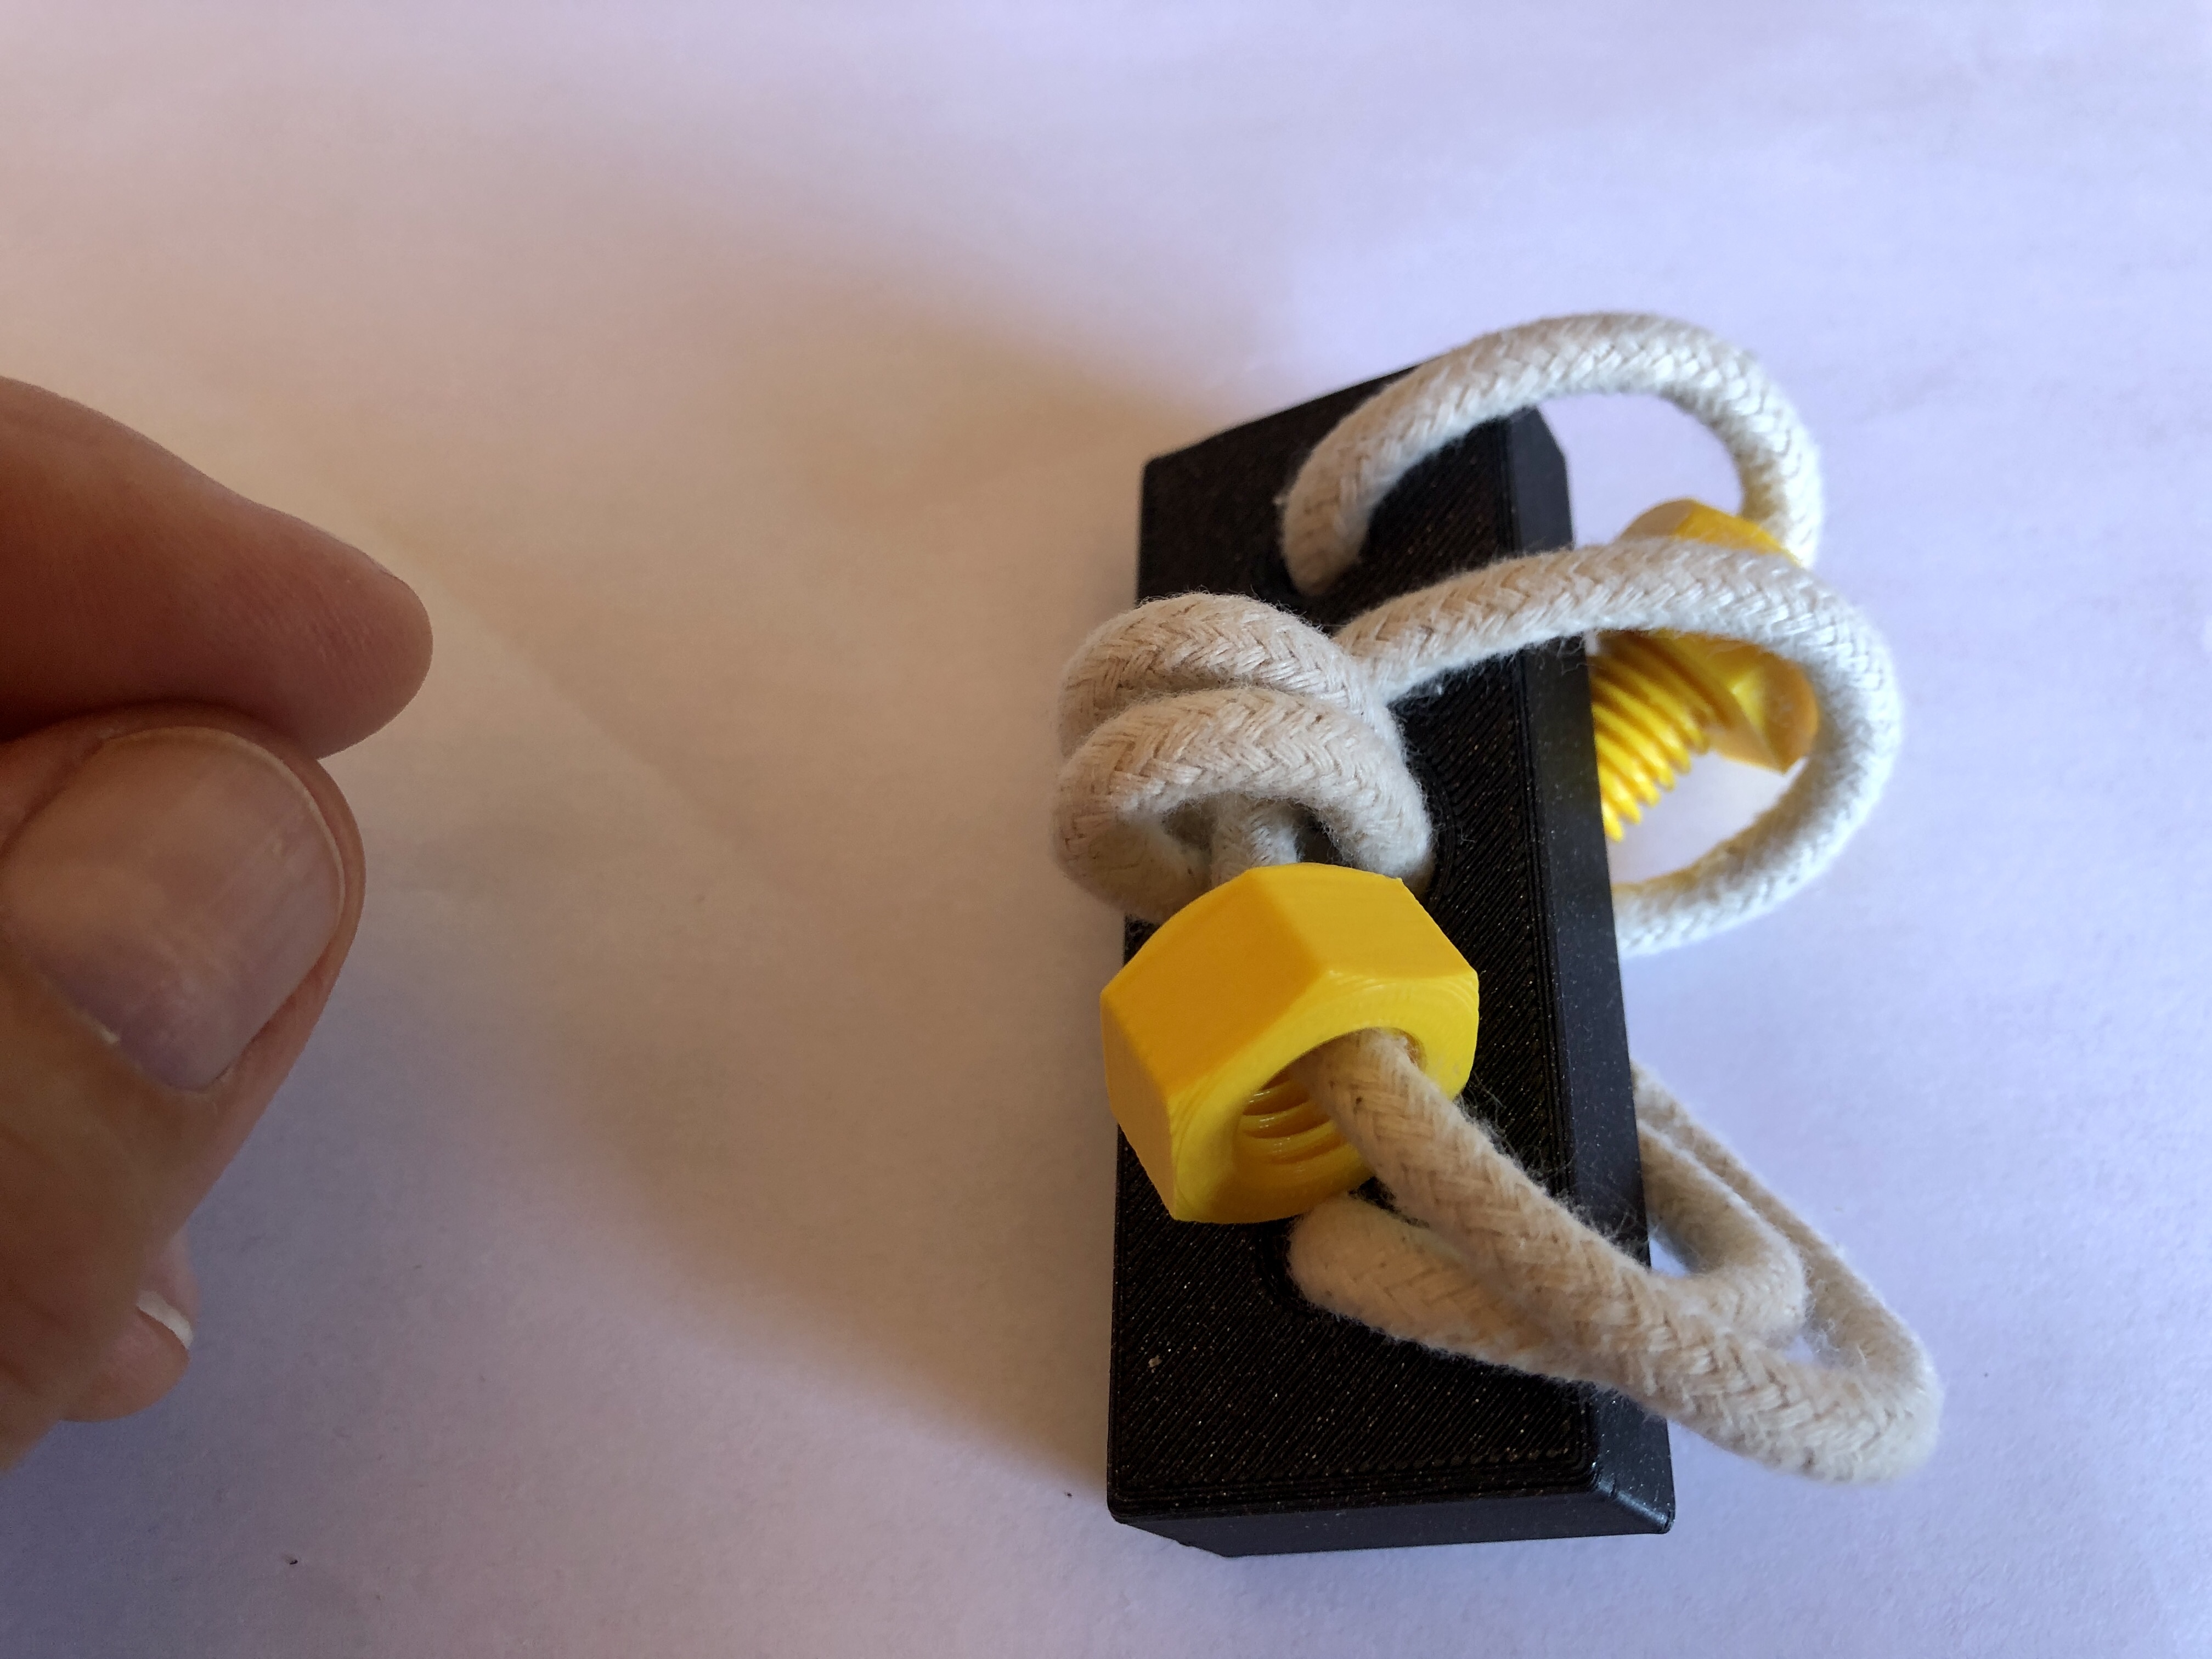
Push the nut through the two loops.
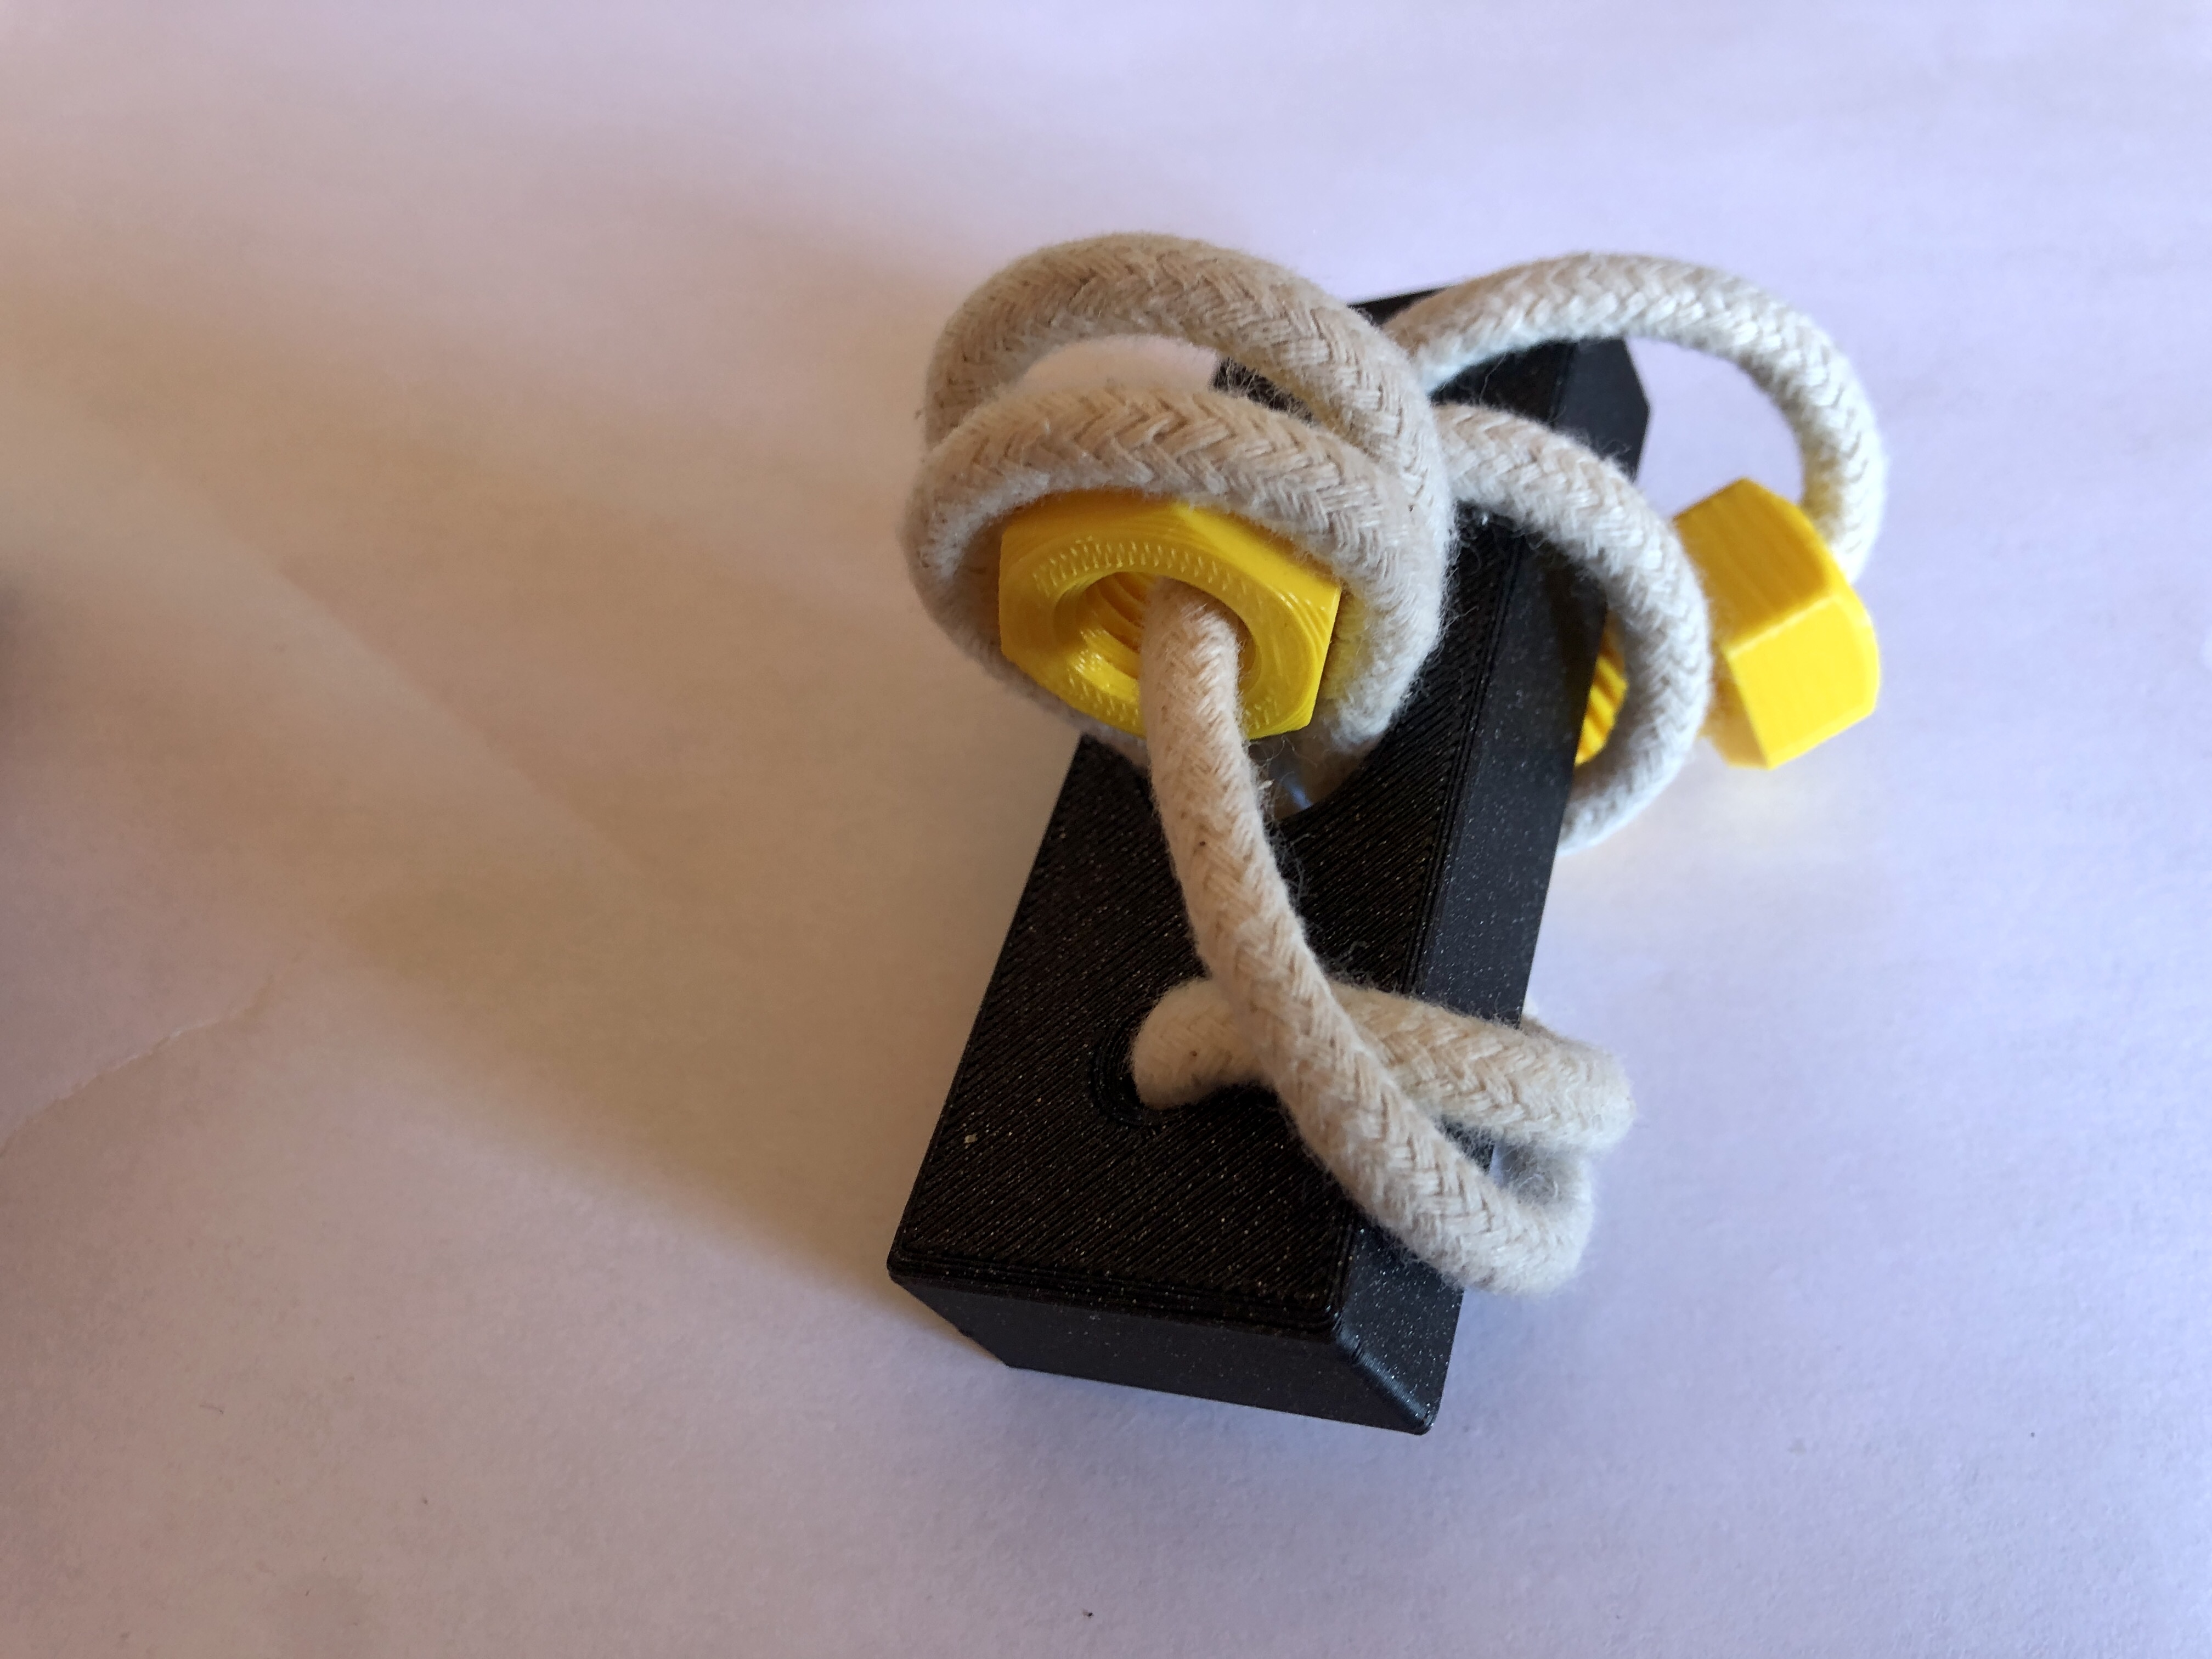
Now the nut is on the right way!


Now follow the pictures.


I hope that the illustrations on the pictures were informative enough and helped you with the solution!