
3DO Nozzle Camera Mount for Prusa i3 MK3S+
Obliczymy ostateczną cenę na podstawie wybranego pliku. Sprawdzisz ją i zaakceptujesz przed płatnością.
Zapisane na tym urządzeniu.

Mount for 3DO HiRes 4K Nozzle Cam with Sony Chips for my Prusa I3MK3S+.
- Ocena
- 0 / 5
- Polubienia
- 32
- Pobrania
- 82
- Wydruki
- 0
- Wyświetlenia
- 1819
- Oceny
- 0
Aktualizacja u źródła:
Informacje o modelu
- Źródło
- Printables
- Kategoria
- Prusa Parts & Upgrades
- Licencja
- Creative Commons — Attribution — Noncommercial — Share Alike
Update: there is this improved Version of my model.
I found the HiRes nozzlecam by 3DO with 4K resolution and a high quality Sony video chip on the web. A nice improvement over the standard endoscope type nozzle cams you find on Amazon etc. 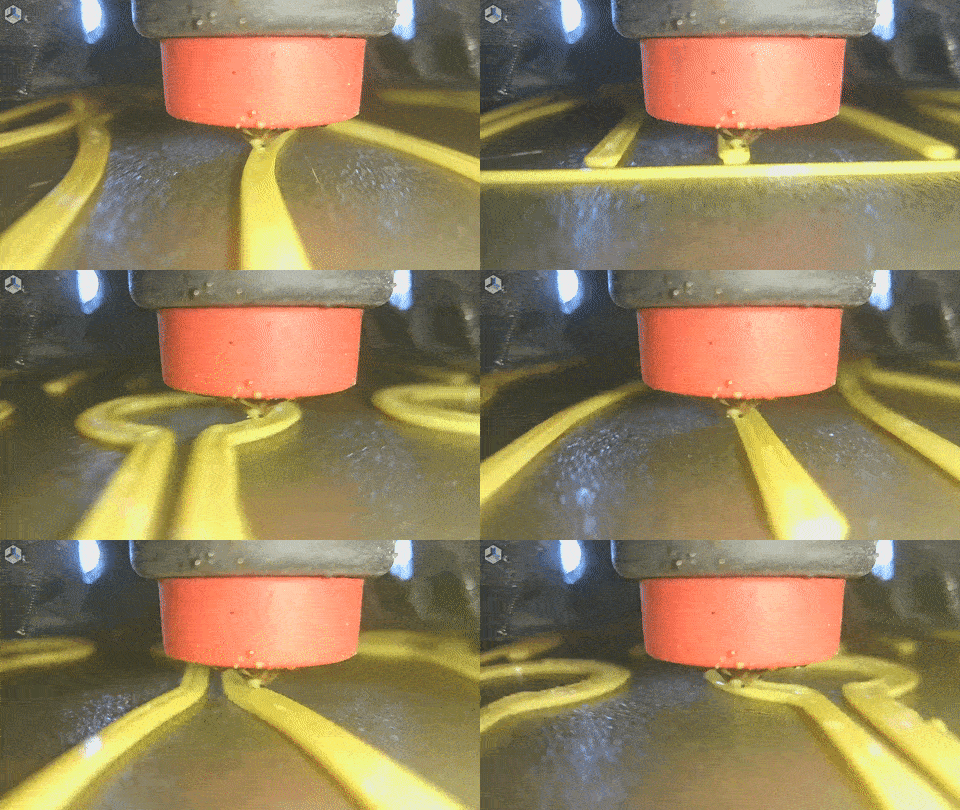
But how to mount it to my Prusa i3 MK3S+? There is no model for it (at least I could not find one). So I had to design it by myself. It was a long process and because the PCB of the camera and its USB cable mount are VERY brittle pieces of electronics I managed to break some of them during the development process.
So here is my WARNING: be very careful with the PCB and all the tiny cables. Do not stress this parts or they will break and you have to buy a new one (like me ..).
HANDLE THE CAMERA, THE PCB AND CABLEADAPTERS WITH EXTREME CARE!
The design has three parts:
the camera mount.

the PCB box with lid

the boxmount.

The 3DO camera has a flat cable connected to the PCB with the USB cable Adapter. This flat cable is to short to reach all the way to the Einsy Box. So I needed a PCB box near the extruder. Not to easy to find a place for that part… But I found a place for it where it does not interfere with the frame of the I3 or the MMU2.
I was not able to bring the enclosed 5050 SK6812 WWCW 6000K LEDs to life. So I used a standard 3mm 5V white LED for Lighting instead. It is bright enough and a bit smaller. You have to lengthen the LED-Cable so it reaches to the 5V power source. I took the 5V power from my Einsy Rambo board. There is a unused pair of pins with 5V DC ( for a 5V f.i.).You find those pins here (red arrow):

Parts you need:
3DO Camera: https://3do.eu/nozzle-camera/763-1162-3do-nozzle-camera.html#/142-camera_type-ov_1080p
LED: https://amzn.eu/d/18f7miF
some M3 screws and nuts https://amzn.eu/d/4qyqfPp
M3 Threads (heat press) https://amzn.eu/d/8PCYbzh
and 4x M3 8mm flathead screws for fixing the lid of the case https://amzn.eu/d/09IsNok
IMPORTANT: because the camera sits under the extruder body near the nozzle it will interfere in some circumstances with the cable mount of the heat bed. So I strongly recommend modifying the heatbed cable mount to the flattest version you can find. I discarded the screws, soldered the power cables to the heatbed and used this cover by robomagus for them. This is flat enough. https://www.printables.com/de/model/34459-slim-90degree-mk52-heatbed-cable-cover-for-prusa-m
Assembly:
the camera mount:
- Put in the LED in the camera mount.
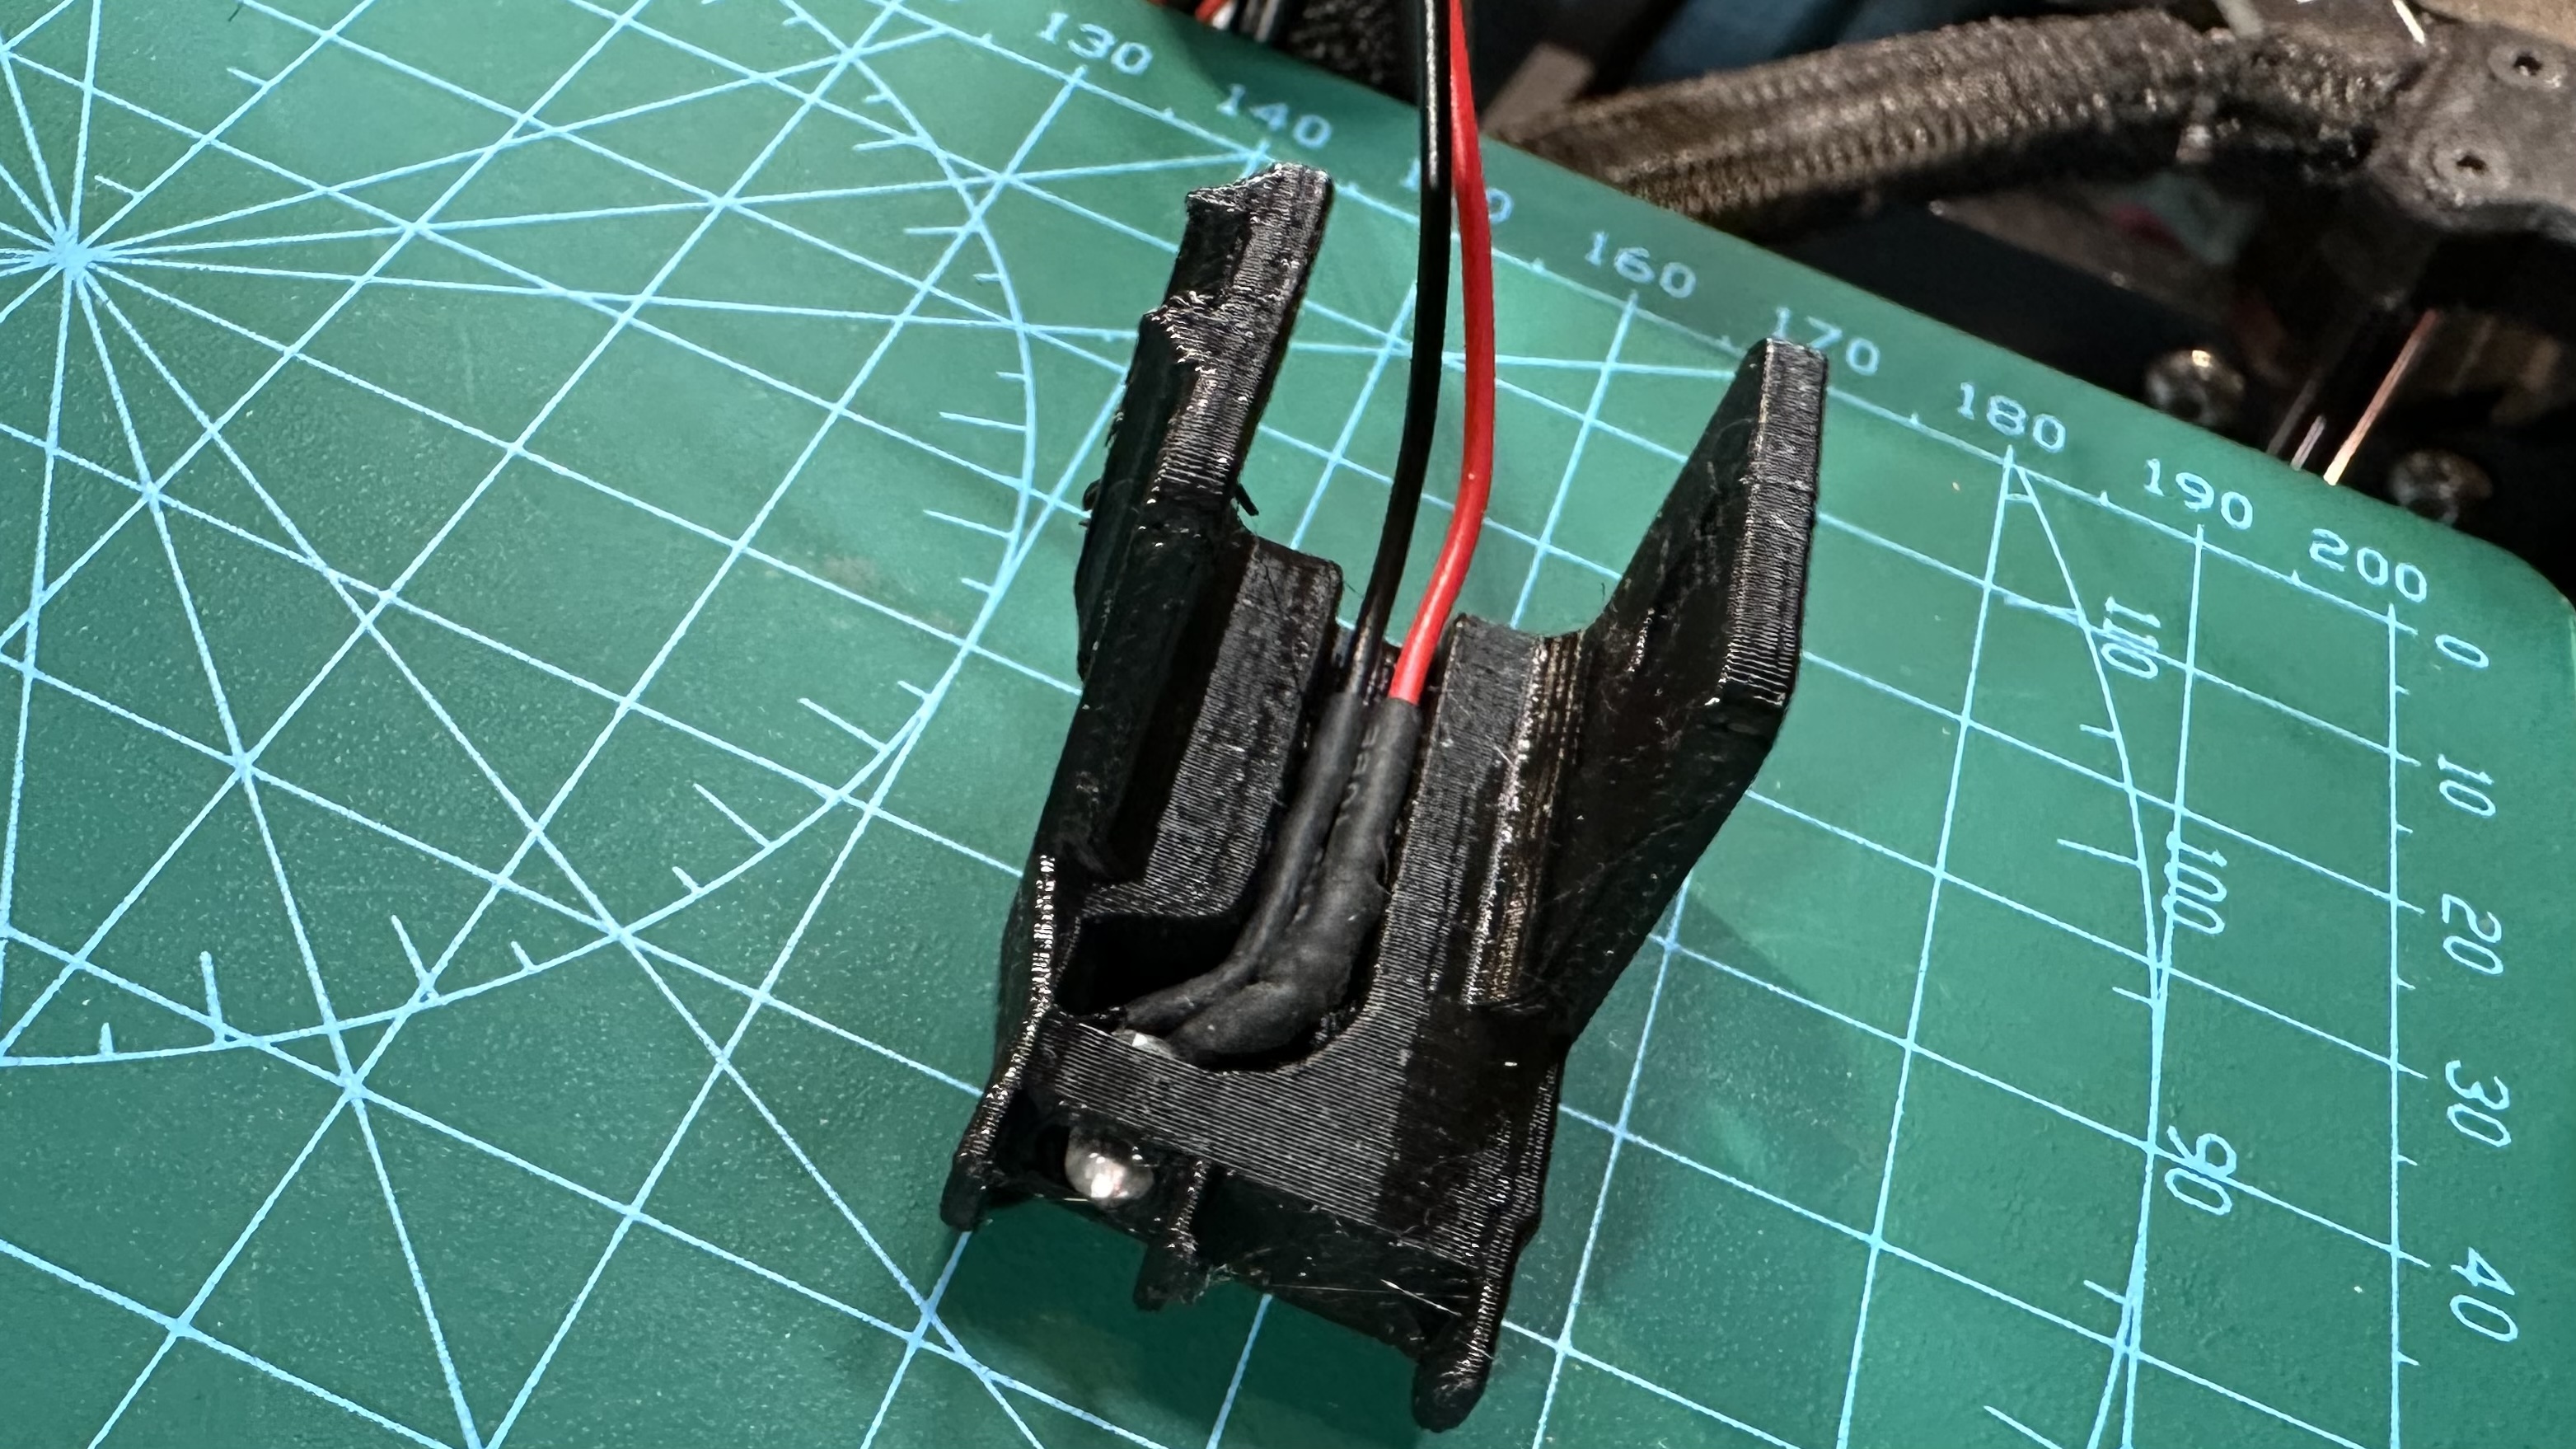
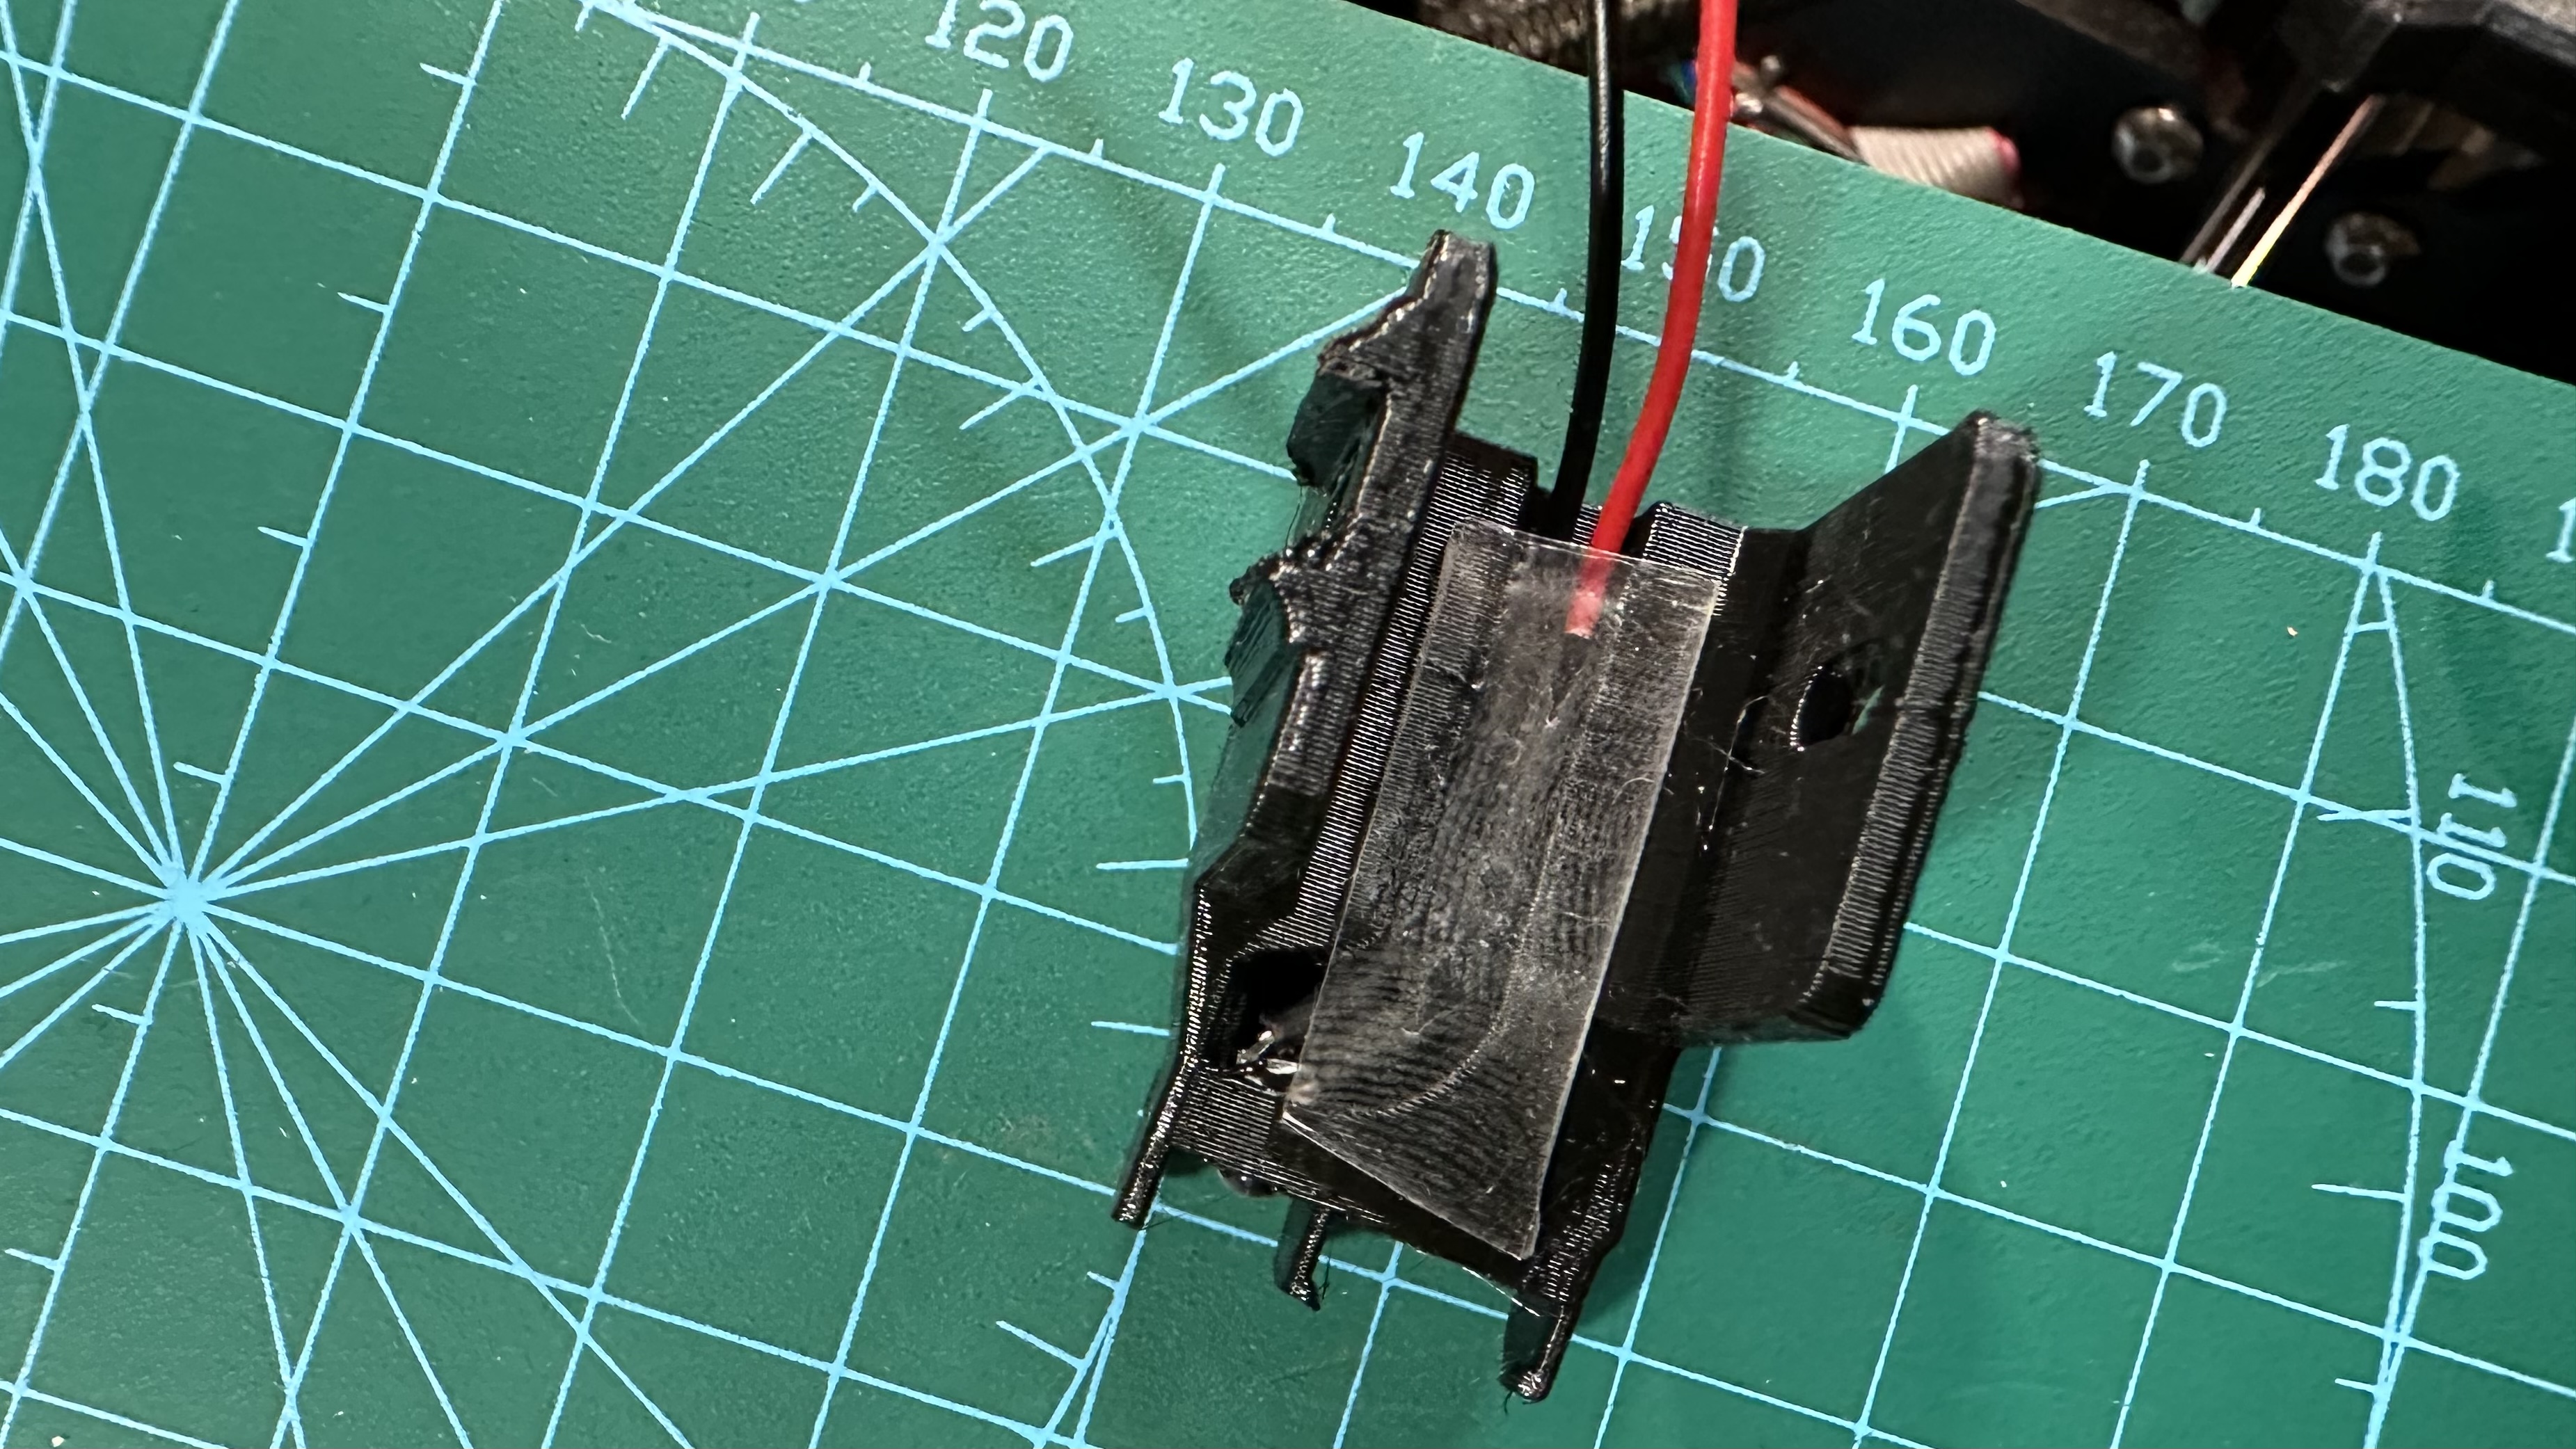
- put a short strip of (transparent) double side tape over it to close the cable canal
- carefully put the camera in ( you may need a drop of glue to attach the camera back to the body of the mount). Then gently bend the flat cable back an attache it to the upper side of the double sided adhesive tape.
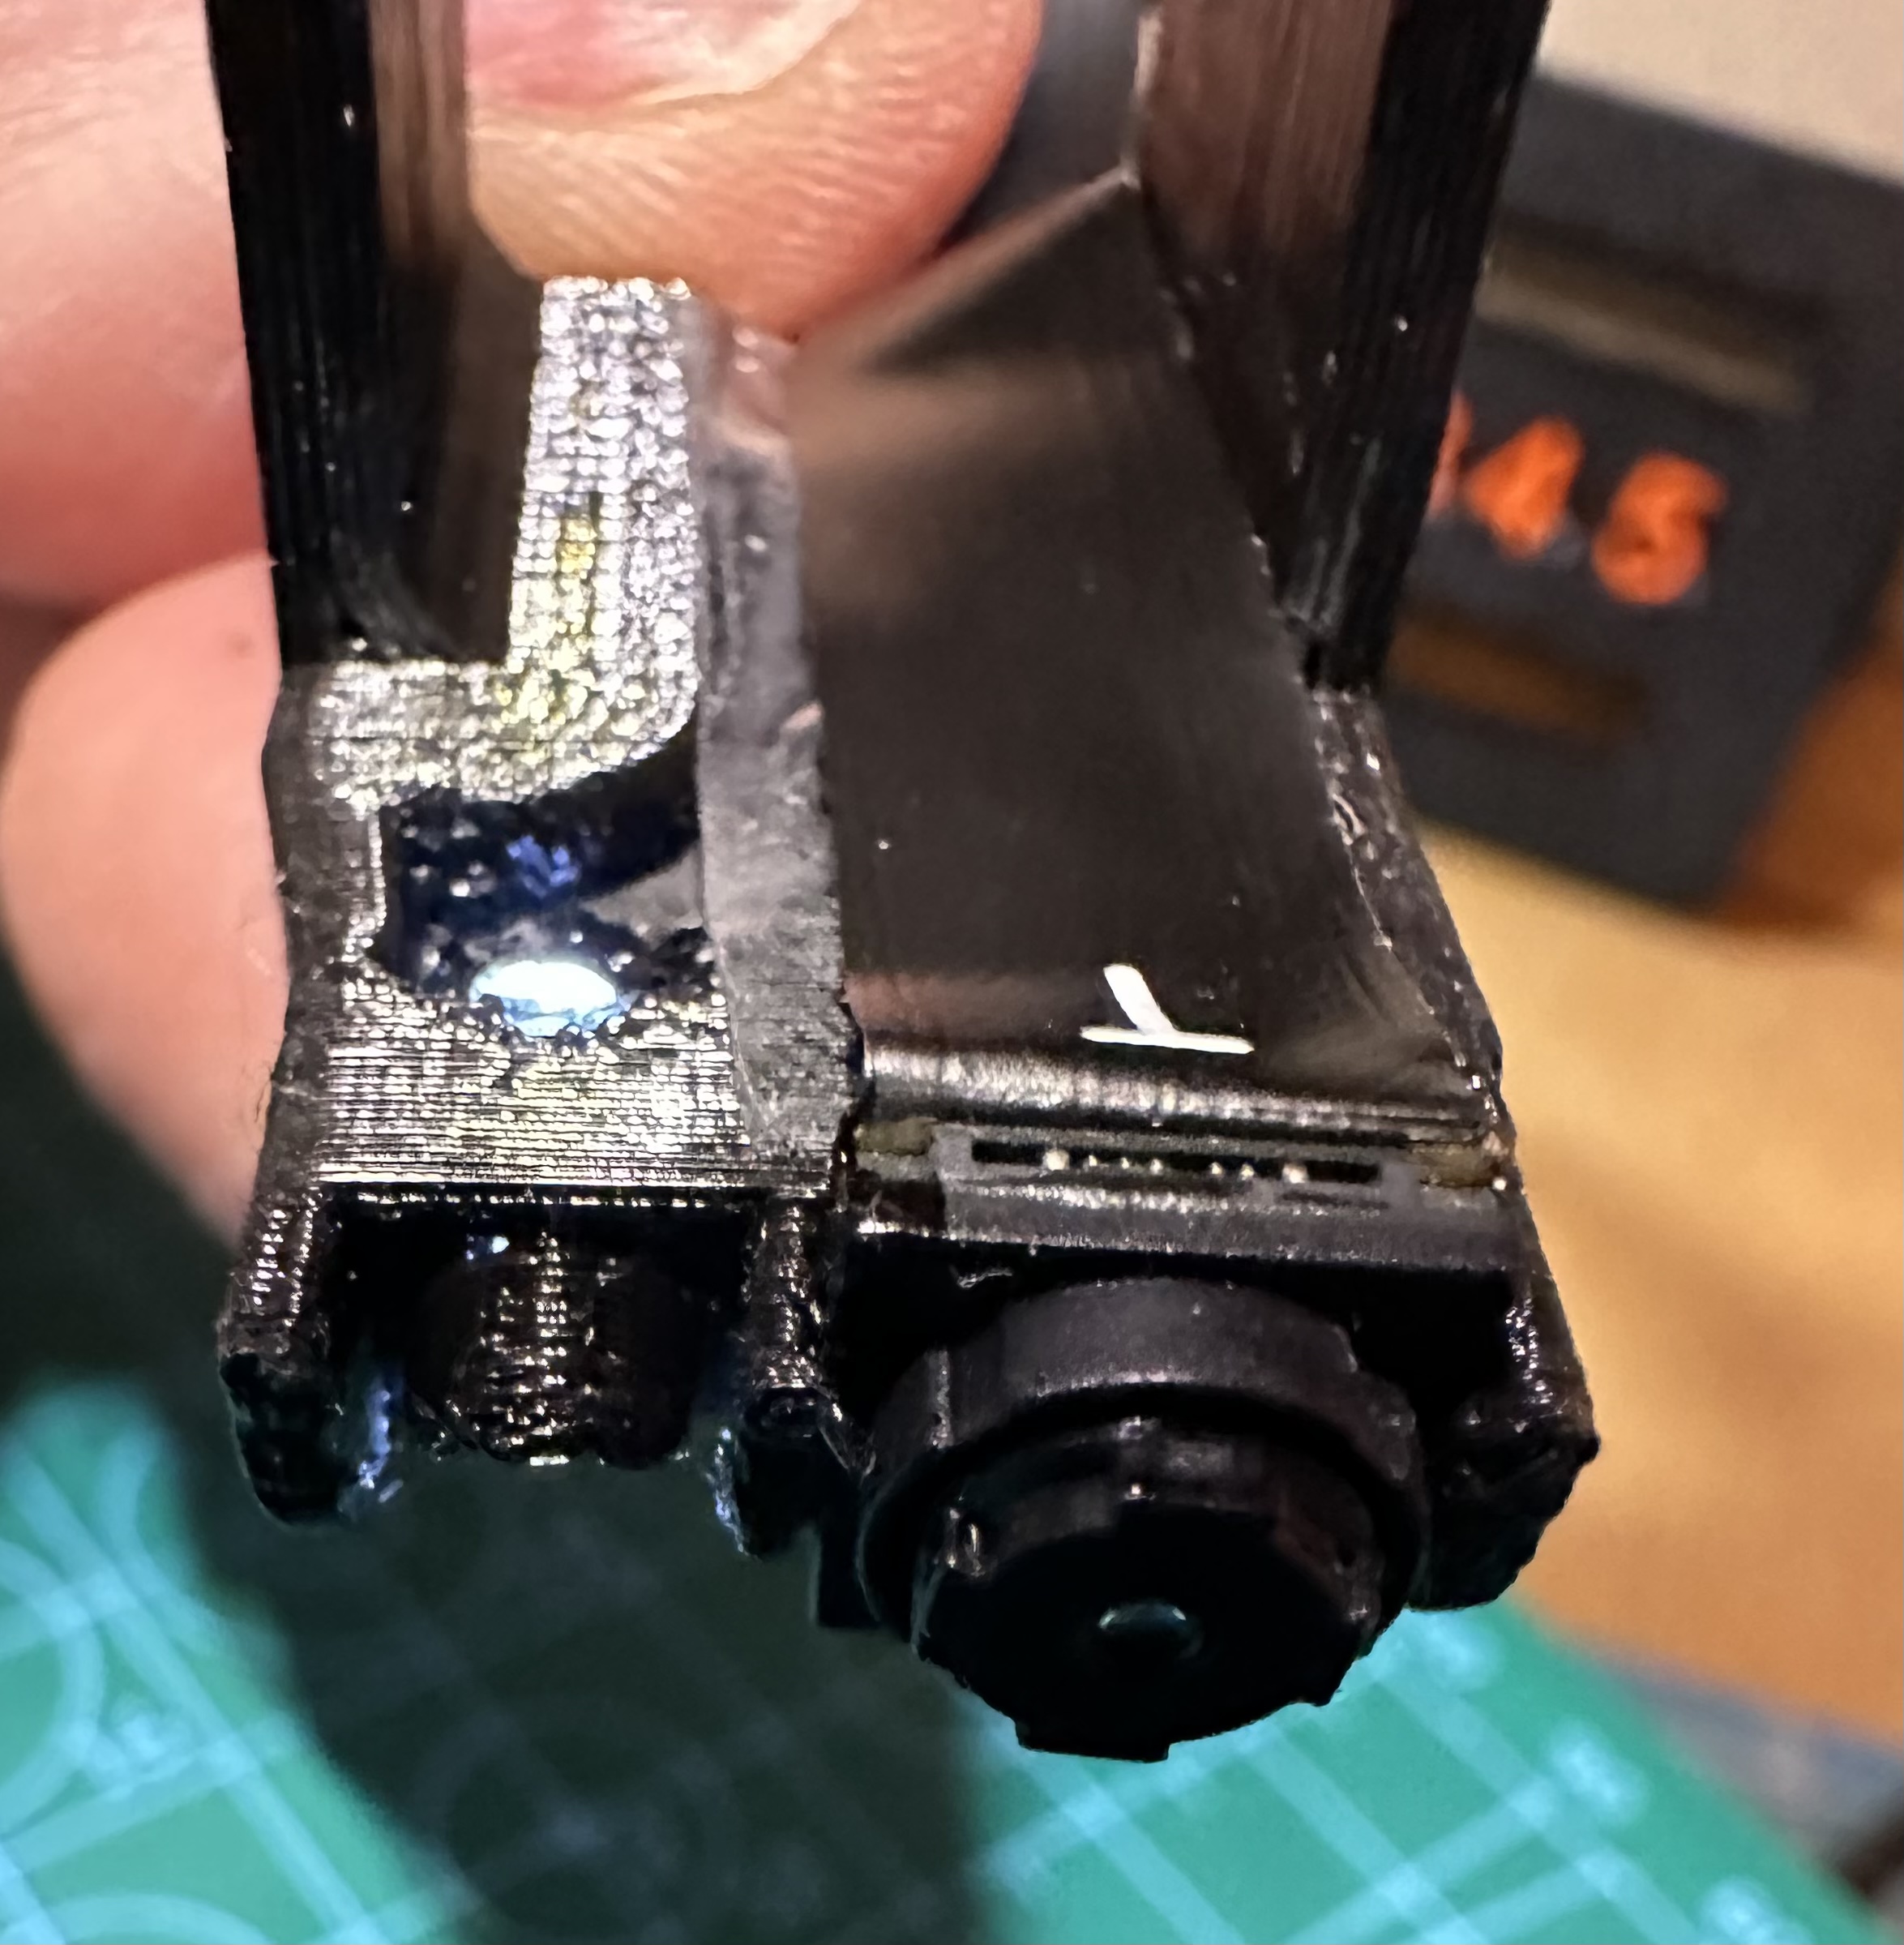
- the camera mount is complete and can be attached to the extruder cable arm later.
The PCB box:
- VERY gently put the PCB in the case. Do not press it in by using any force. The SMD components are really brittle. I once used two tiny pieces of double sided sticky tape to attache the PCB to the base of the box. Later I found out it is not necessary and left out the sticky tape here.
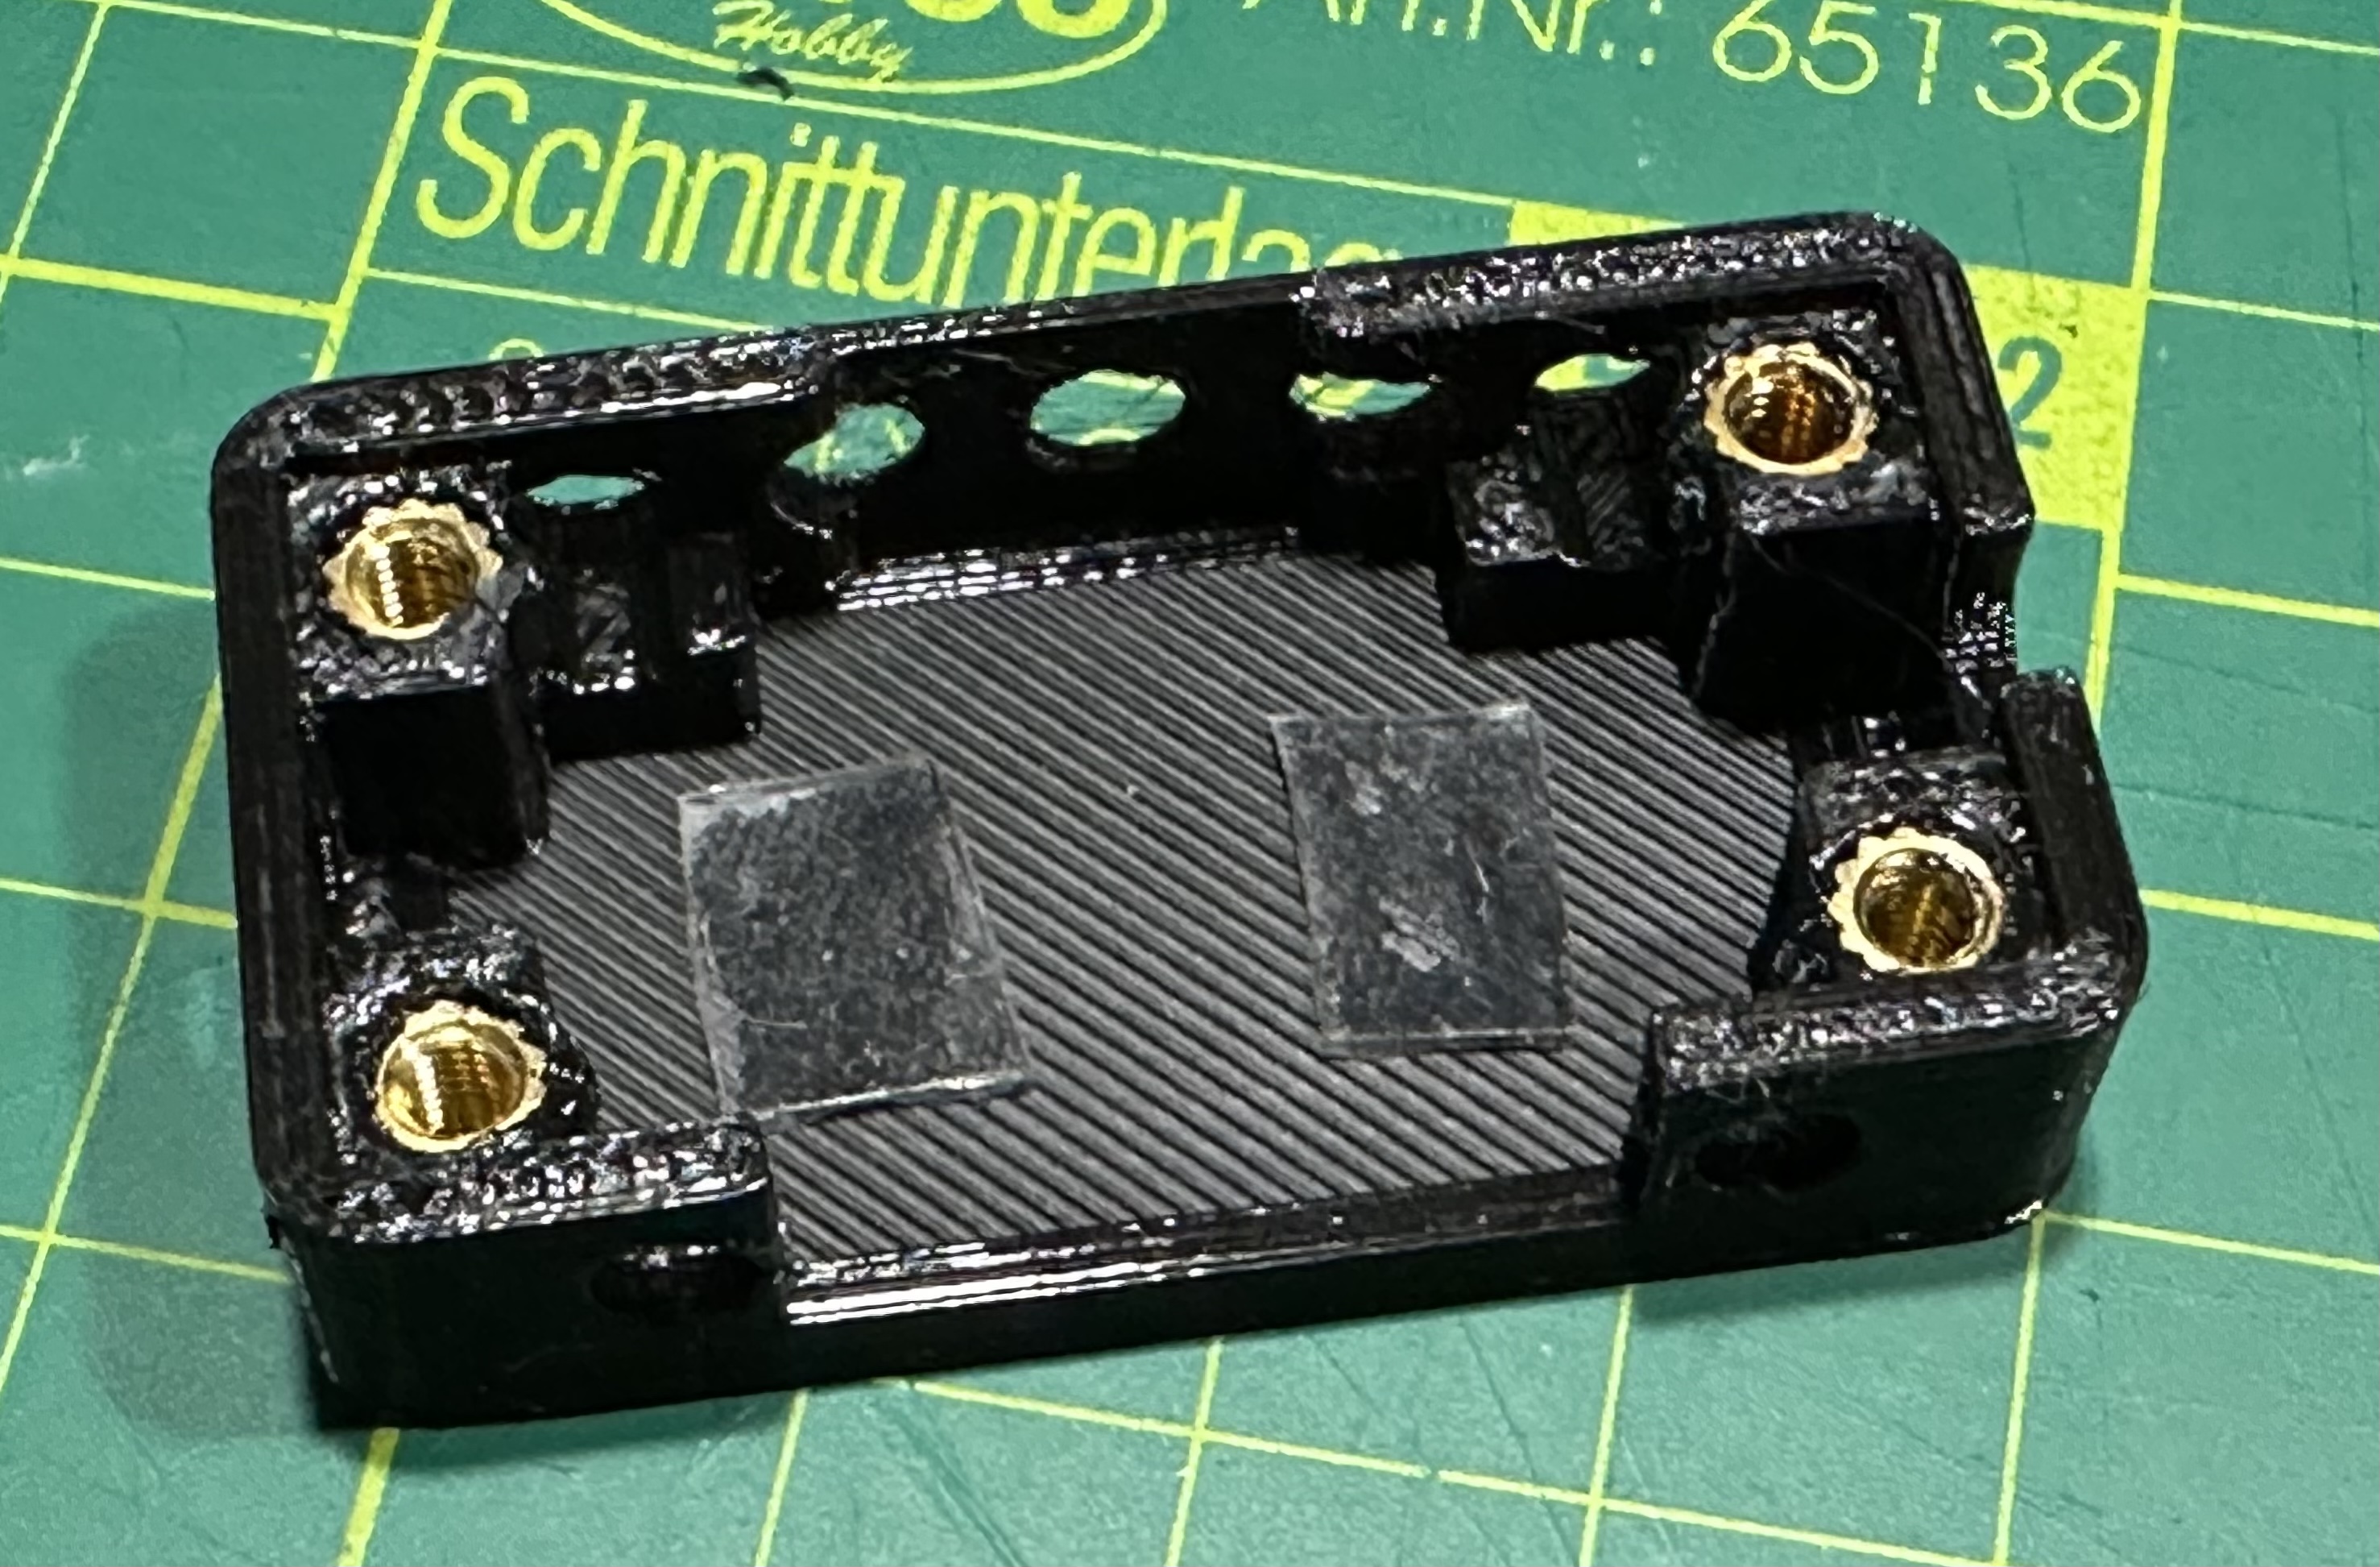
- Attach the base for the PCB box to the top of the cable arm. Remove the upper M3 screw and replace it with a longer one. Insert it through both the base and the cable arm. The PCB case is glued with a drop of super glue on top of the base. Be sure that the left (when looking from behind) side of the PCB box and the base are even aligned. The case will overlap the right side of the base. That is intentional. If you do not put together the box in this way (a bit of the middle to the right) it will crash into the case of the power source when in max X position. The PCB box should not jut out over the left side of the extruder body.

- The box and the lid have several holes because the PCB gets quite hot when in use. The holes are necessary for cooling purposes.

- Gently bend the USB cable through the hole at the short side of the case. Keep an eye on the tiny flat cable when setting in the lid.

from time to time check, if the camera image is still transmitted to asure you did not damage anything of the camera parts.
When everything is finished you may adjust the camera a bit forward or backward to make the focus sit just in the plane of the Nozzle tip. The camera has a very small field of depth because it is a macro camera. So you have to find the best camera position. That’s why there is a slit for the screw and not just a hole.
Update (Comment):
@SpartanFPV_40710 reminded me, that it is not the stock x-axis cable support, that my camera holder is mounted on. I almost forgot I upgraded this part. So before adding my camera mount, you should upgrade the x-axis cable support with this model: https://www.printables.com/de/model/139656-prusa-i3-mk3-x-axis-cable-holder-roomy-revo-editio . That is the one I have installed a long time ago and it is a great improvement anyway.

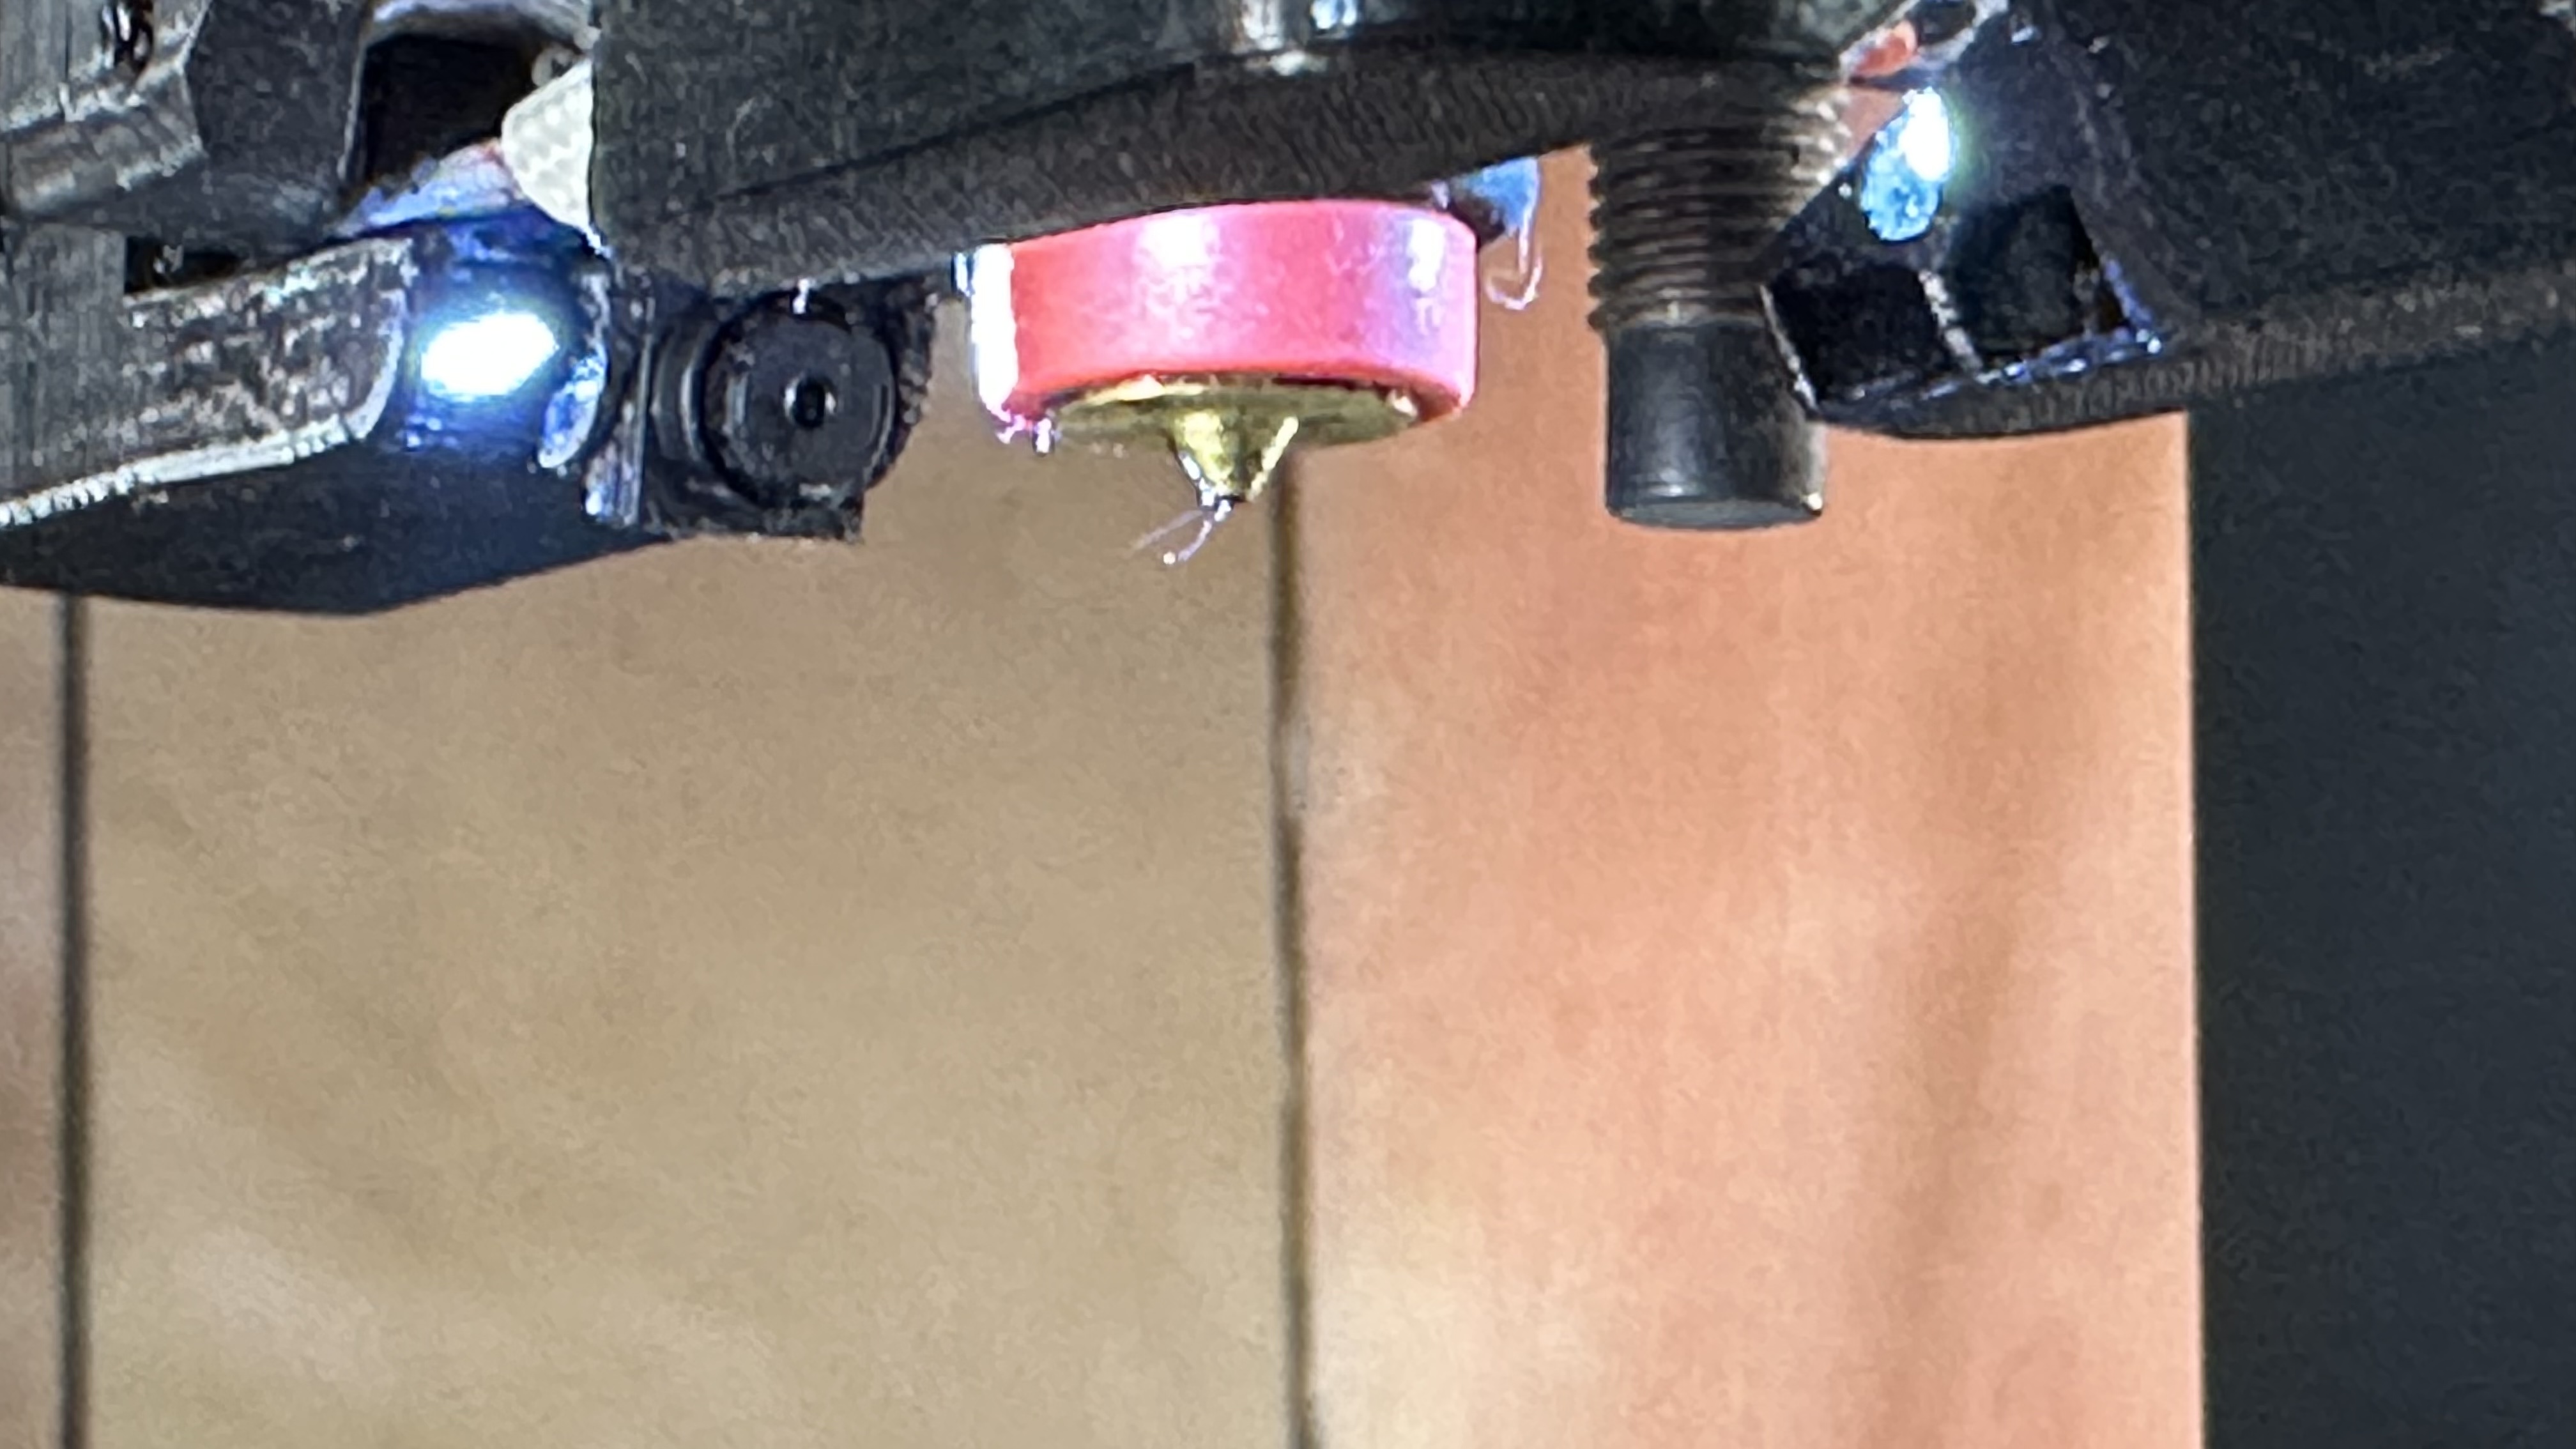

Update 5.5.2023: I personally do not use the 3DO cam anymore. Despite superior imagequality (when working) it had the downside, that all cameras broke after a short time because of the long flat cable to the PCB. Sooner or later all had issues with the flat cable and stopped working. After buying almost 10 of those 3DO cams and all stopped working with the same flatcable issue I gave up with this cam and developed another idea. See my other models of nozzle cams and newer designs.
This ist my latest Model that I use for month no: Even smaller and much cheaper and with no need for PCB housings: https://www.printables.com/de/model/493660-my-best-and-most-affordable-nozzle-cam-smallest-no
Please show me your results and send me fotos of your makes. I like to see how you use this model. If you have ideas for improvement don’t hesitate to send them to me in the comments. I will try to incorporate your suggestions and will modify the model for special needs if you ask me to do so.
And of course a like ♥ or a rating ⭐ of the design are always welcome.
happy printing, clamikra