
Folding Wing Glider - Only Needs a Rubber Band!
Obliczymy ostateczną cenę na podstawie wybranego pliku. Sprawdzisz ją i zaakceptujesz przed płatnością.
Zapisane na tym urządzeniu.

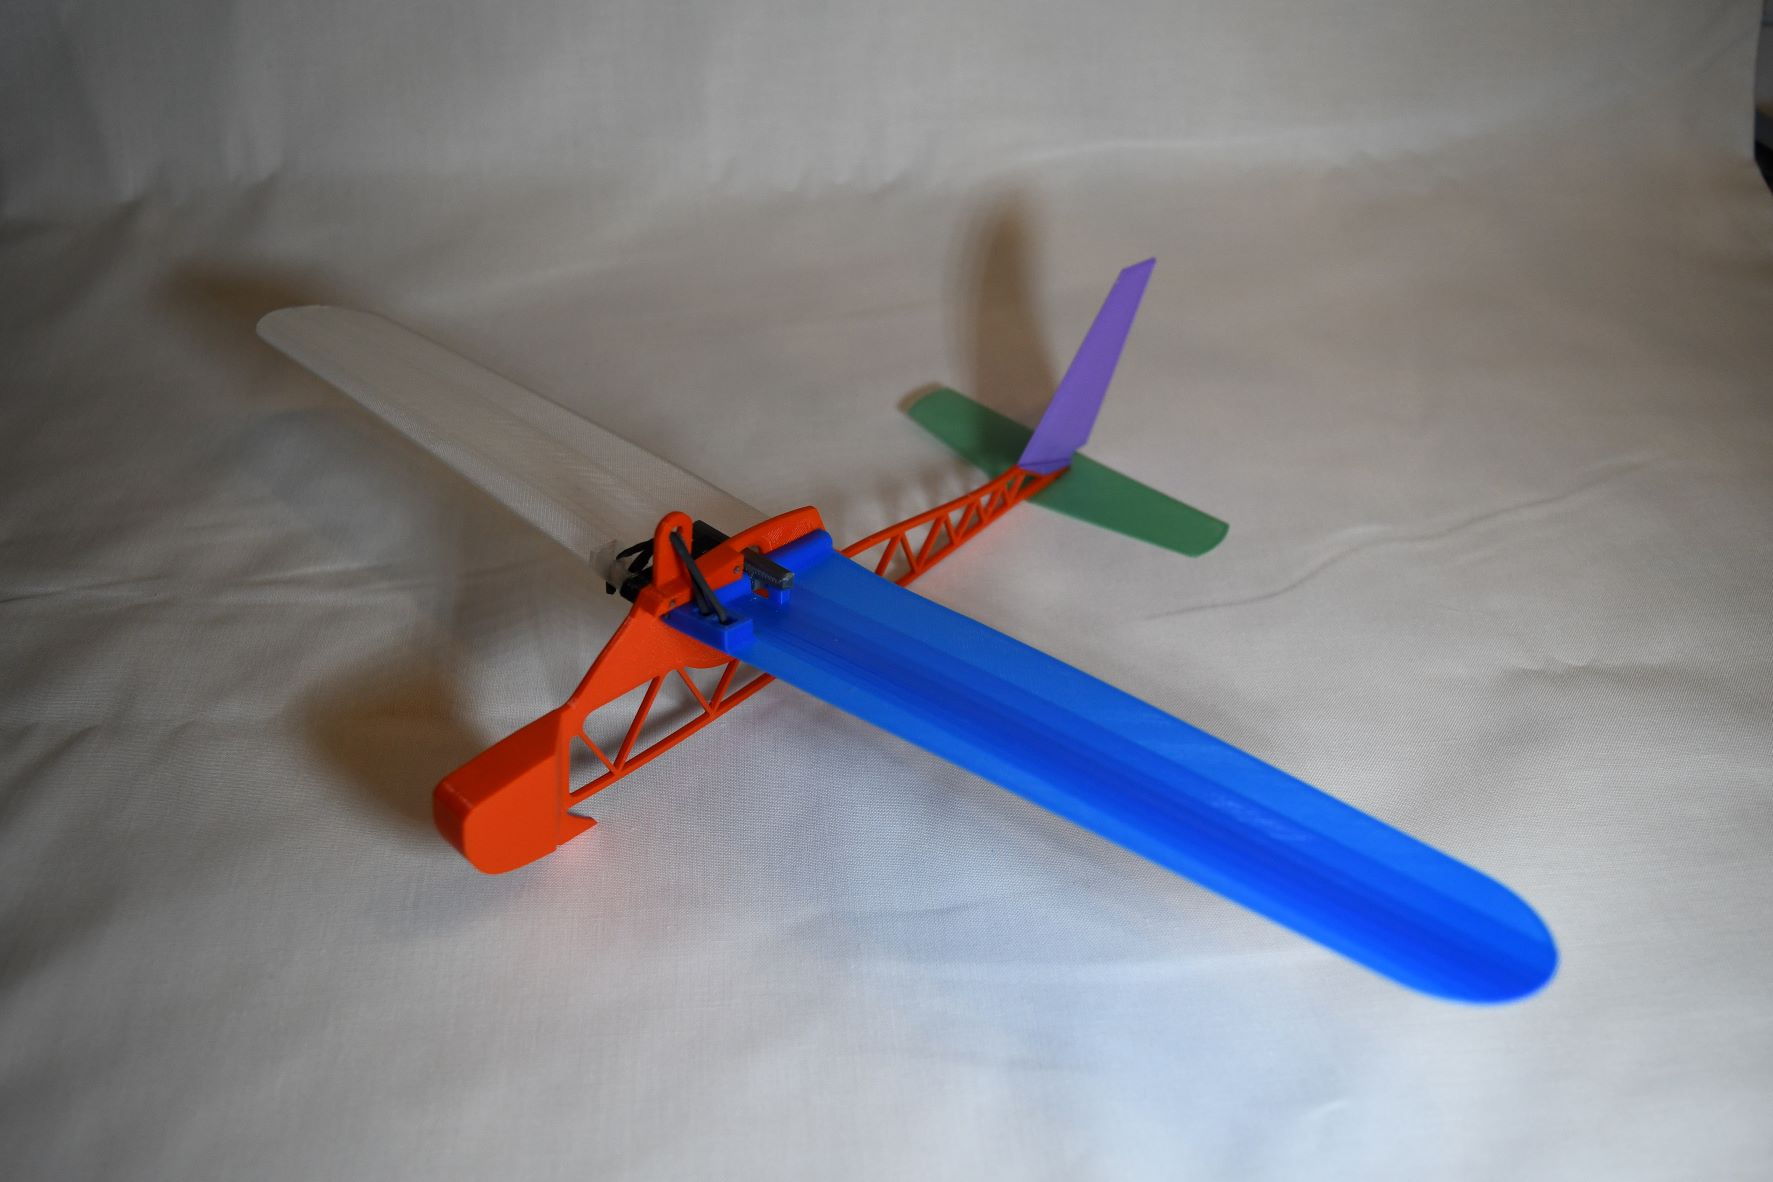
Inspired by the American Junior Interceptor, with a new wing mechanism that needs no hardware, only 3D printed parts.
- Ocena
- 5 / 5
- Polubienia
- 149
- Pobrania
- 789
- Wydruki
- 2
- Wyświetlenia
- 4442
- Oceny
- 2
Aktualizacja u źródła:
Informacje o modelu
- Źródło
- Printables
- Kategoria
- RC & Robotics
- Licencja
- Creative Commons — Attribution — Noncommercial
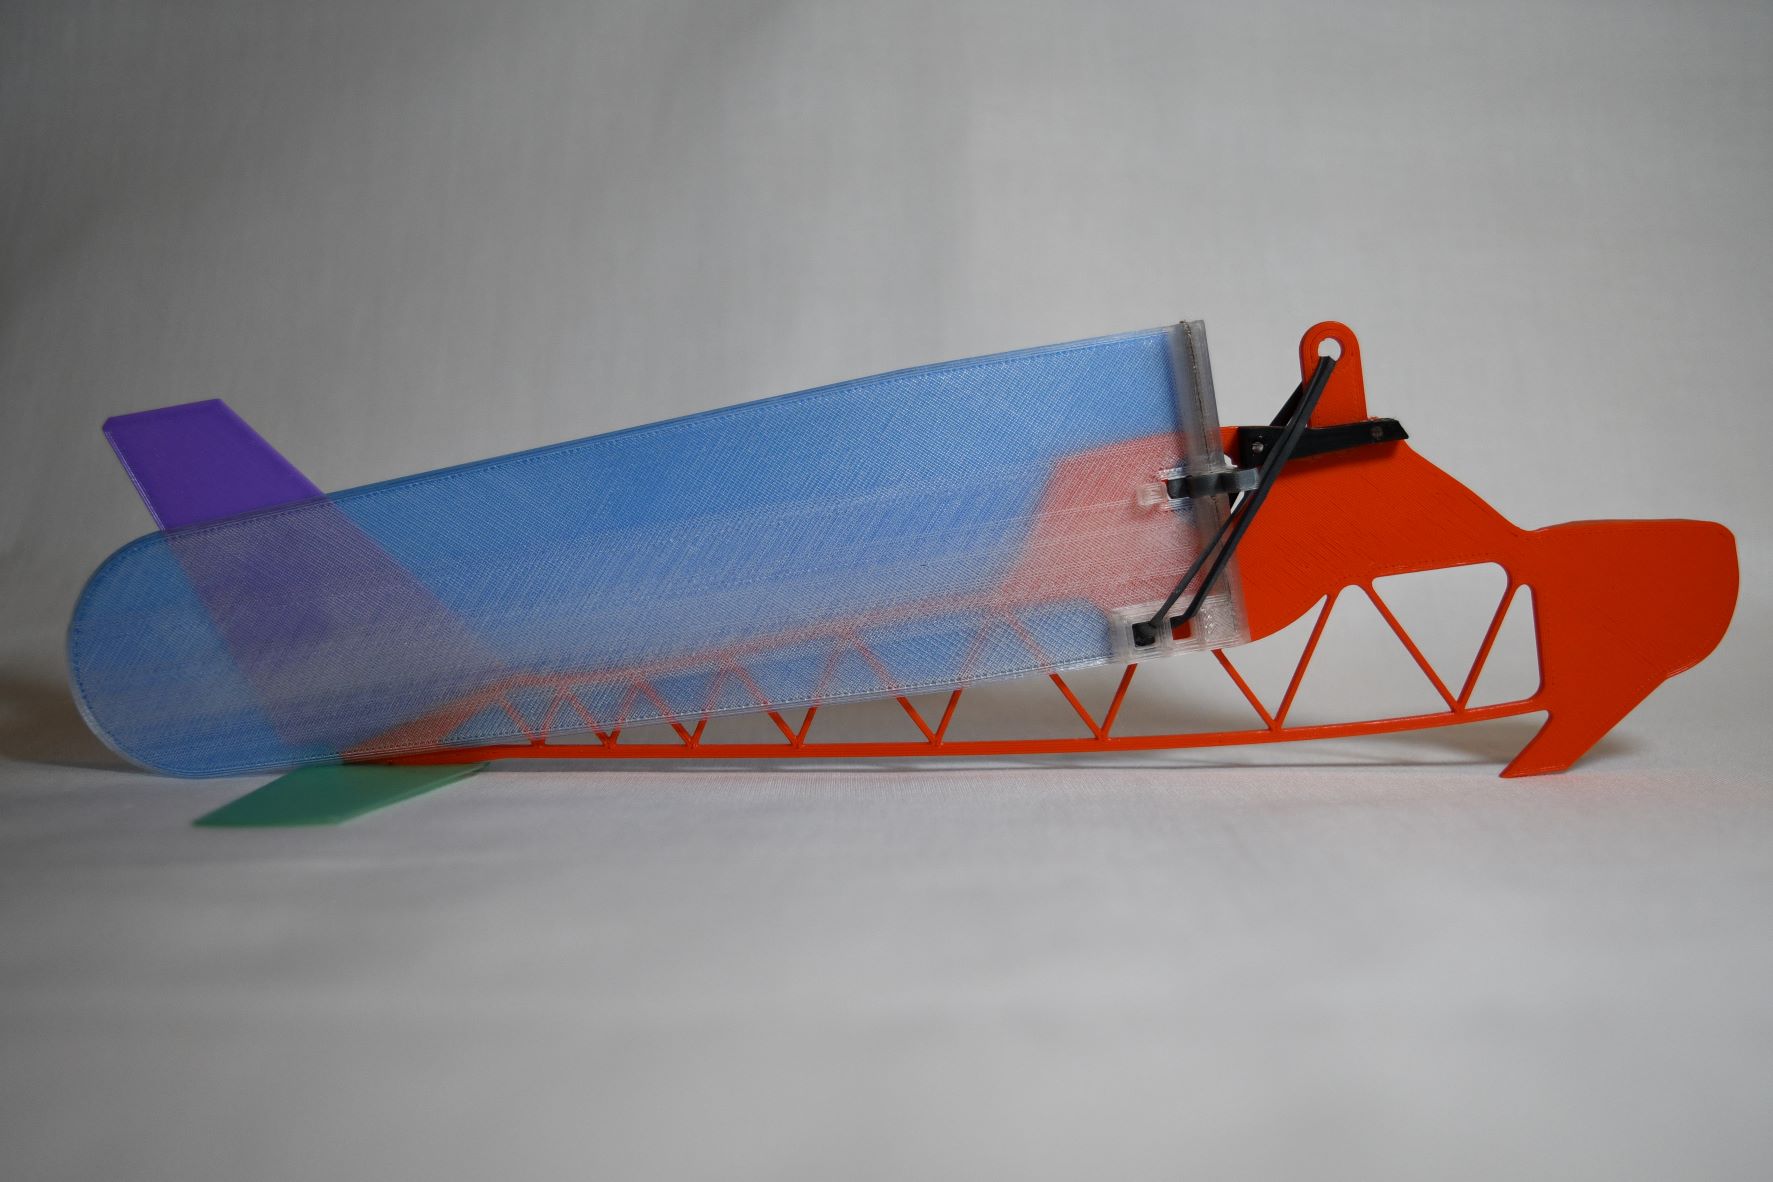
This model is a folding wing glider, tilt the wings down and backward and it will fly like a dart, once it hits its apex the rubber band will be able to overcome air resistance and will flip the wings into glide configuration. With regular PLA the model weighs only 30g, LW-PLA will make it fly even better. The design is light but very tough so the bigger of a rubber band you can find the longer the flight time will be.
Print settings
The model is designed to be printed with 0.1mm layers and 5 to 10 percent infill. All parts can fit on an i3 size bed, but if you want to give the plane your own livery you can separate it into several prints and use the swap filament feature in prusaslicer.
Assembly
To build, you will need 1 of each printed part, one rubber band, superglue, and a short length of 1.75mm filament.

First, take the fuselage and the stop (1 is built in, 1 must be glued on). Use filament to align the parts and glue them together. When dry trim the excess filament.

Take the vertical and horizontal stabilizers and glue them to the back of the fuselage. The horizontal stabilizer has a slot to fit into, the vertical stabilizer has a V shape to align it, keep it vertical as the glue dries.
To assemble the wing pivot mechanism, take one wing and the pivot piece and join them by pushing a piece of filament through the wing and one of the holes in the pivot.


Push the pivot through the central hole in the fuselage and then repeat for the other wing.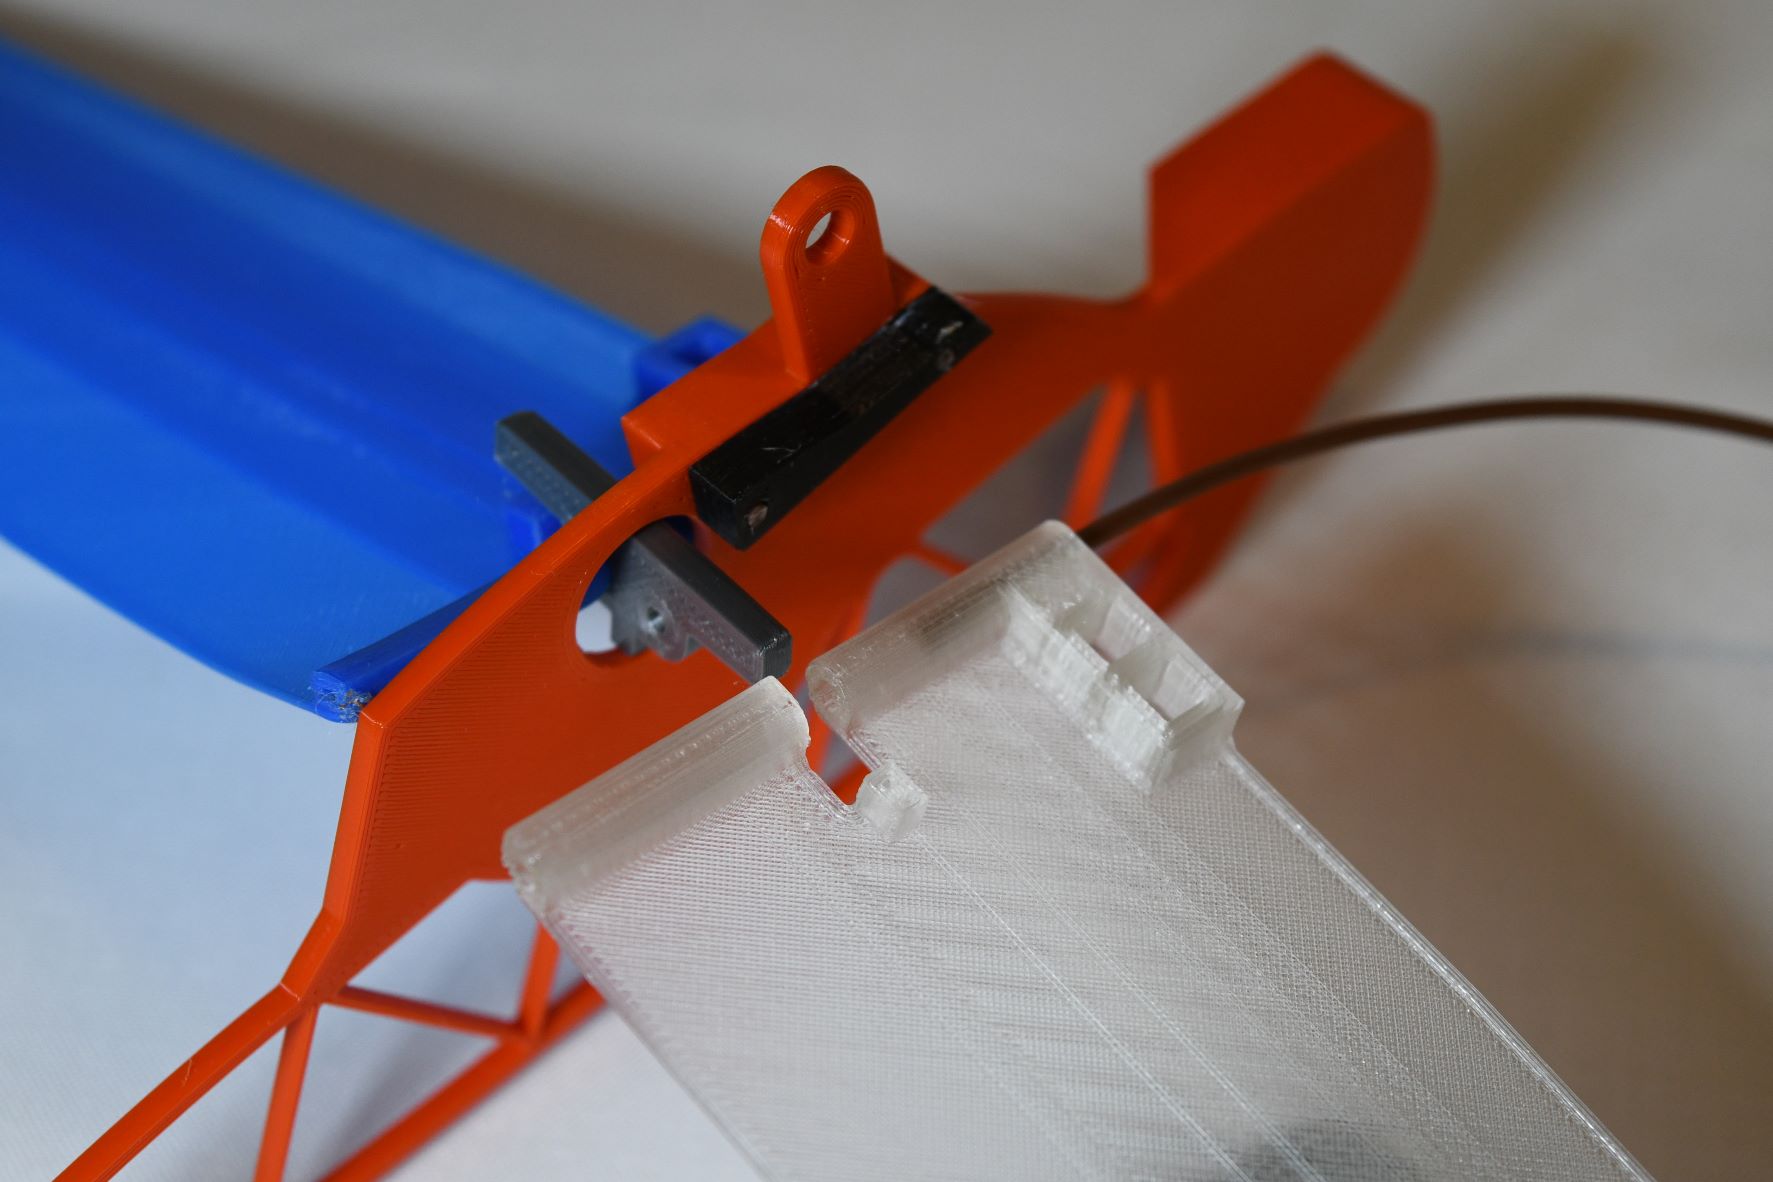
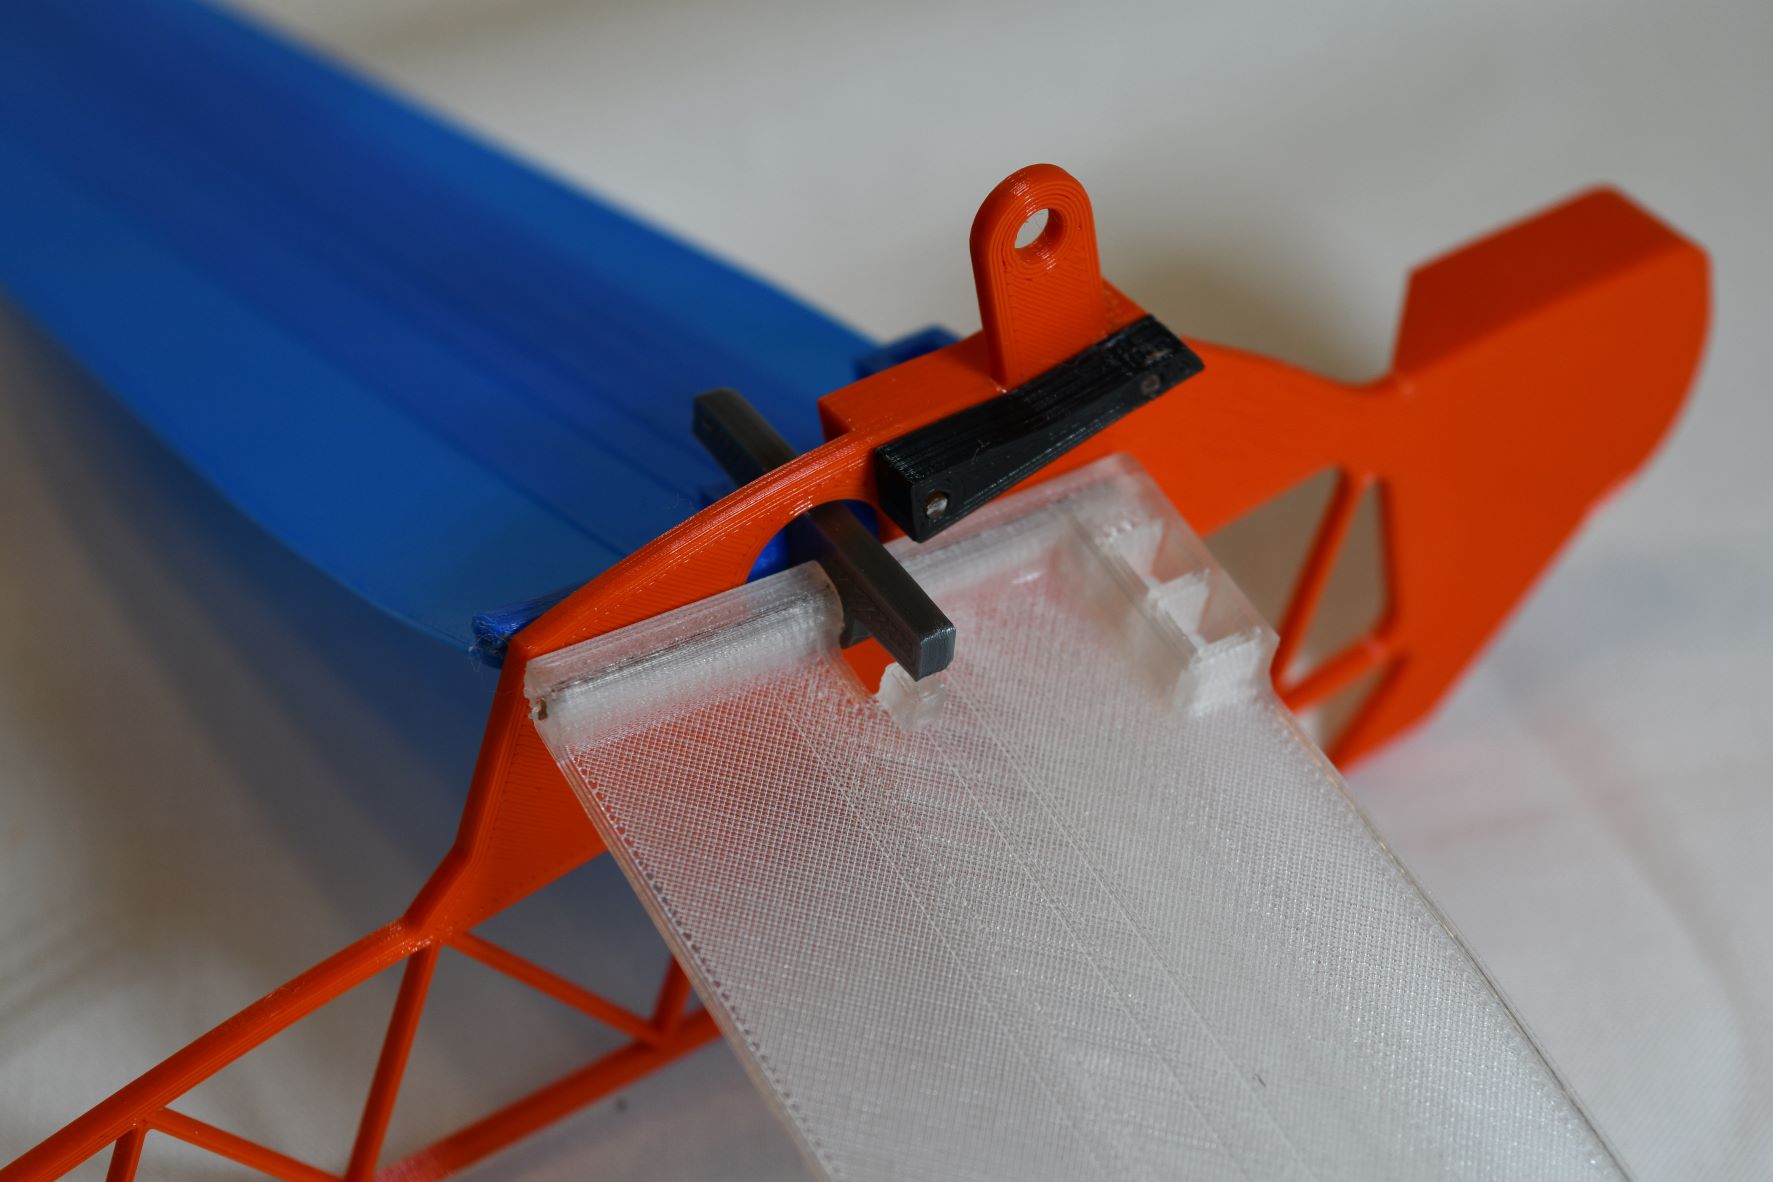
Finally, cut your rubber band in half and thread the two sides from one wing, through the upper hole in the fuselage, and then through the other wing. Tie the rubber band off on the underside of the wing tight enough to hold the wings open and you're ready!
Trimming for flight
Use the following guide to adjust the plane's performance.
- If the plane is tail heavy (if it is unstable, nose points up and falls out of the sky) print the fuselage with a higher infill %.
- If the plane is unstable in roll (if it cannot right itself and fly upright) sand down the tabs on the inside of the wings.
- To fly straight bend the back of the vertical stabilizer left or right to counter whichever direction the plane currently turns.
- To fly slower or faster bend the front of the horizontal stabilizer up to speed up/dive and down to slow down. Note- this is designed to bend in the front not the back to avoid catching the wings when folded back.

Fly!
Go out and send it into the sky by folding the wings back, hooking your rubber band, slingshot, exercise band, etc. to the nose, and letting it loose. The best launch angle is pointed just slightly below straight up. With the latest generation I have not yet broken one even with some hard nosedives so go have fun!