
Ender 3 S1 Pro Specific Squash Ball Feet - Screwed in! - Uses NBR cup.
Obliczymy ostateczną cenę na podstawie wybranego pliku. Sprawdzisz ją i zaakceptujesz przed płatnością.
Zapisane na tym urządzeniu.

Finally securely attach noise-isolating squash ball feet to your S1 Pro, only. 4 x 16mm M3 screws required.
- Ocena
- 5 / 5
- Polubienia
- 69
- Pobrania
- 299
- Wydruki
- 11
- Wyświetlenia
- 2483
- Oceny
- 11
Aktualizacja u źródła:
Informacje o modelu
- Źródło
- Printables
- Kategoria
- Creality Parts & Upgrades
- Licencja
- Creative Commons — Attribution — Noncommercial — Share Alike
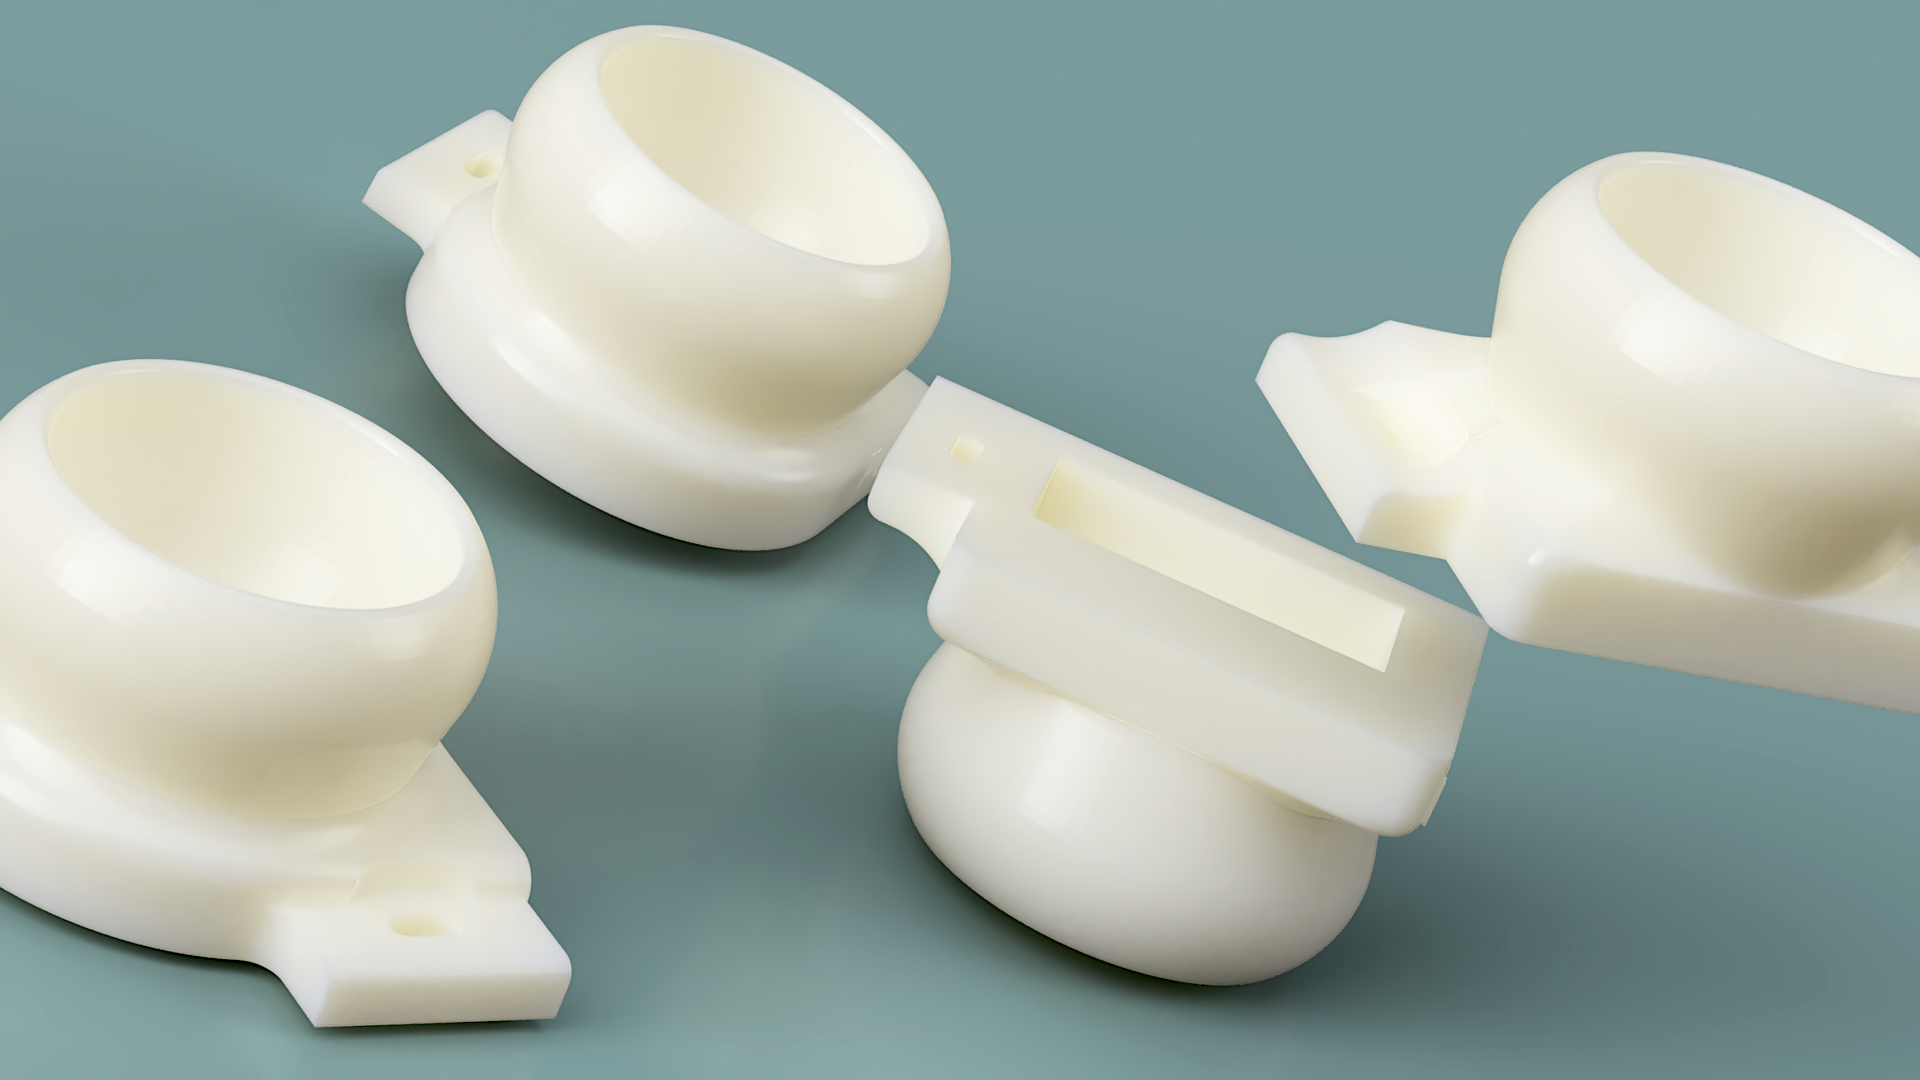
Securely attached squash ball feet.
Creality Ender 3 S1 Pro only. (Ignore my non-touchscreen, this is S1 Pro)
These screw on to the printer base, using the existing holes, and grip onto the existing rubber blocks. The feet are then attached securely, and you can move your printer around and they stay locked in place.
They isolate noise and reduce vibration dramatically.
Requirements:
- 4 x Squash balls, mine are ‘2 yellow dot’.
- 4 x 16mm M3 screws (a little shorter or longer may work)
Printing:
Print with enough resolution to get an accurate squared tight fit, these grip onto the rectangular rubber blocks. We don't want round corners from printing mega fast and thick.
- 0.4 nozzle / default path
- Layer height agnostic, but again, we want smooth walls. 0.12-0.22 layer.
- No supports needed.
- Basic PLA is great
Recommended settings:
- ≥4 Perimeters – we want to screw down tight on the slot, support moving printer around
- ≥15% infill - go for gyroid
- ≥210c for confident layer adhesion
Fitment:
There is 1 unique design per foot location for maximum stability to the existing rubber block where possible, with force distributed right to the printer edge.
Print 1 of each foot design.
The feet are labelled physically in the physical design so you can apply them to the needed location.
- Unscrew original base plate screw adjacent to rubber block foot.
- Apply foot onto the rubber block at matching location, so that the slot is over the screwhole.
- Wiggle and press the foot into place securely. If printed well enough, it's snug, and not a struggle.
- Add M3 screw into the slot and drive it through the plastic (many many gentle pressure turns).
- Allow the M3 screw to catch into the original screw-hole of the printer base.
- Keep turning the screw until it cinches down the foot firmly against the printer.
I used a slot for the screw, because it's possible Creality may glue the rubber block feet on slightly less straight. The slot should allow for a tiny bit of wonkiness. If you look at your printer and that concerns you, you can always cut the feet in your slicer and print a few of the bottom layers to check fit before printing a whole set of 4.
You'll need to force thread the slot as you add the screw. This is meant to be firm as screw cuts it's home. So, don't have over-extruded, lol. I used a wowstick mijia whatever electric screwdriver and it was nice and easy. Keep the screw turning and guide it to catch the original hole on the printer, and it'll cinch down tight.
Designers' ramble:
The squash ball cup is from Nathan Builds Robots feet for the S1 non-pro, which is such a great cup to squeeze your balls into, so I didn't try to remodel that. Therefore, these are not aesthetically amazing because I just tried to meld the foot-space requirements to the existing cup. But, they aren't terrible looking when hidden under the printer, and more importantly, they work and stay on. ^_^