
Jeep Gladiator (Possibly Wrangler) Warn Power cutoff (Solenoid) bracket.
Obliczymy ostateczną cenę na podstawie wybranego pliku. Sprawdzisz ją i zaakceptujesz przed płatnością.
Zapisane na tym urządzeniu.
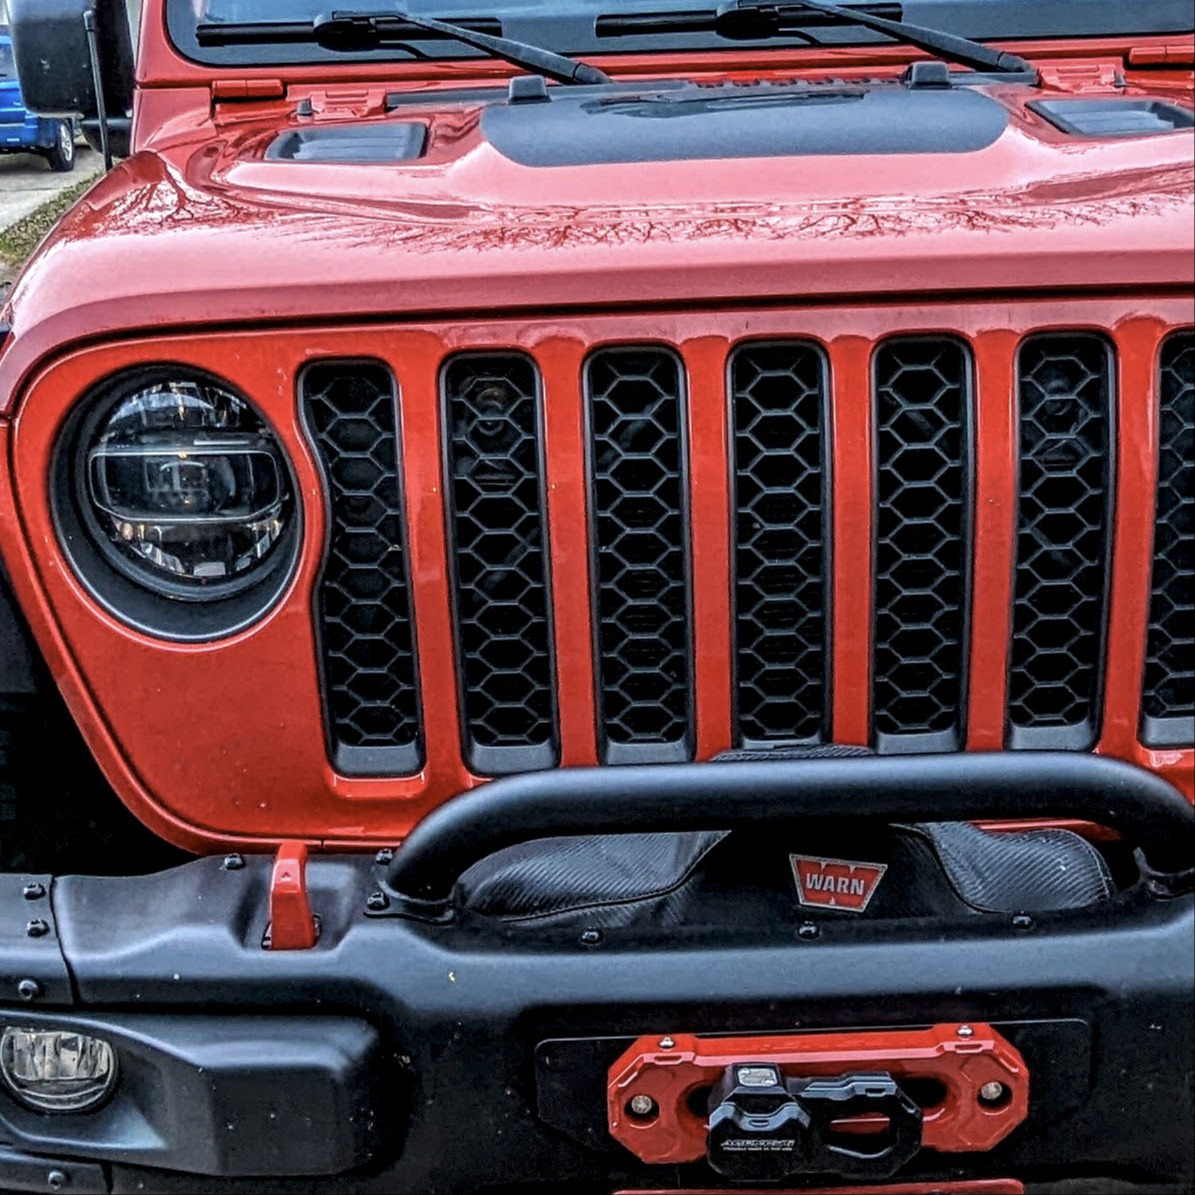
Warn Solenoid bracket for Jeep Gladiator.
- Ocena
- 0 / 5
- Polubienia
- 5
- Pobrania
- 54
- Wydruki
- 0
- Wyświetlenia
- 743
- Oceny
- 0
Aktualizacja u źródła:
Informacje o modelu
- Źródło
- Printables
- Kategoria
- Automotive
- Licencja
- Creative Commons — Attribution
So, I recently added a Warn winch to my Jeep Gladiator. To control the power to the winch, there is a 'power interrupt' kit that Warn sells, that you can use to make sure there isn't continuous power going to the winch.
The last thing you want, is to have a live bumper, if you ever get into an accident, so this interrupt kit just adds a solenoid to the system.
Now, the biggest problem is that there is no immediate location to mount the solenoid, without drilling into the vehicle.
Various individuals have fashioned their own brackets, with varied success. I, however, am not a metallurgist, but I DO have several 3d printers, and have fabricated enough functional parts.
So, my goal was to make a bracket, that is as non-invasive as possible.
On the passenger side of the engine bay, there are several holes that are currently unused, and I decided to make use of one of the hex shaped holes for this bracket.
I installed an M6 Hex Rivnut, and will be mounting the solenoid to that hole.
The bracket is designed to mount to the solenoid, and then mount to the hole.
No, it's nothing fancy, but it gets the job done, and it's also non-conductive.
I'd recommend printing in PETG or ABS, due to the fact this will be located under a hood, in the engine bay... I expect PLA might get a little soft, in there.. but who knows.. if you successfully print it in PLA, and it works properly, great.
So here it is, I don't know if anyone will be interested or not, but if I can make someone's life a little easier, then my job is complete :)
Additional notes:
I've had a couple of Wrangler owners confirm this works for their newer JL and JLU models as well.
The reason the top corners are angled, is due to the fact the spot it mounts in, isn't uniform, and the first couple of people who tried to get it to work for their vehicle, the top portion didn't fit, due to the overlapping metal tapering down to a smaller opening.
I originally printed this with 25% infill, and it warped slightly after a year. This is due to the heavy weight of the solenoid and wires hanging from the bracket. I've since increased it to 40%, and it's retaining it's shape.
Print Settings
Printer Brand:
Prusa
Printer:
I3 MK3S
Rafts:
Doesn't Matter
Supports:
No
Resolution:
.30
Infill:
30-40%
Filament: Eryone PETG Clear Red
Post-Printing:
Depending on the size of the screws you use, you may have to shave the holes a bit to make it easier for the screws to pass through.
Parts Needed:
You'll likely want some M6 hex rivnut, and a rivnut gun to create threads for bolt to insert, in that area of the engine bay, though I've already been told that an ‘Extra long ziptie works!', too. Not sure I'd recommend this approach, however.
You'll also need a couple of nuts, bolts, and washers to attach the solenoid to the bracket.
How I Designed This
This is a very fast, rough print. The plan is to produce a smoother version, eventually, but for right now, I just needed a functional part.
I measured the distance between the holes on the Jeep with a set of calipers, and positioned the Solenoid, which interestingly enough, is NOT centered on the bracket to fit properly.


Category: Automotive