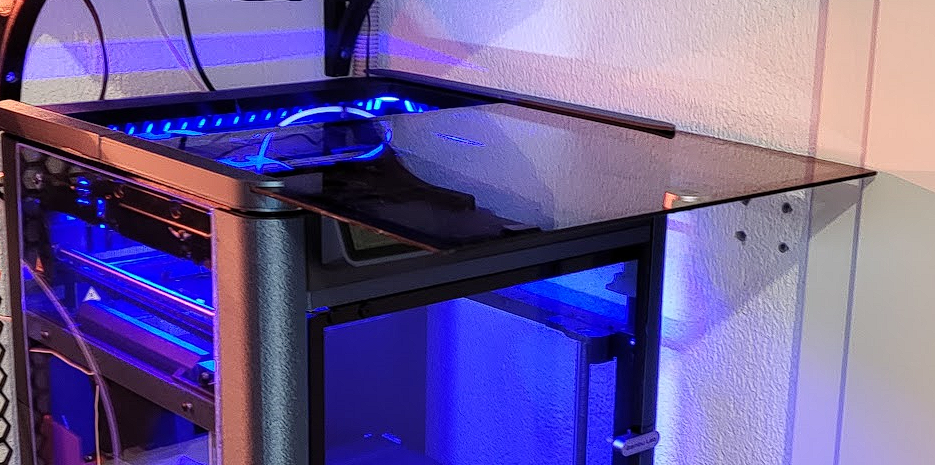
Bambu Lab P1P LED Top Riser for X1 Glass Cover Plate (ESP8266 & WLED)
Obliczymy ostateczną cenę na podstawie wybranego pliku. Sprawdzisz ją i zaakceptujesz przed płatnością.
Zapisane na tym urządzeniu.

This is a top Cover for the P1P to house the X1 Glass Cover It fits for the Bambu Lab P1P Minimal" Enclosure + X1 Door
- Ocena
- 5 / 5
- Polubienia
- 41
- Pobrania
- 102
- Wydruki
- 1
- Wyświetlenia
- 3440
- Oceny
- 1
Aktualizacja u źródła:
Informacje o modelu
- Źródło
- Printables
- Kategoria
- Bambu Lab Parts & Upgrades
- Licencja
- Creative Commons — Attribution — Noncommercial — Share Alike
Thist is a LED Riser Top for the P1P which is designed to House the X1 Glass Cover Plate.
After Printing the Bambu Lab P1P "Minimal" Enclosure + X1 Door I felt it a bit to open at the top.
The Print:
- Everything exept the Top Parts are Printet with the standard 0.20 Standard @ BBL P1P Profile
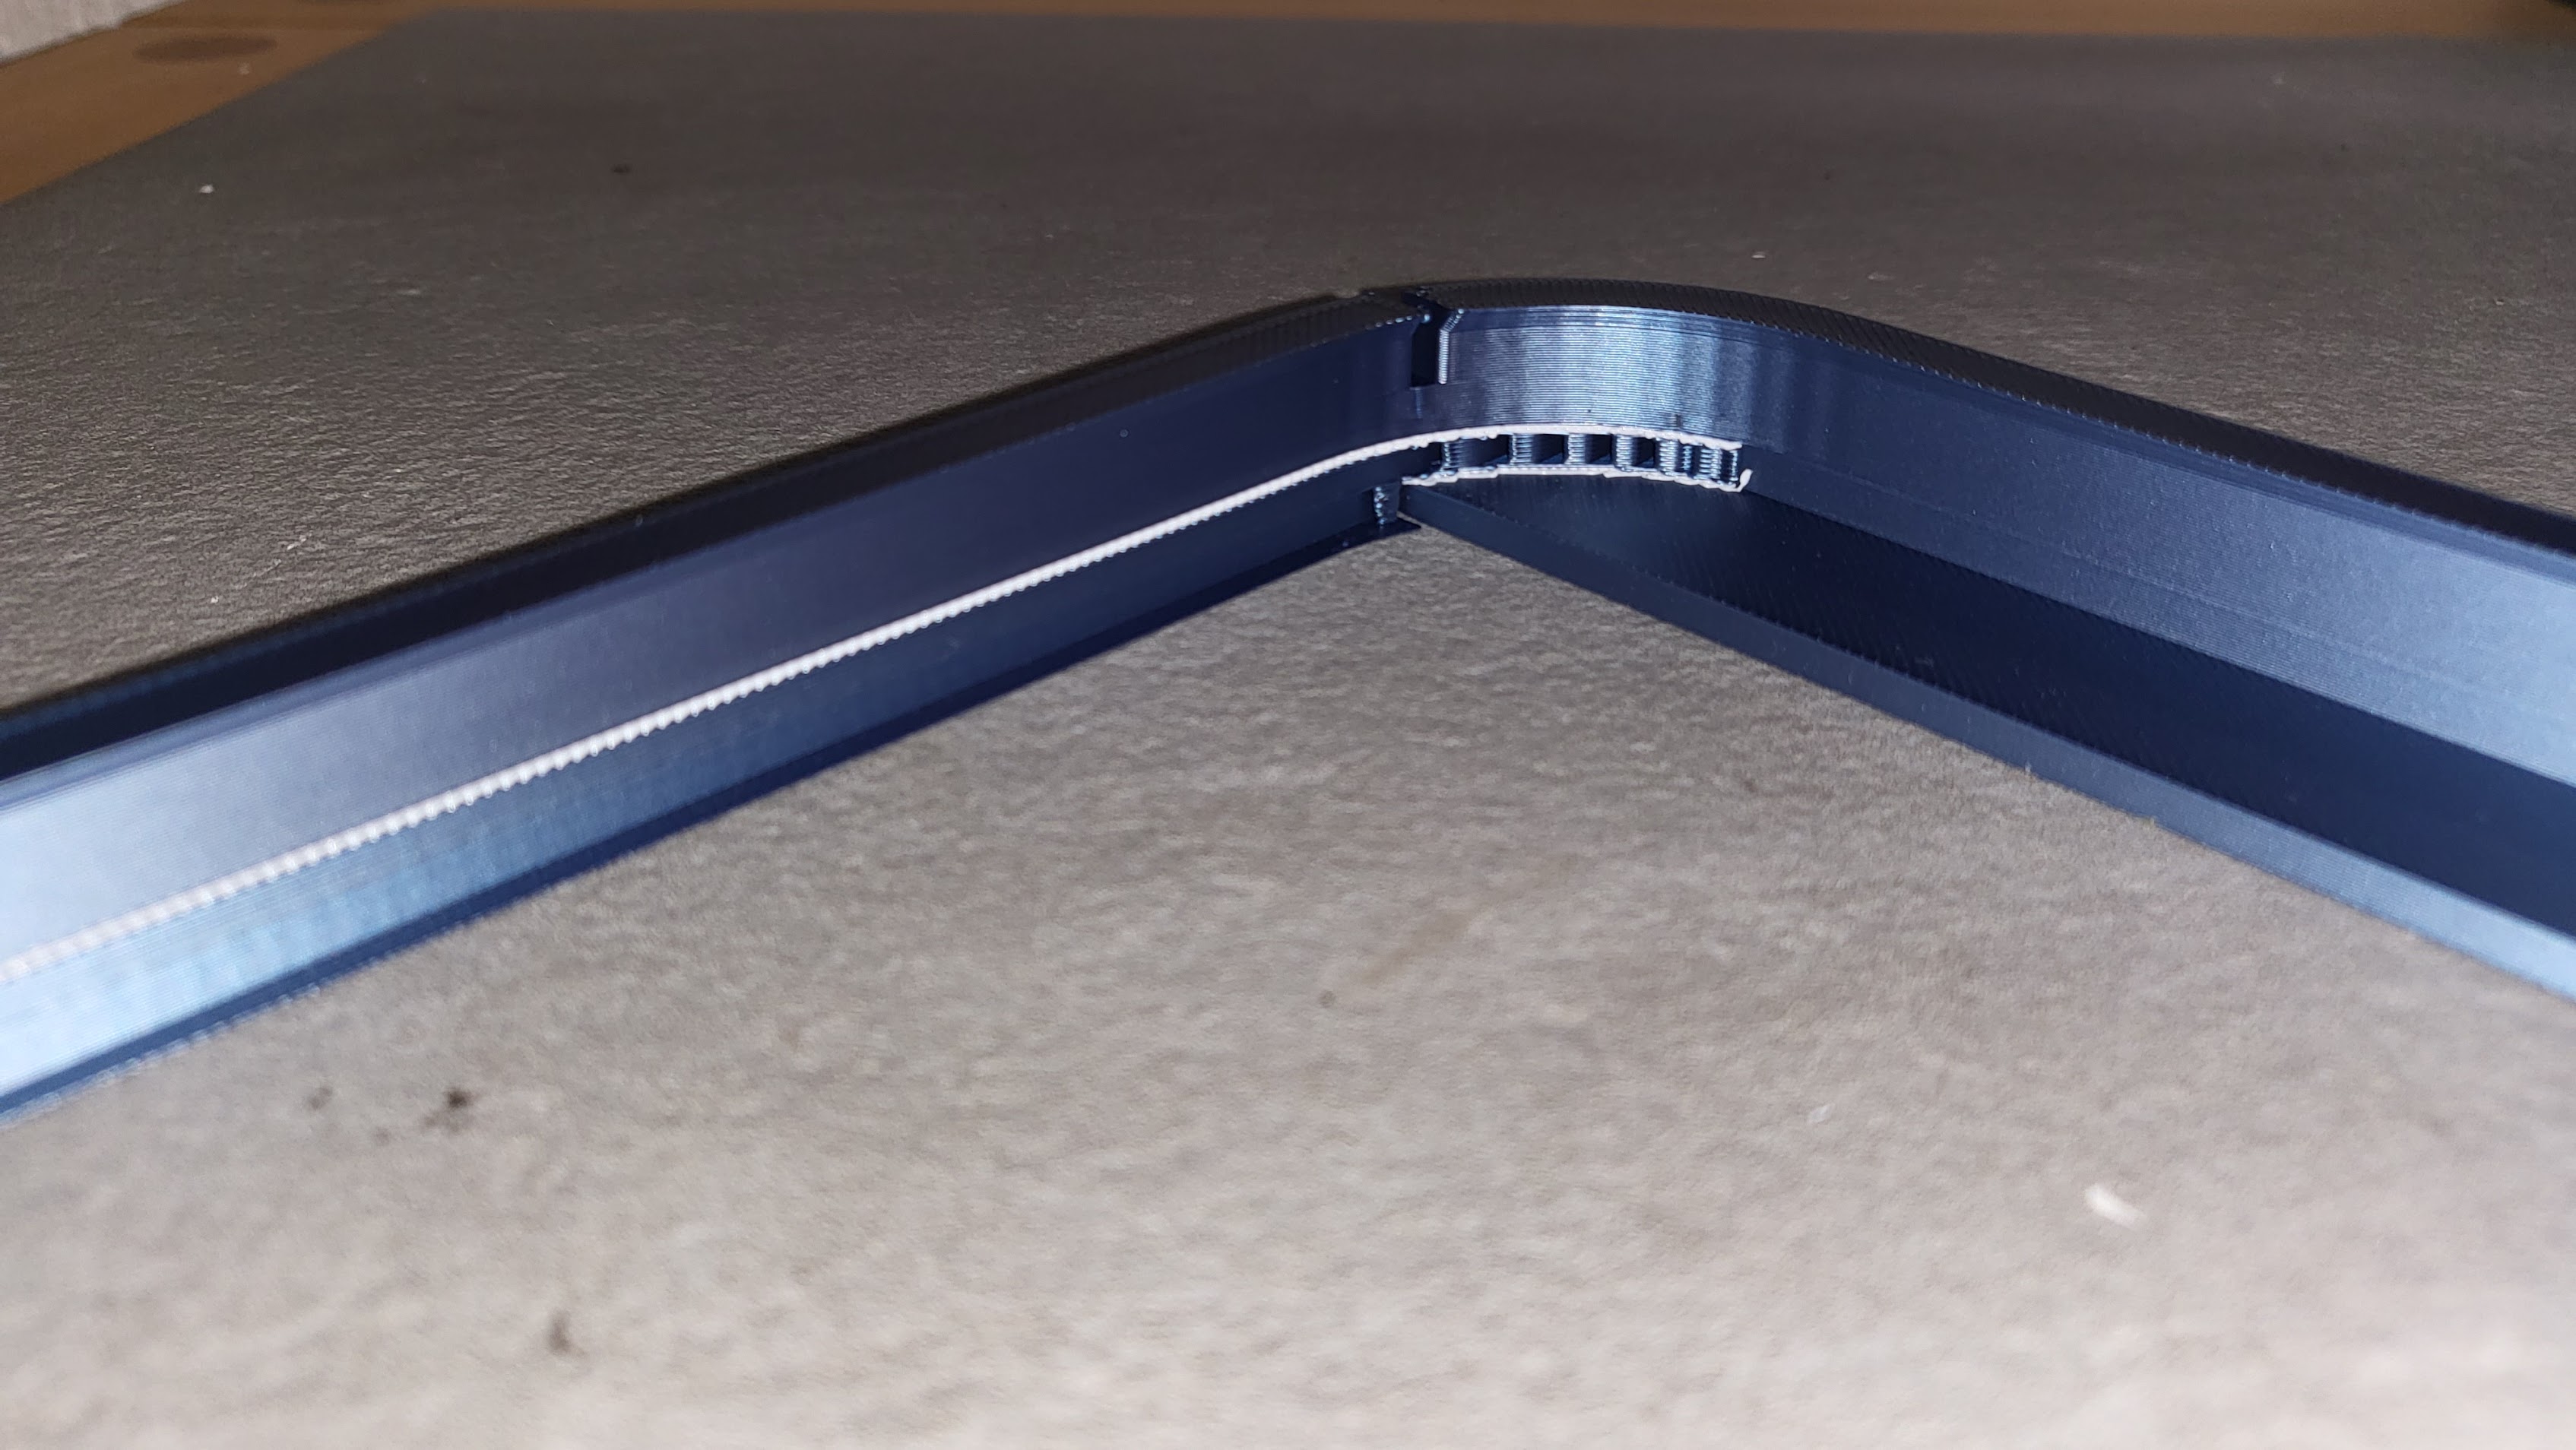
- The Top Parts are Printet with an different Top Layer for the Supports as shown in this YouTube Video
The Reason:
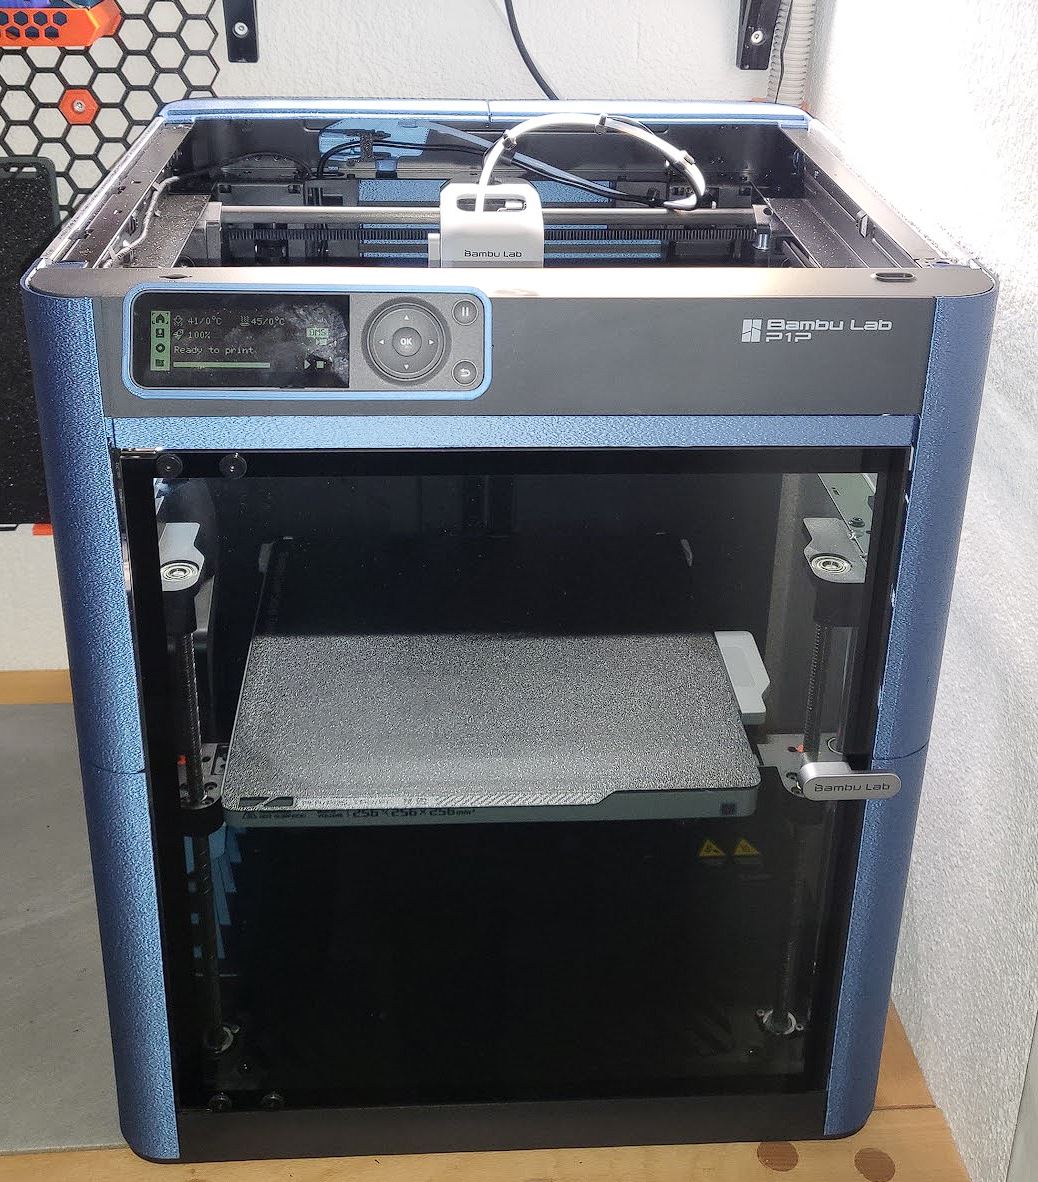
Unfortunately, after installing the Bambu Lab P1P "Minimal" Enclosure, the top surface is not flat. Therefore, the X1 Glass Cover Plate cannot be easily placed.
The Assembly:
So the first step is to level the playing field, so we can build on it.
Please note, this part has to be printet form a flexible Filament. It ist slightly to large to avoid any wiggle. If you print it from PLA or other hard Filaments it woudnt fit at all.
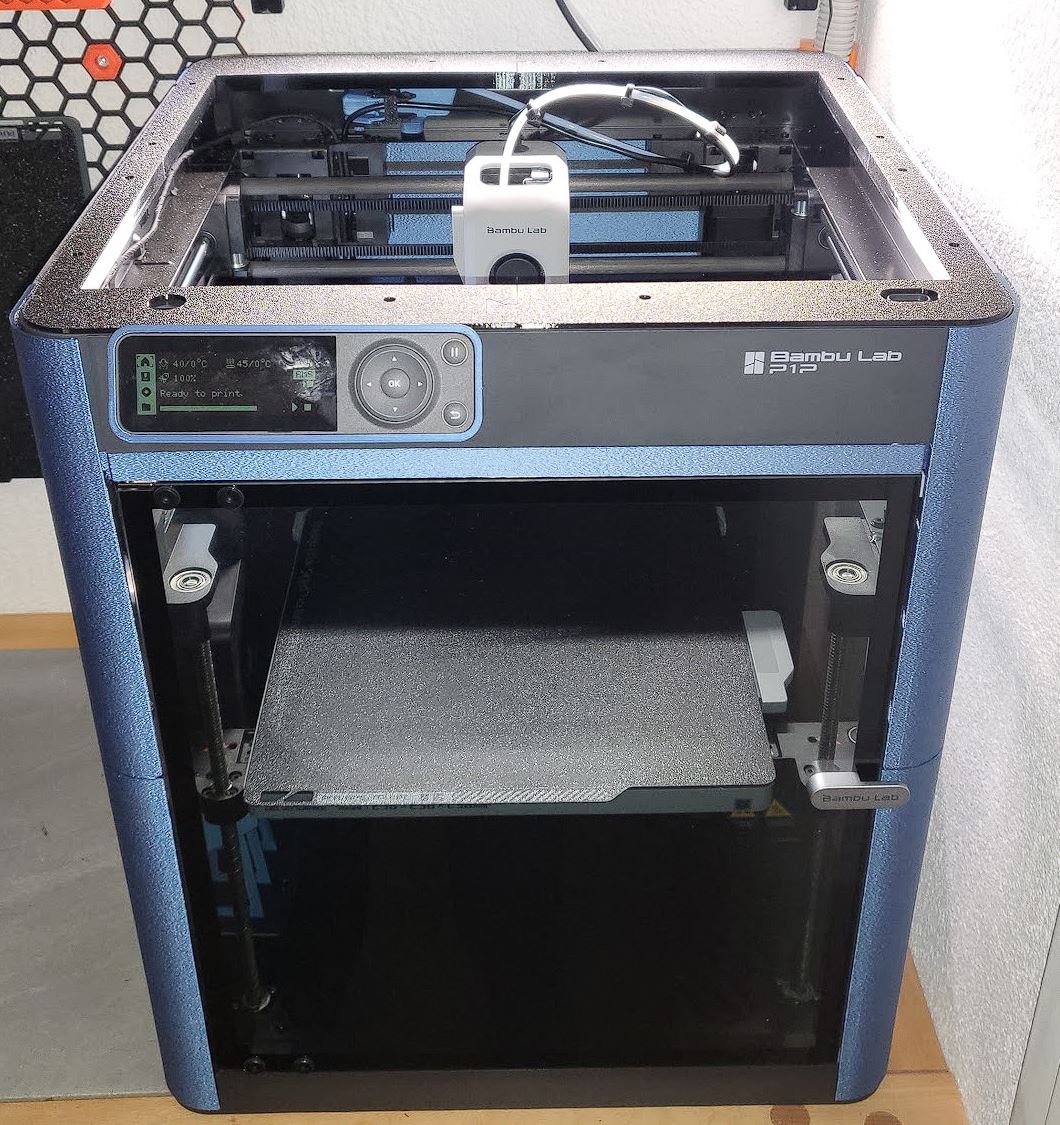
Now it is possible to start with the LED riser part which holds the original X1 Glass Cover Plate. As you can see, I found some inspiration in the Design BambuLab Top Glass Riser 4 COB LED Remix with LED Shield. 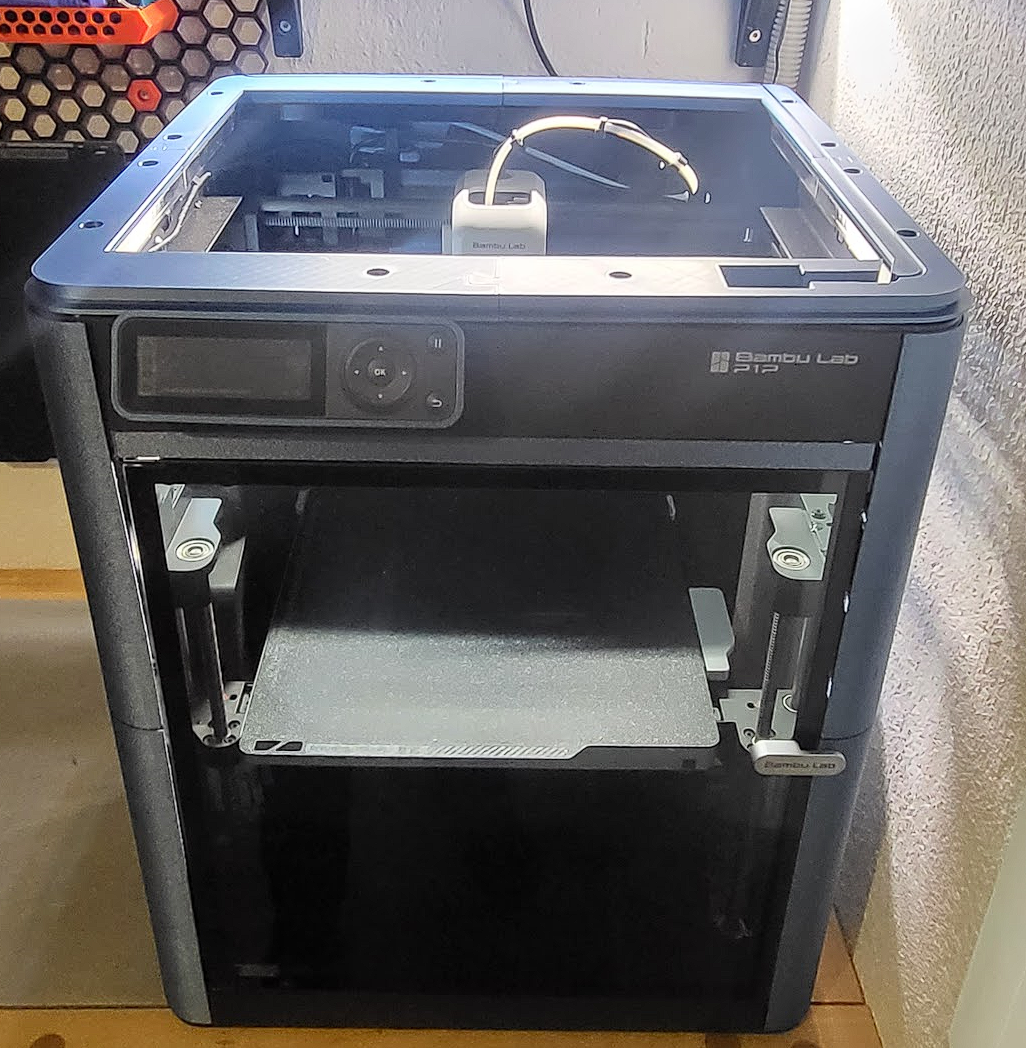
Here starts the electronics part. Sorry but from here on forward you should know where the hot end of your soldering iron is.
So first of all, Place all the wires and Parts so You have the right length.
My plan is to use the USB Port of the P1P to run the LED Strip. The Cable to the back for powering an LED Stripe outside your Printer.
You can also use it to get an external LED Strip into the Printer.

As you can see, I chose the lazy method of installing the LED Strip, because no one will ever see it again.

Please flash the newest Version of WLED on your ESP8266 bevore soldering. Otherwise you have to carry the hole assembly to your PC (how do I know…)
Red (5v), Black (Gnd) and Green (Data)

If the soldering is done, the final assembly starts. Allign that sandwich (Level the playing field, light and Glass) and squish the nupsis in like it its your birthday.

Now glue the Top Parts, which are printet whith different Supports (PLA Supports on PETG or the way arround) for a smoother finish, to the rest of the Sandwich.
And Youre done

(use less glue than I did)
You can slide open the glass to the back for not overheating your printvolume.
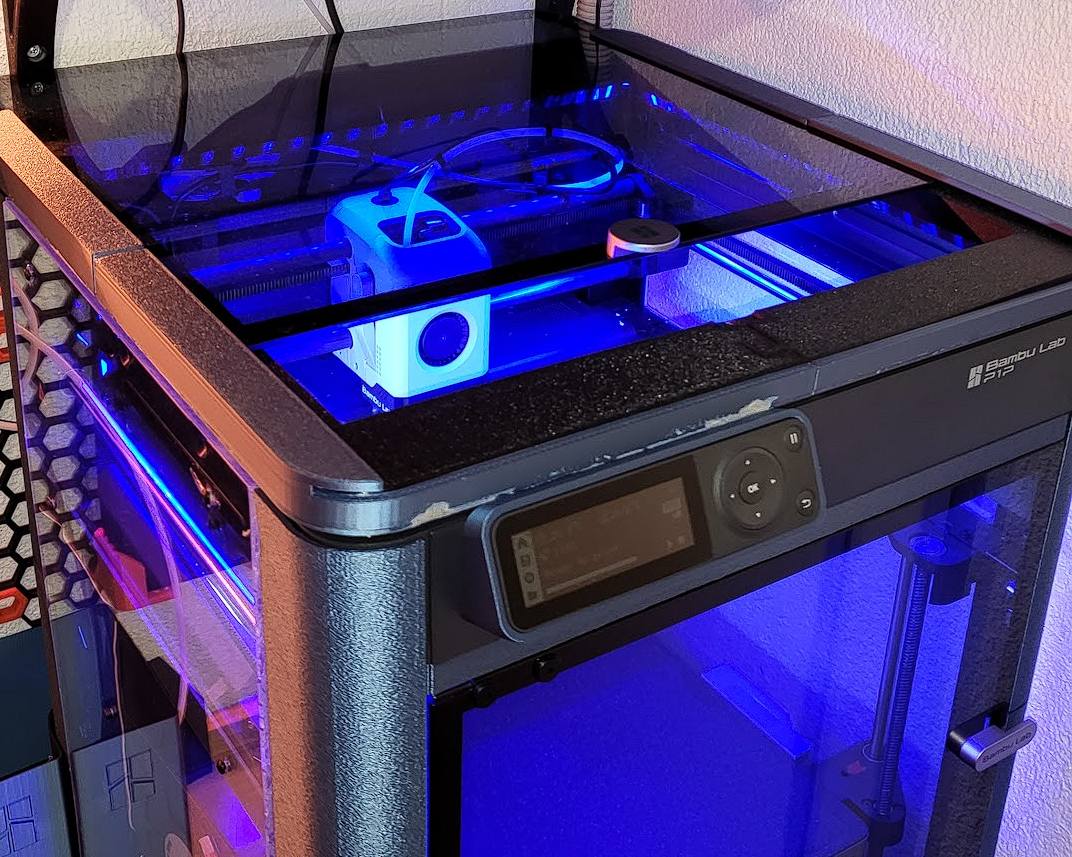
You can slide and remove the glass to the front to maintain the Printer.