
2D Art: Nike Air Jordan Jumpman
Obliczymy ostateczną cenę na podstawie wybranego pliku. Sprawdzisz ją i zaakceptujesz przed płatnością.
Zapisane na tym urządzeniu.
With my partners, I designed a “2D” placard using Solidworks; our team chose the jumpman logo by Nike air Jordan.
- Ocena
- 0 / 5
- Polubienia
- 6
- Pobrania
- 81
- Wydruki
- 0
- Wyświetlenia
- 431
- Oceny
- 0
Aktualizacja u źródła:
Informacje o modelu
- Źródło
- Printables
- Kategoria
- 2D Plates & Logos
- Licencja
- Creative Commons — Attribution — Noncommercial
This was our original sketch:

Using the ASF and DSF formulas, we were able to figure out the width and height of the constraint box.

On another plane, we started to trace the image on top of the constraint box. We set the thickness to 0.5 to allow us to clearly see a thickness on the logo.

When we first started, we believed that we could use splines to outline the whole sketch. However it was tedious and difficult to get perfect.
With splines: With arcs:


Moreover, it was impossible to offset the lines and make a border/outline for them. Therefore, we started to use arcs to trace the body. This allowed us to offset the lines and have an outline going around the logo. We were able to get a clear outline of the jumpman and did not have to create a border using splines, we used offset. This is the completed outline with arcs:

Later on, we created a plate using splines. Originally, we used arcs however this resulted in errors. Additionaly, it was more aesthetically pleasing for the plate to be sketched by splines. Therefore, we used splines.
With splines: With arcs:


After that, we extruded the logo so that it would pop out of the dish, allowing it to have different dimensions.
From the top:

From the side:

Cross section view:
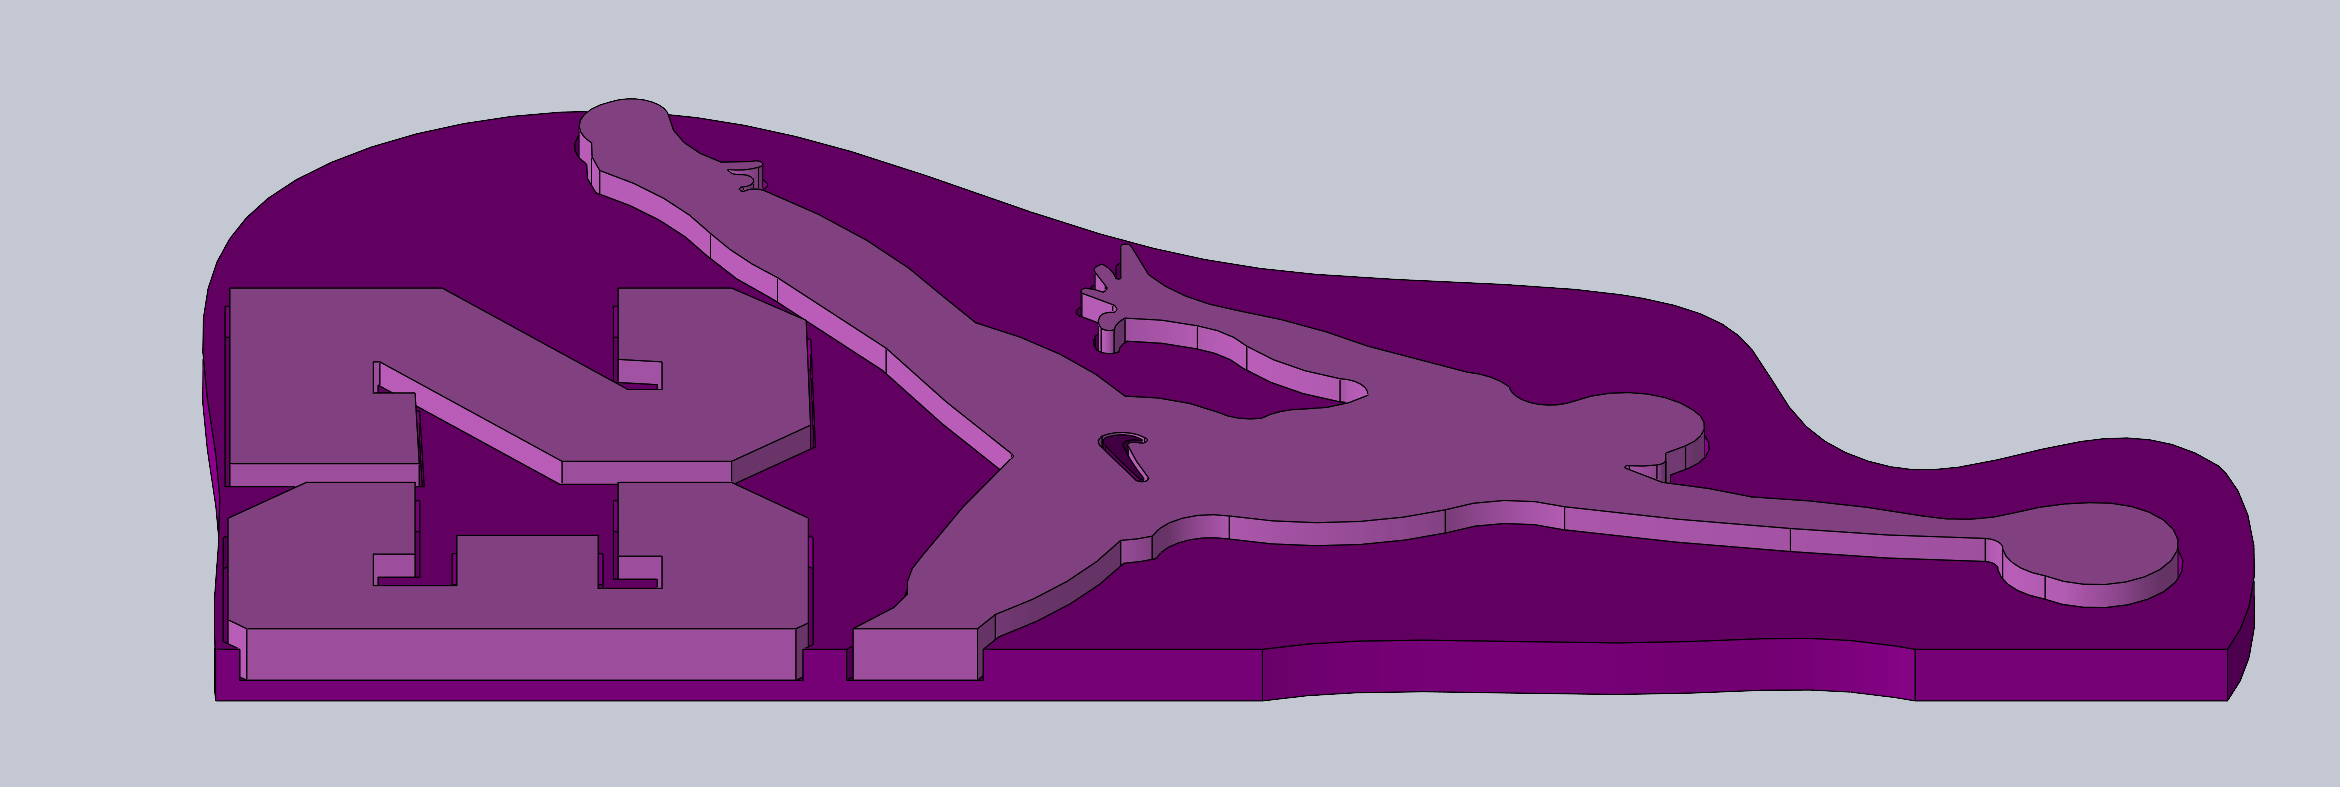
Once we offset and cut-extruded the sketch, we realized that the jumpman sketch was on both sides of the plate while we only needed one side. We tried to trace the plate all over again and add another layer, however we used another technique. We used Instant 2D to create a backside that was 0.02 cm thick. This created another layer.
The Instant 2D layer:


The final layer:

Moreover, we realized that not everything was getting extruded cut on the border of our jumpman sketch. Therefore, we had to selectchain to make sure every line was connected to each other. We also selected a .04 space between the border and the outline of the sketch. Originally, the offset that we used was .02 and the pieces of the sketch did not fit into the plate. Afterwards, we changed it to .04 to make it fit the plate accurately.
0.04 cm change:

As a result, all of the pieces it perfectly into each other. Finally, we saved each part of the logo as their own 3mf files to get the parts slices and printed.
This was the end result vs printed out:

