
USR - MK2 - Universal Spool Rail, spool box, filament garage & more (work in progress)
Obliczymy ostateczną cenę na podstawie wybranego pliku. Sprawdzisz ją i zaakceptujesz przed płatnością.
Zapisane na tym urządzeniu.
Variable spool widths, spool box, no need for rewinding filament after manual change...
- Ocena
- 0 / 5
- Polubienia
- 12
- Pobrania
- 28
- Wydruki
- 0
- Wyświetlenia
- 922
- Oceny
- 0
Aktualizacja u źródła:
Informacje o modelu
- Źródło
- Printables
- Kategoria
- Accessories
- Licencja
- Creative Commons — Attribution — Noncommercial — NoDerivatives
Have you ever wanted to have your favorite filaments (up to 8) always on hand for manual multi-color printing or even for quick loading and protecting the filament from dust and dirt at the same time?
Are you tired, like me, of rewinding filament onto the spool after every change?
How about a pass through from the top and NOT from behind of your IKEA LACK enclosure?
I designed this specifically for use with an IKEA LACK enclosure (eg. Prusa enclosure V2) with a width of 55cm.
My goals:
- easy and quick printing
- lowest possible material consumption
Why USR - MK2?
I had some mysterious problems with filament breaks with USR - MK1. The reason was the feeders that should be optimized, a defective PTFE tube and a matte filament that did not slide well.
It was clear to me that the repair of the PTFE tube would not be easy…
Since I also wanted to design a box, I decided to combine all the new ideas into one new version with easier repair possibility.
Note:
This model is used to protect the filament, but unfortunately it is not airtight and the current version is rather unsuitable as a dry box!
Pros:
- one rail, many combinations
- up to 8 spools, depending on size
- adding/removing/adjusting spool width is a snap, no tools required
- filament is loaded from the front
- identification labels/tags for numbers/text or QR (useful for Octoprint spool manager), change them as you like
- PTFE feedthrough from top to inside
- no rewinding after manual color change (Garage addon). Once loaded, the box only needs to be opened when a spool needs to be replaced
- the spool box keeps the filaments clean
- easy to print, easy to assemble
- inexpensive
- most parts can be printed with 0.30 mm layer height
Bill of material:
- wood countersunk screws
- 2x 8mm x 54cm rods of any kind, but metal or screw rods are advised as you want to be able to move the sliders smoothly
- M3 bolts and nuts (see assembly guide)
- 2 x M3 washers
- glue
- 54 cm x 43 cm x 0,75 mm PETG sheet. I used one from alt-intech on amazon
- You can support me by using this affiliate link: https://amzn.to/3zuW70q)
- 1 x MDF plate ( 54 cm x 10,7 cm)
- <optional> 4x 8mm x 3mm neodym magnets
Being an impatient person, I printed all parts with 0.3mm layer height and everything worked. I still recommend printing the parts with a higher accuracy as it does not hurt! Just adjust the print settings as desired….
Mandatory parts and addons
Mandatory:
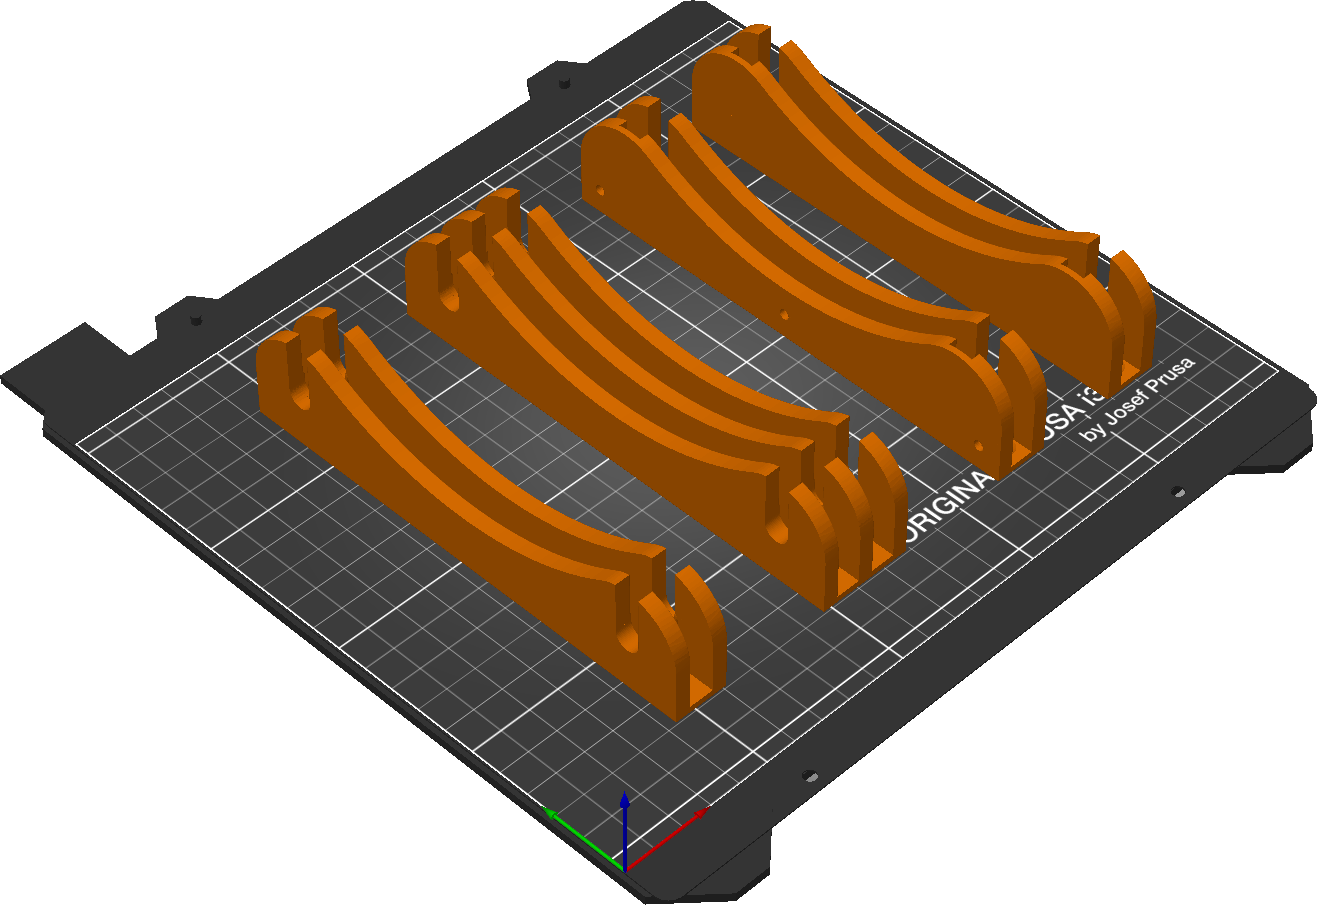 Rail supports and sliders → link |  Filament garage - no need of rewinding after material change → see files |
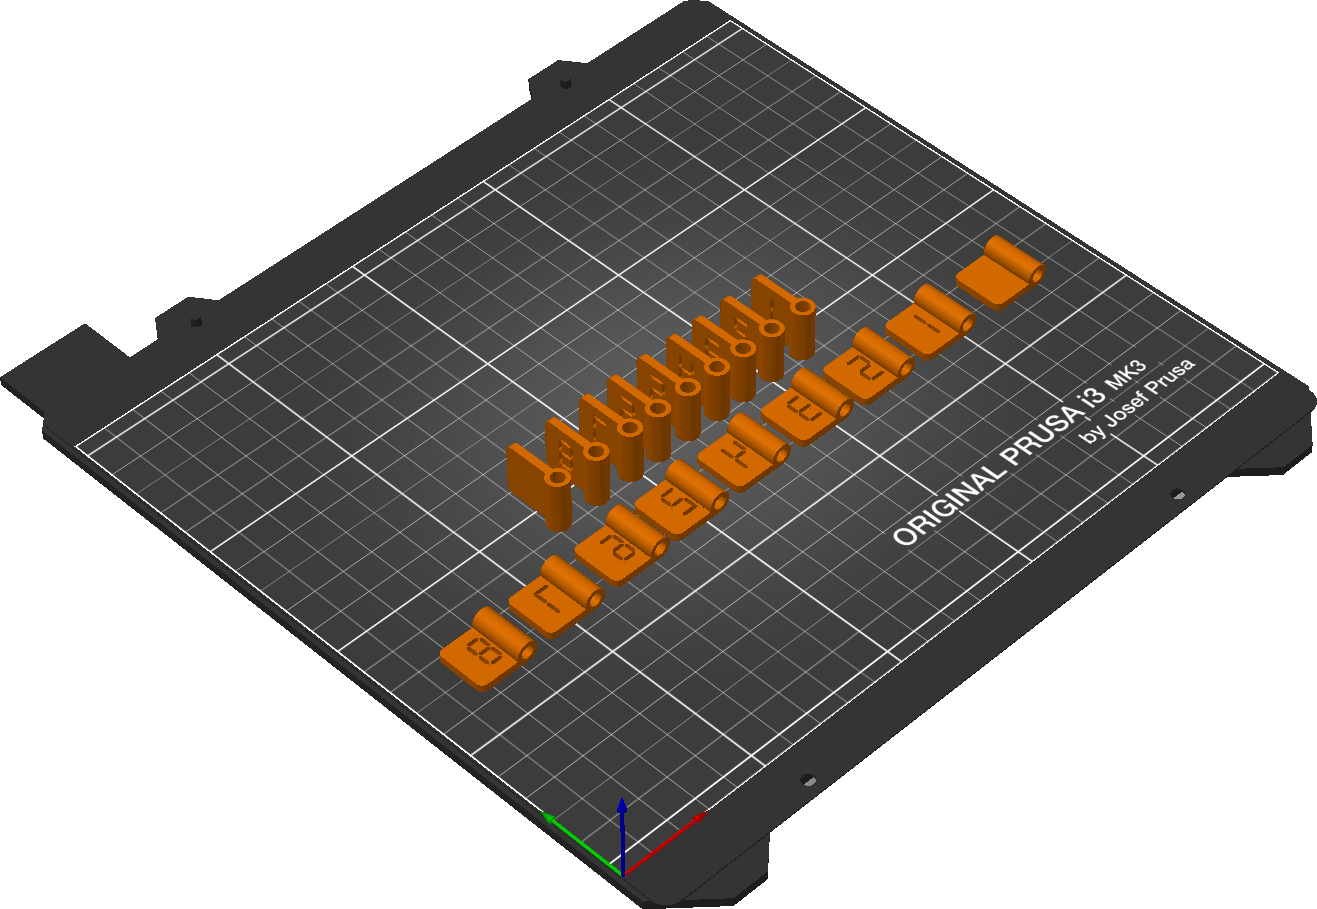
 A yielding feeder version to prevent jamming with tag support→ see files |  The Feeder-Tags-Mini are designed to improve readability without multicolor printing → see files |
 Bigger tags for text or QR + SVG print template → see files |
Addons:
 PTFE Clips → link (optional) |  Magnetic rectangular hygrometer /thermometer mount → link (optional) |
Combined exhaust and filter system for your enclosure (optional) POC in progress | Upcoming - illuminated “ Spool in use-feeders” + new stackable filament garage (optional) POC in progress |
Dry box conversion (optional) POC in progress |
Assembly:
Make sure that all screws can move freely in the recesses provided before tightening them, as they partly serve as hinges.
Before assembling the parts, make sure that the brim is removed cleanly if necessary.
Ensure smooth surfaces where two parts are to be screwed or glued together.
1. Upgrading from USR MK1 (original):
If you have no problems with the passtrough, just leave it. Otherwise, use the new MK 2 version. Do not worry about the roof hole that you have made for the first version. The new back panel has the same dimensions and you can use the old roof hole. Just skip step 2 of the assembly instructions. You can use the same sliders because they are mostly identical. The end parts of the rail are new with 3 holes to attach to the side elements of the box. But you can also omit the new parts if you are satisfied with the manual adjustment of the rails. |
2. Roof hole:
|
3. The guide:
 You need 8x small wood screws.
|
4. The box:

|

|

|

|

|

|

|
5. PTFE tubes:
For easier assembly we use the sequence 1 → 8 → 2 → 7 → 3 → 6 → 4 → 5
Make sure not to cut the tubes too short so that they do not form too tight curves

|
6. Tag plates:
The Feeder-Tags-Mini are designed to improve readability without multicolor printing

|
7. The filament garage:

|