
Crucible mold 100ml for metal melting in microwave (BE: mould)
Obliczymy ostateczną cenę na podstawie wybranego pliku. Sprawdzisz ją i zaakceptujesz przed płatnością.
Zapisane na tym urządzeniu.
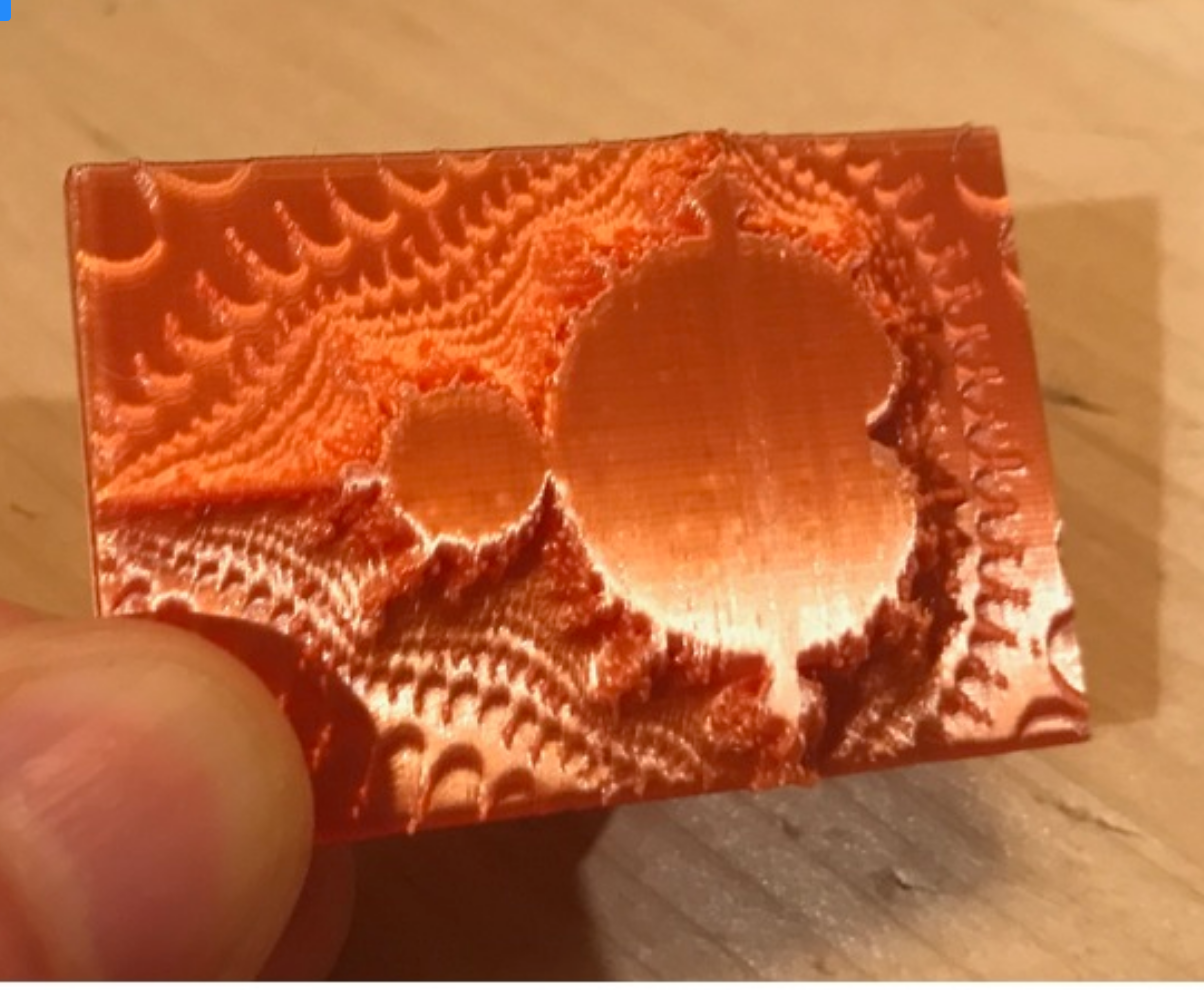
Use this 3d-printed mold to make crucibles from silicon carbide powder and waterglass for metal melting in the microwave
- Ocena
- 0 / 5
- Polubienia
- 16
- Pobrania
- 117
- Wydruki
- 0
- Wyświetlenia
- 885
- Oceny
- 0
Aktualizacja u źródła:
Informacje o modelu
- Źródło
- Printables
- Kategoria
- Engineering
- Licencja
- Creative Commons — Attribution — Noncommercial — Share Alike
Update: Added a cut-up version of the inner dome for easier removal (for 5mm wall thickness).
Use this 3d-printed mold to make crucibles from silicon carbide powder and waterglass for metal melting in the microwave.
It holds about 110ml. The walls are 7mm thick.
I am using this as as an alternative to the 3d-printed crucible mold by Denny from the YouTube channel Shake the Future, where he shows his awesome guide to melt metals in the microwave. While his drinking-glass method worked for me, I could not get the parts of his model to fit together well, because my printer does not appear to be tuned well enough.
Note that the guide is all Denny's work, refined by him in many months. My crucible mold is just a small tweak that works for myself and would like to share with the community. The usual disclaimers apply (so don't actually try to melt metal in your microwave). Please watch Denny's video to learn more.
Printing
Print the quarter mold piece four times (flat side down). UPDATE: Instead of the single domed inner piece, print inner_half twice and inner_bracket once (both laying flat). No supports needed. The more detailed your print the better, but I printed it with 0.32 layer height (who's got time to wait that long ;) ). I printed it with about 1.8mm total perimeter thickness and 15% infill. If in doubt, print it sturdy, as we will press on it.
Sand the surfaces which will touch the crucible. Particularly the domed inner part.
UPDATE: To reduce stickiness, cover the inside of the crucible, as well as the inner part, with clear packing tape. This helped a lot. Make sure that it's wrinkle-free and that there are no edges to catch in the direction of unmolding. I cut the packing tape into 2cm wide strips, which worked well. Maybe shrink wrap works, too (haven't tried).
Usage
This describes how I create a crucible with this mold.
Materials: silicon carbide, waterglass, sturdy zip-lock bag for mixing (or any mixing container you don't care about), toothpicks, knife, ideally hose clamps (zip ties/wire also kinda work), a screw, breakfast knife, pliers
Step 1: Prepare the silicon carbide paste
- Measure 175g of silicon carbide and put it in a sturdy zip-lock bag (SiC -- I'm using 500 grit, which may be too fine actually. 220 grit (44 - 75 µm) is probably better).
- Add 35g of waterglass (sodium silicate), remove the air from the bag and seal it.
- Mix both well inside the zip-lock bag (this will take a while). Make sure to squish all granules that are forming. If it remains powdery and "dusty" even after 15 minutes of kneading, add more waterglass.
- You should be able to keep the paste in the air-tight bag for a day or so without it curing.
Step 2: Press the SiC paste into the mold
- Cut 5mm-long toothpick or match pieces and put/glue them in the small holes of two of the four quarter molds.
- Press the four mold quarters together and secure them *very* tightly with hose clamps (ideal), zip ties, or wires (least ideal). If there are air gaps between the quarter pieces, then your toothpick pieces might be too long and/or your printer printed the edges rounded or irregular, which might require some additional sanding.
- Assemble the inner dome. If the middle peg is not snug, try to put some tape on its wider, angled, edge. (OLD: Or if you use the single-piece inner dome, screw a screw into middle of the flat side of the inner mold dome. The screw helps to remove the one-piece inner dome of the mold later.)
- Put around half a centimeter of SiC paste into the mold, and press it down with the dome-shaped part (rounded side facing down). Repeat until the flat top of the dome-shaped part sits flush with the rim of the outer mold, and can't be pressed down further, no matter how hard you try.
- Now, the second phase begins. Hold the dome-shaped part in place and sprinkle SiC paste all around it, filling up the mold. Then, push it down all around with the handle of the breakfast knife (small hammering movements). Try to compress it evenly, and hard, but be careful to avoid pushing the dome-shaped part to the other side. Repeat until you've almost filled the mold to the top.
- For the last few millimeters, pushing with the tip of the knife handle will squish out the SiC paste left and right of the handle. I angled the knife to press with more surface (albeit less pressure) and got a more or less even surface. You can also use your fingers to press the last few mm in place. Don't go over the dome's height or the rim, or parts will break off.
Step 3: Let cure, freeze, unmold, and dry:
- Let the filled mold sit in room temperature air for a day to cure a bit. You can speed this up with CO2, but it's not necessary.
- Put it in your freezer for a few hours (this makes it a little more sturdy)
- Carefully pull out the inner bracket and then the two inner halves (use an allen key to lever the parts up carefully).
- Some crumbs might have stuck on the center dome. You can try to fix these things and small cracks with your fingers and a little additional SiC paste.
- Remove the hose clamps, and carefully separate the pieces, WORKING FROM BOTTOM TO TOP (if there is any stickiness, the upper edge gets ripped apart easily, whereas the lower part is more sturdy). You might need to use a screwdriver to get the parts to separate.
- If all is well, your crucible is still in one piece. If there are any loose-looking parts, this is another chance to put a bit of SiC paste on them and carefully smoothe them on with your fingers.
- Put the crucible inside an oven, heat it to 210 degrees Celsius, and turn it off after one hour to cool down slowly. Maybe half an hour is enough, too.
Step 4: Burn the crucible:
- I actually just put it into the microwave insulation pot and heated it there for 10 mins until glowing orange. Make sure it does not touch the kiln walls or it will stick. Also, cover the spot where your crucible goes on your kiln's base with Aluminum Oxide to prevent sticking (spread as watery paste or simply sprinkle on dry).
- This is "stage 2" in Denny's Melting Metals video, see Denny's video at 20:22
If you like this model, please consider supporting Denny's work on Patreon. I'm not affiliated, but this metal-melting workflow is awesome for small quantities, and I can't wait to see what comes next.
Category: Engineering