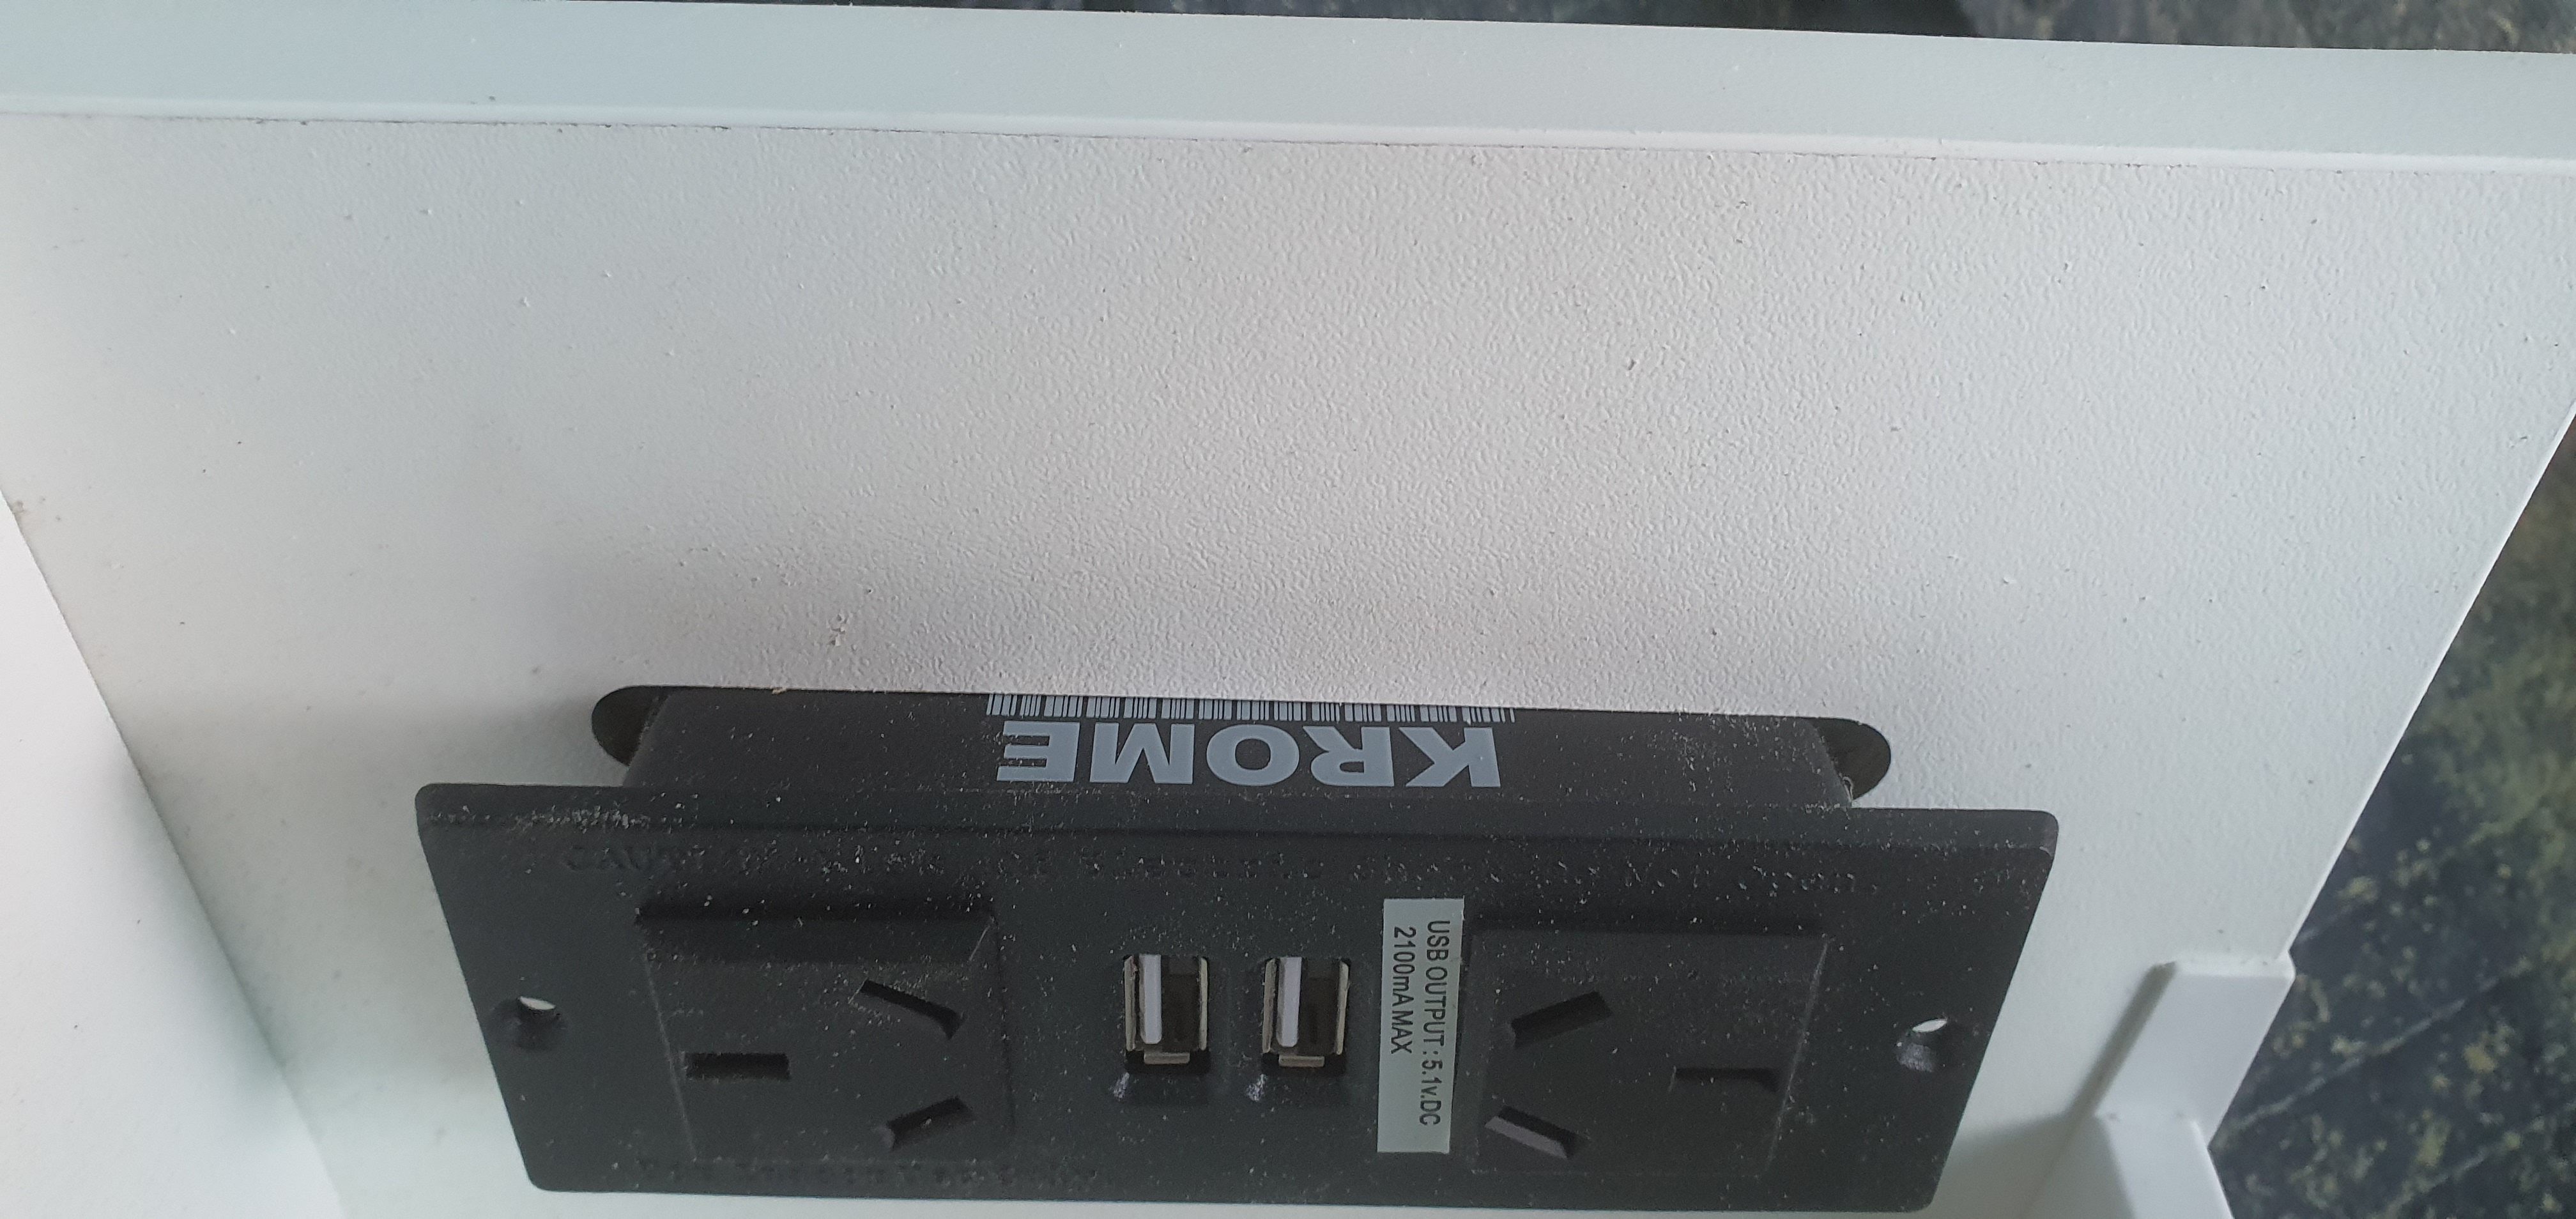
Krome Power Point Cutout Jig
Obliczymy ostateczną cenę na podstawie wybranego pliku. Sprawdzisz ją i zaakceptujesz przed płatnością.
Zapisane na tym urządzeniu.

For my job one of our clients wanted an in-drawer powerpoint and decided to go with this this in-drawer powerpoint.…
- Ocena
- 0 / 5
- Polubienia
- 1
- Pobrania
- 8
- Wydruki
- 0
- Wyświetlenia
- 200
- Oceny
- 0
Aktualizacja u źródła:
Informacje o modelu
- Źródło
- Printables
- Kategoria
- Tools
- Licencja
- Creative Commons — Attribution
For my job one of our clients wanted an in-drawer powerpoint and decided to go with this this in-drawer powerpoint. Now the whole reason I even wanted to make this jig is because the cut-out has to be really tight (as mentioned below). So with only having 2mm each side, if the board chips then it's rubbish.
How I Designed This

As mentioned above the idea of even wanting this jig is because the cut-out tolerance is only 4mm (2mm each side of the powerpoint). So with only 4mm to play with we have to either use a jigsaw with can be difficult due to it's design having the blade be chaotic and cause a wonky cut and making sure to use the correct (and sharp) blade so that it doesn't chip on the seen side. The other option in using a multi-tool but I feel that takes too long sometimes.
So I figured I'll just make a jig so I can use a trimmer. With this kind of just is it required to use a flush cutter, the jig was made to be used with an inverted flush trimming bit by carbi-tool (8212 which has a 9.5mm diameter cutter) however any bit (whether it be inverted or not) with a 9.5mm diameter should work.
I guess it could potentially be used with any size it just means the ball bearing may not fit into the over-cut areas. The idea of the over-cut is to alleviate the need to square out the corners.


Because the idea was to use a trimmer, I made the jig to be screwed (using 16mm screws) to the back (not seen) side of the drawer.
I've even given it centre marks to align it easier.
You can see below just how tight I've made the jig, giving very minimal clearance along the height and a little more on the width, the width is more forgiving but still couldn't be too big or else there would be nothing left to screw into.


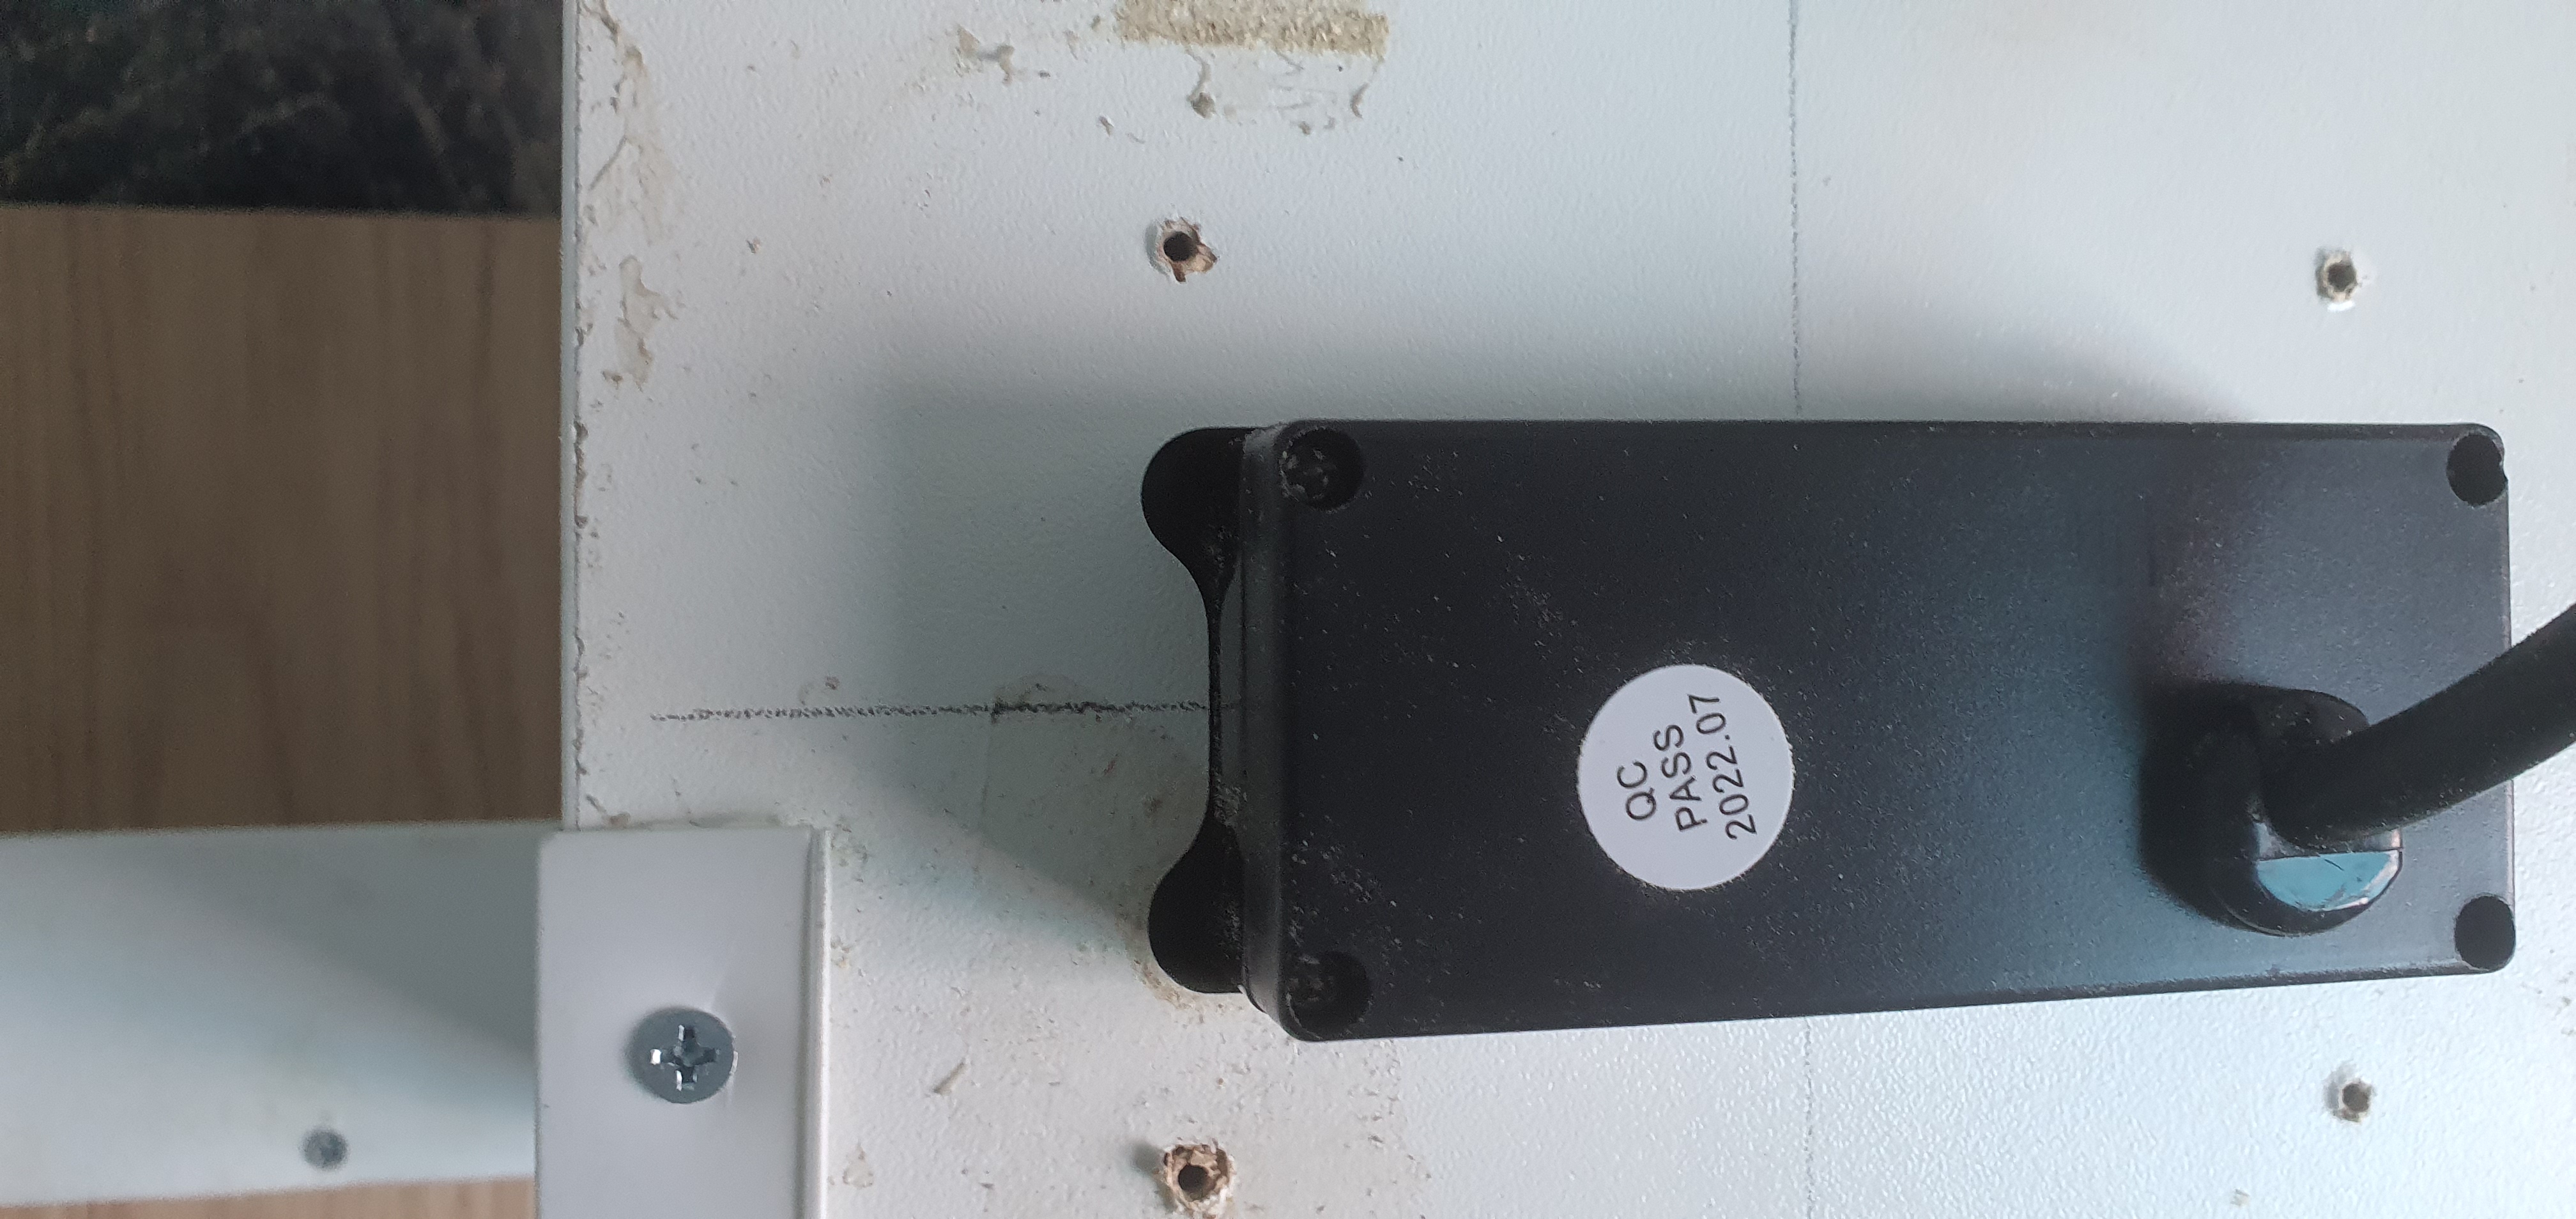

How to use the jig?
Start by setting the depth of the cutter on the trimmer (or router). I held the jig against the trimmer plate then measured up 17mm (so 1mm will be going past, through the material)
Next, mark the centre (or wherever it's being cut-out) alight it using the "V" grooves then screw it down. I found it easier to get it good then put 1 screw in and adjust it (if it moved) then to the opposite corner then the other 2 screws.

Then just go ahead and drill a hole somewhere inside the cut-out (for the jigsaw blade) then use a jigsaw to cut-out the bulk of the material to minimise time and wear on the router bit.

Then start going around the inside with the trimmer depending on how much material is left after going around with the jig saw you may have to take your time as to not burn out the router bit.
As seen its perfect with a nice clean cut.

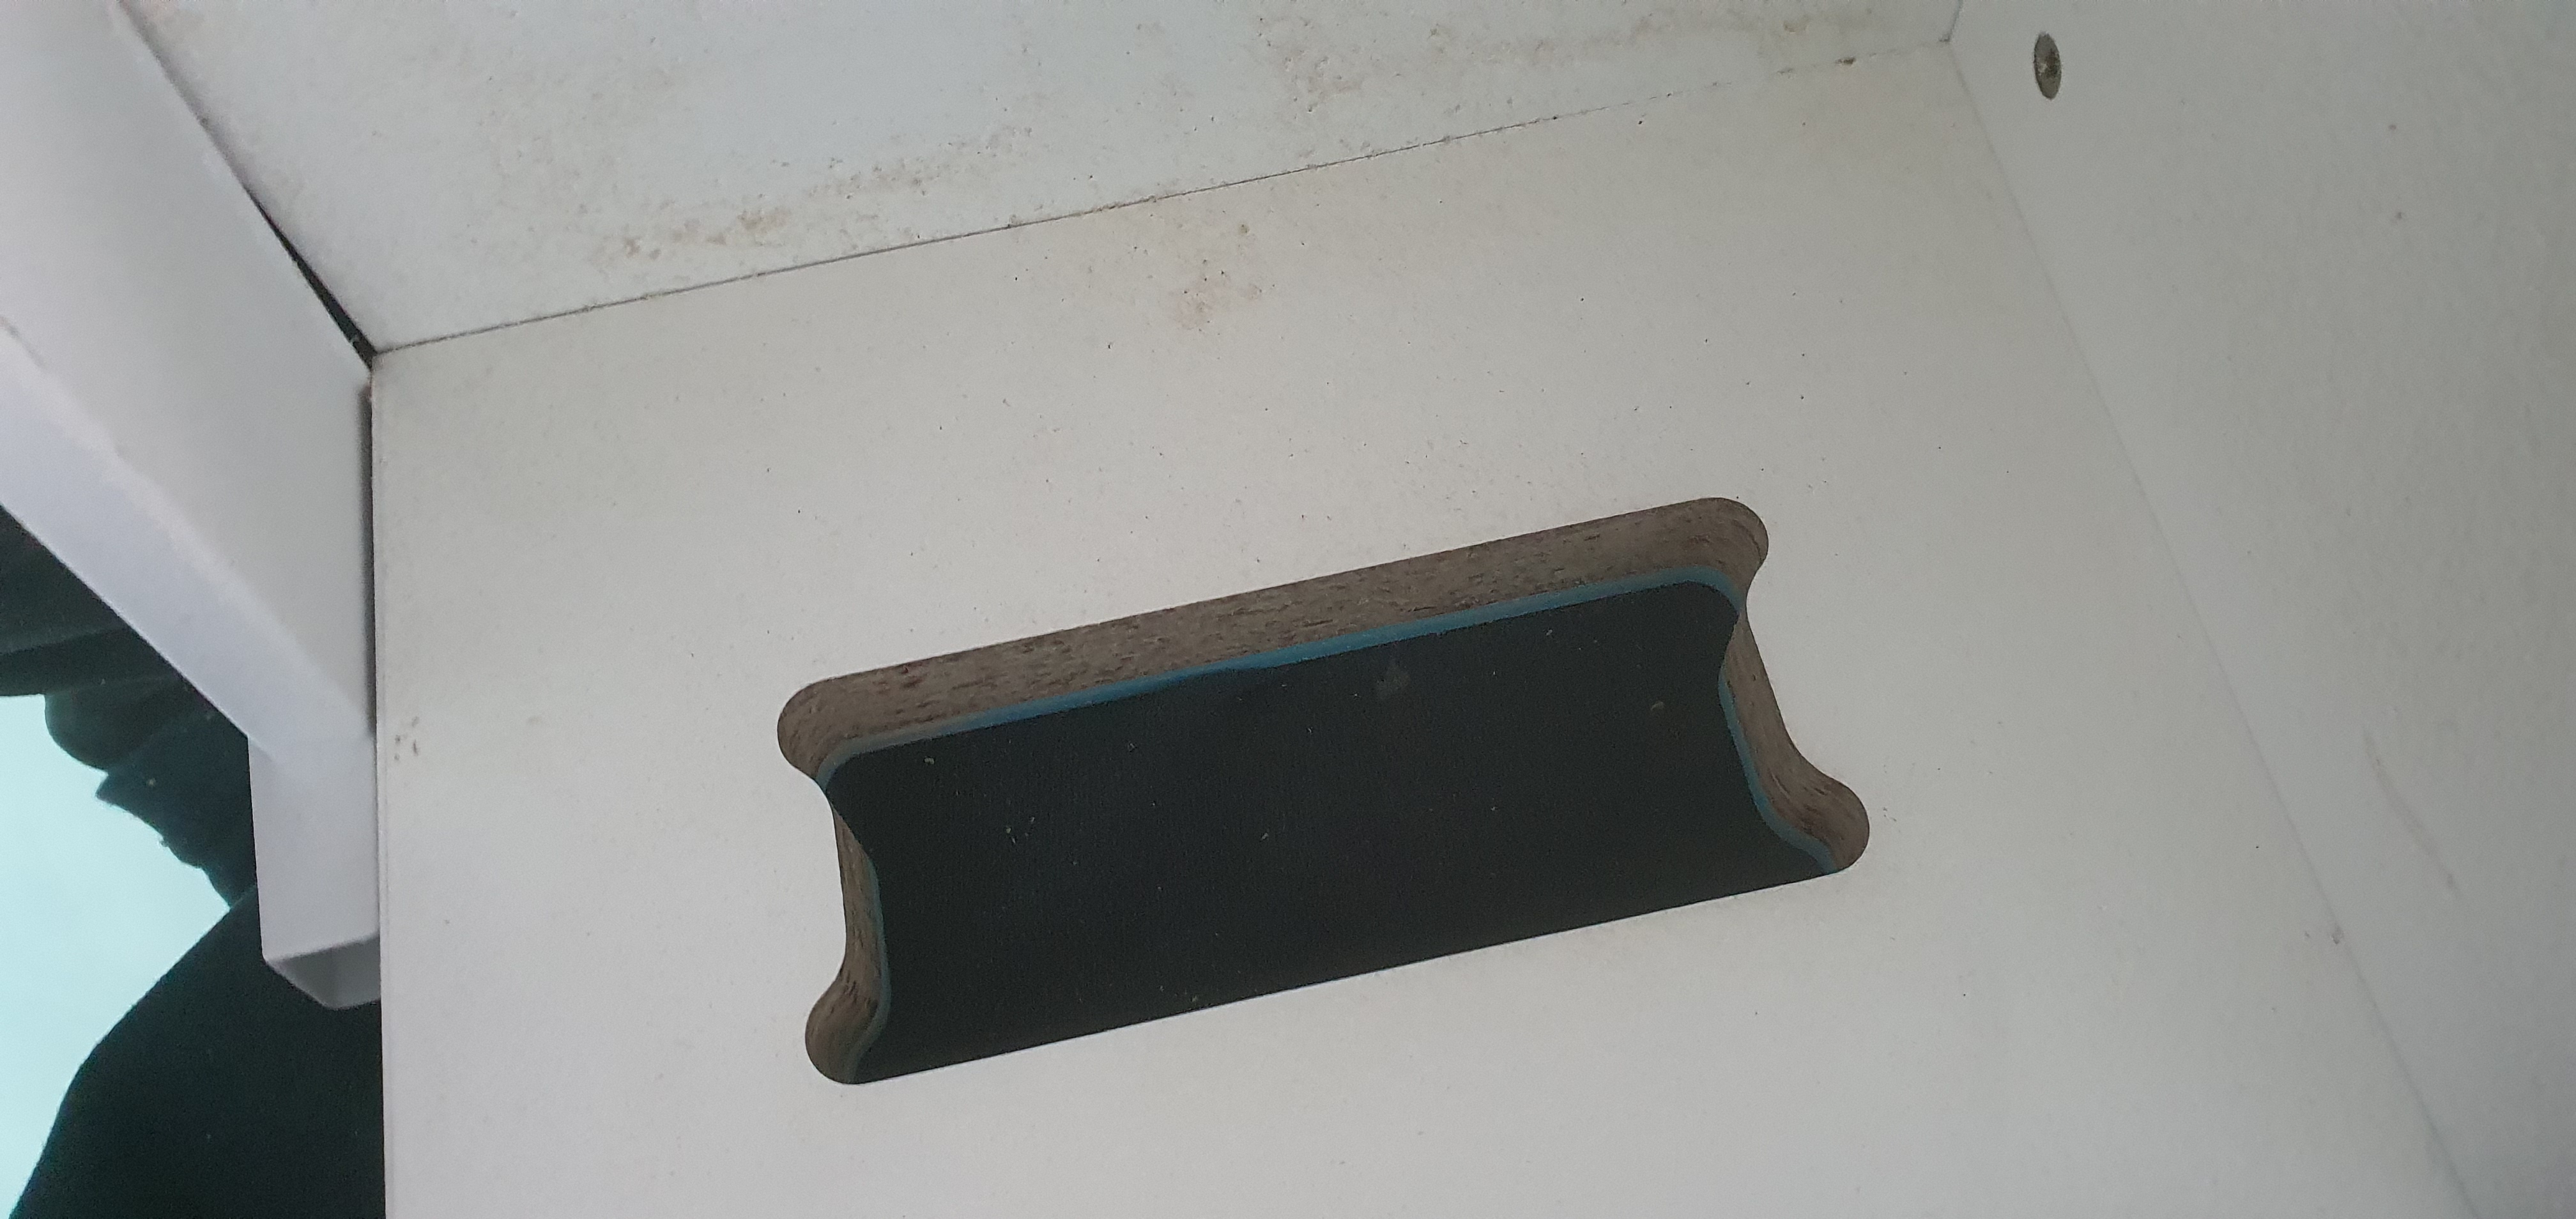
Then just insert the powerpoint and screw it off.