
Bachmann Thomas Motor swap alt
Obliczymy ostateczną cenę na podstawie wybranego pliku. Sprawdzisz ją i zaakceptujesz przed płatnością.
Zapisane na tym urządzeniu.
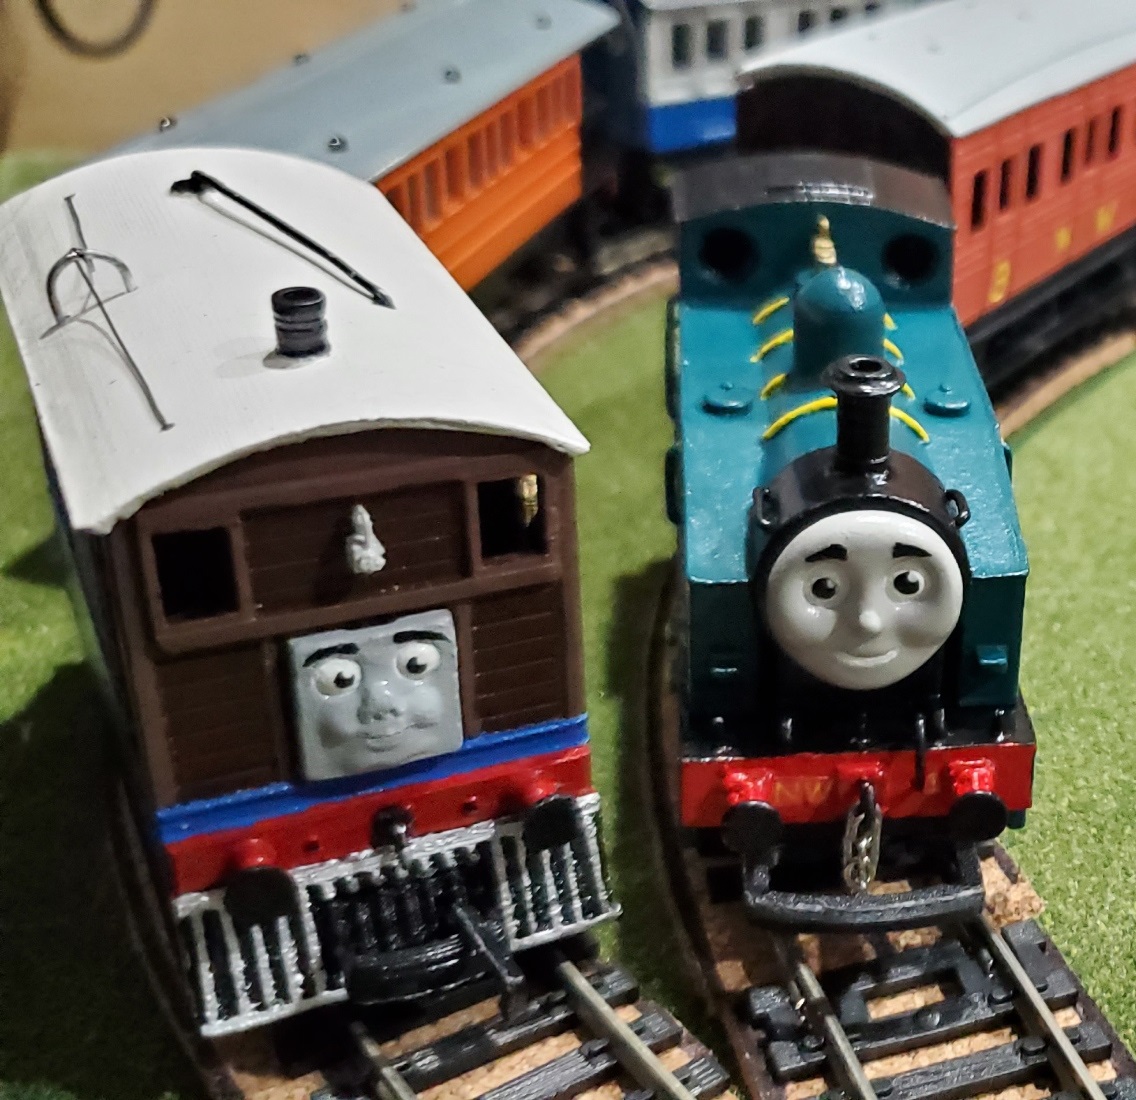
Motor housing swap for the Bachmann Thomas
- Ocena
- 0 / 5
- Polubienia
- 9
- Pobrania
- 109
- Wydruki
- 0
- Wyświetlenia
- 1461
- Oceny
- 0
Aktualizacja u źródła:
Informacje o modelu
- Źródło
- Printables
- Kategoria
- Other Ideas
- Licencja
- Creative Commons — Attribution
the early Bachmann Thomas & Friends range is well-known for being clunky and often a hassle to maintain. while this has improved over the years with newer models improving maintenance, the older models need reworking.
this is an upgrade to address one of those issues. while it may not include the assembly for the lines Eye Mechanism, it will result in a smaller, easier motor housing to work on and maintain.
The original motor housing was originally screwed into the upper shell of the model. so instead of unscrewing the two screws below, you would have to undo 3 to access the top, then 2 that hold the motor housing, and finally 4 more that hold the housing together to access the motor and the gears.
This motor housing uses 2 screws (can get away with one) and a replacement 2mm X 10.45mm fine thread screw to hold the motor housing to the chassis. (I may have the specification wrong, feel free to correct me on the proper type). I also included a part to mount below where you can thread the wire into the holes to create contacts for easy removal of the base plate, wires getting in the way of lower maintenance.
if you're a custom modeler, this motor housing will help you evenly by giving you a better mounting method other than gluing a cut-down motor housing to the metal chassis.
- Note; this design was made for the later can motor, not the initial motor housing with the exposed internals. the design will work with either the old or newer chassis designs.
Print Settings
Printer Brand:
Prusa
Printer:
Rafts:
No
Supports:
Yes
Resolution:
Infill:
low (100% for high temp filaments)
Filament: PETG recomended
Notes:
Print on the most prominent, fastest site of the parts.
assembly
remove support material.
use a small drill to enlarge the tiny 1mm holes on one side, on the other take a small paper clip or 1mm wire and cut off two small segments that will go through the two parts when next to each other. cut to length.take one(1) to two(2) of the screws from the Bachmann Thomas motor housing along with the motor and the gear and shaft next to it that engage with the idol gear. set the skews off the side.
- Note; I recommend removing the PCB board on the cab roof and soldering the motor directly to the electrical pickups/contacts.
install the gear shaft and gear in the larger circular hole, then place the motor above it where the rubber washer will reside and help hold it in place.
take the other half, align the screw mounts and push the two together. then take the two(2) screws you set aside earlier and secure the case together.
if you're using this to replace your old Bachmann Thomas Motor housing, you will need to remove some plastic from the running board. this will not affect the model's performance or visuals of it. near the rear screw mount to the chassis, there are two square bits of plastic, take small flush cutters or a blade and cut them off, do not cut the screw mount or the bar it's on, it will fit with the new motor housing. if you do not see what I'm talking about, reference the image of my models under the running board. it should look like or close to this.
All done!
If you use the motor housing, please share it with me. especially if it's a custom. either on Twitter or under the Make's tab of this post.
Category: Hobby