
doorplate / nameplate (parametric) - Türschild/Klingelschild (parametrisch)
Obliczymy ostateczną cenę na podstawie wybranego pliku. Sprawdzisz ją i zaakceptujesz przed płatnością.
Zapisane na tym urządzeniu.
doorplate with raised frame and letters in two colours. Slides on a dovetail wall mount. Can be swapped when needed
- Ocena
- 5 / 5
- Polubienia
- 22
- Pobrania
- 297
- Wydruki
- 1
- Wyświetlenia
- 1261
- Oceny
- 1
Aktualizacja u źródła:
Informacje o modelu
- Źródło
- Printables
- Kategoria
- Other House Equipment
- Licencja
- Creative Commons — Attribution — Noncommercial — Share Alike
parametric Doorplate / Nameplate
parametrisches Türschild
------------------------------------------------------------------------------------------------------------
Disclaimer: I made this to be able to swap the doorplate at the flat of our tenant and to get some more experience with OpenSCAD. I got motivated by the contest to document it a bit more, upload it and hope that it is usefull for somone :)
------------------------------------------------------------------------------------------------------------
The print consists of two parametric parts and can be changed in openSCAD.
A doorplate (Tuerschild.scad) that can either be:
- screwed in to something, like wood, directly using countersunk screws
- or can be mounted using the mounting bracket and there will be no visible screws
And an optional mouting bracket (Montageschiene.scad) to mount the doorplate without visible screws.
In general the Plate could also be used as a sign for other stuff such as tools.
Doorplate/Nameplate
The file is parametric and the follwoing things can be changed using variables in the top of the openSCAD file:
(there is also a short explanation in comments next to the variables)
- Name on the plate
- Overall size
- how “far" the imprint sticks out
- thichnes of the frameline
- Fontsize
- Mounting Option (using screws in all 4 corners [2] or the mounting bracket [1])
- screwhole size and chamfer size
Mouting bracket
The bracket gets screwed to the wall and the doorplate can be slid on it sideways. I designed it to be 0,1mm smaler in all dimensions except the length to have some clearance. Through the standofs on the back of the rail and the tension from the screws you can slightly bend the bracket to avoid that the doorplate has too much play and will side of to easy. Here also some things can be changed:
- with (should be the same as the doorplate)
- screwhole size
- chamfer
- orientation of the holes
- [0] no holes (if you have the need for that)
- [1] 1 hole in the middle of the bracked
- [2] 2 elongated holes at every end of the bracket
- distance of [2] to the edge can be changed
- retention bars on the back of the bracket
for farther explanation look in the .scad-file
Printing
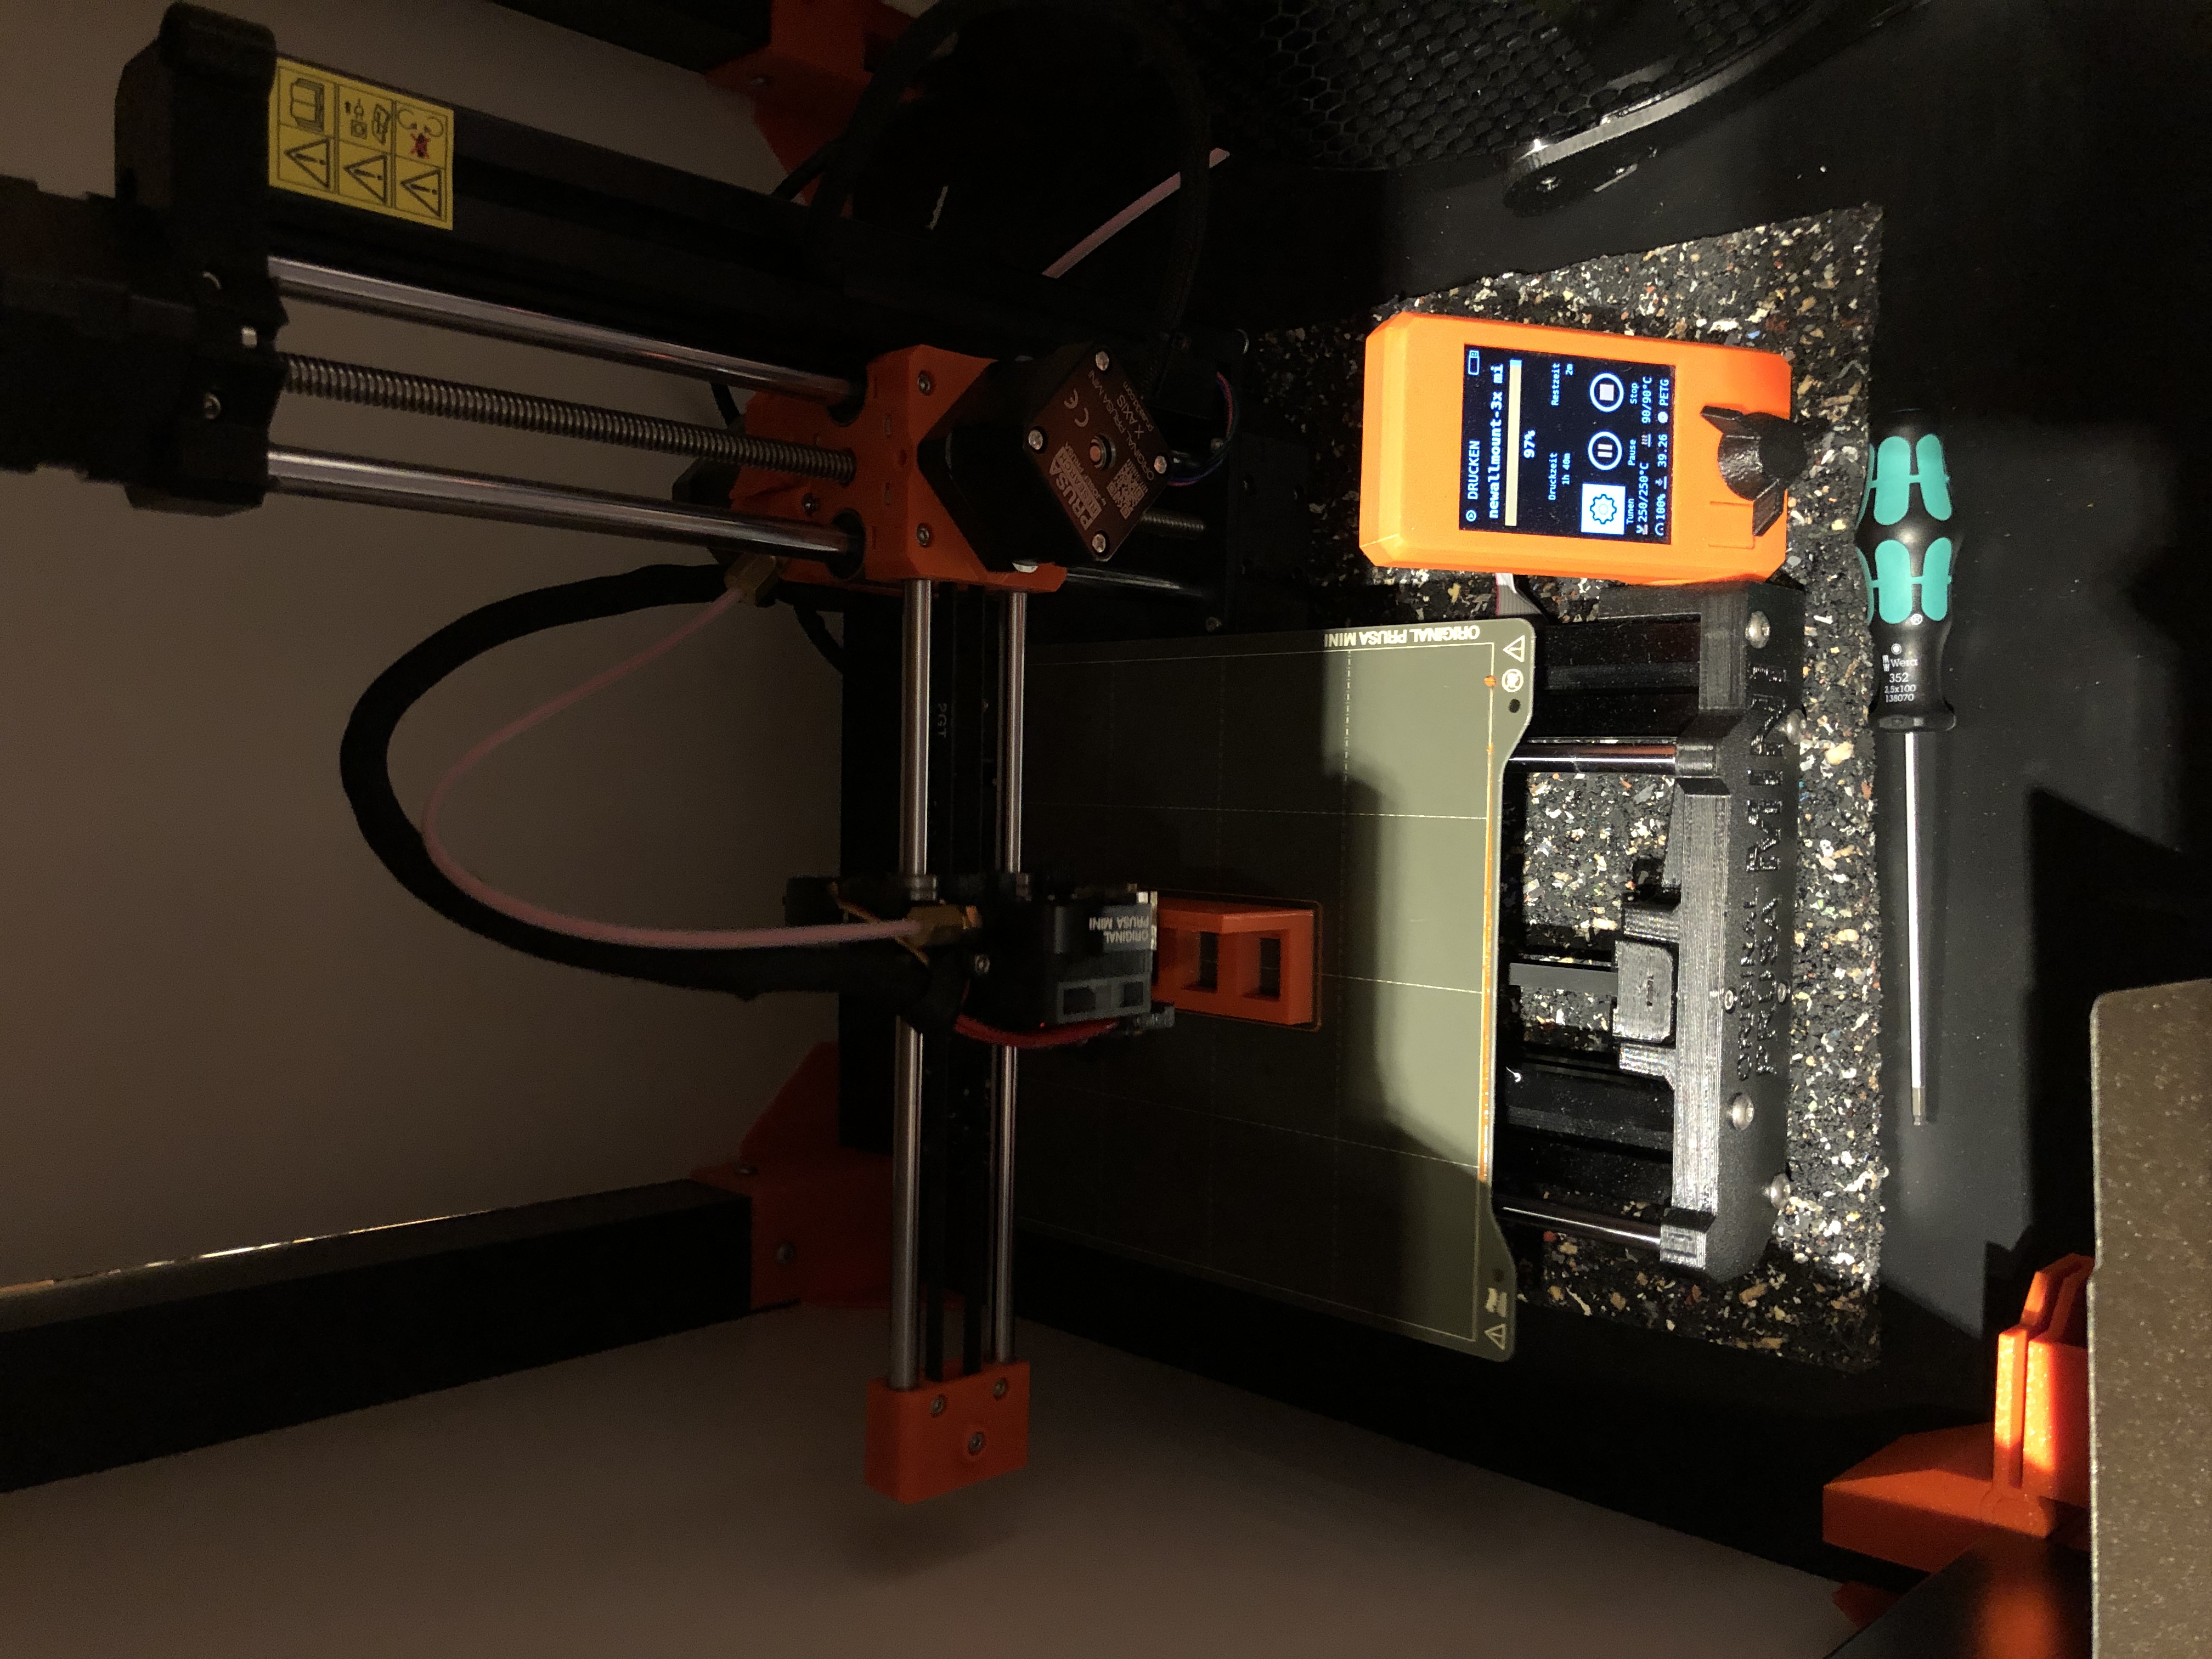
To get a nice contrast you have to pause the print and change the filament to another colour.
You can see this in the picture of the one I printed. Unfortunately I had to censor the name of our tenant because I don't want to post their name without consent to the internet.
On the file I printed I had to grind away some material to make the mouting bracket slide easily in the doorplate. I added some more clearance in the uplaoded file hoping to avoid this issue. I value your feedback here!
I printed my doorplate in Ultrafuse PET
------------------------------------------------------------------------------------------------------------
Changelog to 0.2 (09.07.2023 - 17:15)
- tidied up the SCAD-file and used modules for the substraction of the screwholes
- added a riveting variant for the doorplate/ nameplate
Things that still could be improved:
- Add the option for a second row
- Add an option for different font-sizes in each row
- riveting variant, for the mounting bracket
- combining both files and have a variable to choose wich object should be generated