
Low-profile X-axis limit switch mount for Creality CR10 Smart Pro by MAXPROBE for Zero Y 0 Y crtouch probe offset mount
Obliczymy ostateczną cenę na podstawie wybranego pliku. Sprawdzisz ją i zaakceptujesz przed płatnością.
Zapisane na tym urządzeniu.

Low-profile X-axis limit switch mount for Creality CR10 Smart Pro by MAXPROBE
- Ocena
- 0 / 5
- Polubienia
- 10
- Pobrania
- 89
- Wydruki
- 0
- Wyświetlenia
- 1303
- Oceny
- 0
Aktualizacja u źródła:
Informacje o modelu
- Źródło
- Printables
- Kategoria
- Creality Parts & Upgrades
- Licencja
- Creative Commons — Attribution — Noncommercial — Share Alike
Low-profile X-axis limit switch mount
You will need this to fit zero Y offset CR touch probe mounts like the MAXPROBE backplate on your Creality CR10 Smart Pro
Features
Low profile
Uses original components and fasteners
Fully reversible
Easy to install
Suits
Creality CR-10 Smart Pro
Sick of auto bed leveling issues?
So are we, that is why we developed the MAXPROBE backplate - the solution to auto bed levelling issues on Creality printers with the Sprite Pro Extruder such as the CR10 Smart Pro and Ender 3 S1 Pro. It is easy to install, uses all standard components and does not require cutting any wires. Download the MAXPROBE backplate here
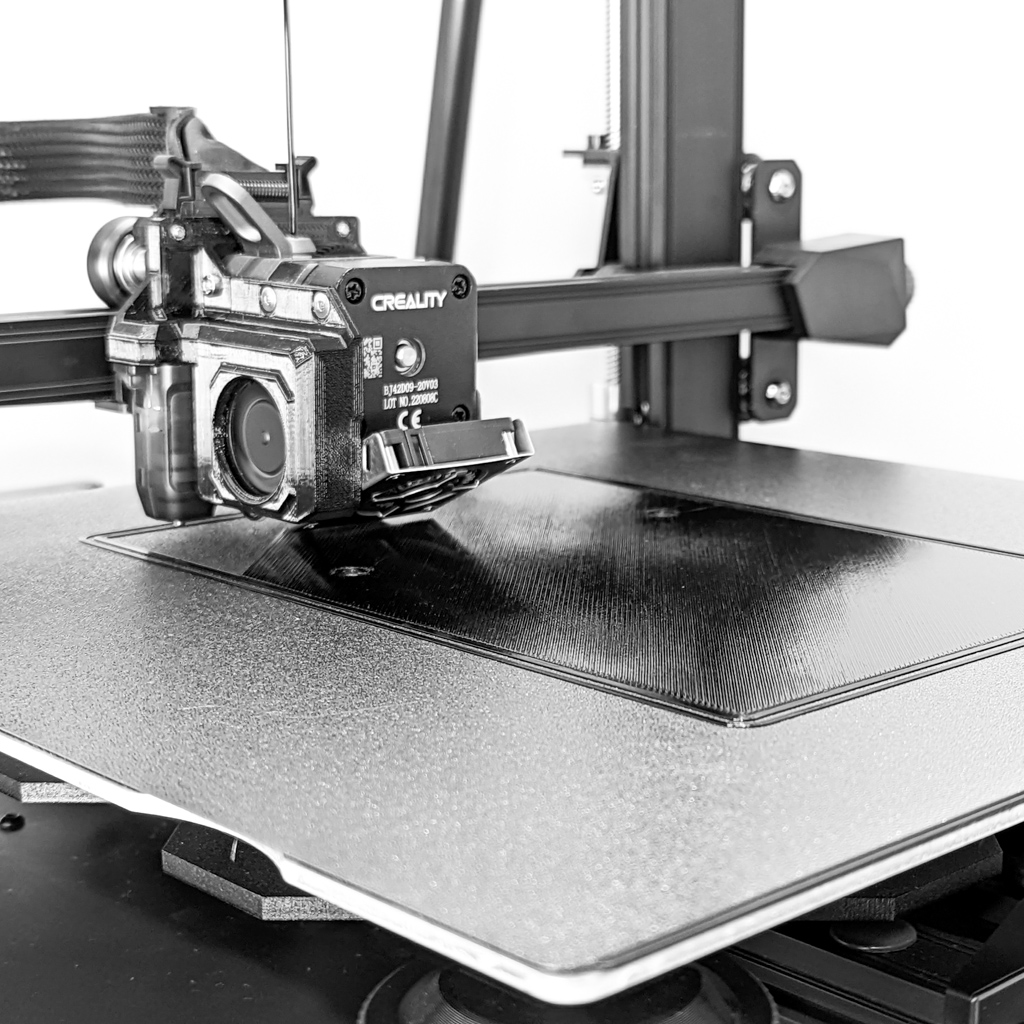
Choosing the right STL
Due to the way FDM printers work, small holes will come out slightly undersize. Therefore, STLs with different size holes in them have been included. Choose the hole size that allows the spigot on the heat-set insert to sit in the hole before being installed (if using threaded insert version) or that allows you to self-tap the hole with the fastener (if using no-insert version). If you are not sure, start with the +0.3 STL.
Print instructions
Material: PLA or PETG
Layer height: 0.2
Walls: 1.6 thick (0.4 line width) , 1.5 thick (0.5 line width)
Top/bottom thickness: 1.6
Infill: 40% grid
Supports: Not required
Install notes
Use a soldering iron or lighter to install 2x M2 and 4x M3 Aliexpress brass heat-set threaded inserts into MAXPROBE limit switch mount (if using insert version)
Remove original limit switch cover from printer
Remove limit switch and cable guide from original limit switch cover
Install limit switch and cable guide as shown below
Install MAXPROBE limit switch mount onto your printer
