
Glow Cuboid
Obliczymy ostateczną cenę na podstawie wybranego pliku. Sprawdzisz ją i zaakceptujesz przed płatnością.
Zapisane na tym urządzeniu.
Informacje o modelu
- Źródło
- Printables
- Kategoria
- Other Art & Designs
- Licencja
- Creative Commons — Attribution — Share Alike
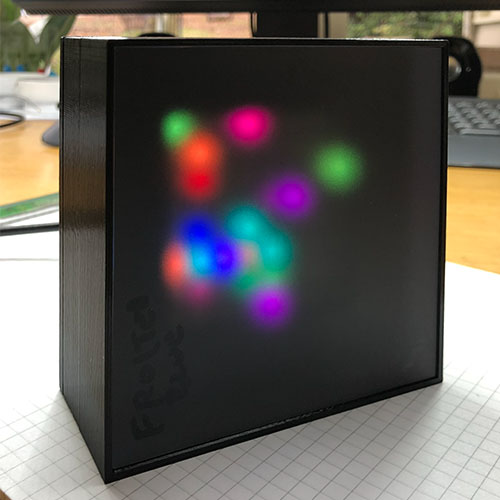
I wanted to make something artistic and dynamic using the GlowBit 8x8 matrix that I’ve been playing around with. It’s just an RP2040 programmed in Python to produce random patterns on a GlowBit 8x8 RGB LED matrix. I just played around with numbers and algorithms until I liked the look of them. It seems that people all have very differing favorites and some that I didn’t like, others love. So to that end, I created 4 different algorithms which create distinctive patterns over time. I didn’t want to use any switches so an accelerometer determines the orientation of the cube which sets the mode. The unit resets itself when put on its back.
Basically, you just plug it into a USB power source and it does its thing. Two of the modes take some time to initialize.
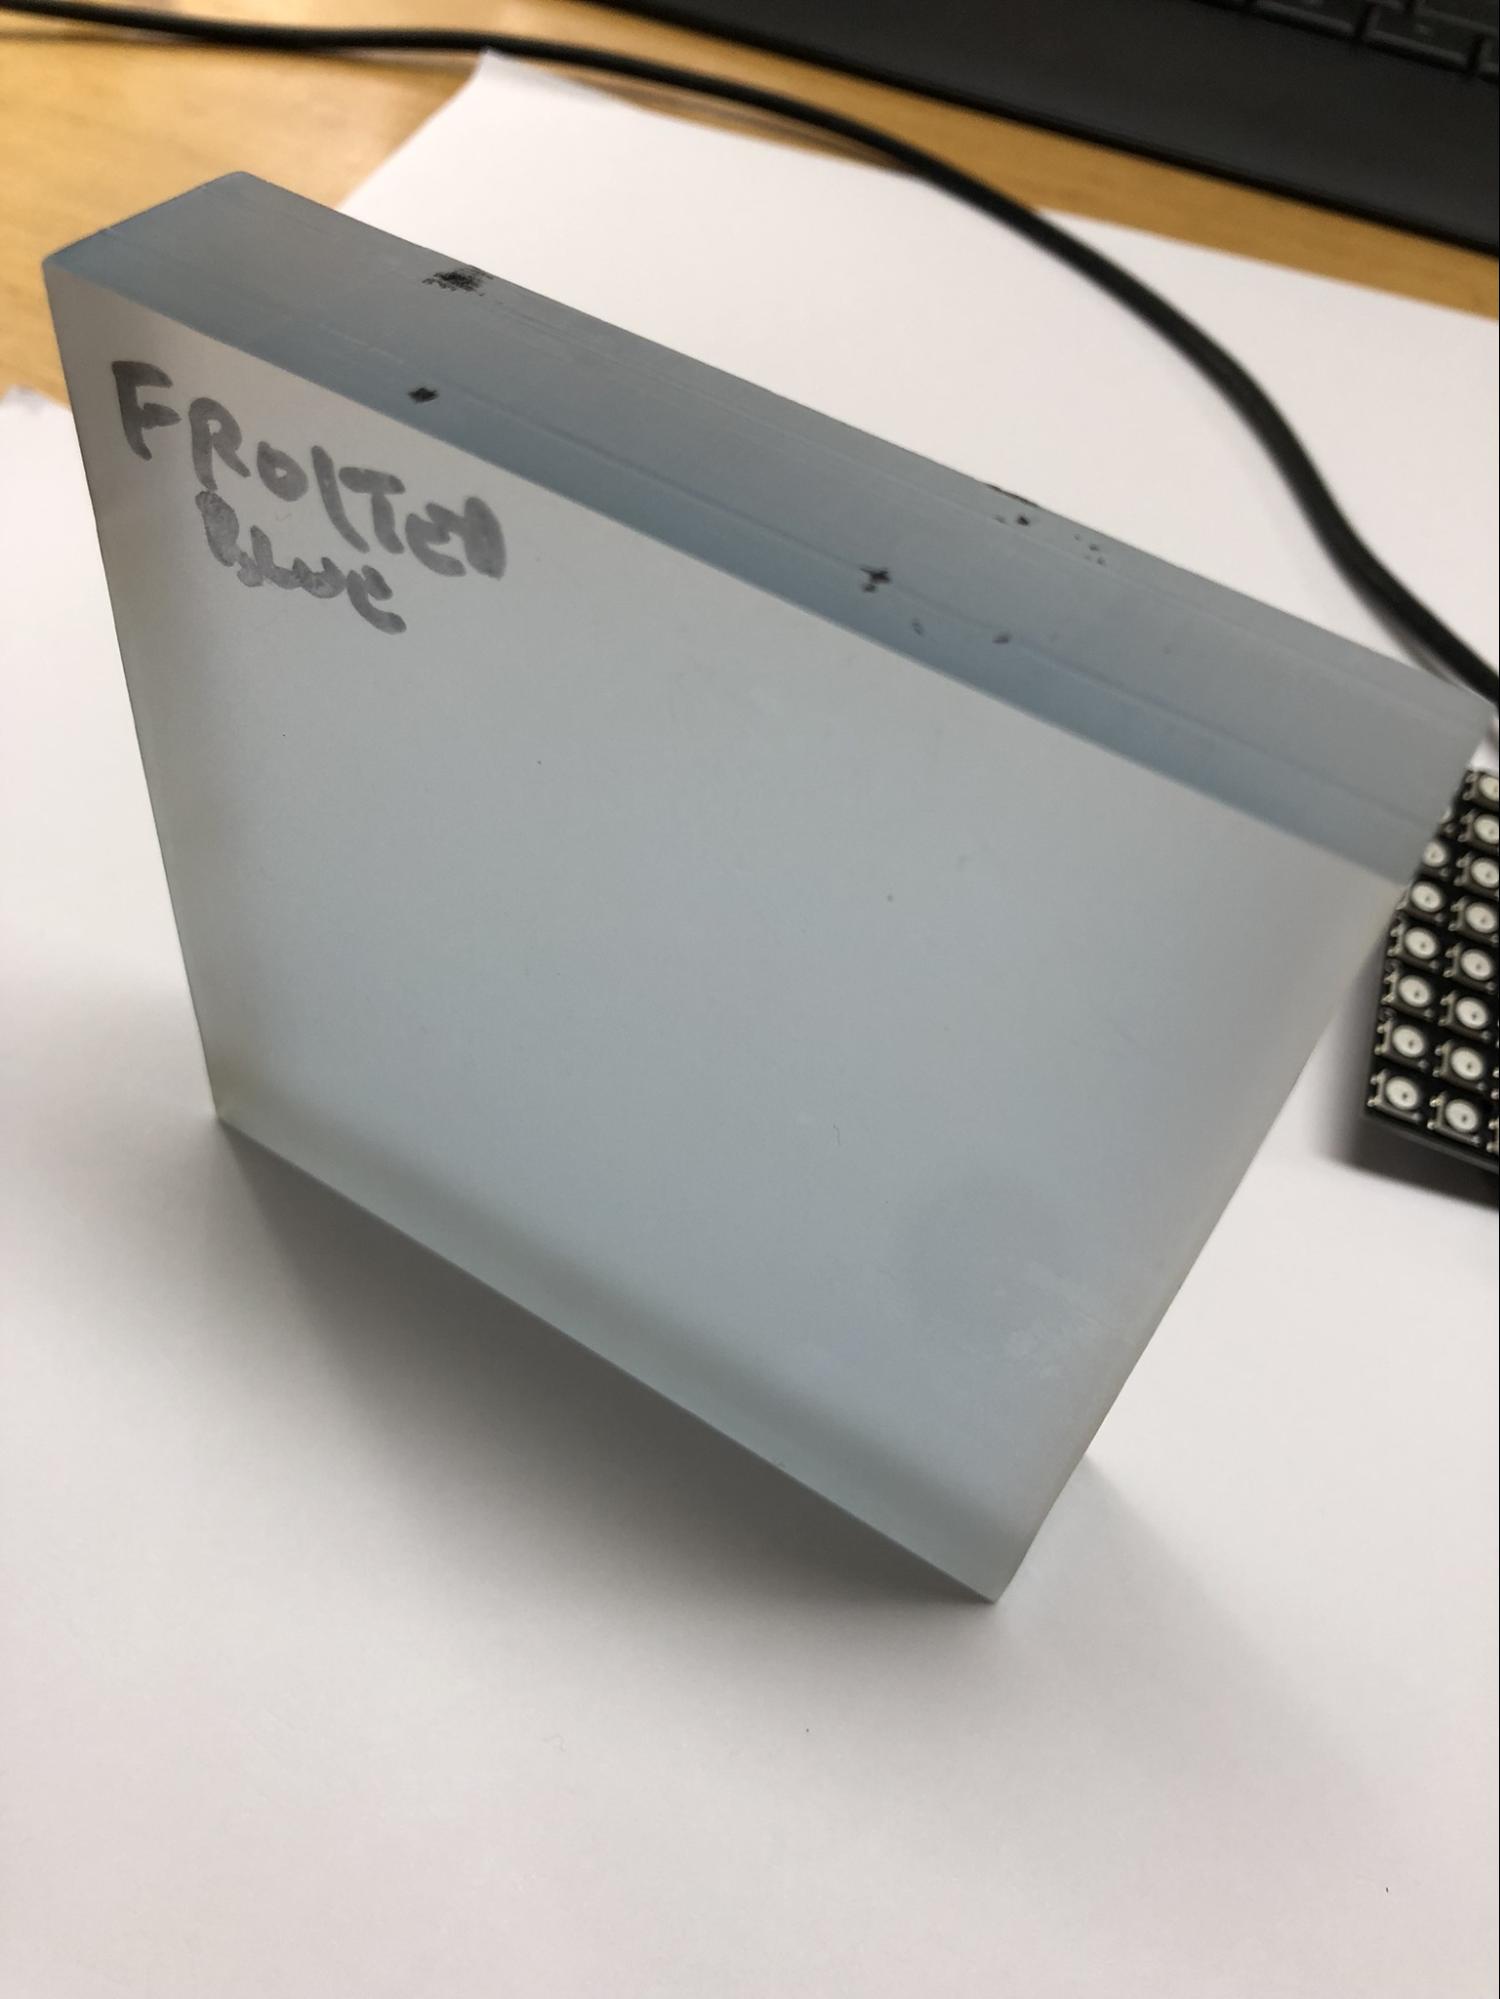
The size of the unit was determined by a piece of sample frosted acrylic lying around that measured 100 x 100 x 10mm.
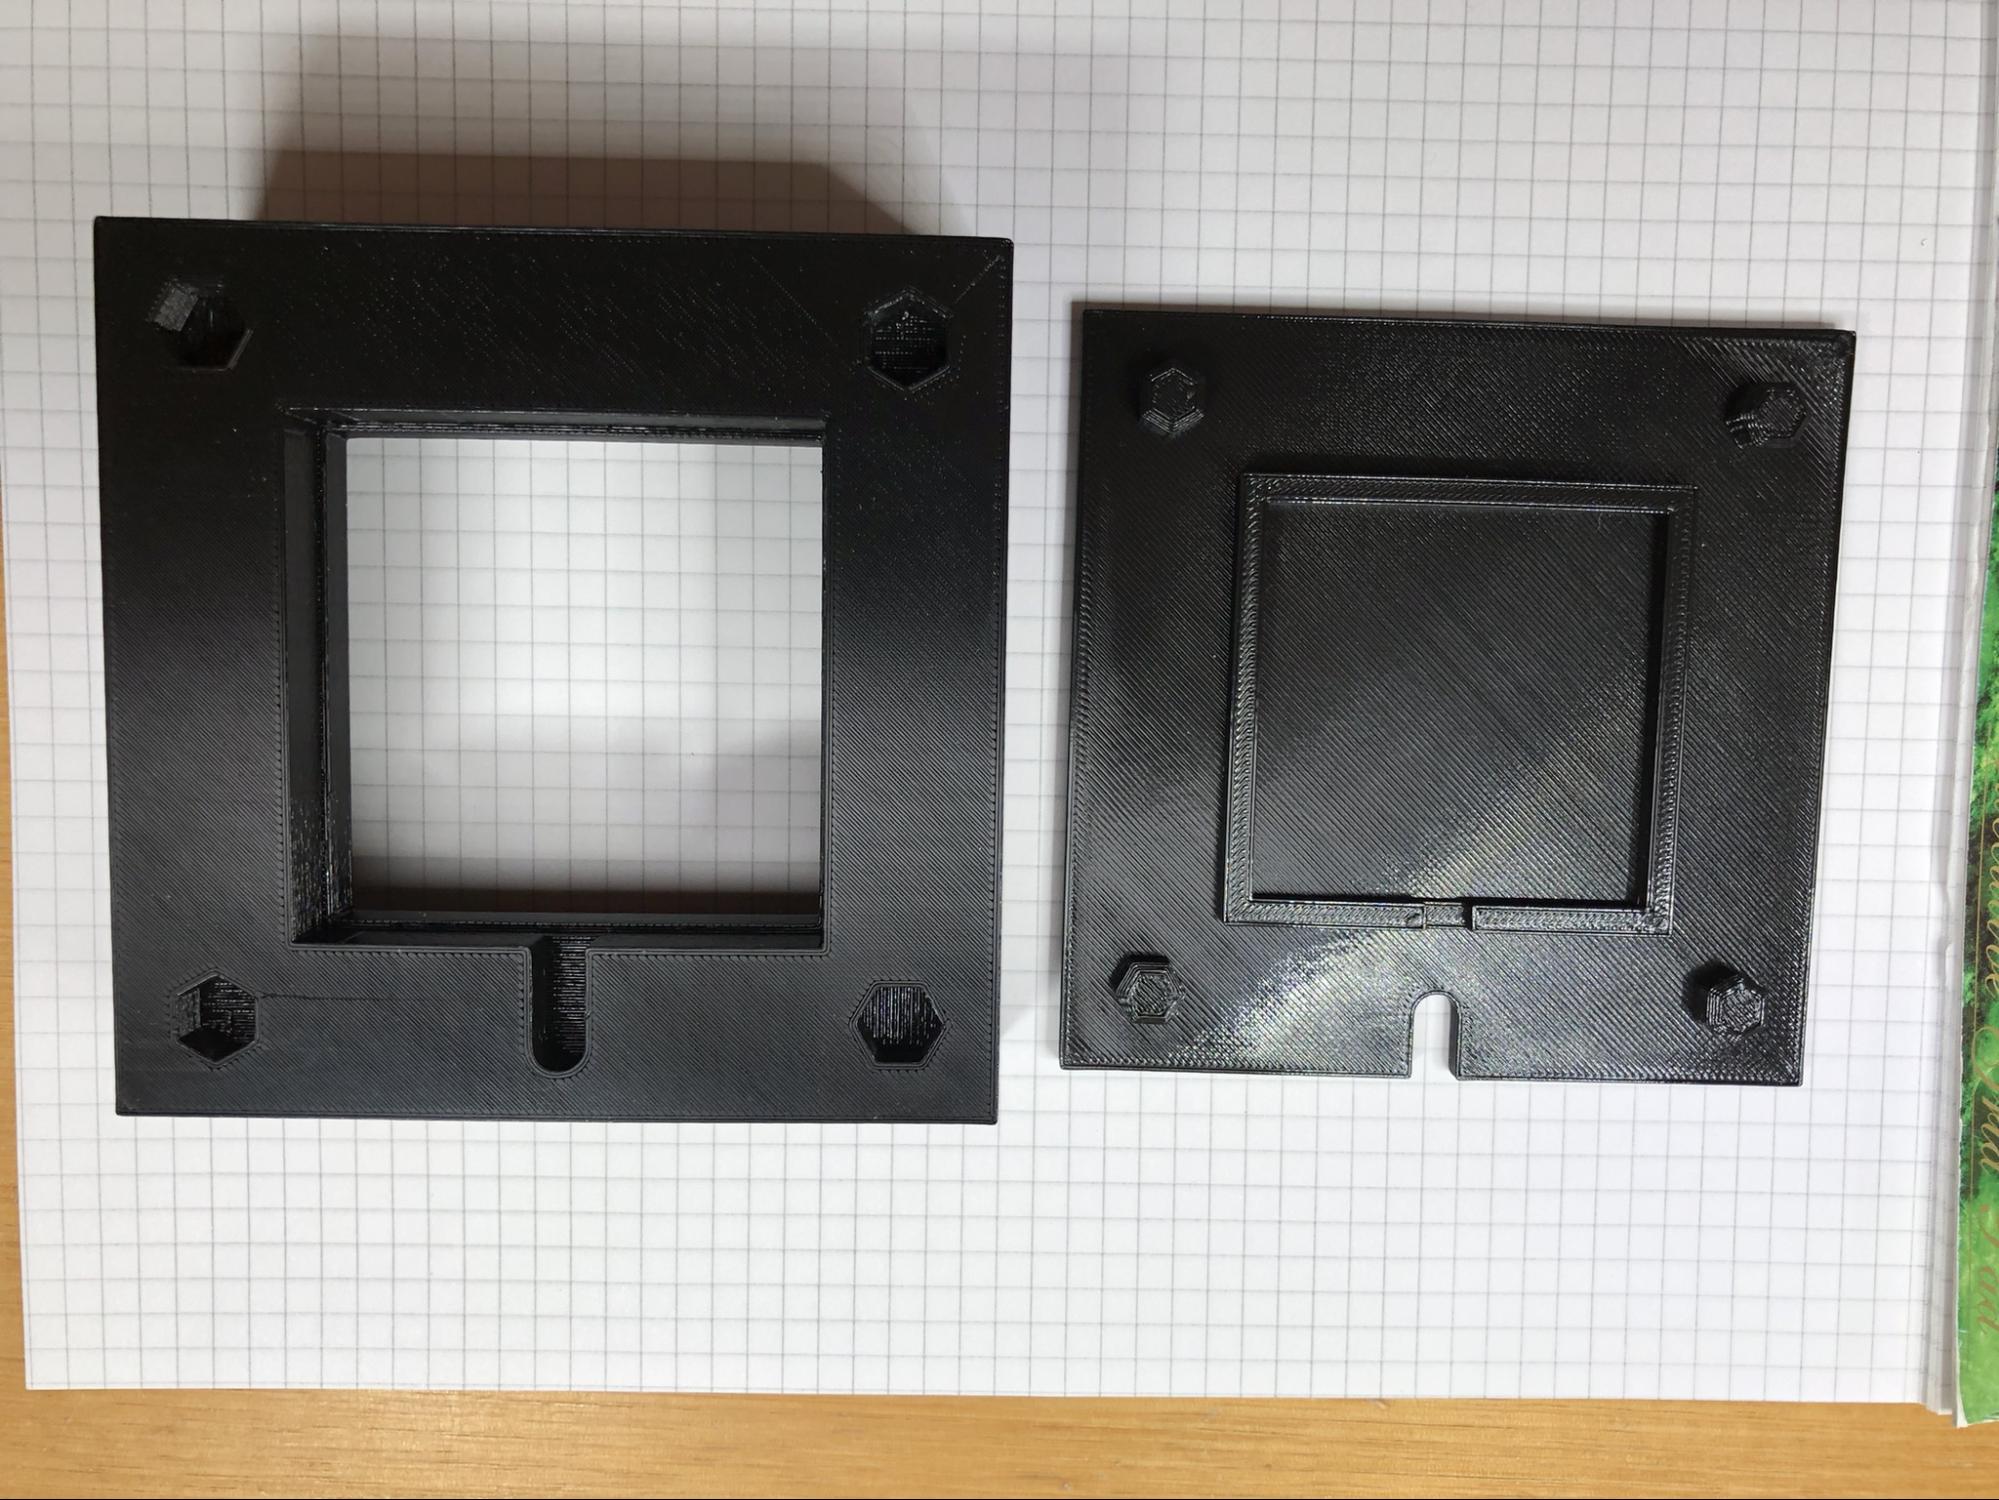
Two 3D printed parts complete the assembly.
Parts
RP2040-Zero, a Pico-like MCU Board Based on Raspberry Pi RP2040
GlowBit™ Matrix - 8x8
MPU-6050 Module 3 Axis Gyroscope + Accelerometer
USB-C cable
3D printed front and back pieces
Acrylic frosted slab, 100x100x10, or anything that is opaque
Electric tape
Hot glue
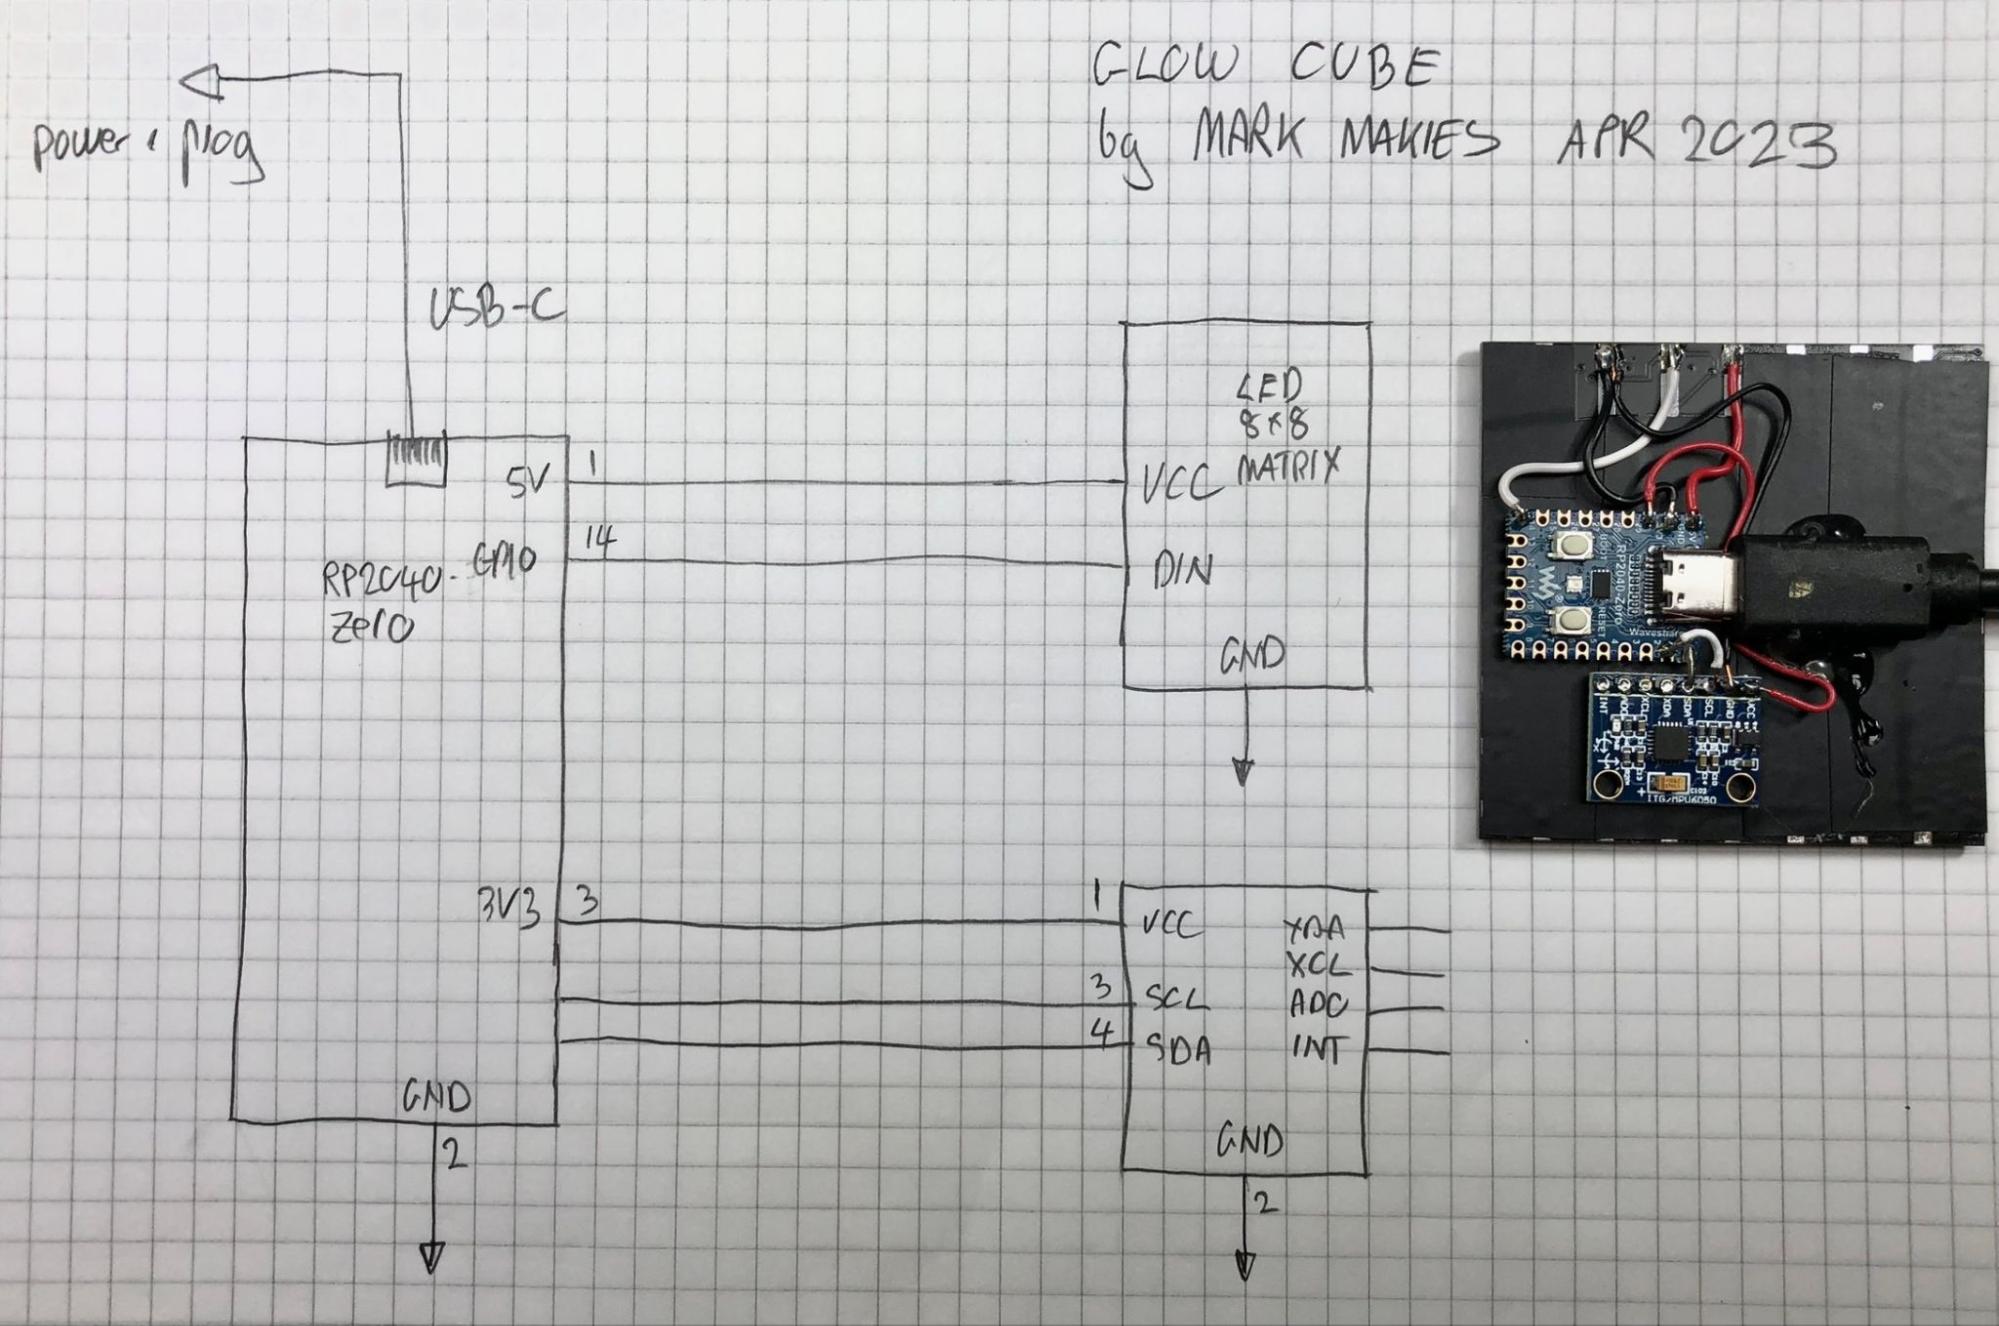
Schematic
Enclosure - 3D printed
Design files in FreeCAD format + 3D models in step format + 3mf Prusa format
Nothing special about prints, but need support for front piece rebate
My printer is a Prusa i3 and I use generic branded filaments
Acrylic 100 x 100 x 10 mm
Assembly
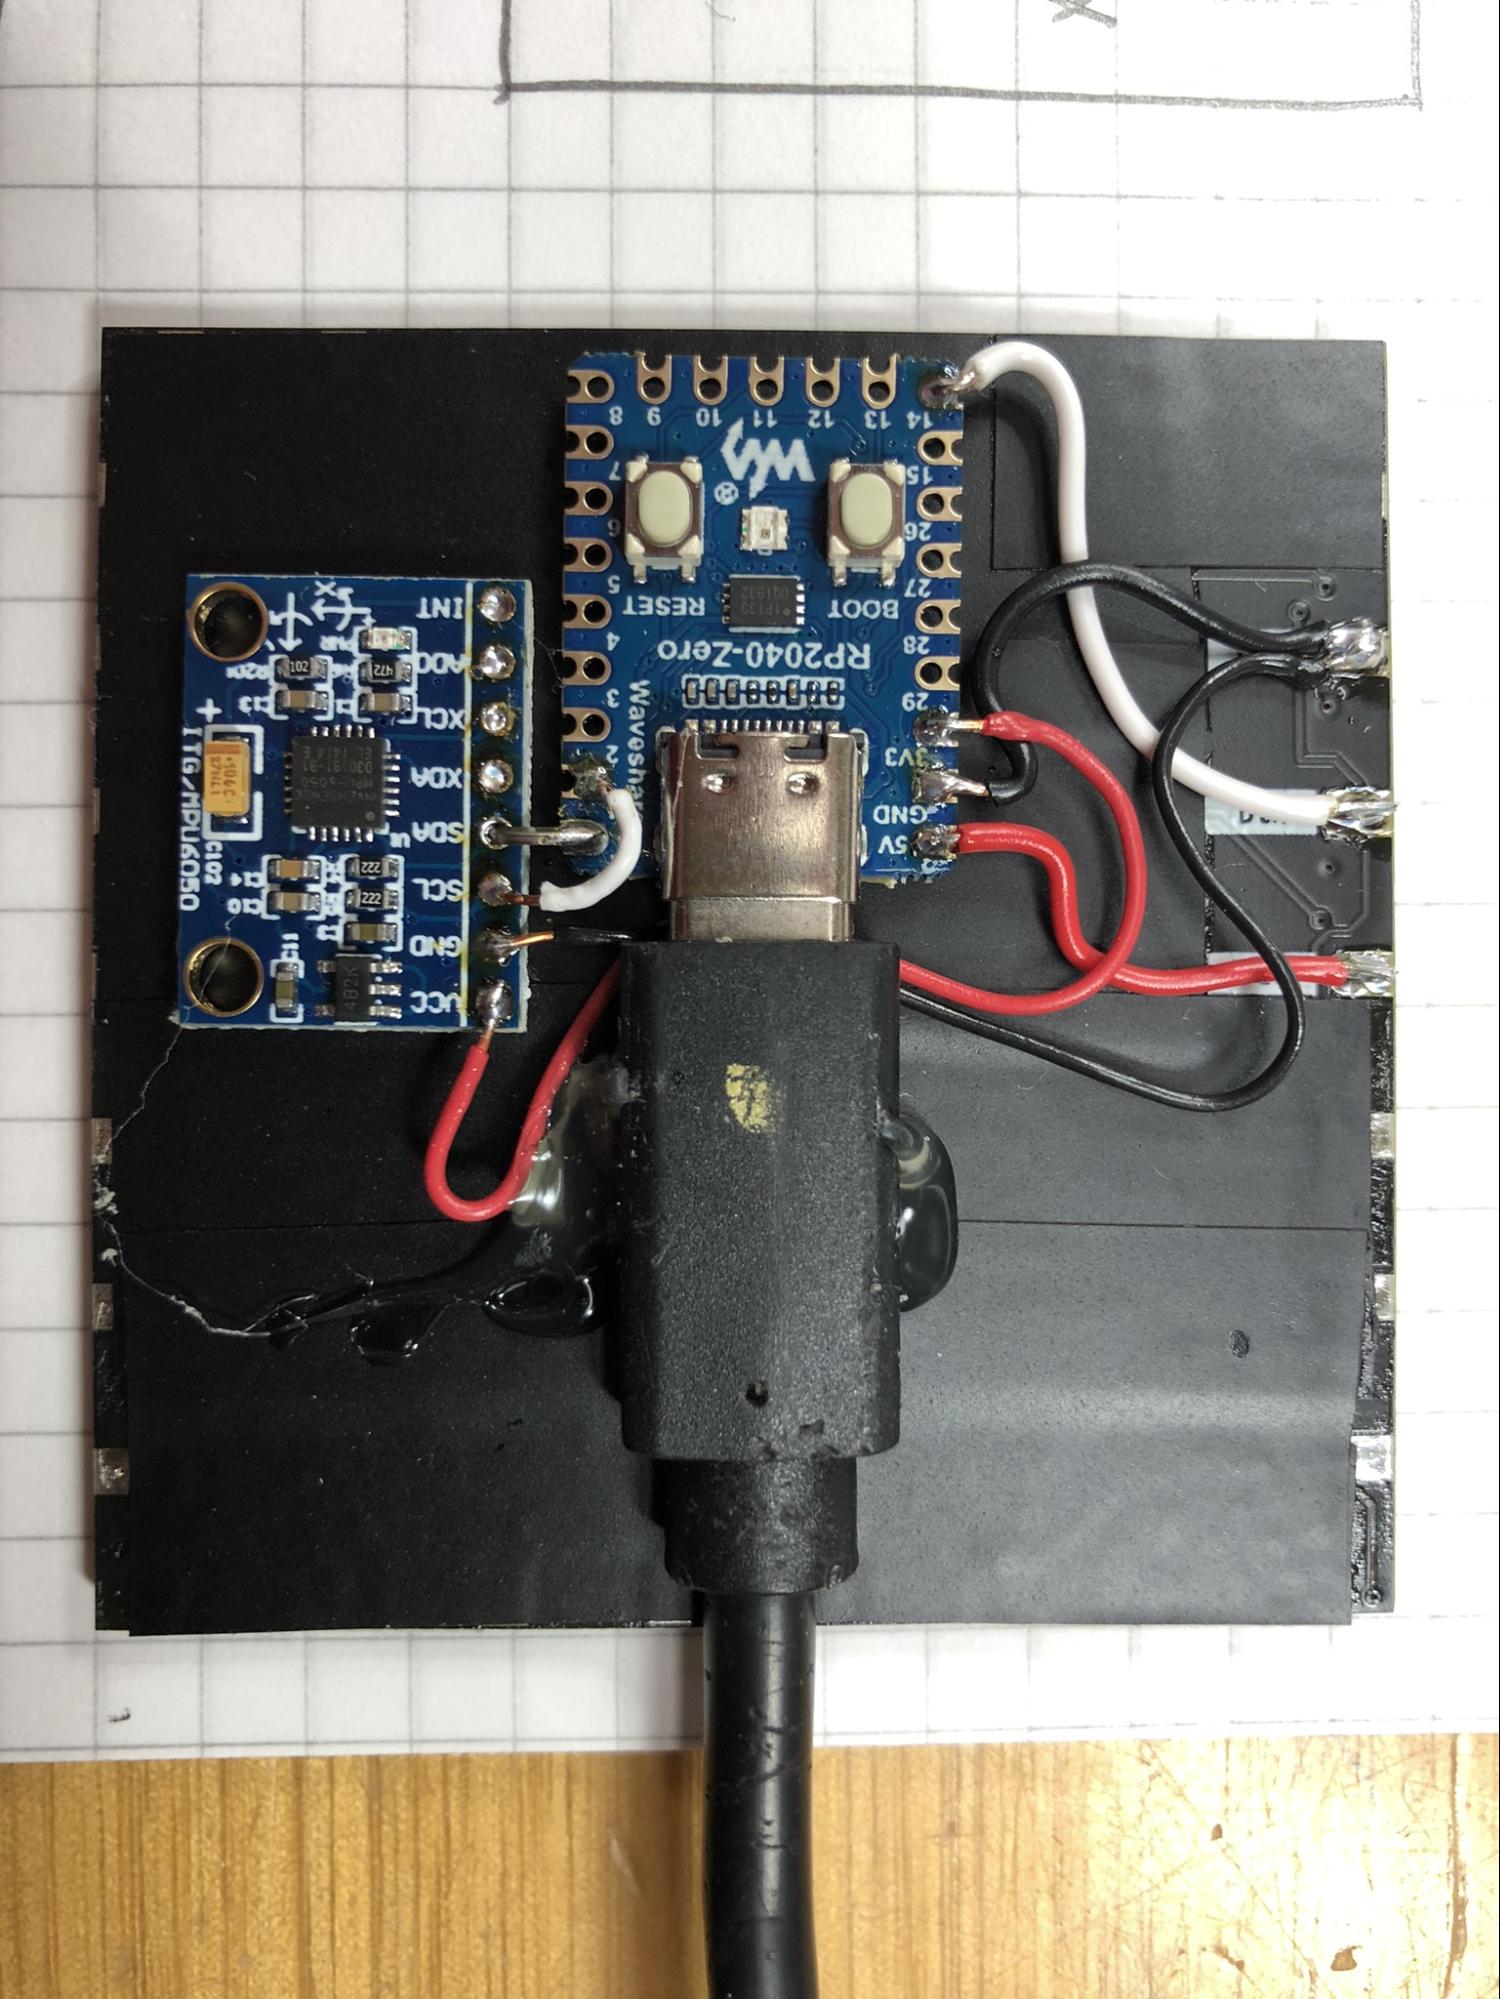
Cover back of LED matrix with electrical tape
Hot glue MCU, USB plug and MPU to electrical tape on back of matrix
Solder up
Test
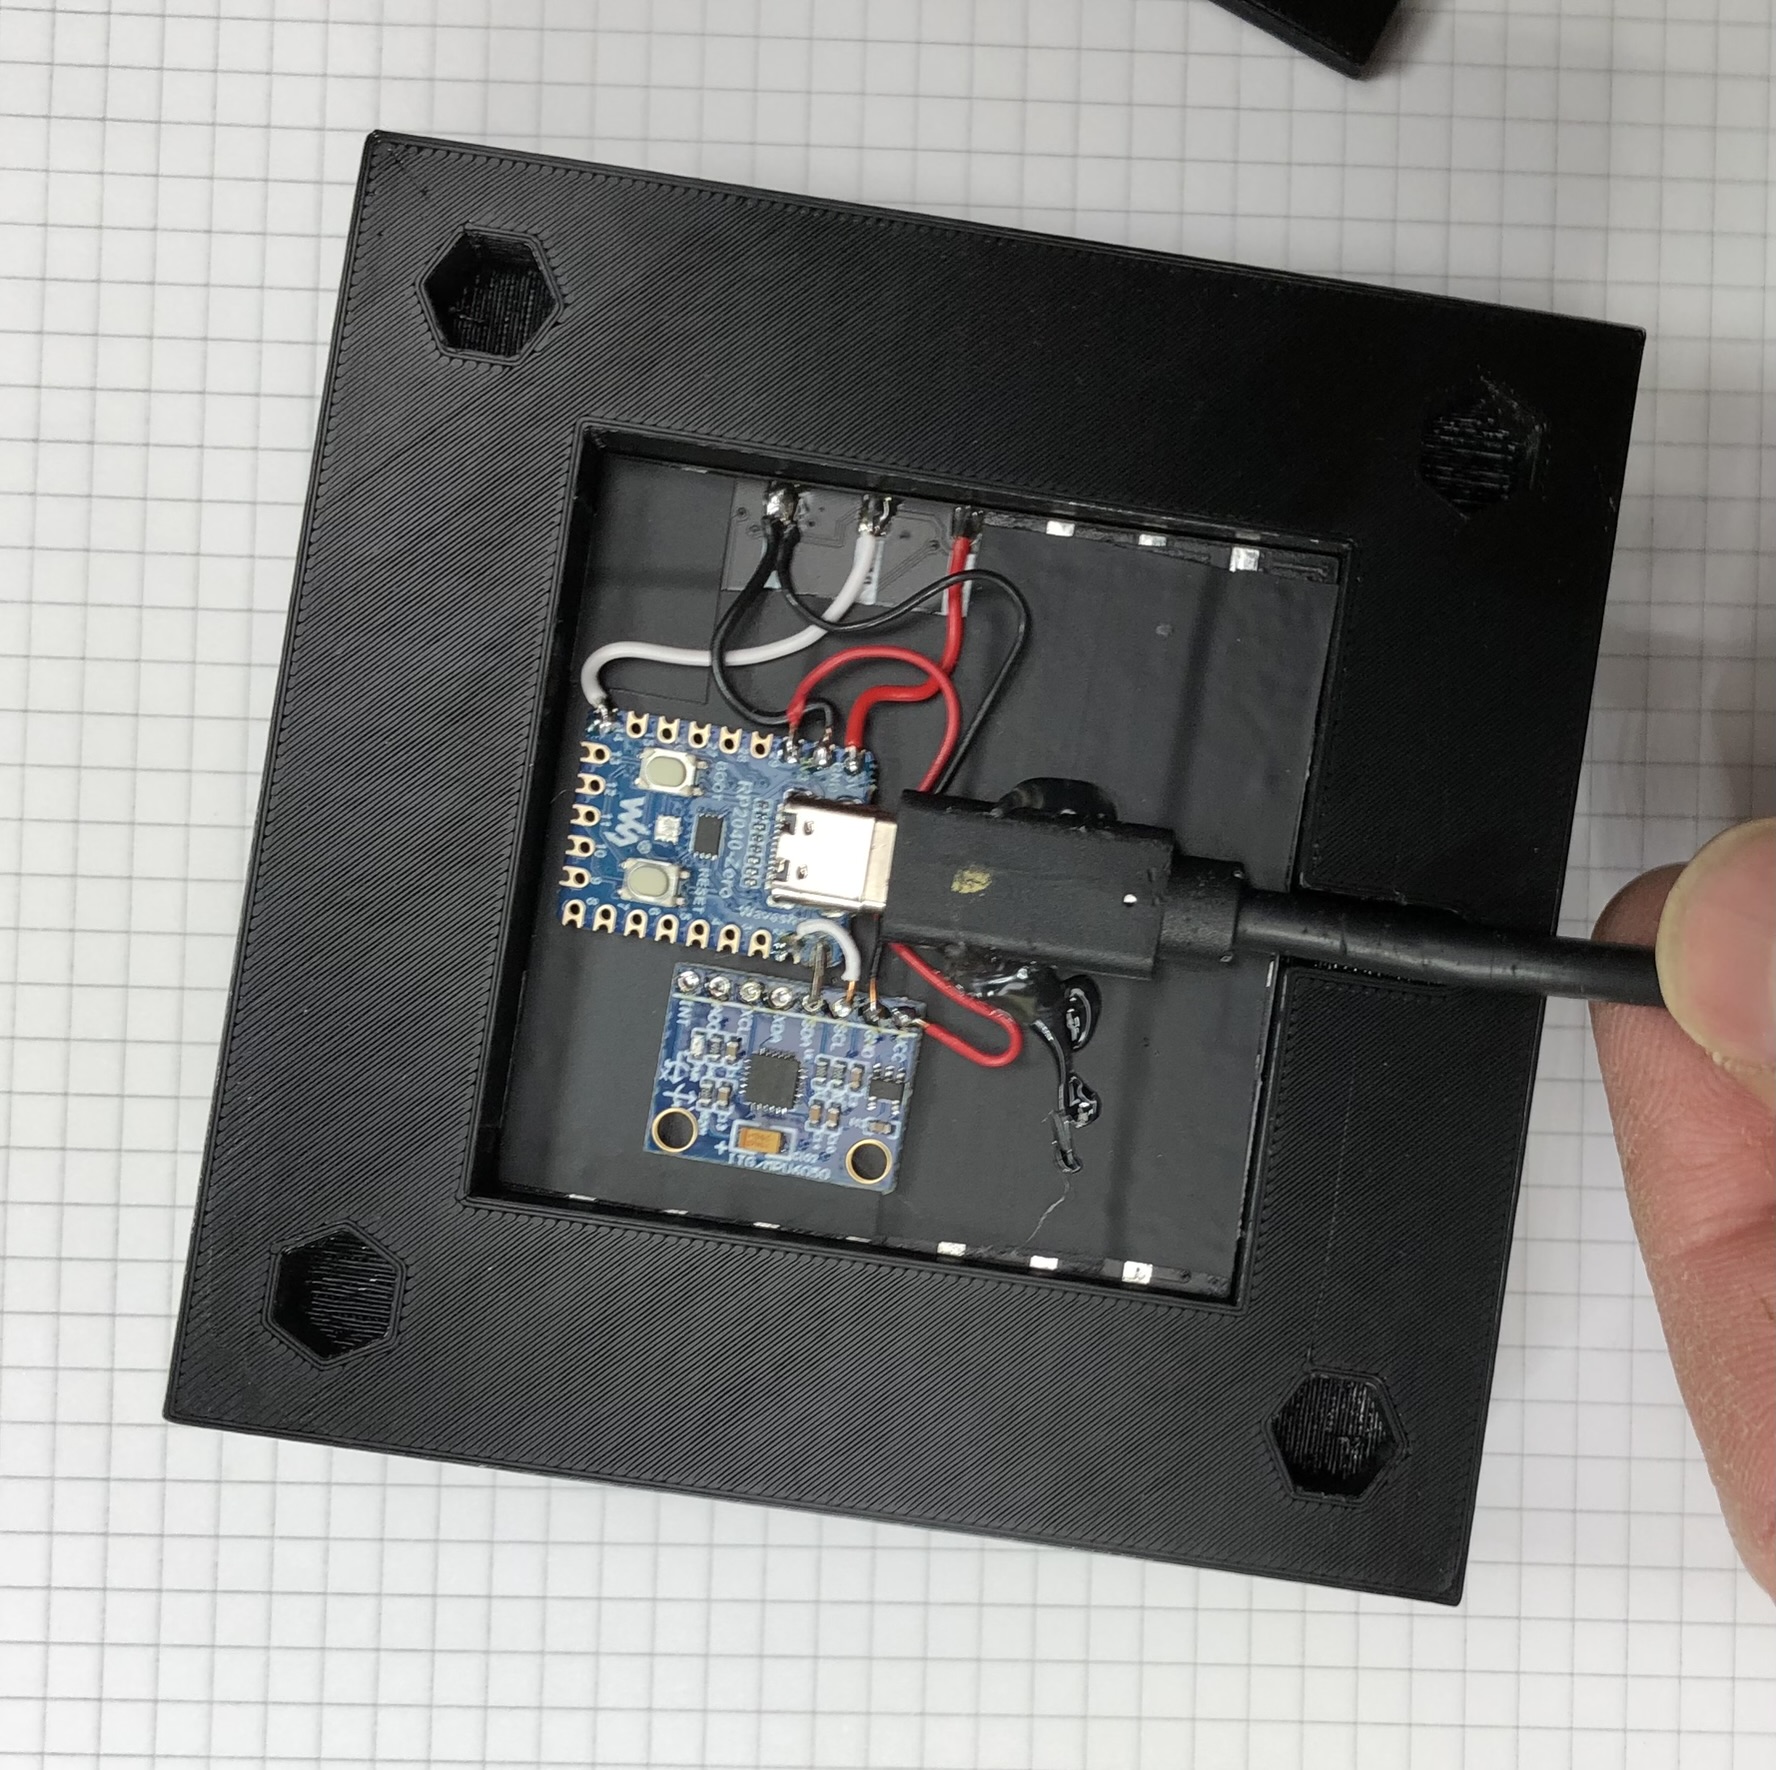
Drop module into enclosure
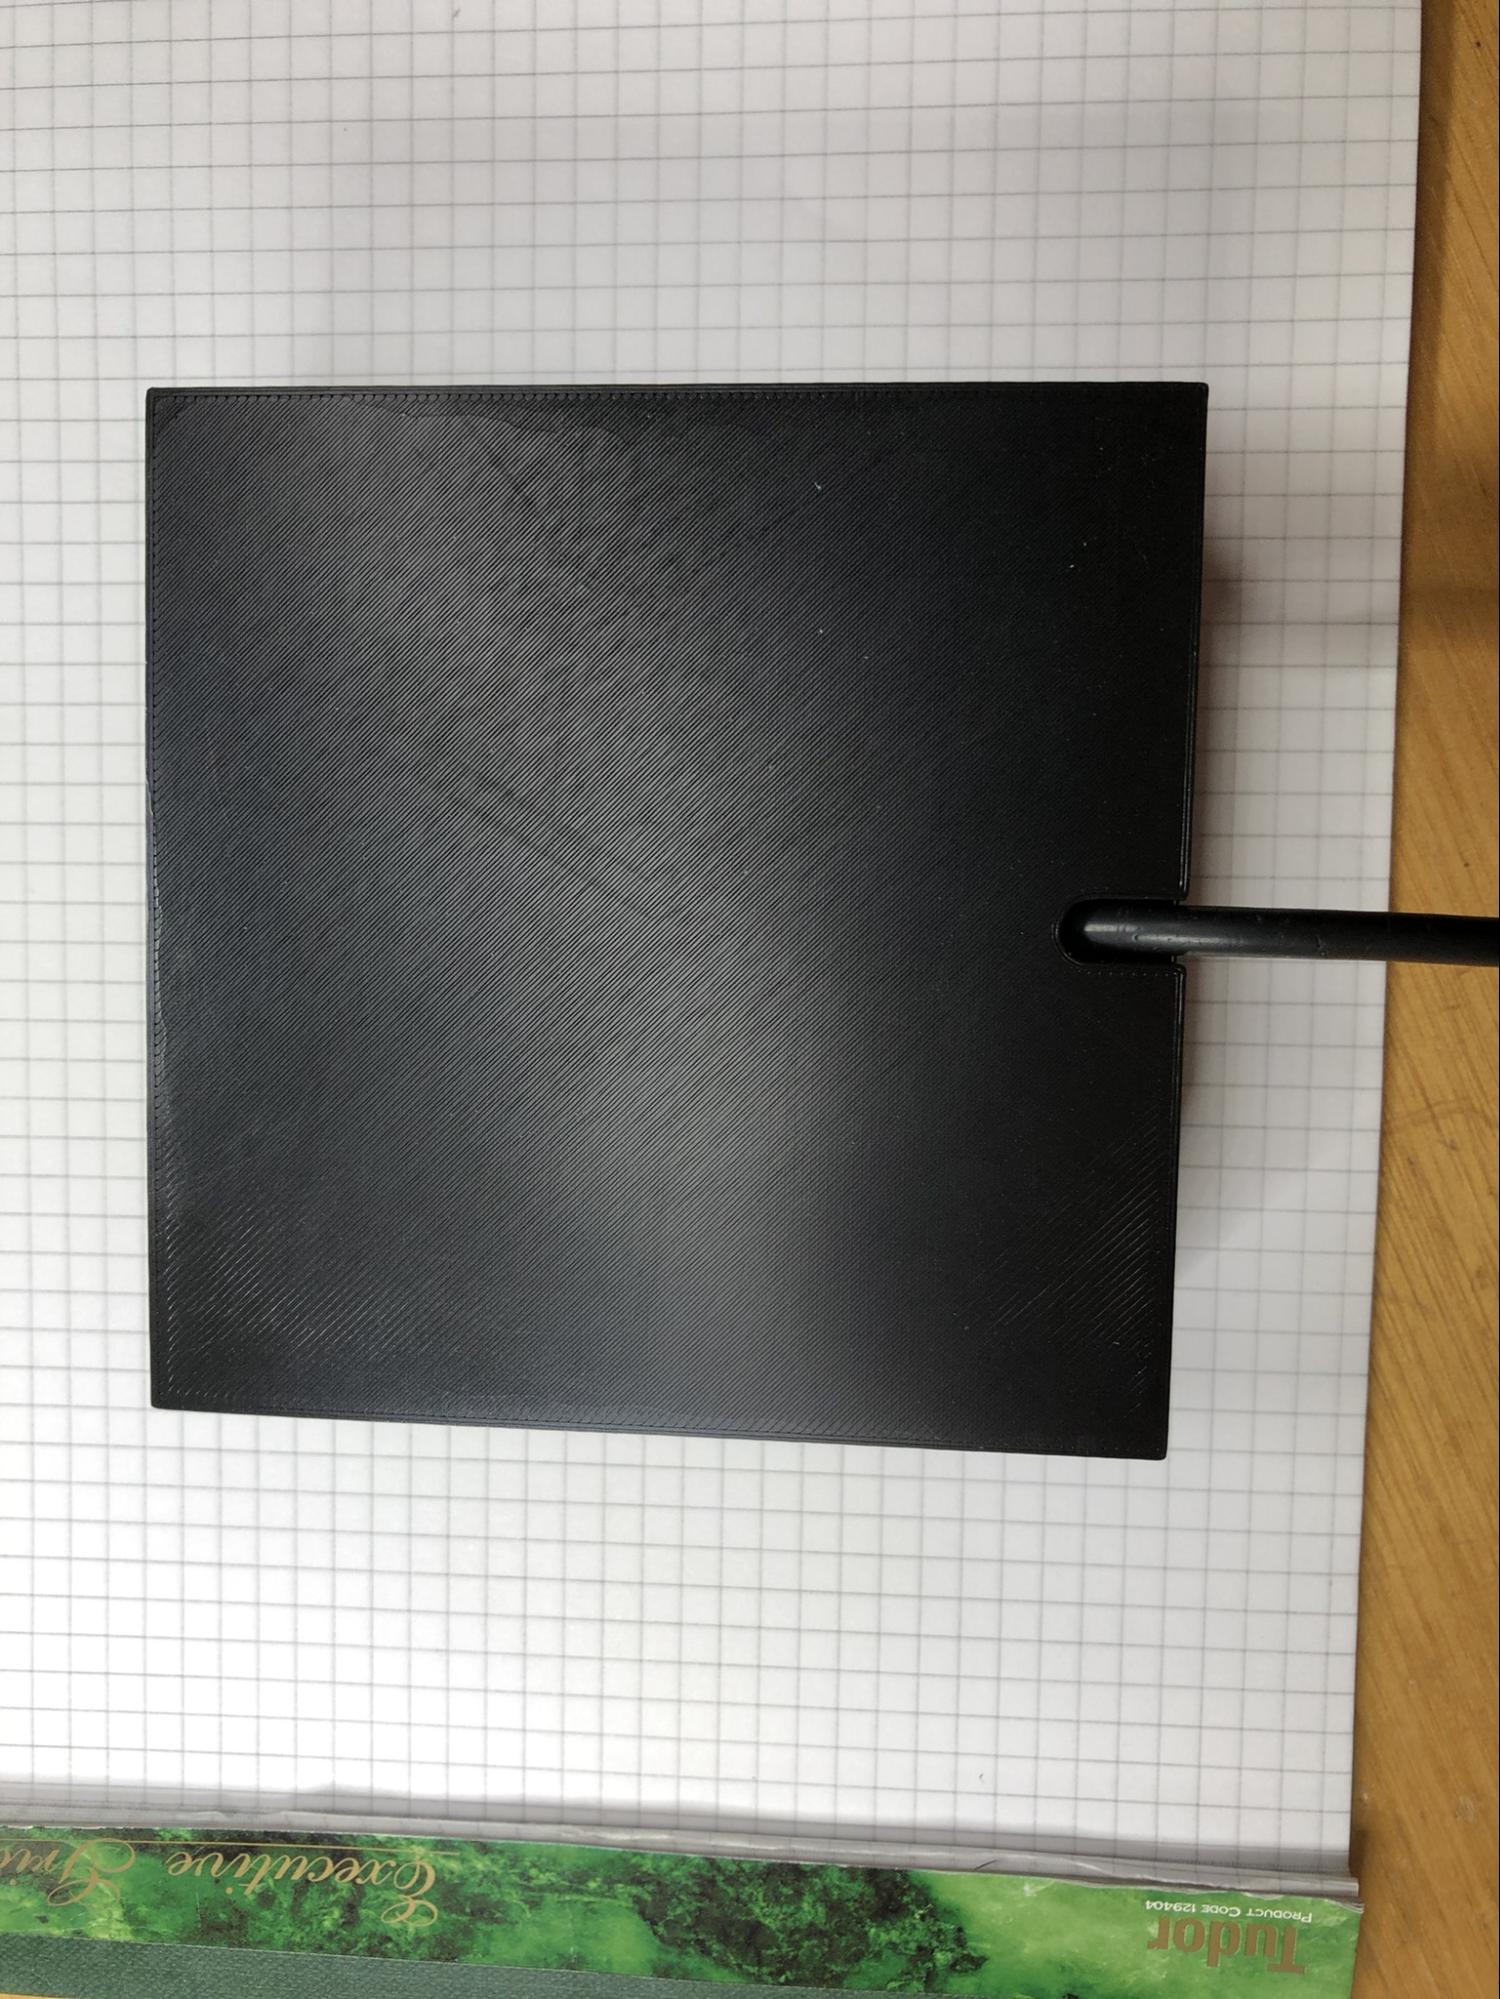
Back cover just snaps on. I don’t glue the module or back cover in place, but you could.
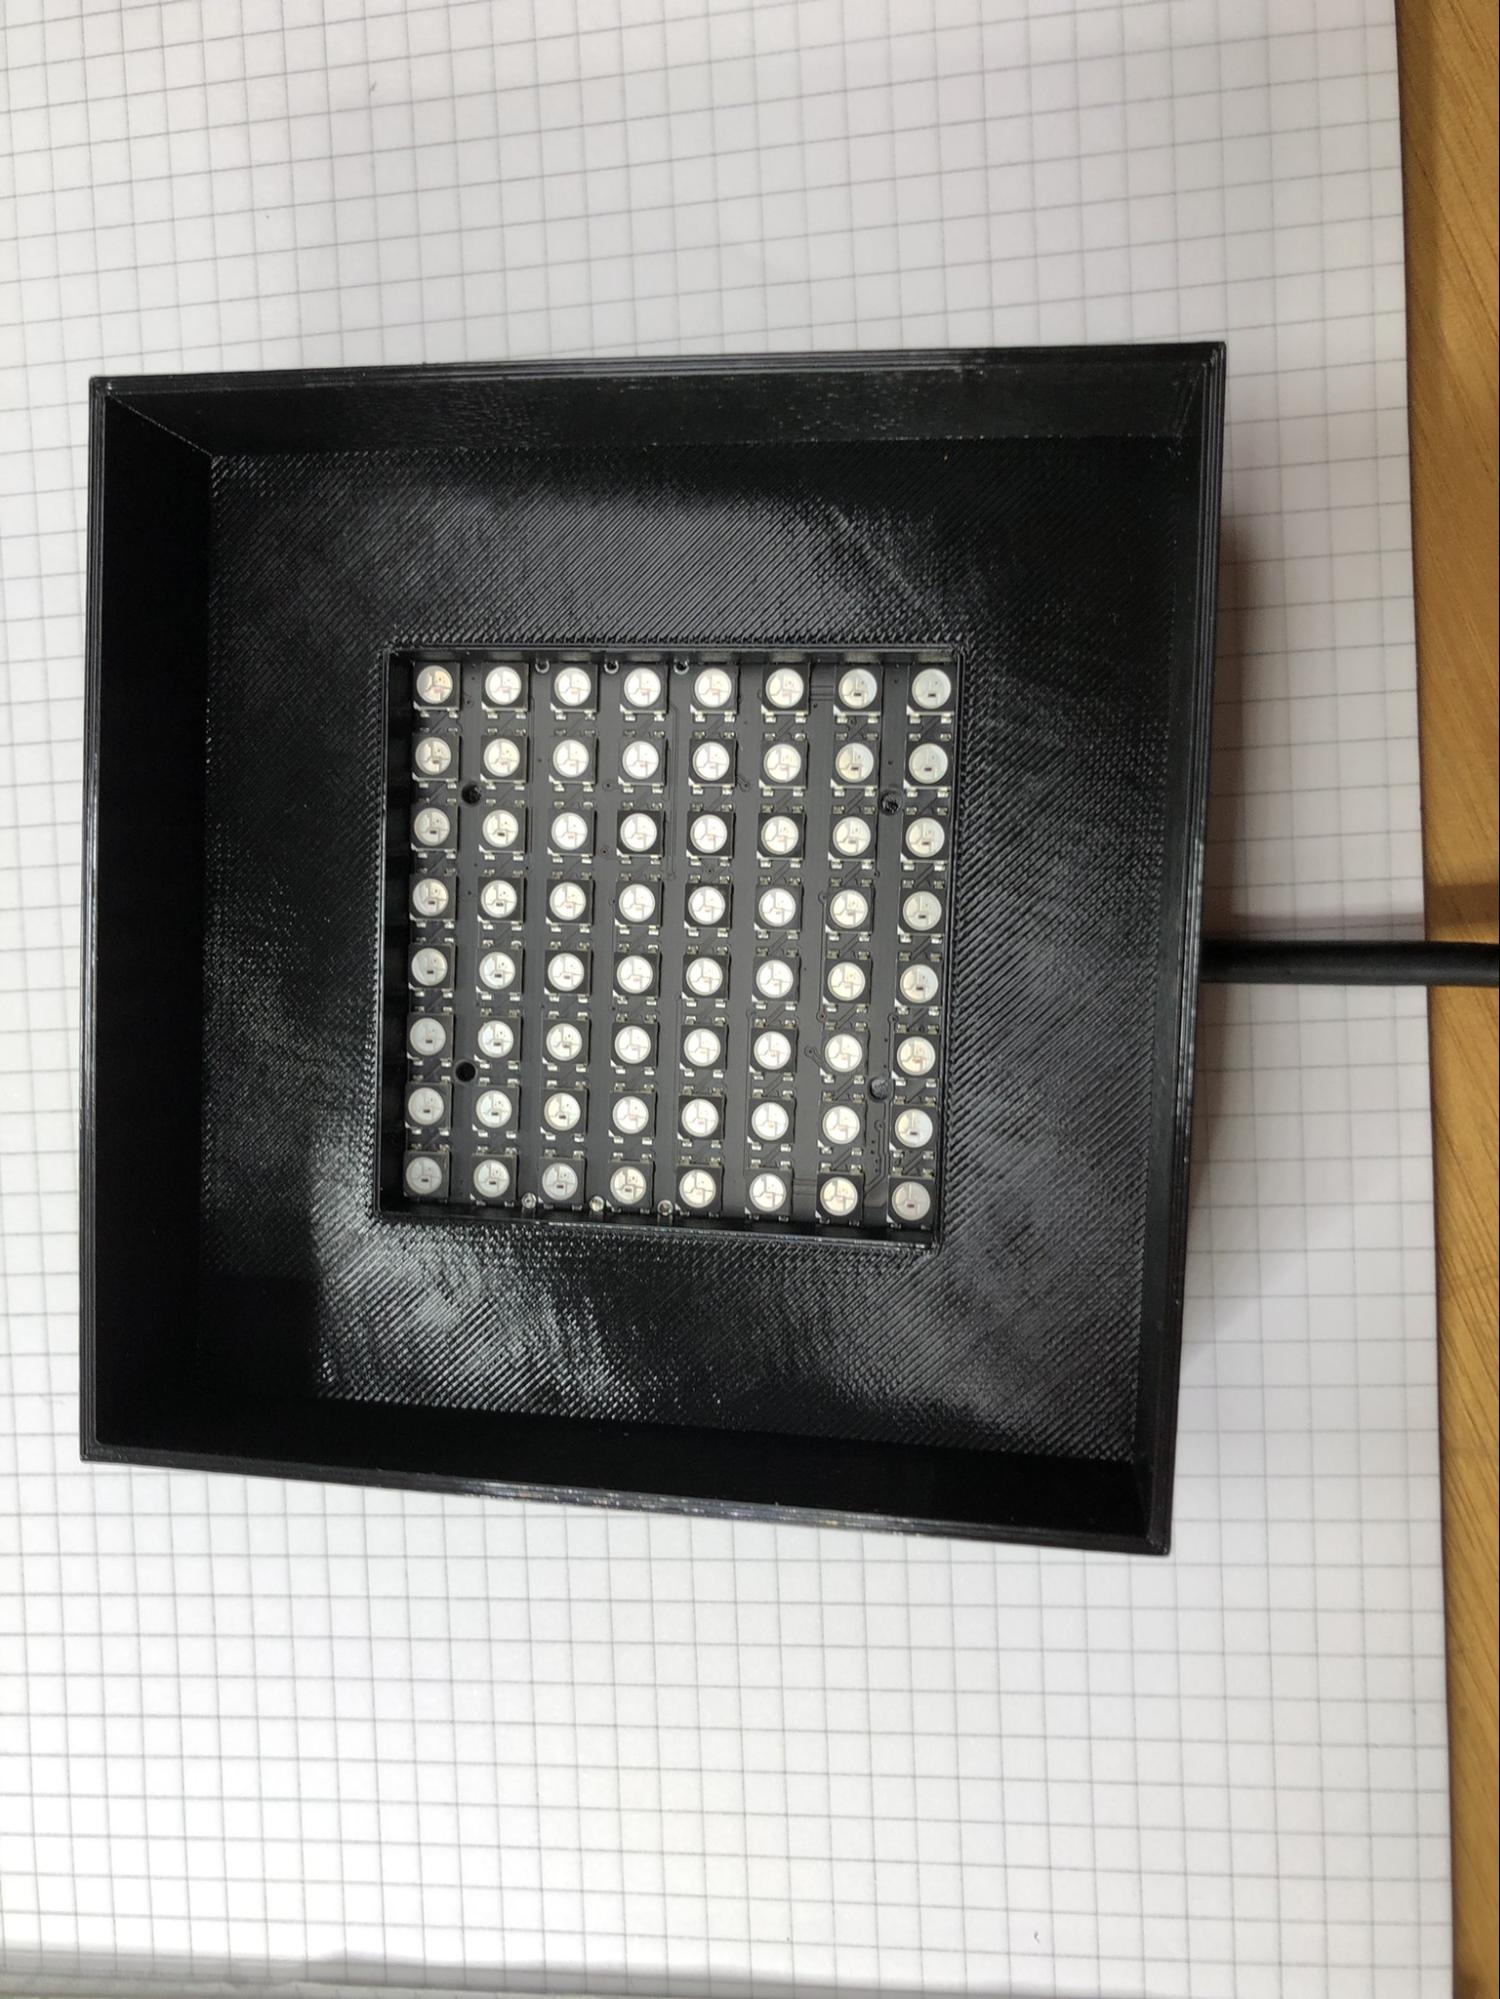
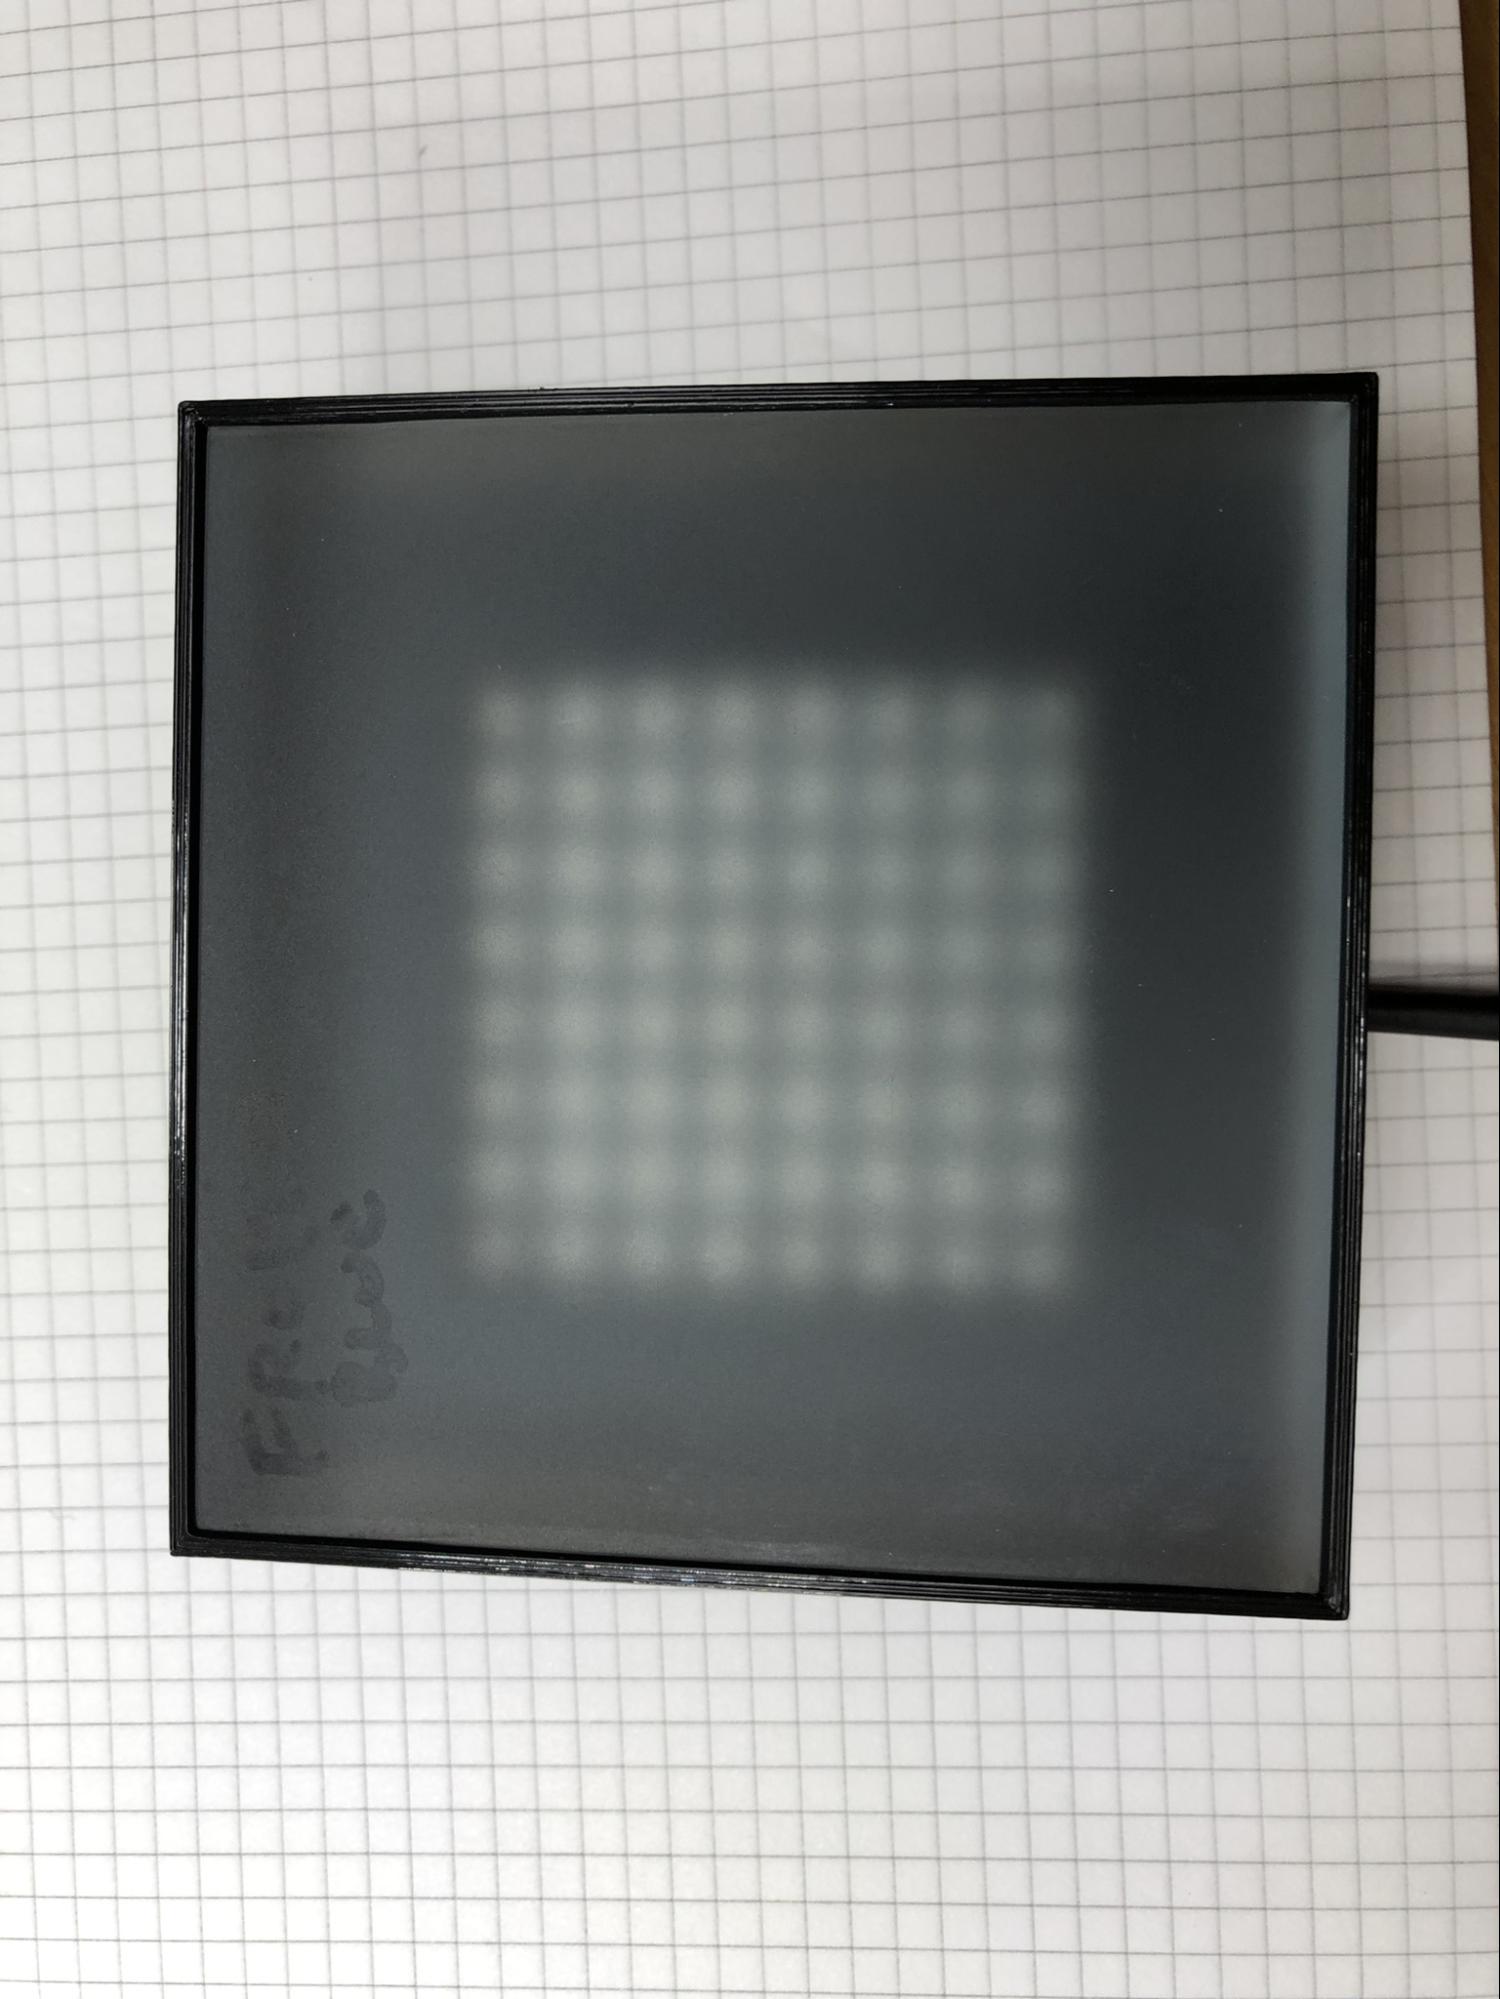
Front then looks like above
Push acrylic piece into front rebate . Mine fits tight, so no glue needed and a tap to get it out if required.
Files
All files are in repository: https://github.com/MarkMakies/Glow-Cube
FreeCAD design (.FCStd)
3D Models (.step)
Prusa Project (.3mf)
Python Code (main.py)
Driver (mpu6050.py) - not sure where I got this from
Videos of different random modes:
It is difficult to get a good picture or video of the device in operation using a smartphone. However, I have managed to capture the 4 different patterns using my SLR instead.
The videos were so popular amongst friends that I filmed them in 4K UHD, so if you get a chance check them out on a big screen in UHD. They can be quite mesmerizing. In these videos I just mirrored the edge pixels on both sides to fill the screen.
More of my builds at makies.au