
Manual filter wheel (9 x 1,25")
Obliczymy ostateczną cenę na podstawie wybranego pliku. Sprawdzisz ją i zaakceptujesz przed płatnością.
Zapisane na tym urządzeniu.
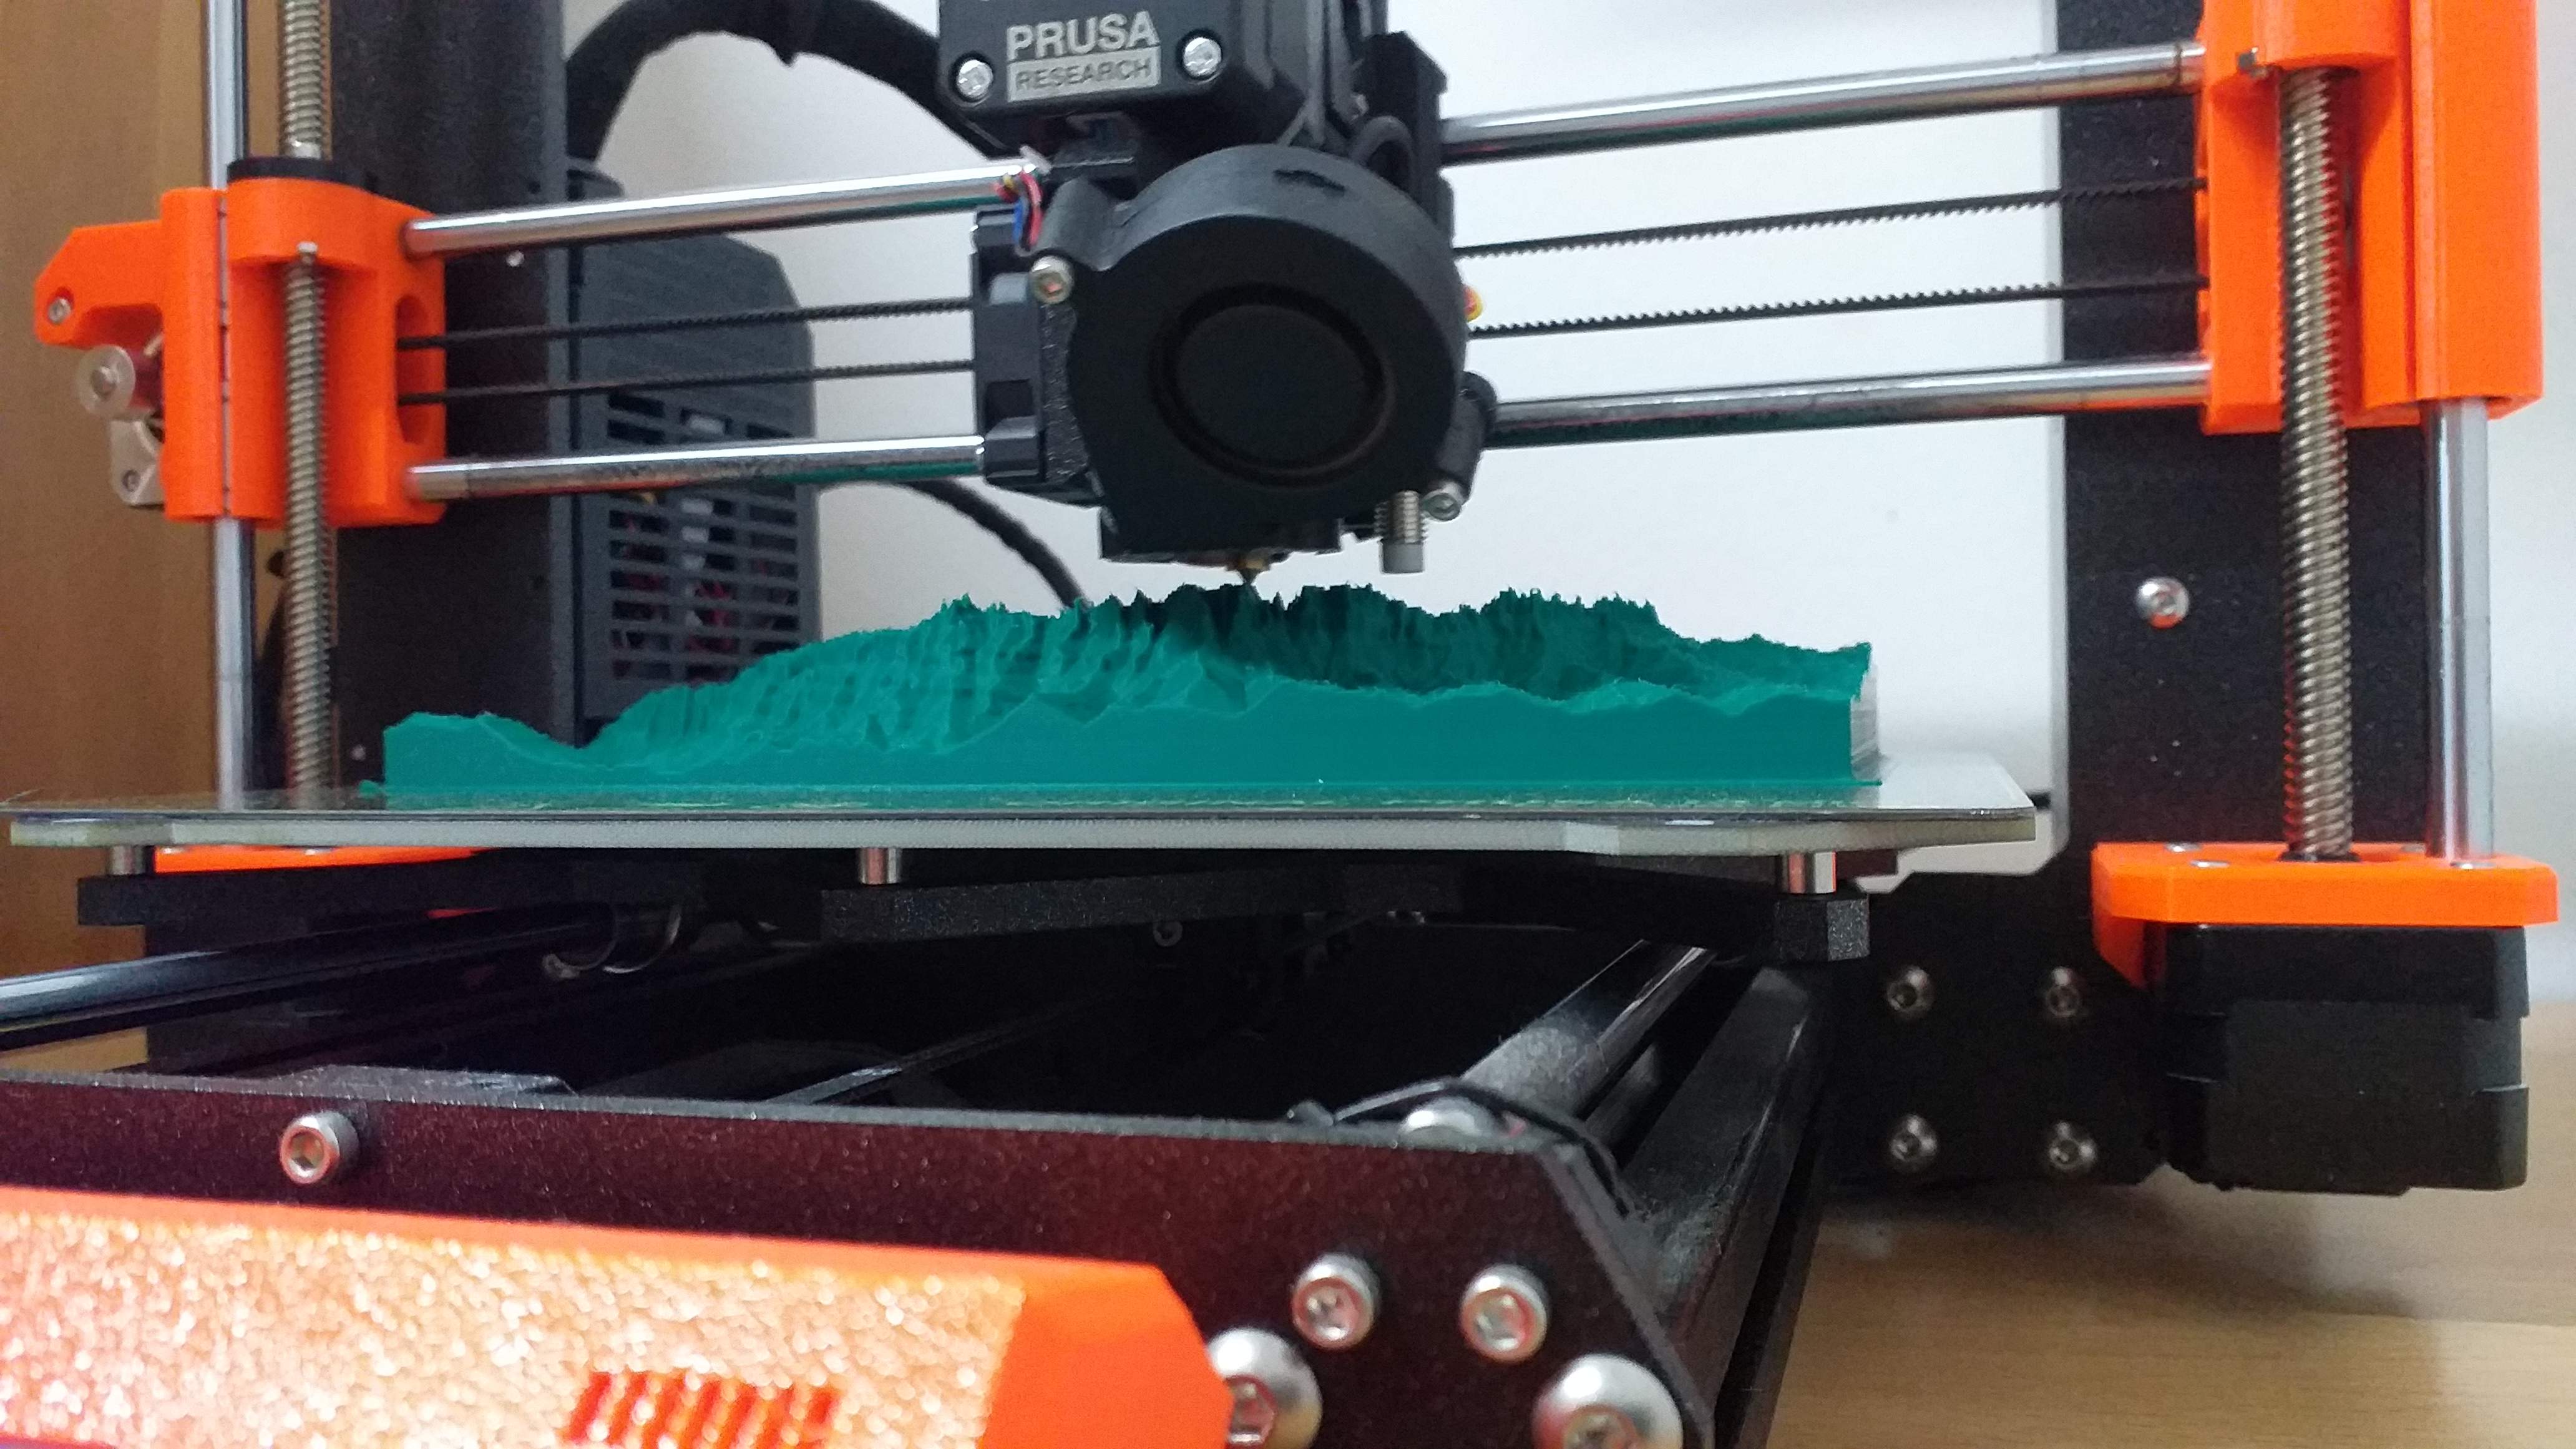
9 position manual filter wheel for 1,25" diameter filters
- Ocena
- 4,5 / 5
- Polubienia
- 26
- Pobrania
- 228
- Wydruki
- 2
- Wyświetlenia
- 1625
- Oceny
- 2
Aktualizacja u źródła:
Informacje o modelu
- Źródło
- Printables
- Kategoria
- Physics & Astronomy
- Licencja
- Creative Commons — Attribution — Share Alike
9 position manual filter wheel for 1,25" diameter filters.
My equipment is very heavy and the hobby of astronomy a little expensive, depending on the level of dedication you want to achieve. Because I like to do things myself, I designed this manual filters wheel with 9 positions. Possibly smaller, lighter and cheaper than commercial ones.
It works perfectly for visual observation and with small CCD cameras (planetary and lunar astrophotography). I have not tested it with heavier cameras (with cooling).
I make two versions. One version (mec) using commercial aluminum adapters, which must be machined as you will see below and the other version, printing the adapters. If the printed M42 threads look good, it will work just as well.
The filter wheel is designed to be printed with ABS (I used Fillamentum ABS Extrafill Traffic Black), but it has also worked great printed with PETG (Prusament PETG Jet Black). With ABS it is a little more rigid, but harder to print.
I will leave the files configured by PETG. I also tell you that your printer will need to be well maintained and work very well to achieve good manufacturing tolerances.
The weight of the filter wheel mounted without filters and without CCD is 215 gr.
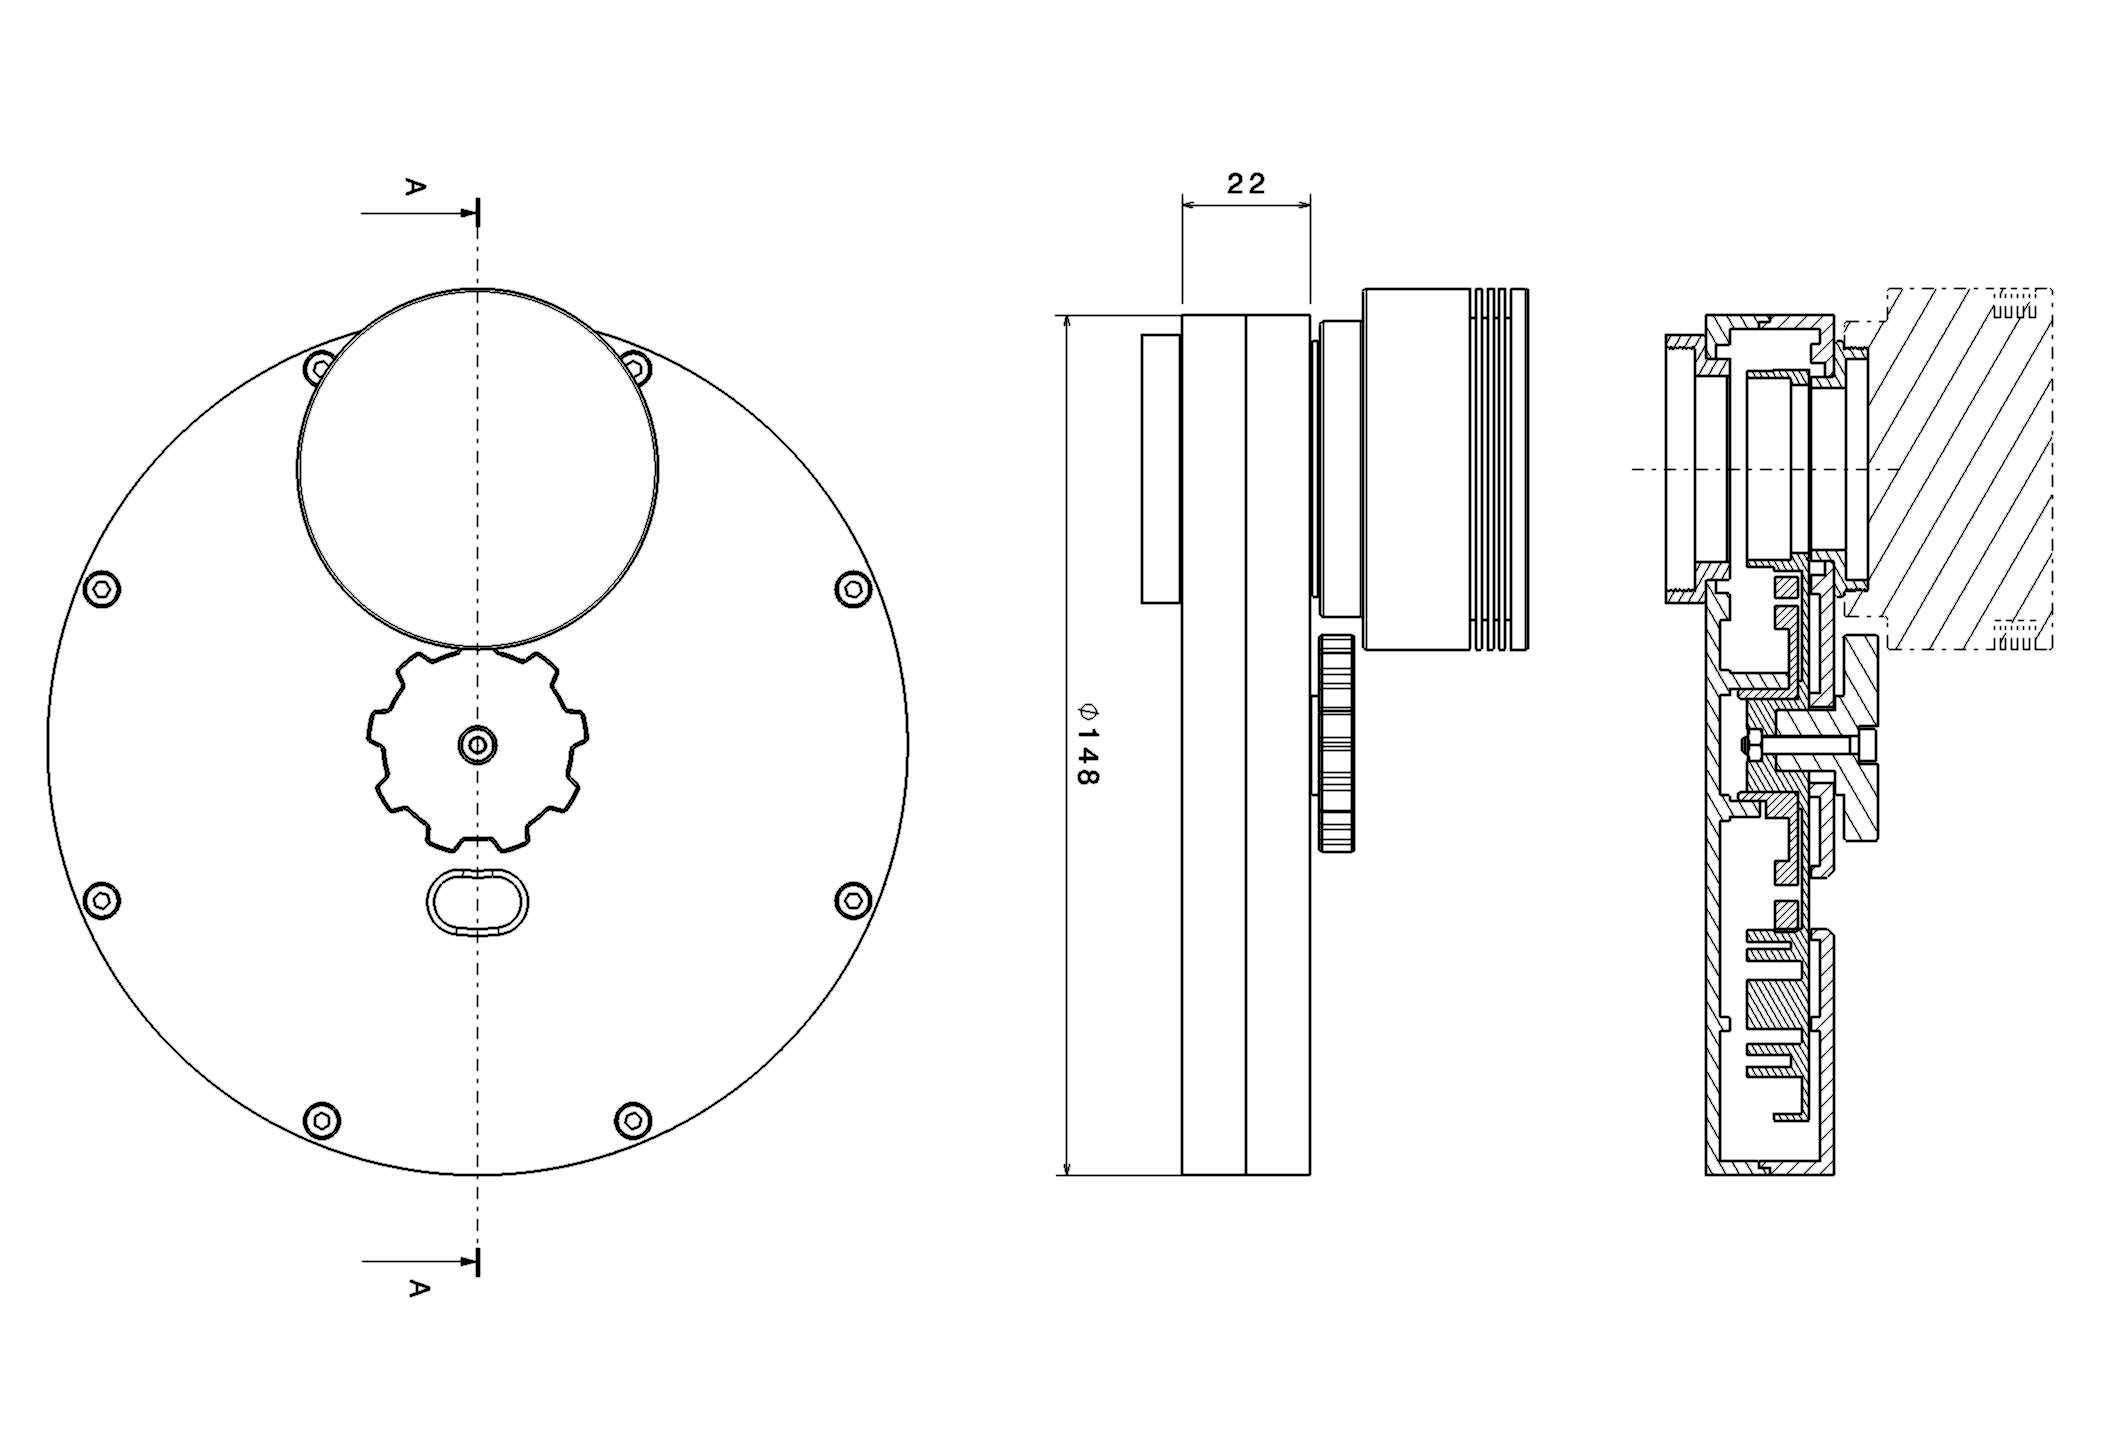
Fig -1

Fig - 2
Necessary materials:
x8 Screw M3x16 DIN912 (ISO 4762)
x1 Screw M3x20 DIN912 (ISO 4762)
x9 Nut M3 DIN934 (ISO 4032)
x27 Screw Ø2.9x6.5 mm DIN7981 (ISO 7049) or similar (to fix the filters)
x27 Washer M3 DIN125 (ISO 7089)
Assembly steps:
1 – Outer housings
Version 1 (with machined commercial adapters):
Machine the adapters as indicated in the following figures:
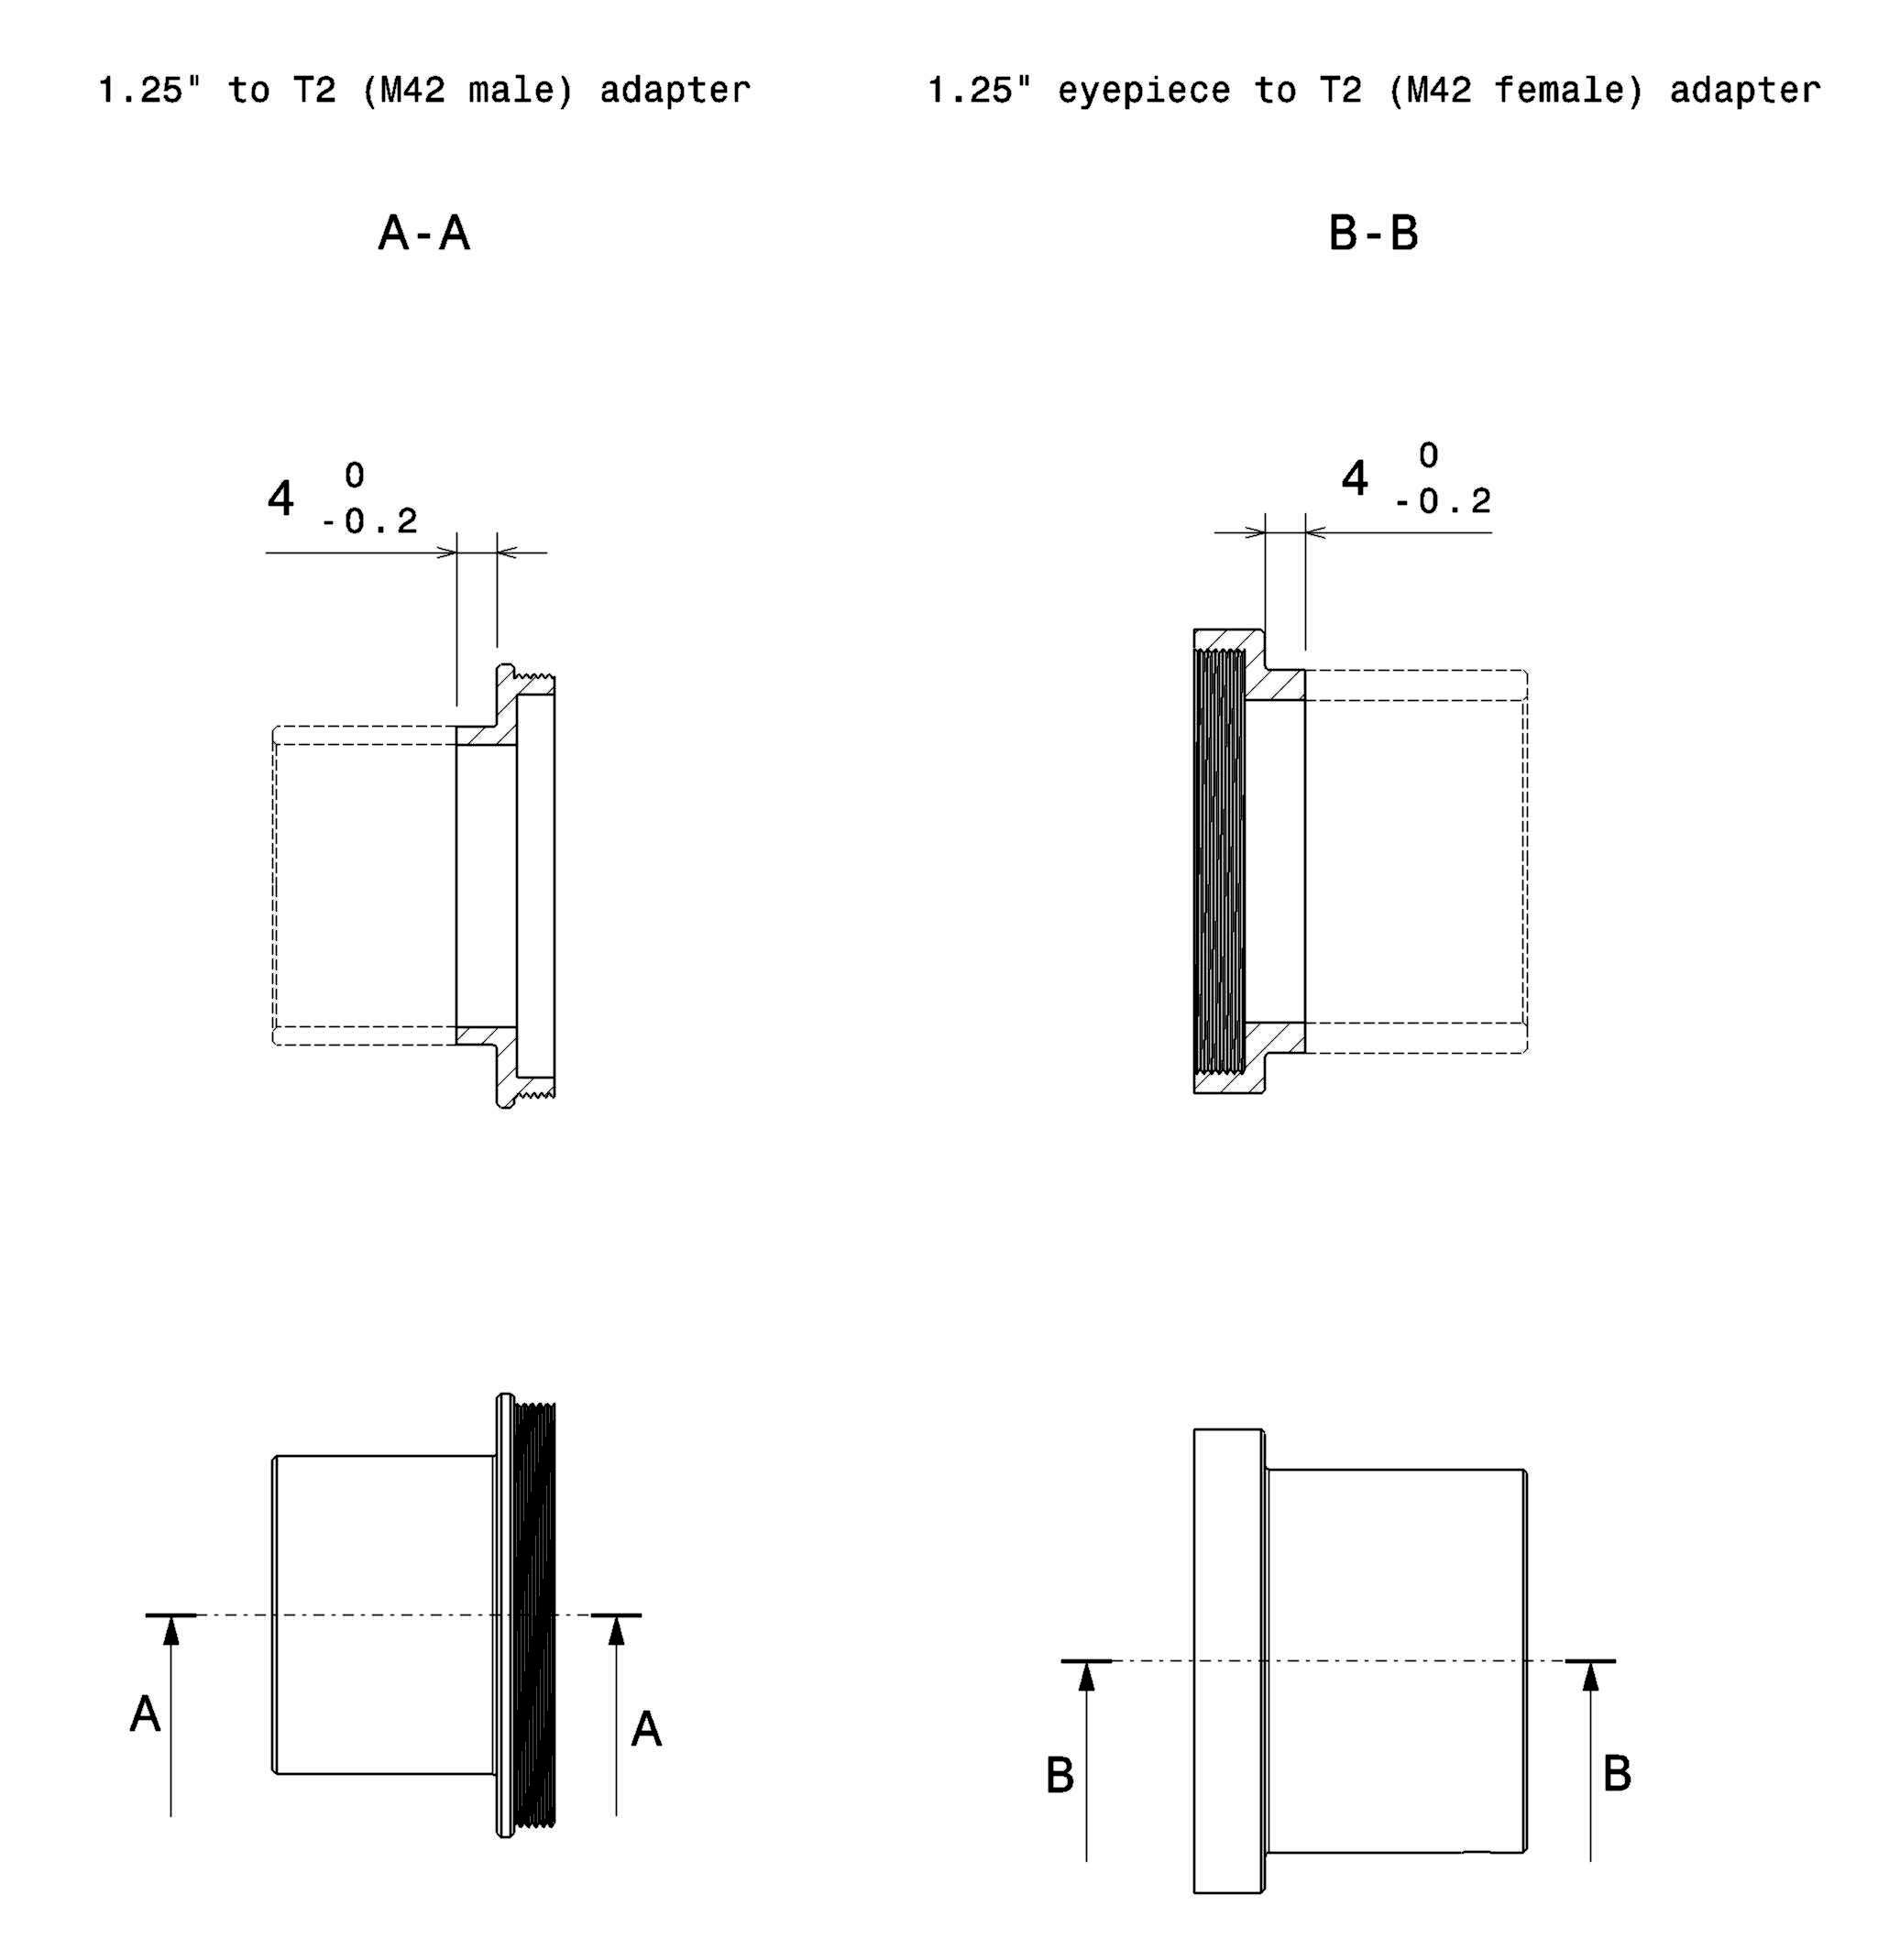
Make the carcassa_1 and carcassa_2_mec parts
Version 2 (all printed):
Make the carcassa_1, carcassa_2, adaptador_1 and adaptador_2 parts.
The following steps are identical for both versions.
2- Fixing the adapters. Ensure the correct seating of the pieces and apply adhesive along the inner channel. I have been filling sections with cyanoacrylate sprayed with SF7455 activator. It facilitates the initial penetration of the adhesive between the pieces and subsequently catalyzes, forming thicknesses. Alternatively, you can use an epoxy adhesive. Clean excess well.


Both the adhesive cord and the aluminum cut pieces, you can painted in matte black to avoid reflections.
3 – Thoroughly clean the imperfections of the impressions and ensure the correct assembly of the posicionador and carcassa_1.
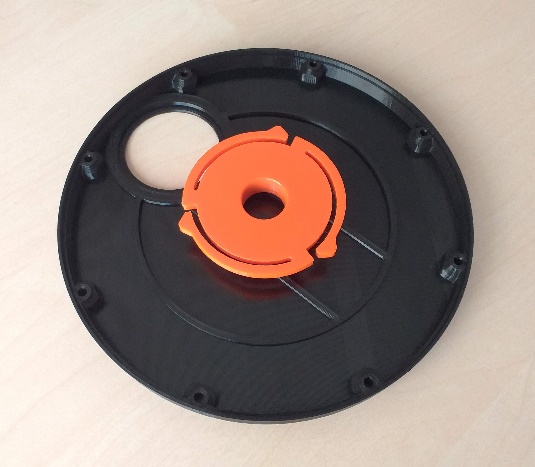
4 – Do the same with the posicionador and tambor parts. It is very important not to nail the parts during assembly. You need to make sure that the posicionador part goes in smoothly and rotates freely, without resistance. A little gap between the cilinders is not a problem.
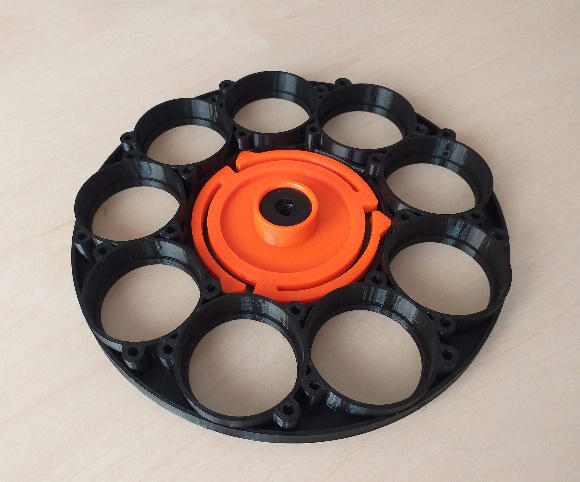
5 – Clean and assemble the rest of the parts to check that everything is assembled correctly.
(See fig - 2)
6 – Insert the 9 nuts in their housings and complete the assembly to ensure that everything is correct and the wheel turns without difficulty.
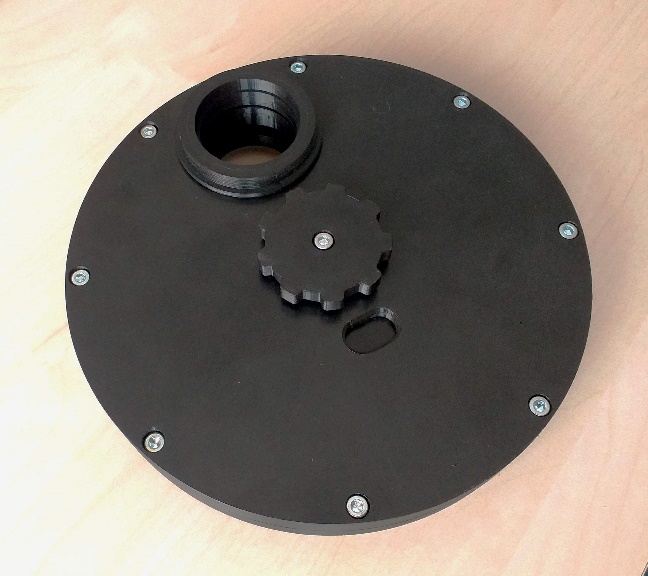
7 - You can now assemble your filter set. I use BAADER and MEADE filters. The maximum height of the filters must be 7,6 mm.
You will find a template (pdf and dxf) to edit the names of the filters. You can cut it and stick it on the tambor piece.
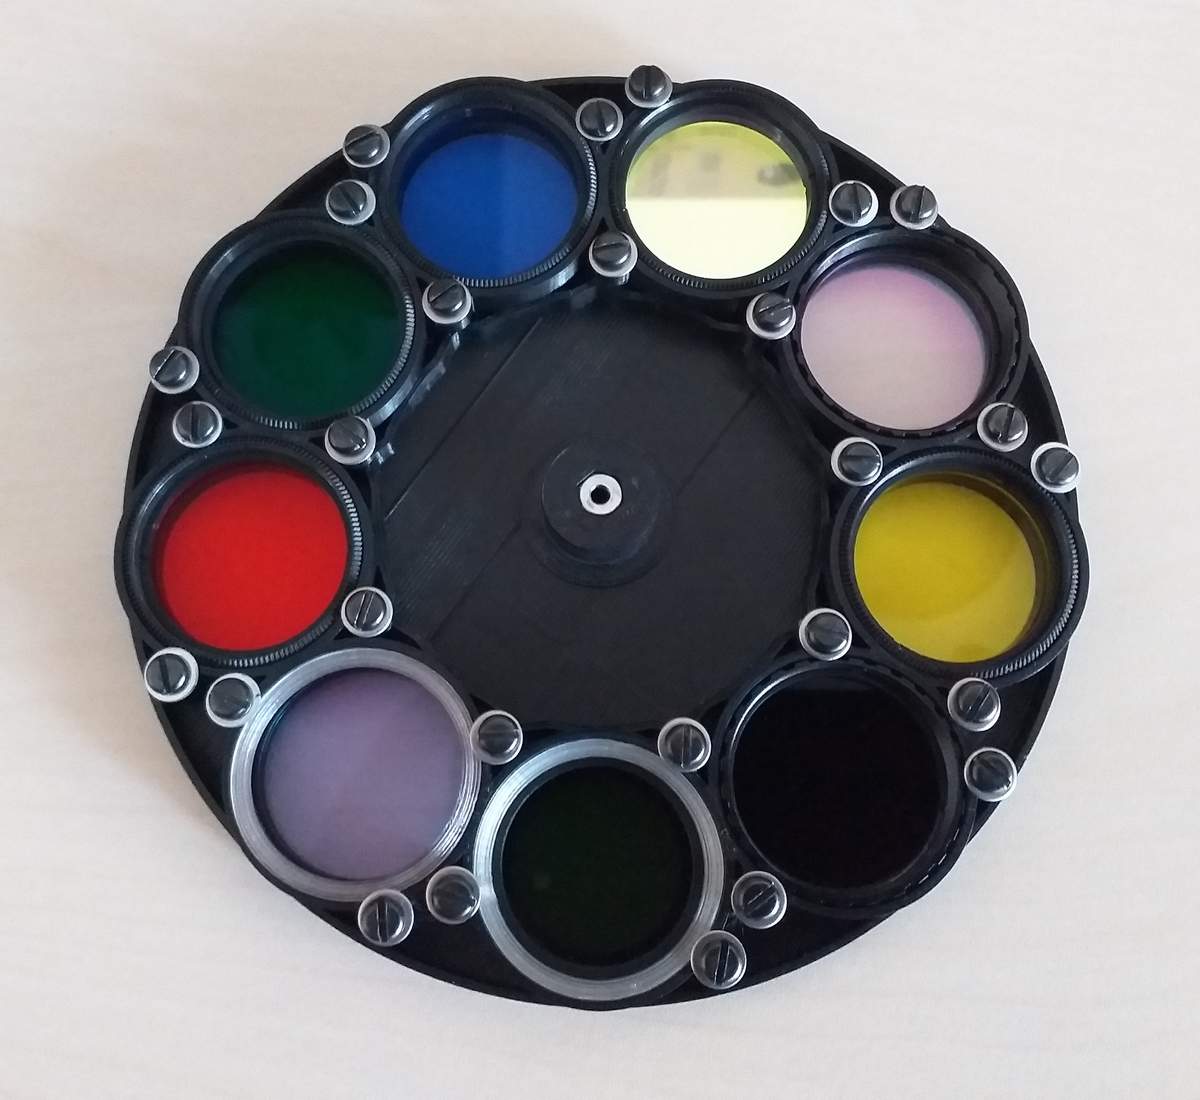
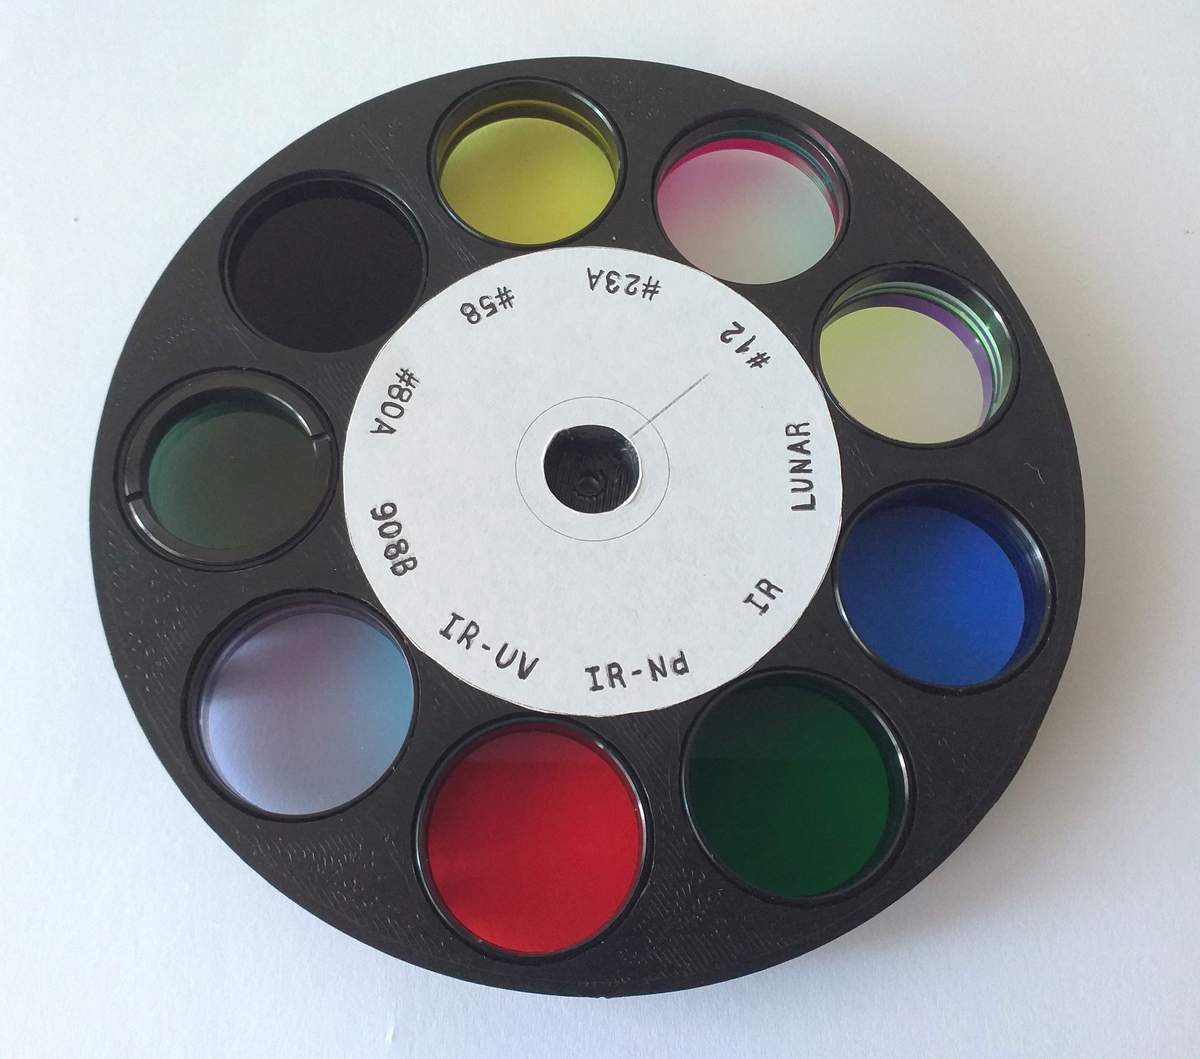
I have also put two rings (cala_1 and cala_2) for thickness, if you need them. Both are 1mm high and will have to be scaled in the Z axis to give the appropriate height. Cala_1 serves to supplement the filters lower than 7,6 mm. Cala_2 is for if you are interested in leaving the CCD camera in a certain position relative to the filter wheel.
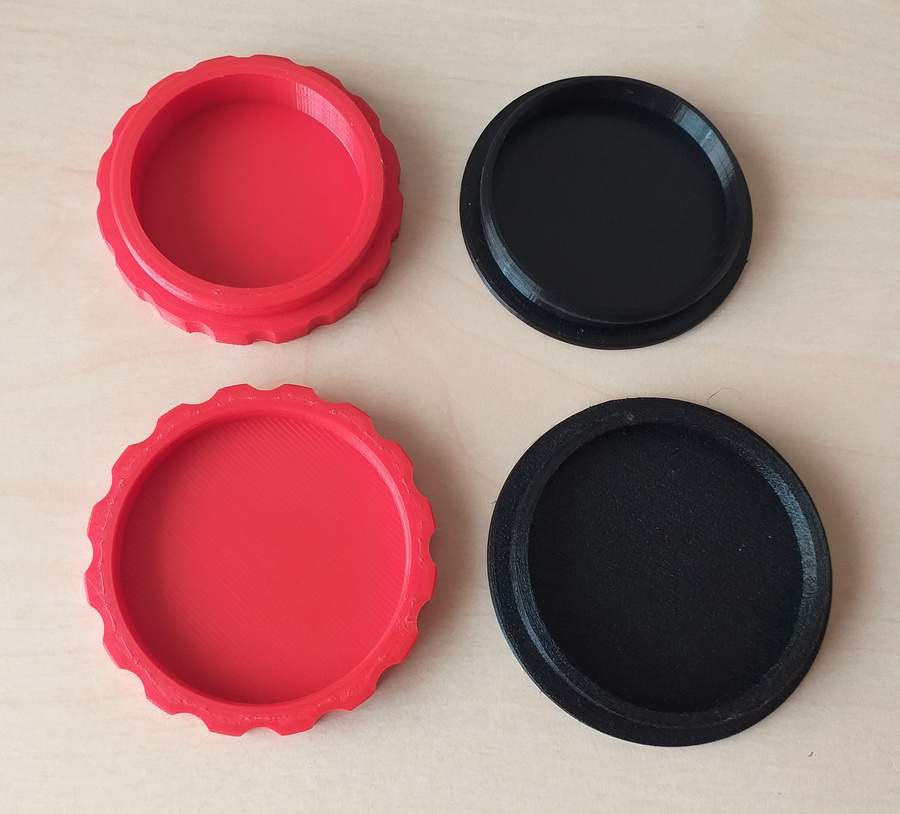
Finally, I have left some lids to keep the filter wheel close. You can choose between rigid threads lids (M42) or flexible TPU pressure lids (T2).

This is a photo (mosaic) of the moon using this filter wheel.

“enjoy astronomy”